Fixing Loose Stitching on Leather Boots at Home: A Complete Guide
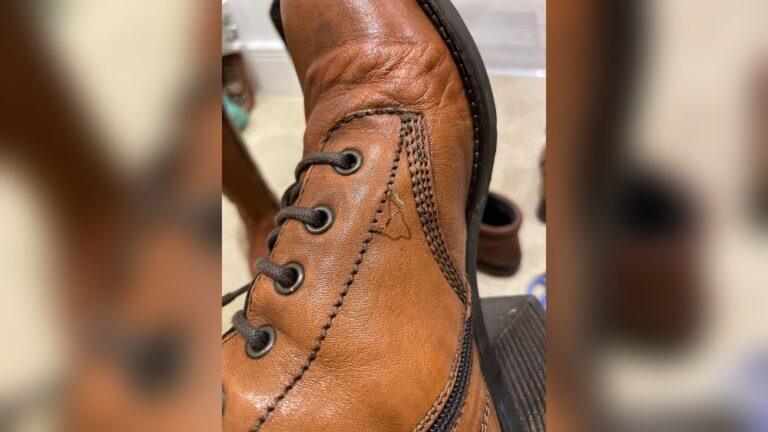
Have you ever noticed your favorite leather boots starting to come apart at the seams? Maybe you see a few loose threads, or worse, a gap where the stitches used to be. It can feel frustrating, especially if you love those boots and want them to last.
But the good news is, you can fix loose stitching on leather boots at home. With a few tools, some patience, and the right steps, you can make your boots strong and beautiful again. This guide will show you everything you need to know, even if you have never repaired shoes before.
Why Does Stitching Come Loose On Leather Boots?
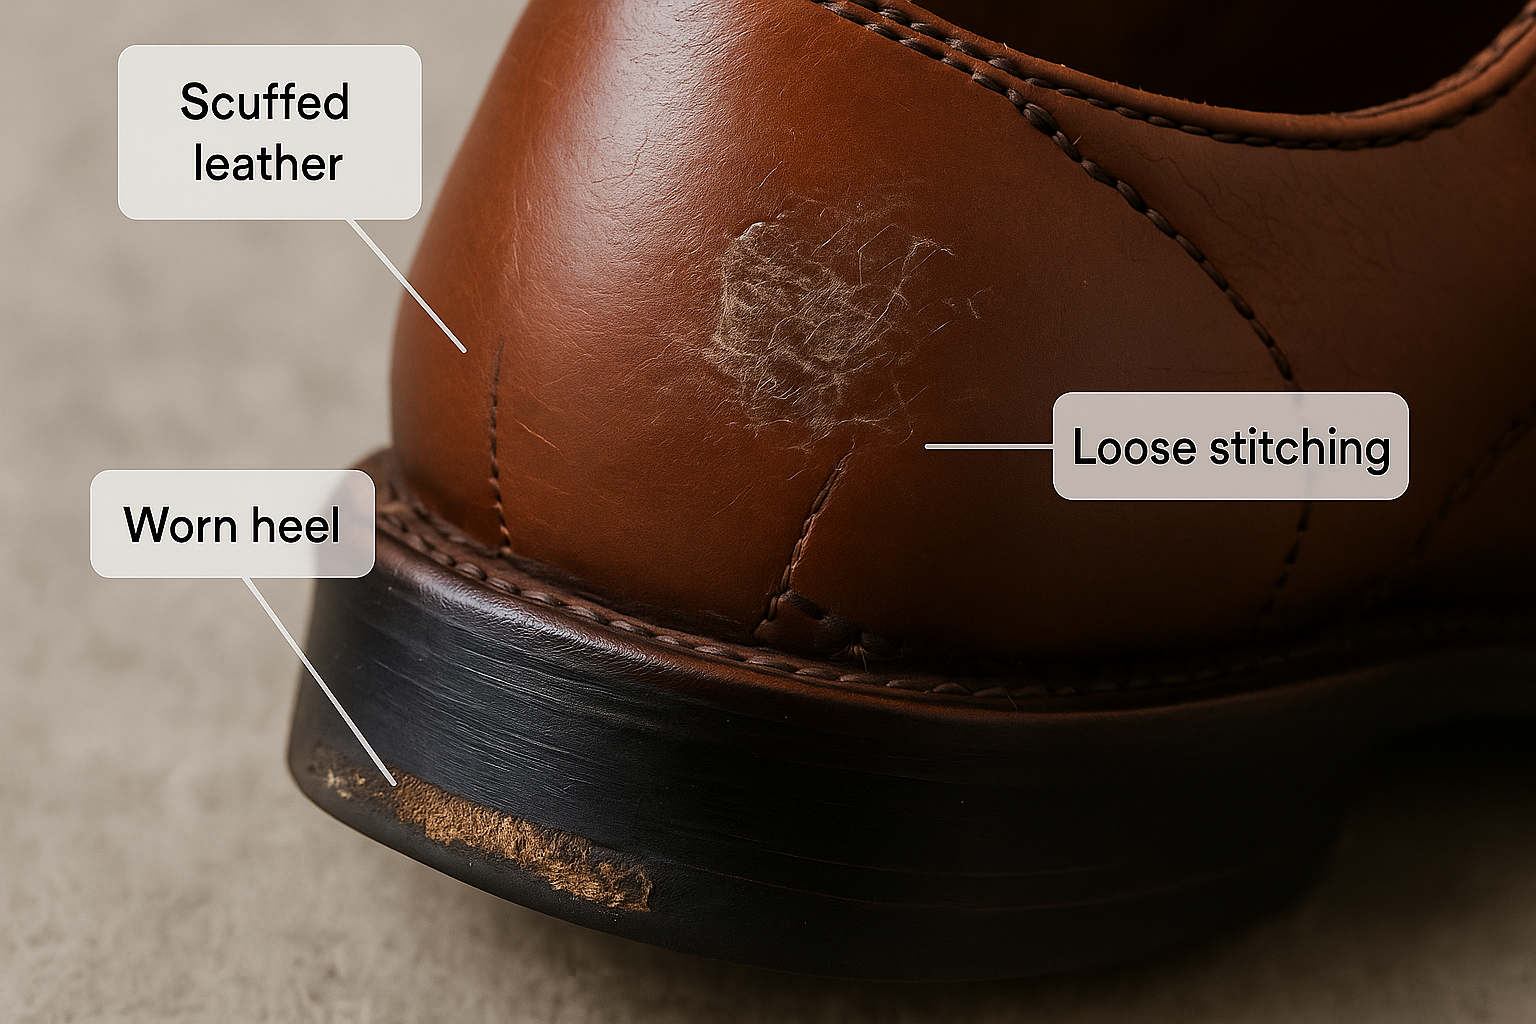
Leather boots are tough, but their stitches can wear out over time. This happens for a few reasons:
- Regular use: Walking, bending, and stretching can slowly pull on the stitches.
- Moisture: Water can weaken threads, especially if the boots are not dried properly.
- Poor care: Dirt or salt from roads can damage both leather and thread.
- Cheap thread: Some boots use low-quality thread that breaks more easily.
If you notice stitching coming loose, it is best to act quickly. Fixing it early can stop the problem from getting bigger.
Tools And Materials You Will Need
Before you start, you need some basic tools. Here’s what you should gather:
- Strong needle: Leather is thick, so you need a tough needle. Shoemaker needles or heavy-duty sewing needles work best.
- Waxed thread: This type of thread is strong and slips through leather more easily. You can buy it at craft stores or online.
- Thimble: This protects your finger when pushing the needle through tough leather.
- Small pliers: Sometimes you need extra force to pull the needle out.
- Sharp scissors: For cutting thread cleanly.
- Seam ripper or knife: To remove broken threads and clean up the area.
- Leather glue (optional): For extra hold on tough repairs.
- Lighter or match: To seal the thread ends and stop fraying.
If you want to be extra careful, wear gloves to protect your hands.
Step-by-step Guide To Fix Loose Stitching
Let’s get into the steps. Each step is simple, but take your time—rushing can cause mistakes.
1. Clean The Area
Before you start, make sure the boot is clean. Dirt or mud can make it hard to sew and can weaken the repair.
- Wipe the area with a damp cloth.
- Let it dry for at least 10 minutes.
2. Remove Old, Loose Threads
If you see any broken or loose threads, take them out.
- Use a seam ripper or small knife.
- Be gentle so you do not cut the leather.
Removing the old thread gives you a fresh area for new stitches.
3. Prepare Your Needle And Thread
Cut a piece of waxed thread. You need enough to go over the loose area two or three times.
- Measure the gap and add 10 extra inches.
- Thread the needle and tie a tight knot at the end.
Waxed thread is slippery, so double-knot for safety.
4. Plan Your Stitching
Look at the old stitch pattern. Most boots use a simple running stitch or lock stitch.
- If you see old holes, use them. This keeps the leather strong.
- If no holes are left, make new ones close to the old line.
Using the same pattern helps your repair blend in.
5. Start Sewing
Push the needle through the leather from inside the boot. If the leather is very hard, use pliers to help pull the needle.
- Pull the thread until the knot stops at the leather.
- Go in and out of each hole, following the old stitch line.
Keep the stitches tight but not too tight. If you pull too hard, the leather can bunch up.
6. Secure The End
When you finish stitching, tie a strong knot on the inside of the boot.
- Make at least two knots for safety.
- Use a lighter to gently melt the thread end. This stops it from fraying.
If you want, add a drop of leather glue on the knot for extra hold.
7. Check Your Work
Look at your repair. The new stitches should be firm, even, and not too tight. If they look uneven, it is okay. What matters most is that they hold.
8. Care For The Leather
After sewing, use a leather conditioner. This helps the leather stay soft and strong.
- Rub a small amount on the repaired area.
- Let it soak in overnight.
This step is often missed by beginners, but it helps your repair last much longer.
Types Of Stitches For Repair
Not all repairs need the same stitch. Here are some common stitches you can use:
| Stitch Type | Best For | Strength |
|---|---|---|
| Running Stitch | Light repairs, decorative lines | Medium |
| Back Stitch | High-stress areas (toes, heels) | Strong |
| Lock Stitch | Professional finish, thick leather | Very strong |
Most boot repairs use running stitch or back stitch. If the area gets a lot of wear, use back stitch.

Credit: nushoe.com
When Should You Not Fix Boots At Home?
Some repairs are too big or risky for a home fix. Here’s when you should see a pro:
- The leather is torn, not just the thread.
- The sole is coming apart.
- The boot is very expensive, rare, or has sentimental value.
If you try to repair these at home, you could make the damage worse. In these cases, a shoe repair shop is safer.
Common Mistakes To Avoid
It is easy to make small mistakes when fixing boots. Here are the most common ones:
- Using regular thread: Ordinary thread is too weak. Always use waxed or nylon thread.
- Skipping cleaning: Dirt and grit can break new stitches.
- Pulling too hard: Tight stitches can tear leather.
- Cutting new holes far from old ones: This can weaken the boot.
- Not securing the knot: Loose knots can undo your hard work.
Remember, slow and steady wins the race.
Tips For A Strong Repair
Want your fix to last? Use these tips:
- Always use a thimble or pliers if the leather is hard.
- Use beeswax to coat ordinary thread if you cannot find waxed thread.
- Try a double stitch for high-stress spots.
- If you see any cracks in the leather, rub in a little leather conditioner before sewing.
- Store boots in a dry place so the new stitches do not rot.
These small steps can make a big difference in how long your repair lasts.
Materials Comparison: Thread Types
Choosing the right thread is key. Here’s a quick look at the most common threads for leather boots:
| Thread Type | Strength | Water Resistance | Ease of Use |
|---|---|---|---|
| Waxed Polyester | High | Good | Easy |
| Nylon | Very High | Excellent | Medium |
| Cotton | Low | Poor | Easy |
Most people use waxed polyester. It is strong, easy to work with, and does not rot if wet.
How Long Does A Home Repair Last?
A good home repair can last a long time, but it depends on:
- How well you sew: Tight, even stitches last longer.
- How often you wear the boots: Daily use wears out repairs faster.
- How you care for your boots: Keeping them clean and dry helps a lot.
On average, a careful home repair can last from 6 months to 2 years. If you see stitches coming loose again, you can repeat the process.
Real-life Example: Sarah’s Hiking Boots
Sarah loved hiking and wore her leather boots on every trip. One day, she noticed the stitches on the toe were coming loose. She did not want to buy new boots, so she tried fixing them at home.
Sarah used waxed thread, a strong needle, and followed the steps above. At first, it was hard to push the needle through, but pliers helped. She made sure each stitch was tight. After sewing, she added a little leather conditioner.
Her boots lasted two more hiking seasons before needing another fix.
Her story shows that even if you are not an expert, you can repair boots at home and get more life out of them.
Credit: shoemedic.com
Advanced Tips For A Professional Look
If you want your repair to look like it came from a shop, try these:
- Use a stitching awl to make clean, even holes. This tool helps guide the needle.
- Match the color of the thread to your boots.
- Keep your stitches the same length.
- After sewing, gently tap the seam with a small hammer. This flattens and hides the stitches.
These tips are optional, but they can make your boots look almost new.
Caring For Boots After Repair
After you fix the stitching, take a few extra steps to keep your boots in good shape:
- Clean them after each use: Wipe off dirt and mud.
- Dry them slowly: Never put leather boots near direct heat. Air-dry in a cool spot.
- Condition the leather: Use a small amount of leather cream every few months.
- Check for new damage: Look at the seams every month.
Good care means fewer repairs in the future.
Should You Glue Before Sewing?
Some people add a little leather glue before sewing. This can help hold the area together, but it is not always needed.
- Use glue if the leather edges are curling or very loose.
- Let the glue dry before you sew.
But remember, glue is not as strong as stitching. Always sew for the best hold.
The Cost Of Home Repair Vs. Shoe Shop
Fixing boots at home is much cheaper than going to a repair shop. Let’s compare:
| Repair Type | Average Cost | Time Needed |
|---|---|---|
| Home Repair | $5 – $15 (tools and thread) | 30-60 minutes |
| Shoe Shop | $20 – $50 (per repair) | 2-7 days (waiting) |
If you like doing things yourself, home repair is a smart choice.
Where To Get Supplies
You can find most tools and threads online or at craft stores. For the best quality, look for stores that sell leatherworking supplies. Some shoe repair shops also sell small kits for home repair.
For more details, you can visit Wikipedia’s Shoemaking page.
Non-obvious Insights Most Beginners Miss
- Stitch length matters: Short stitches (closer together) are much stronger than long stitches. If you make your stitches 3-4mm apart, the seam will last longer and be less likely to pull out.
- Thread tension: Do not pull too hard or too soft. If the thread is too loose, dirt gets in. If too tight, the leather can tear with use. Practice on a scrap piece first to feel the right amount of tension.
Final Thoughts
Fixing loose stitching on leather boots at home is not hard when you know the steps. You do not need fancy tools or special skills. With a needle, strong thread, and a little care, you can save money and enjoy your favorite boots for much longer.
Remember, even small repairs are worth doing. Each fix gives you more time with boots you love. Next time you see a loose stitch, do not worry—grab your tools and fix it yourself. Your boots (and your wallet) will thank you.
Frequently Asked Questions
How Do I Know If The Stitching Is Too Damaged To Repair At Home?
If the leather is ripped, or the holes are stretched out and torn, a home fix may not hold. Also, if the gap is wider than half an inch, it is better to see a pro.
What Type Of Needle Is Best For Leather Boots?
A strong, thick needle like a glover’s or saddler’s needle is best. These needles are sharp and can go through tough leather without breaking.
Can I Use Regular Sewing Thread If I Do Not Have Waxed Thread?
It is not a good idea. Regular thread is weak and can break quickly. Waxed or nylon thread is much stronger and will last longer in your boots.
How Can I Make My Repair Look Neat?
Try to follow the old stitch holes and use even spacing. Match the thread color to your boots. If you have a stitching awl, use it to keep stitches straight.
Will This Repair Work For All Types Of Leather Boots?
This method works for most boots made of real leather, including work boots, hiking boots, and dress boots. It does not work well on boots made from fake leather or fabric.
With these steps, tools, and tips, you can fix loose stitching on your leather boots at home and walk with confidence again!
Credit: www.reddit.com

Rubel Miah is the Senior Editor at MyStyleGrid.com, where he brings a sharp editorial eye and an unshakable love for fashion to everything he does. A true style addict, Rubel lives and breathes trends, from streetwear to high fashion, and has a knack for turning inspiration into impactful stories. With years of experience in fashion journalism and digital media, he curates content that empowers readers to express themselves through style. When he’s not editing features or forecasting the next big thing, you’ll find him hunting down vintage pieces or capturing street style moments around the city.