You customize shoes by planning a design, selecting materials, then painting, sewing, or adding hardware.
I’ve spent years transforming worn sneakers and plain dress shoes into pieces that fit style and function. This guide explains how do you customize shoes with clear steps, tool lists, real tips, and mistakes to avoid so you can get great results fast.
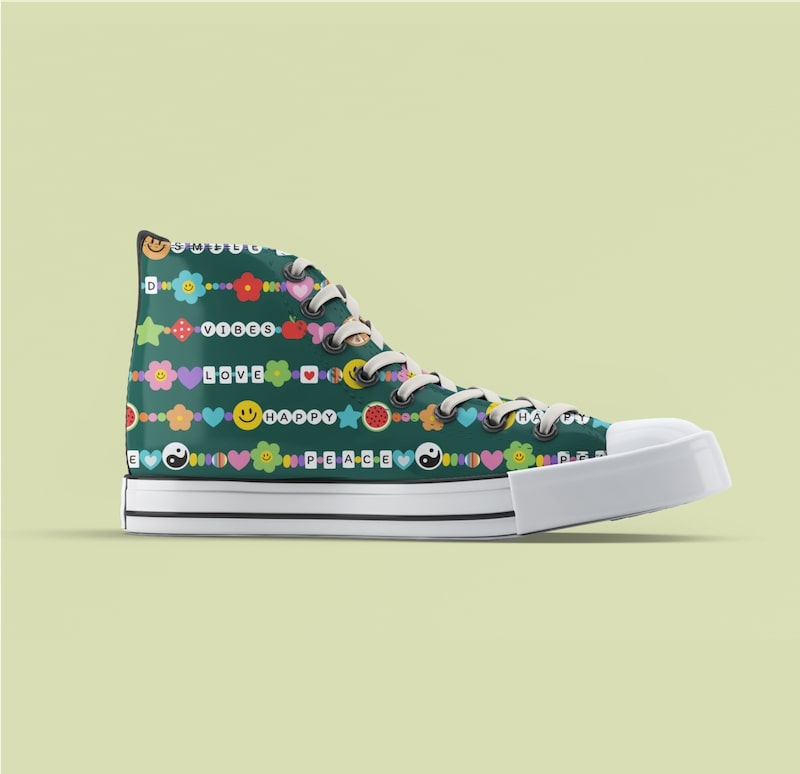
Why customize shoes: benefits and practical uses
Customizing shoes lets you express style and fix fit or wear issues. You can refresh an old pair, match an outfit, or make shoes safer and more comfortable.
Custom work adds value. Small upgrades, like new insoles or protective coating, extend life and reduce waste. On the creative side, custom shoes become wearable art and a unique brand statement.
Custom shoe work also teaches useful skills. You learn to handle tools, mix paints, and care for different leathers and fabrics. That skill set helps with repairs and future projects.

Basic planning: how to approach a customization project
Start with a clear goal. Ask what you want: color change, pattern, added straps, or improved fit. Sketch the idea on paper or use a digital mockup.
Assess the shoe type and materials. Canvas, leather, suede, rubber, and synthetics each need different methods. Check for existing damage that must be repaired first.
Make a short materials list and timeline. Small projects take an hour or two. Full reskins or heavy sewing can take days. Budget for tools and supplies before you begin.

Tools and materials you’ll need
Gather the right supplies to avoid surprises. Here are common items for most projects.
- Paints and dyes: acrylic leather paints, fabric paints, leather dyes.
- Brushes and sponges: soft brushes, foam applicators, detail brushes.
- Adhesives: shoe glue, contact cement, clear sealants.
- Protective gear: gloves, masks, and old newspapers.
- Add-ons: studs, patches, embroidery thread, heat transfer vinyl.
- Repair tools: needle and heavy thread, shoe pliers, sandpaper, edge sealant.
Choose quality supplies for long-lasting results. Cheap paints can crack or peel, so spend a little more on trusted brands.
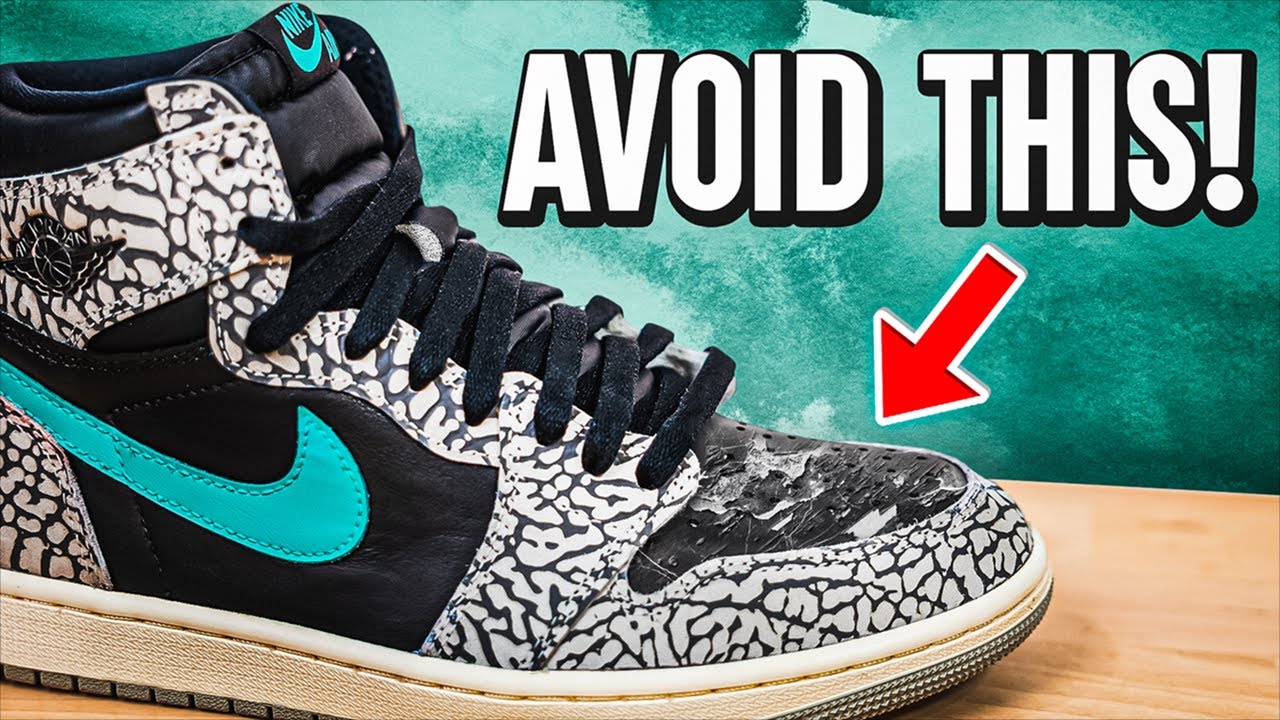
Techniques explained: painting, dyeing, and more
Understand the main methods so you can pick the best one for your shoes.
Painting
- Best for canvas and some leathers.
- Use thin layers and allow dry time between coats.
- Seal with a flexible finisher to prevent cracking.
Dyeing
- Works well on leather and suede.
- Dyes penetrate fibers, so expect a permanent color change.
- Use conditioners after dyeing to keep leather supple.
Embroidery and stitching
- Adds texture and durable detail.
- Use an awl for thick soles and heavy thread for strength.
- Practice on scrap material first.
Adding hardware and patches
- Rivets, studs, and patches change look and function.
- Reinforce holes and use a proper setter for metal hardware.
- Glue patches first; sew after for durability.
Heat transfer vinyl (HTV) and decals
- Great for crisp logos and graphics on fabric.
- Use a heat press or household iron per material guidelines.
- For leather, use products made specifically for non-porous surfaces.
Markers and pens
- Good for freehand details and outlines.
- Use permanent paint markers and finish with a sealer.
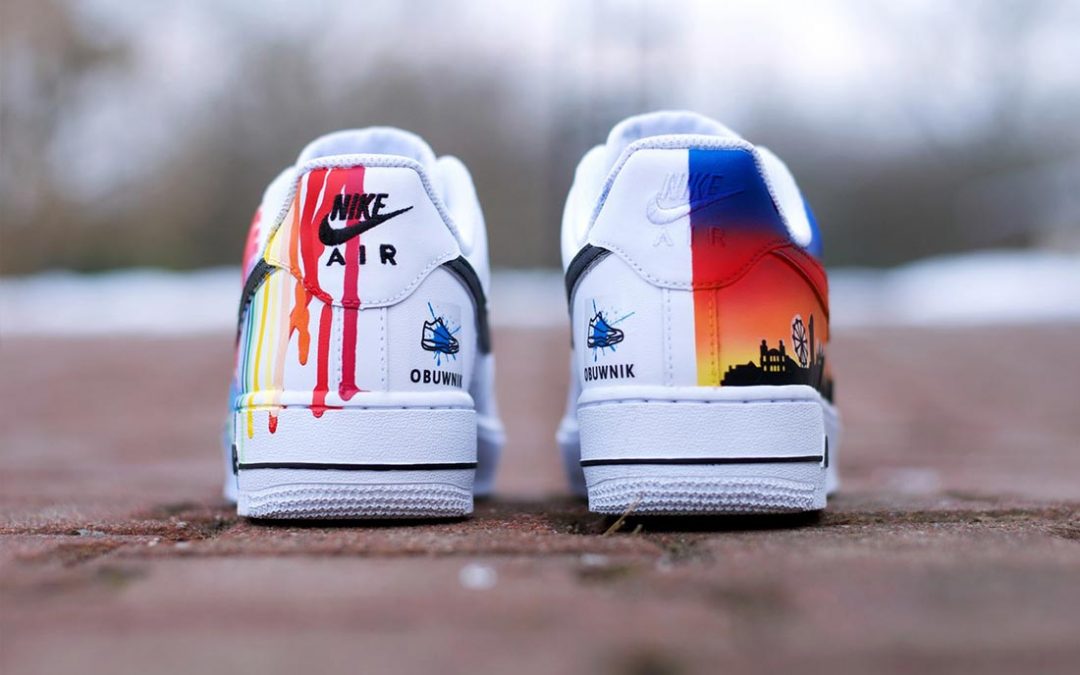
Step-by-step: customizing canvas sneakers
This is a common beginner project and shows the core process for other shoes.
- Clean the shoes with soap and water, then let dry.
- Lightly sand plastic parts to help paint stick.
- Sketch your design with a pencil or masking tape.
- Prime if needed, then paint thin coats. Let each coat dry.
- Add details with fine brushes or markers.
- Seal with a flexible finisher and let cure per product instructions.
I once painted a pair of canvas shoes using acrylics and three thin coats. I sealed them and wore them daily for months with no cracking. The key was patience and thin layers.

Step-by-step: customizing leather shoes
Leather needs different prep and care than canvas.
- Clean with a leather cleaner and allow to dry.
- Remove old polish and scuffs with alcohol or leather prep.
- Apply leather dye in thin coats, wiping excess between passes.
- Condition the leather to restore oils.
- For painted designs, use leather-specific paints and flexible sealers.
- Finish edges with edge coat and buff to shine.
Leather customization often lasts longer when you use products made for leather. Test colors on a hidden area first.
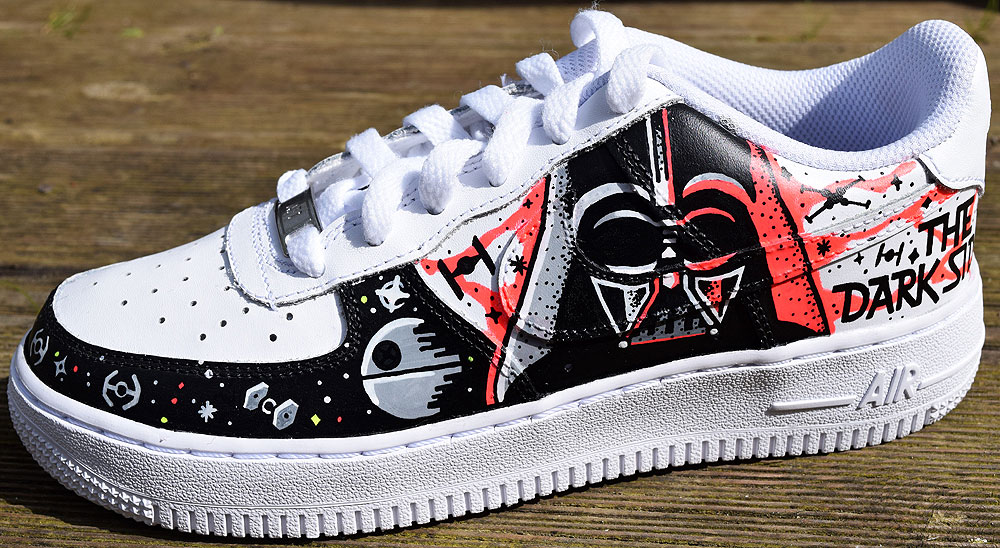
Care, maintenance, and longevity
After customization, proper care keeps your work looking great.
- Let finishes cure fully before wearing for at least 24–72 hours.
- Clean gently with recommended cleaners for the shoe material.
- Reapply sealant or conditioners as needed to maintain protection.
- Store shoes in cool, dry spots to avoid warping or mildew.
I recommend treating customized leather shoes with a conditioner every 6–8 weeks if worn often. It keeps the dye from drying the leather and reduces cracks.

Cost, time, and when to hire a pro
Simple custom jobs often cost under $30 in materials and take a few hours. Complex projects with leather re-soles, embroidery, or bespoke fits can cost hundreds and take days.
Hire a pro when:
- You need structural repair or sole work.
- The shoes are expensive and you want guaranteed results.
- You want high-end finishes like mirror shine or hand-stitched details.
A pro reduces risk and can add professional-grade hardware and finishes that are hard to do at home.
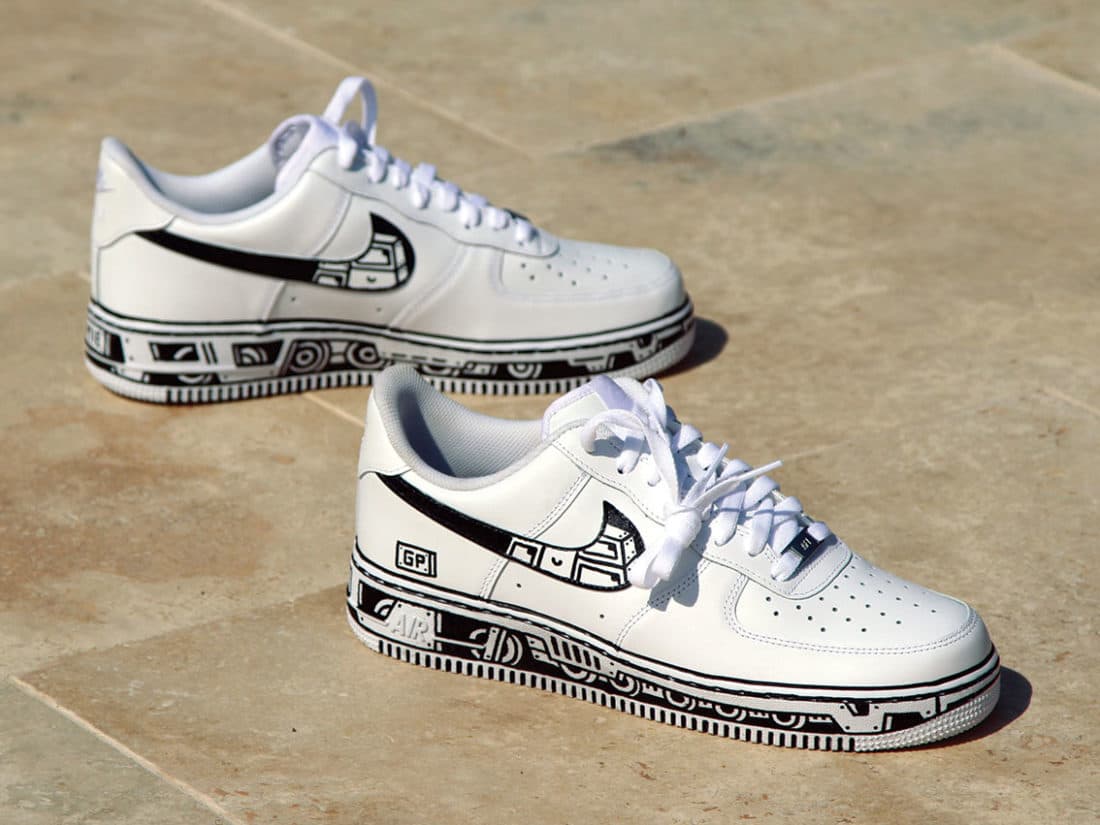
Common mistakes and how to avoid them
Avoid these pitfalls to keep your project successful.
- Rushing: let coats dry fully to avoid smudges and cracks.
- Wrong product: use paints and adhesives designed for the shoe material.
- Skipping tests: always test dye or paint on a hidden area first.
- Overworking edges: too much sanding weakens material.
When I first started, I used regular acrylic on leather and the paint cracked. Switching to leather acrylic saved my next few projects.
Legal and resale considerations
Be aware of possible issues before customizing brand-name shoes.
- Trademarked logos: altering or replicating logos can cause legal issues if for sale.
- Resale value: heavy customization may lower resale value for collectors, but can increase it for unique, well-made pieces.
- Care labels: altering a shoe can void manufacturer warranties.
If you plan to sell customized shoes, be transparent about materials and methods. Good photos and honest descriptions build trust.
Resources and next steps
Where to learn and what to try next.
- Practice on thrift-store shoes or scrap materials.
- Join online communities for feedback and tips.
- Watch tutorials from experienced customizers.
- Build a basic kit: quality paints, brushes, sealers, and a reliable glue.
Start small and build skills. Each project teaches a new technique that improves the next one.
Frequently Asked Questions of how do you customize shoes
How do you customize shoes at home safely?
Choose the right products for the material and work in a well-ventilated area. Wear gloves and a mask for strong solvents and follow product instructions.
Can I change the color of leather shoes easily?
Yes, with leather dye or specialized paints, but prep and conditioning are key to avoid drying or cracking. Test on an unseen area first.
How long does a painted customization last?
With proper prep and a flexible sealant, painted designs can last months to years depending on wear and care. Avoid constant wet conditions and rough use.
Do I need special tools for adding studs or rivets?
Basic hand tools and a proper setter work for most small hardware. For thick soles, use an awl and reinforcement to prevent tearing.
Is it legal to customize brand-name shoes and resell them?
Customizing shoes you own for personal use is fine. Selling altered branded shoes can be legally sensitive if logos are misused; be transparent and avoid trademark infringement.
Conclusion
Customizing shoes is a creative way to express style, fix fit issues, and give old pairs new life. Start with a clear plan, choose the right materials, and practice simple projects before tackling complex work. With patience and the right tools, you can make shoes that look great and last.
Try one small project this weekend. Share your results to get feedback, learn, and grow your skill. If you enjoyed this guide, subscribe for more tutorials or leave a comment about your next shoe idea.

Rubel Miah is the Senior Editor at MyStyleGrid.com, where he brings a sharp editorial eye and an unshakable love for fashion to everything he does. A true style addict, Rubel lives and breathes trends, from streetwear to high fashion, and has a knack for turning inspiration into impactful stories. With years of experience in fashion journalism and digital media, he curates content that empowers readers to express themselves through style. When he’s not editing features or forecasting the next big thing, you’ll find him hunting down vintage pieces or capturing street style moments around the city.