If your snowboard boots don’t fit quite right, you’re not alone. A perfect fit can make all the difference between a great day on the slopes and aching feet.
That’s where heat molding comes in. By properly heating and shaping your boots, you can customize them to match your feet perfectly. In this guide, you’ll learn exactly how to heat mold your snowboard boots safely and effectively, so you get the comfort and control you need every time you ride.
Keep reading to discover simple steps that will transform your boots—and your snowboarding experience.
Why Heat Mold Snowboard Boots
Heat molding snowboard bootsmakes them fit your feet perfectly. This custom fitreduces pressure points and stops blisters. Boots feel more comfortable and snug. Better fit means your feet move better inside the boots. This improves controland balance on the board. You will have more confidence riding down slopes.
Performance improvesbecause your boots respond faster to your movements. You can turn, jump, and stop with less effort. A good fit helps your muscles work better and reduces fatigue. You can ride longer and enjoy the sport more.
Longevityof boots increases with heat molding. Boots wear out less quickly because they match your feet. This stops damage from rubbing and bending. You save money by keeping your boots in good shape longer. Heat molding is a simple step that helps your boots last.

Credit: www.youtube.com
Types Of Heat Moldable Snowboard Boots
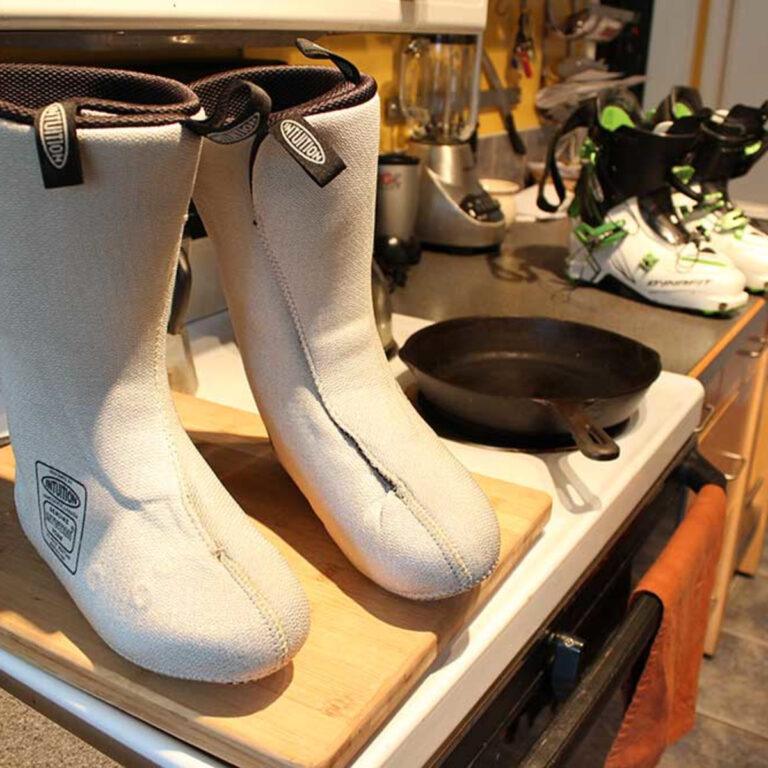
Boots with removable linersare easier to heat mold. You take out the liner and warm it separately. This helps shape the liner to fit your foot better. The shell stays firm, while the liner softens.
In-store heat molding optionslet experts shape your boots. They use special machines and ovens. This service ensures a perfect fit. It usually takes less than an hour. Professionals watch closely to avoid damage.
At-home heat molding kitscome with tools and instructions. You heat the liner in an oven or microwave carefully. Then wear the boots while they cool. This shapes them to your feet. It saves time and trips to the shop.
Preparing For Heat Molding
Gather all toolsbefore starting. You will need a heat source, like a boot heater or oven. Have a timerready to track heating time. A heat-resistant surfaceis important to protect your area.
Wear heat-proof glovesto avoid burns. Keep kids and pets away. Make sure the heat source is safe and working well. Never leave boots unattendedduring heating.
Choose a clean, dry roomwith good airflow. Avoid windy or very cold places. The environment should be calm to keep the boots warm evenly. A well-lit areahelps you see the process clearly.
Step-by-step Heat Molding Process
Start by heating the liners in an oven or with a heat gun. Keep the temperature around 200°F (93°C). Heat the liners for 8-10 minutesto soften the foam inside. Avoid overheating to prevent damage.
Once heated, put on thin socksand wear the boots immediately. Stand up and flex your feet to shape the foam. Walk around for 5-10 minutesto let the liners mold to your feet.
After shaping, take off the boots and let them cool down. Keep the liners on your feet until they are cool. This helps the foam to set in the shape of your foot for a custom fit.
Common Mistakes To Avoid
Overheating linerscan ruin the foam inside your boots. Foam melts and loses shape if too hot. Use only the recommended heat settings. Keep boots away from direct flames or ovens not made for boot heating.
Improper wearing techniqueshurt comfort and fit. Always wear thin socks to avoid extra bulk. Tighten straps gently; too much pressure causes pain. Stand naturally while heating to keep the shape correct.
Ignoring manufacturer guidelinesrisks damage. Each boot brand has specific instructions. Follow these carefully to keep boots safe and comfy. Avoid guessing or skipping steps during the heating process.
Troubleshooting Fit Issues
After the first heat molding, boots may feel tight or loose. Small changes can help. Use a hairdryer or heat gun carefully to warm specific areas. This softens the foam inside for a better fit. Press or bend the boot gently to shape it around your foot. Be patient and warm only for short times to avoid damage.
Pressure points cause pain and discomfort. Find spots where the boot squeezes too hard. Use a foam pad or thick sock to ease pressure. Sometimes, gently stretching the shell with your hands helps. If problems stay, try remolding the boots once more. Too many issues mean it might be time to replace them.
| Issue | Action |
|---|---|
| Boot feels tight after molding | Warm and press the boot gently |
| Pressure points cause pain | Add padding or stretch the shell |
| Fit problems remain after adjustments | Remold boots or consider replacement |
Maintaining Molded Snowboard Boots
Store snowboard bootsin a cool, dry place. Avoid hot areas that may damage the mold. Keep boots away from direct sunlight to prevent fading and material breakdown.
Clean boots regularly with a soft brush or cloth. Remove dirt and debris after each use. Use mild soap and water only if needed. Let boots air dry completely before storing to stop mold growth.
Check the fit of bootsoften. Feet can change size over time. Molded boots should feel snug but not tight. Replace or reheat boots if they become uncomfortable. Proper fit keeps feet safe and warm on the slopes.
Credit: www.dcshoes.com
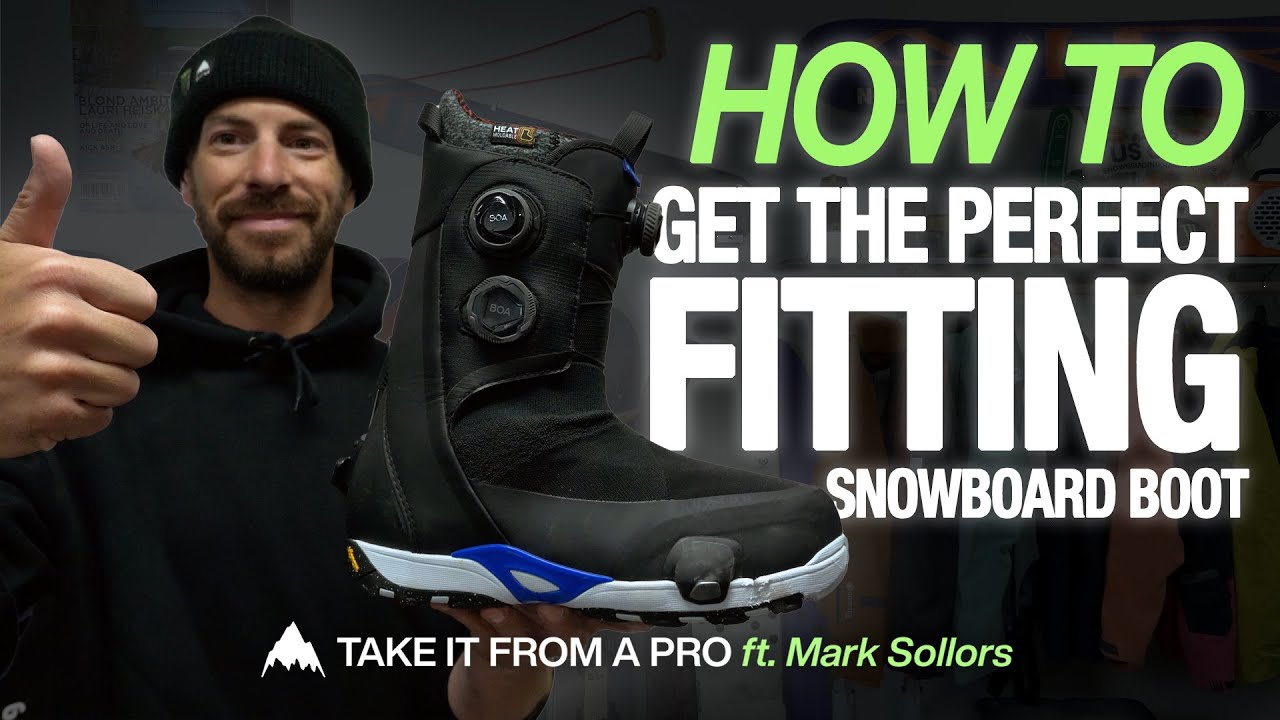
Credit: www.youtube.com
Frequently Asked Questions
How Do I Heat Mold Snowboard Boots At Home?
Heat mold snowboard boots by warming them in an oven or using a specialized boot heater. Follow manufacturer instructions to avoid damage. Wear the boots while they cool to shape them perfectly to your feet.
How Long Should I Heat Mold Snowboard Boots?
Typically, heat molding takes about 5 to 10 minutes in the oven at 175°F (80°C). Do not exceed the recommended time to prevent melting or warping the boots.
Can I Use A Hairdryer To Heat Mold Boots?
A hairdryer is not recommended as it doesn’t provide even heat. Even heating is crucial for proper molding and to avoid damage to the boots.
Is Heat Molding Necessary For All Snowboard Boots?
Not all boots require heat molding. It depends on the boot type and manufacturer. Check your boot’s manual to see if heat molding is recommended for a better fit.
Conclusion
Heating mold snowboard boots helps improve comfort and fit. Follow the right steps to avoid damage. Use proper tools and avoid overheating your boots. Take your time and be patient during the process. Well-molded boots make snowboarding more enjoyable and safe.
Remember, good fit means better control on the slopes. Try heating your boots before your next trip. Enjoy riding with boots that feel just right. Simple care can extend your boot’s life and performance. Warm, snug boots can boost your confidence on the snow.

Madison Clark is a footwear expert and the voice behind MyStyleGrid.com. She specializes in honest shoe reviews, style tips, and practical guides to help readers find the perfect pair for any occasion. With years of experience in blogging and content creation, Madison makes footwear knowledge simple, stylish, and easy to follow.