Have you ever struggled to draw boots that look just right from the front? You’re not alone.
Getting the shape, details, and perspective perfect can be tricky. But what if you could learn a simple, step-by-step way to make your boots look realistic and stylish every time? In this guide, you’ll discover easy tips and tricks that will boost your drawing skills quickly.
Keep reading, and you’ll soon create boots that stand out and bring your art to life.

Credit: www.shutterstock.com
Materials Needed
Gather basic drawing toolsto start. Use a pencilfor light lines. An eraserhelps fix mistakes easily. A sharpenerkeeps your pencil tip fine for details.
Choose drawing paperthat is smooth and white. This makes your lines clear and easy to see. A ruleris helpful to draw straight edges on the boots.
Colored pencils or markers can add color later. But first, focus on the shape and outlinewith just pencil and paper.
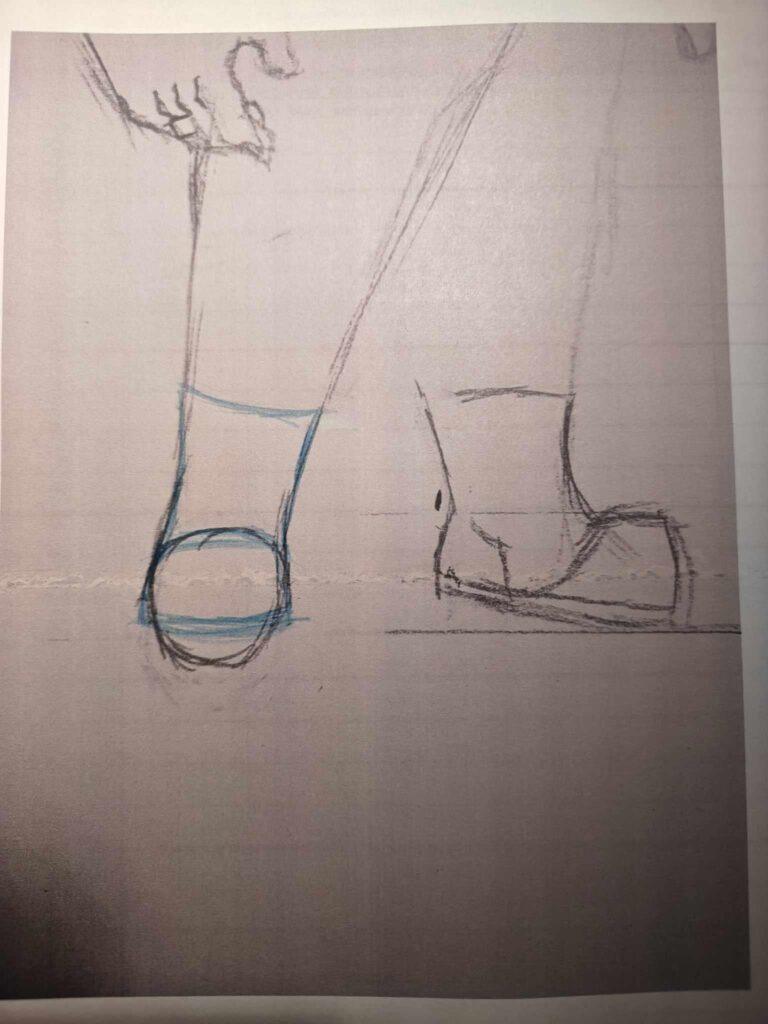
Basic Shapes
Start by drawing a flat oval shape for the soleof the boot. This shape shows the bottom part that touches the ground. Keep the oval a little wider at the front and narrower at the back to match the boot’s shape.
Next, sketch two straight lines going up from the edges of the sole. These lines help form the boot’s body. Make sure the lines are parallel and not too far apart.
Draw a curved line connecting the tops of the two straight lines. This line forms the top edge of the boot. The curve should be smooth and follow the shape of a real boot.
Inside the boot body, add small lines to show the shape and folds of the material. These details make the boot look more realisticand less flat.
Adding Details
Start by drawing small circles for eyeletsalong the front edge of the boot. Keep them evenly spaced to make the laces look neat. Next, sketch the lacesby drawing thin lines weaving through the eyelets. Use simple loops and curves to show how the lace moves.
For stitching, add short dashed lines along the seams. These lines show where the boot parts are sewn together. Draw stitching around the boot’s edge and near the toe area. It helps to make the boot look real and detailed.
Credit: www.proko.com
Shaping The Toe And Heel
Start by drawing a soft curve for the toe. It should be round but not too wide. The toe shape sets the boot’s style. Next, sketch the heelas a small block at the back. Keep it firm and straight. The heel supports the boot and gives it balance.
Use light lines to adjust the shapes. The toe can be slightly pointed or flat. The heel height changes the boot look. Low heels make boots casual. High heels make them dressy.
Check the proportions carefully. The toe and heel should match the boot’s size. Draw the sole connecting both parts smoothly. This makes the boot look natural and ready to wear.
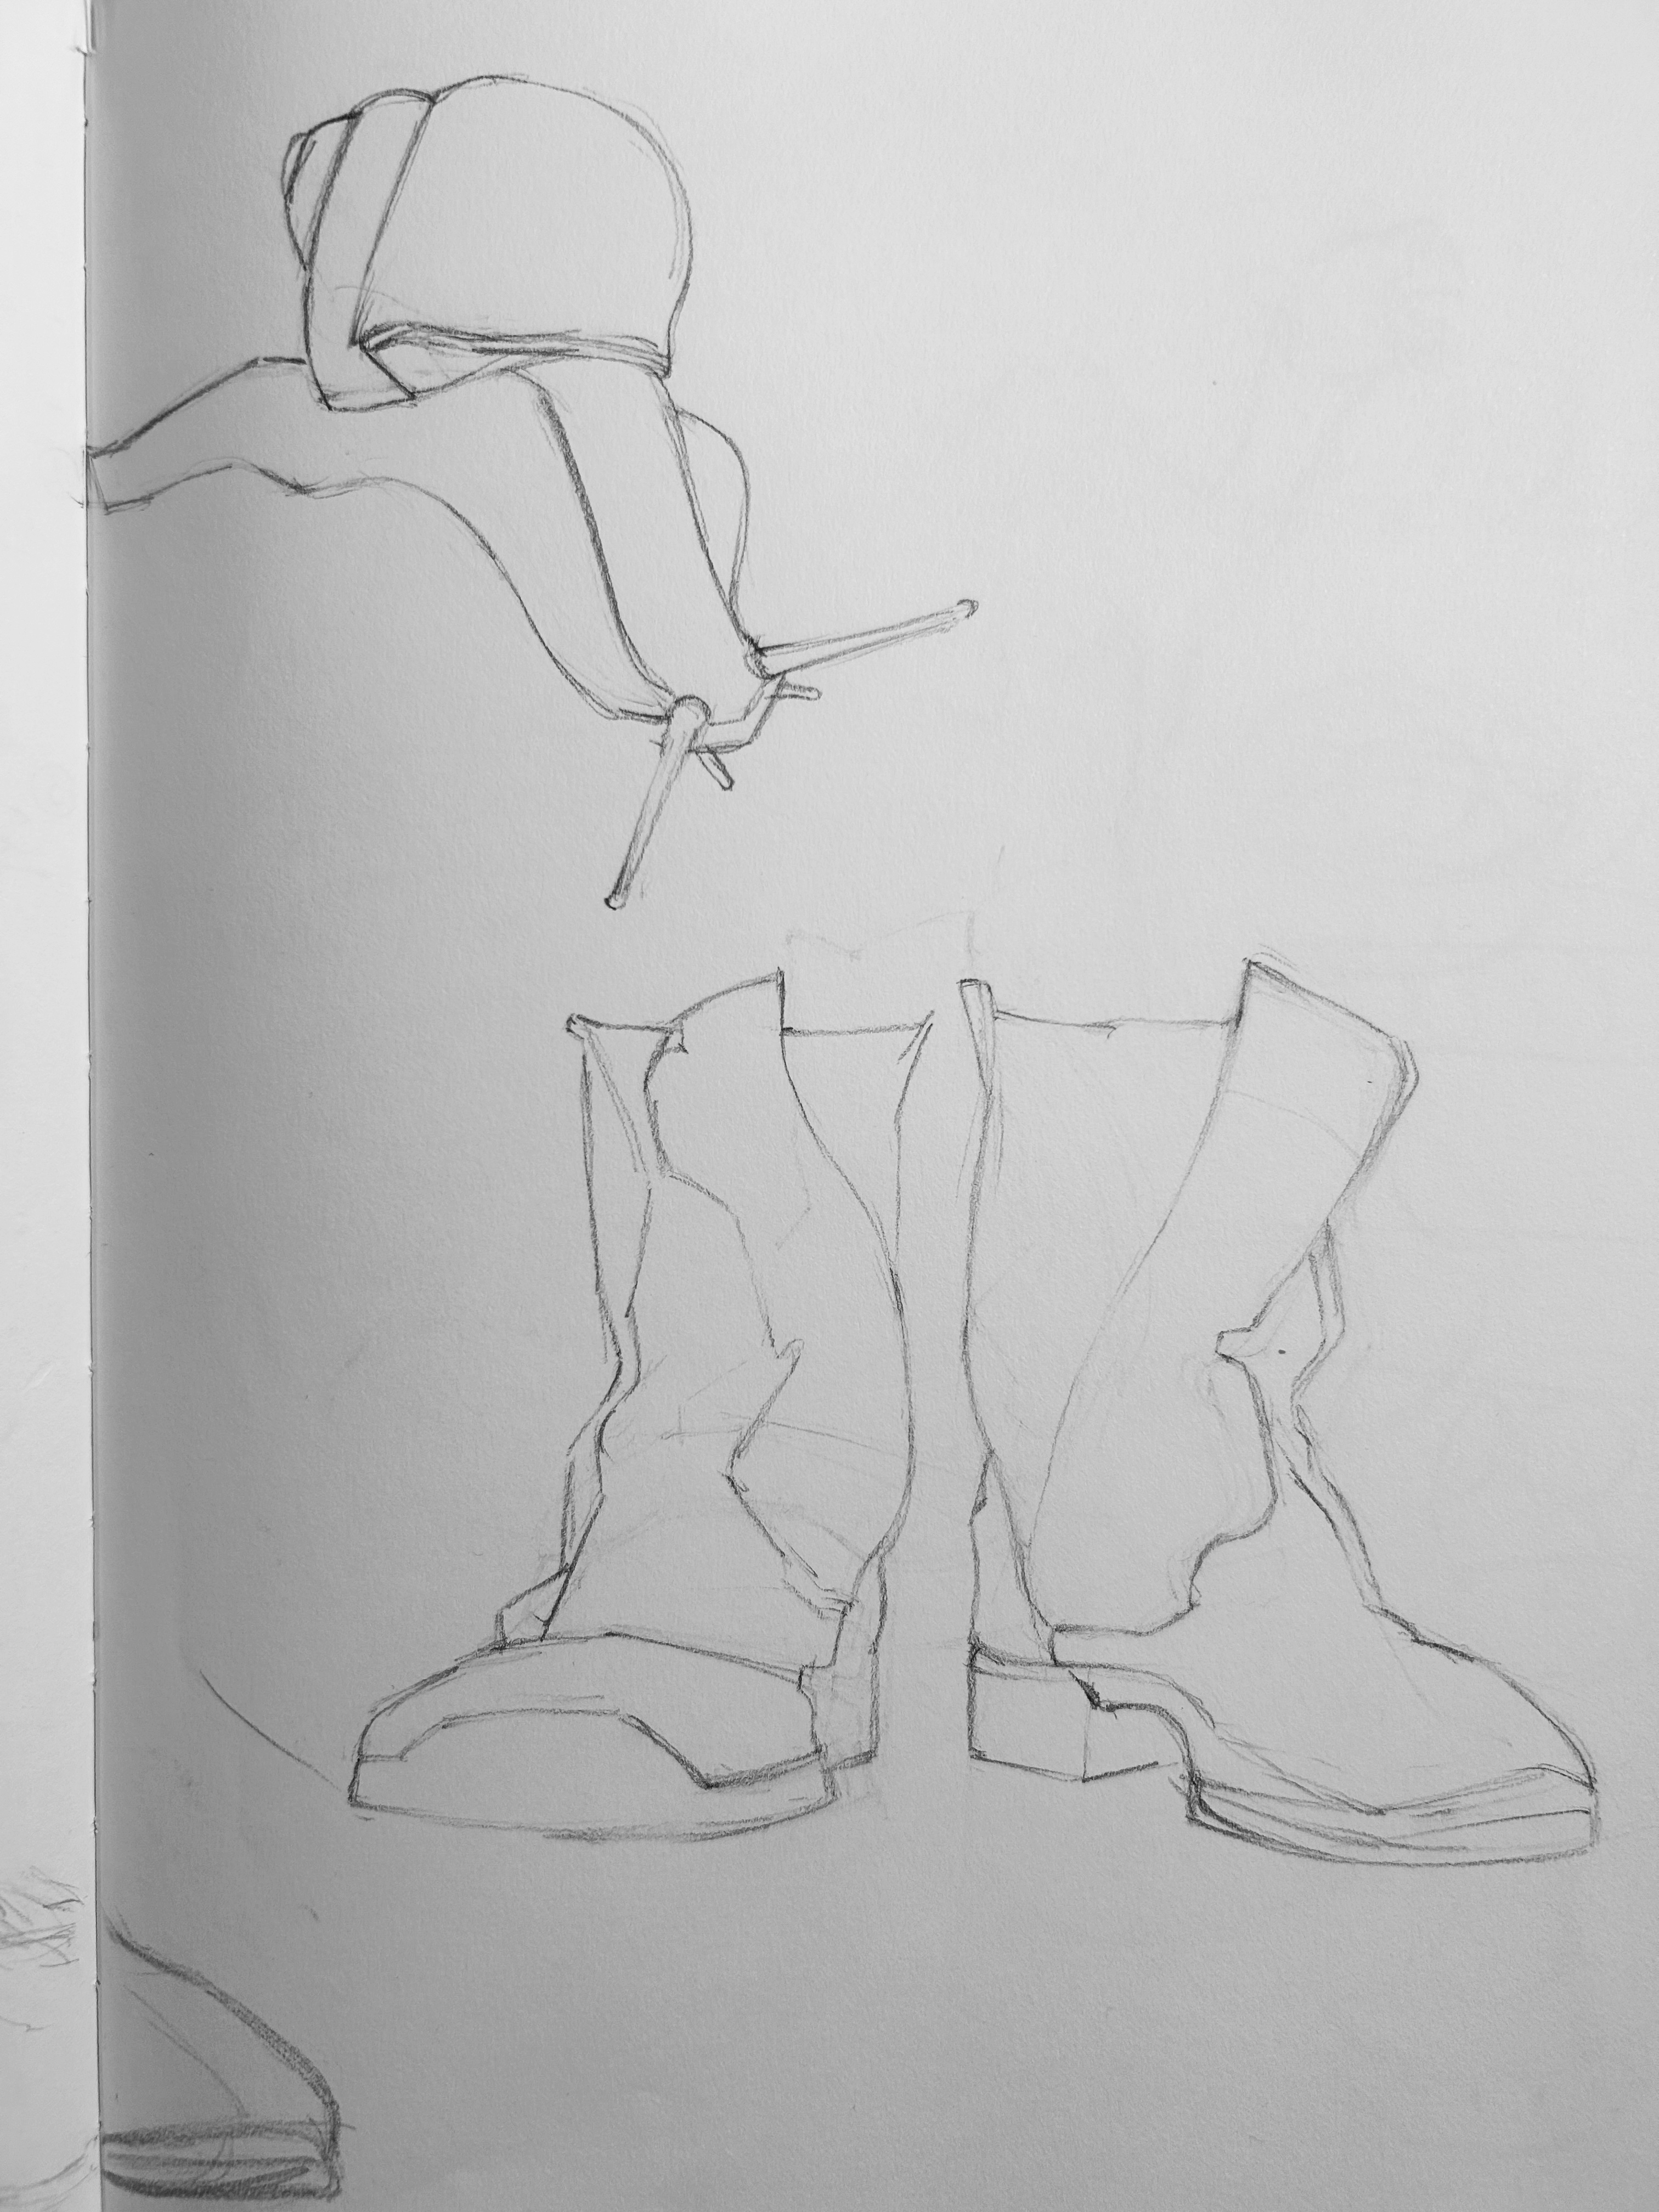
Refining The Outline
Start by tracing the basic shape of the boots. Use light lines to mark the edges and curves. Focus on the top edgeand the toe box. These parts give the boots their unique look.
Next, smooth out rough edges. Make the lines clear and neat. Pay attention to the soleand the heel. These details make the boots look real.
Check the symmetry. Both boots should look the same from the front. Use a ruler or a straight edge if needed. This helps keep everything balanced.
Don’t forget small features like the stitchingor laces. These add character to your drawing. Keep your strokes light until you are sure of the final shape.
Shading And Textures
Shadowshelp make boots look real and three-dimensional. Place shadows where the boot curves or folds. Darker shadows show areas far from light. Use lighter shading on parts closer to light. This contrast creates a sense of depth.
To draw leather texture, add small lines and wrinkles. Make some spots smooth and shiny by leaving small white areas. For fabric, use tiny dots or crosshatch lines to show the weave. Different textures make boots look more real and interesting.
Coloring Tips
Choose colorsthat match the style of your boots. Dark colors like brown or black work well for leather boots. Use lighter colors for casual or cloth boots. Shade gentlyaround the edges to show curves and depth.
Use a small brushor pencil for fine details like stitches or laces. Highlight areasthat catch light, such as the top edges or toe caps. This makes boots look more realisticand three-dimensional.
Try to keep color smooth and even. Blend colors softly where one shade meets another. This helps boots look clean and neat. Avoid harsh lines unless your boots have sharp design parts.
Common Mistakes To Avoid
Common errors in drawing boots start with the shape. Avoid making the boot too flat or too round. Boots have a clear front curve that shows depth.
Many forget to add details like the sole and stitching. These small parts make boots look real. Also, keep the proportions right. The toe should not be too long or short.
Lines should be smooth and not jagged. Rough lines make the boots look messy. Pay attention to the angle of the boot’s top. It should follow the leg’s shape.
Lastly, shading is important. Light and shadow show the boot’s form. Without shading, boots look flat and plain.

Credit: www.dreamstime.com
Frequently Asked Questions
How Do I Start Drawing Boots From The Front?
Begin by sketching a basic foot shape with simple lines. Add the boot’s sole and outline the front view carefully. Focus on symmetry and proportions before adding details like laces or stitching.
What Are Key Details To Include In Front-view Boots?
Include the toe shape, laces or buckles, seams, and sole thickness. These elements give boots a realistic and recognizable appearance from the front.
How Can I Make Front-view Boots Look Three-dimensional?
Use shading on the sides and under the toe to create depth. Highlight raised areas and add shadows where the boot curves inward to enhance realism.
What Common Mistakes Should I Avoid When Drawing Boots?
Avoid uneven proportions, unclear toe shapes, and flat soles. Ensure symmetry and consistent details to make the boots look natural and balanced.
Conclusion
Drawing boots from the front can be simple with practice. Start with basic shapes, then add details step by step. Focus on proportions and symmetry for a balanced look. Use light lines first to make corrections easy. Keep your hand steady and be patient.
Each drawing will improve your skills over time. Enjoy the process and have fun creating your own boot designs. Practice often to build confidence and see progress quickly.

Madison Clark is a footwear expert and the voice behind MyStyleGrid.com. She specializes in honest shoe reviews, style tips, and practical guides to help readers find the perfect pair for any occasion. With years of experience in blogging and content creation, Madison makes footwear knowledge simple, stylish, and easy to follow.