Have you ever looked down at your favorite pair of shoes and noticed the soles are worn out? Instead of tossing them away and spending money on a new pair, imagine giving your shoes a second life.
Learning how to resole a shoe can save you money, keep your style intact, and even help the environment. In this guide, you’ll discover simple steps to bring your shoes back to life—no fancy tools or special skills needed. Ready to step into something better?
Keep reading, and your shoes will thank you.
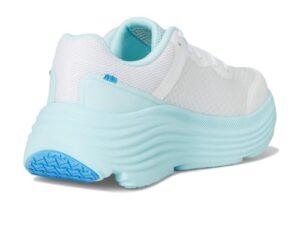
Credit: darcross.com
Tools And Materials Needed
Resoling a shoe requires specific tools and materials. These help ensure the repair lasts long and feels comfortable. Preparing the right items saves time and effort. Below are the main tools and materials needed for a successful resole.
Choosing The Right Sole Material
Select a sole material that matches the shoe type. Rubber soles suit casual shoes and boots. Leather soles work well for dress shoes. Consider durability and grip for daily use. Thicker soles last longer but may affect comfort. Buy soles from shoe repair shops or online stores.
Essential Repair Tools
Gather tools before starting the repair. A sharp utility knife helps remove the old sole. Sandpaper smooths the shoe base for better glue grip. Shoe glue or contact cement sticks the new sole firmly. Clamps or heavy objects press the sole during drying. A brush applies glue evenly. A hammer and nails may secure soles on some shoes.
Safety Gear To Use
Wear safety gear to protect yourself during repair. Use gloves to avoid glue on hands. Safety glasses keep dust and debris out of your eyes. Work in a well-ventilated area to avoid inhaling glue fumes. Keep a clean workspace to prevent accidents. Proper safety makes the process easier and safer.
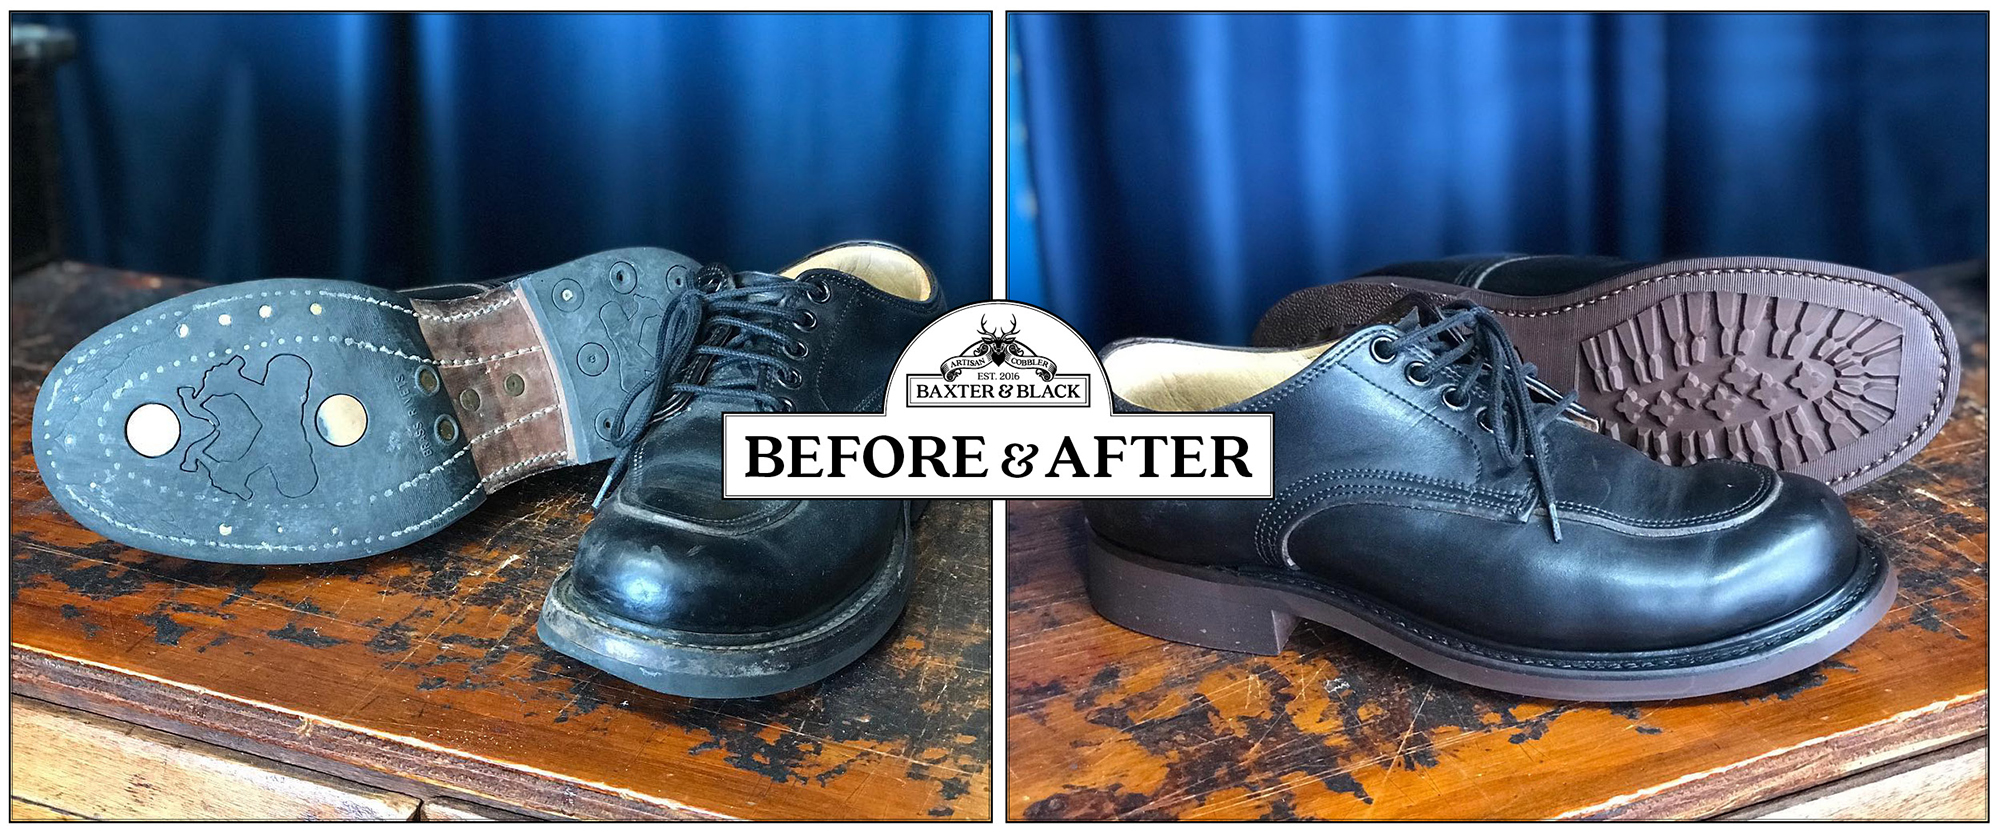
Credit: baxterandblack.com
Preparing The Shoe
Preparing the shoe is the first step to a successful resole. It helps the new sole stick well and last longer. Proper preparation takes time but pays off in quality.
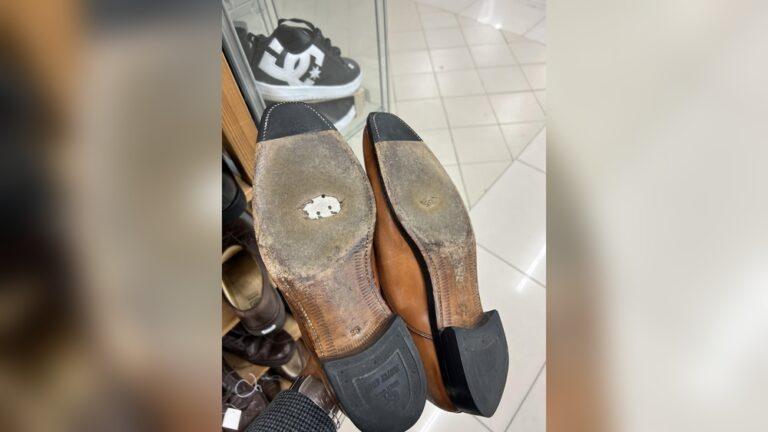
Cleaning The Old Sole
Start by removing dirt and grime from the old sole. Use a stiff brush to scrub the sole’s surface. This clears away dust and loose particles. Clean soles help glue or cement hold better.
Removing The Worn-out Sole
Next, carefully pull off the old sole. Use a flat tool like a knife or a scraper. Work slowly to avoid damaging the shoe’s upper part. Removing the old sole reveals the base for the new one.
Sanding And Smoothing The Surface
After removing the sole, sand the base of the shoe. Use medium-grit sandpaper to roughen the surface. This creates a better grip for the glue. Smooth any bumps or leftover glue spots. A clean, flat surface ensures the new sole sticks well.
Attaching The New Sole
Attaching the new sole is a key step in resoling a shoe. It ensures the shoe feels sturdy and comfortable again. This process requires care and patience. Each step affects how well the sole sticks and lasts.
Applying Adhesive Correctly
Spread the adhesive evenly on both the shoe bottom and the new sole. Use a brush or a small spatula for a smooth layer. Avoid thick blobs that can cause bumps. Let the glue become tacky before joining surfaces. This helps create a stronger bond.
Positioning The New Sole
Align the new sole carefully with the shoe. Start from the heel, then press down toward the toe. Check the edges to make sure they match perfectly. Misalignment can cause discomfort and quick wear. Press firmly to remove air pockets.
Clamping And Drying Time
Use clamps or heavy objects to hold the sole in place. Keep steady pressure during the drying process. Drying usually takes 12 to 24 hours. Avoid moving the shoe while the glue sets. This step is important for a strong, lasting repair.

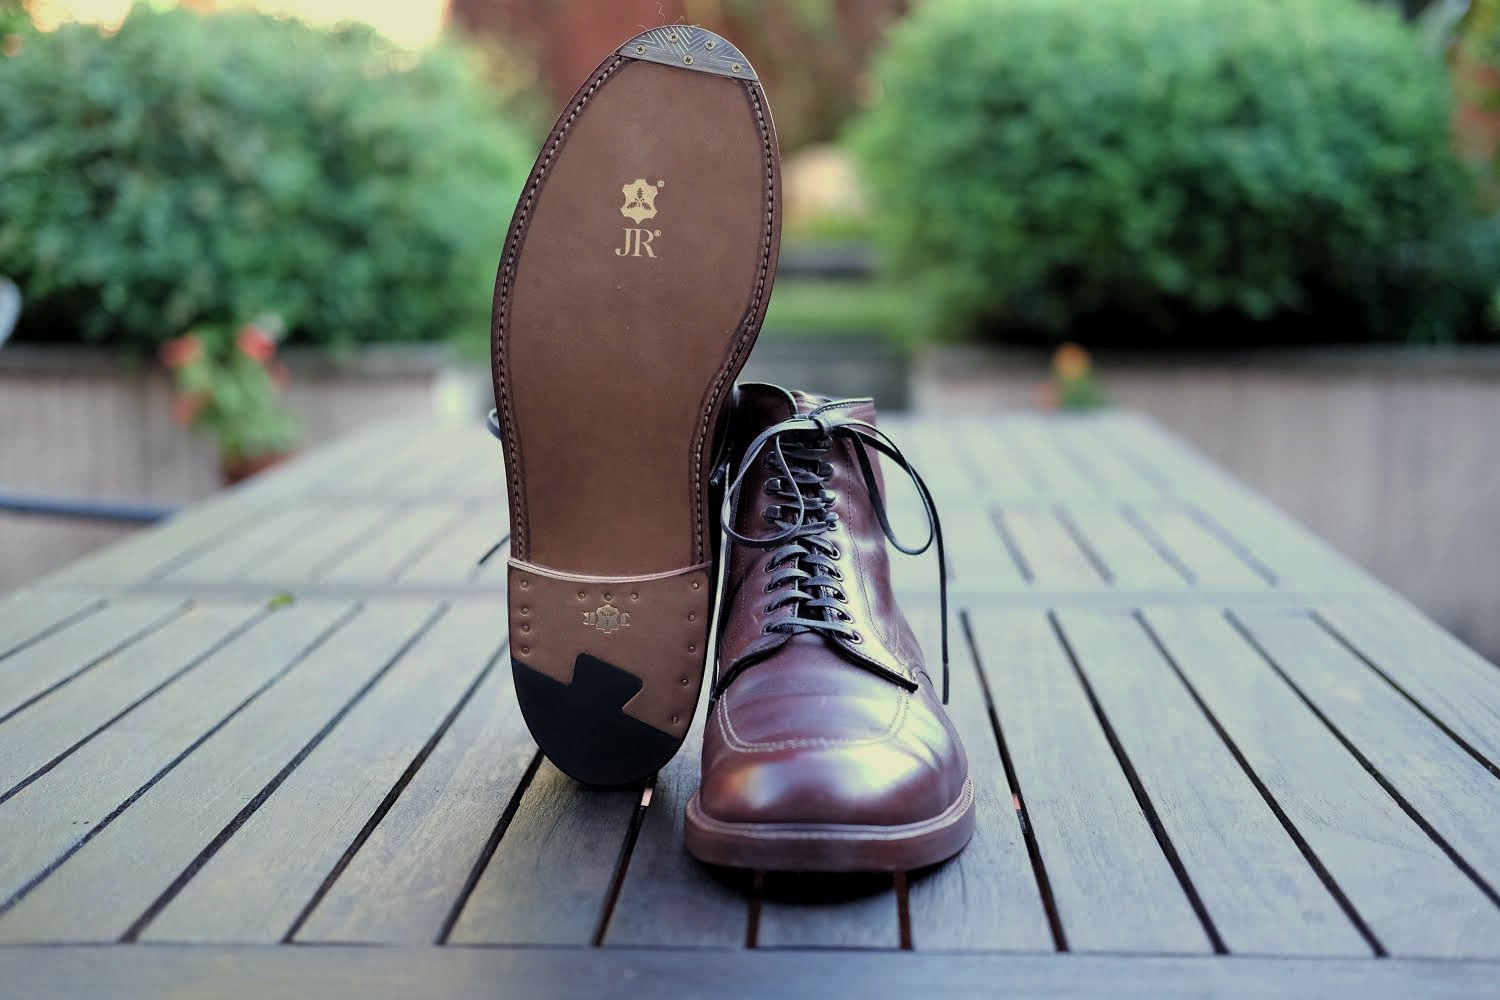
Credit: www.wikihow.com
Finishing Touches
Finishing touches complete the resoling process and make your shoe look great. These small steps protect the sole and improve the shoe’s comfort and style. Take time to do them carefully for the best results.
Trimming Excess Sole Material
After attaching the new sole, trim any extra material. Use a sharp knife or scissors. Cut close to the edge but avoid cutting too deep. A neat edge helps the shoe fit properly and look clean.
Sealing The Edges
Seal the edges to stop water from getting inside. Use a strong glue or edge sealer. Apply it evenly along the sides of the sole. Let it dry fully before moving on. This step adds durability and keeps your feet dry.
Polishing And Conditioning
Polish the shoe to restore its shine. Use a soft cloth and shoe polish that matches the leather. After polishing, apply a leather conditioner. This keeps the leather soft and prevents cracks. Your shoe will look fresh and last longer.
Tips For Long-lasting Repairs
Keeping your shoe repairs strong helps your shoes last longer. Careful choices and simple habits make a big difference. Follow these tips to keep your shoes in good shape after resoling.
Choosing Durable Sole Options
Select soles made from tough materials like rubber or leather. These materials resist wear and tear better. Thicker soles also last longer on rough surfaces. Think about the shoe’s use before picking the sole type. Outdoor shoes need soles that grip and protect well.
Regular Maintenance Practices
Clean soles often to stop dirt from breaking them down. Dry shoes properly after getting wet to avoid damage. Use a brush to remove mud and debris gently. Check soles regularly for small cracks or loose edges. Fix minor issues early to avoid bigger problems later.
When To Seek Professional Help
Some repairs need expert tools and skills. If the sole is badly worn or detached, visit a cobbler. Professionals can fix complex problems and extend shoe life. Early professional care saves money on full replacements. Trust experts for heavy repairs or special shoes.
Frequently Asked Questions
How Long Does Shoe Resoling Usually Take?
Shoe resoling typically takes 2 to 5 days depending on the shoe type and repair shop workload. Complex shoes or custom soles may take longer. Quick resoling services might finish within a day but often compromise quality.
What Materials Are Best For Shoe Resoling?
Rubber, leather, and synthetic soles are common resoling materials. Rubber offers durability and grip, leather provides classic style, and synthetics combine flexibility with strength. Choose based on shoe type and intended use for best results.
Can I Resole Shoes At Home Successfully?
Yes, you can resole shoes at home with proper tools and materials. However, it requires patience, skill, and practice. Professional resoling ensures better durability and finish, especially for high-quality shoes.
How Much Does Professional Shoe Resoling Cost?
Professional resoling costs range from $40 to $100 or more. Price varies by shoe type, sole material, and repair complexity. Investing in quality resoling extends shoe life and is often cost-effective.
Conclusion
Resoling a shoe saves money and extends its life. It takes some patience and simple tools. Following the right steps makes the process easier. You can keep your favorite shoes longer this way. Practice improves your skill over time. Enjoy wearing shoes that feel like new again.
Try resoling before buying new shoes. It’s a smart choice for your budget and the environment. Give it a try and see the difference yourself.

Madison Clark is a footwear expert and the voice behind MyStyleGrid.com. She specializes in honest shoe reviews, style tips, and practical guides to help readers find the perfect pair for any occasion. With years of experience in blogging and content creation, Madison makes footwear knowledge simple, stylish, and easy to follow.