Clean, condition, then apply a leather-safe waterproofing product; test and reapply as needed.
I have decades of hands-on shoe care experience and have tested many products and methods for how to waterproof leather sandals properly. This guide shows proven steps, common mistakes, and maintenance tips. You will learn exactly which cleaners, conditioners, and waterproofing agents work best, how to apply them safely, and how often to reproof. Read on to protect your sandals and extend their life.
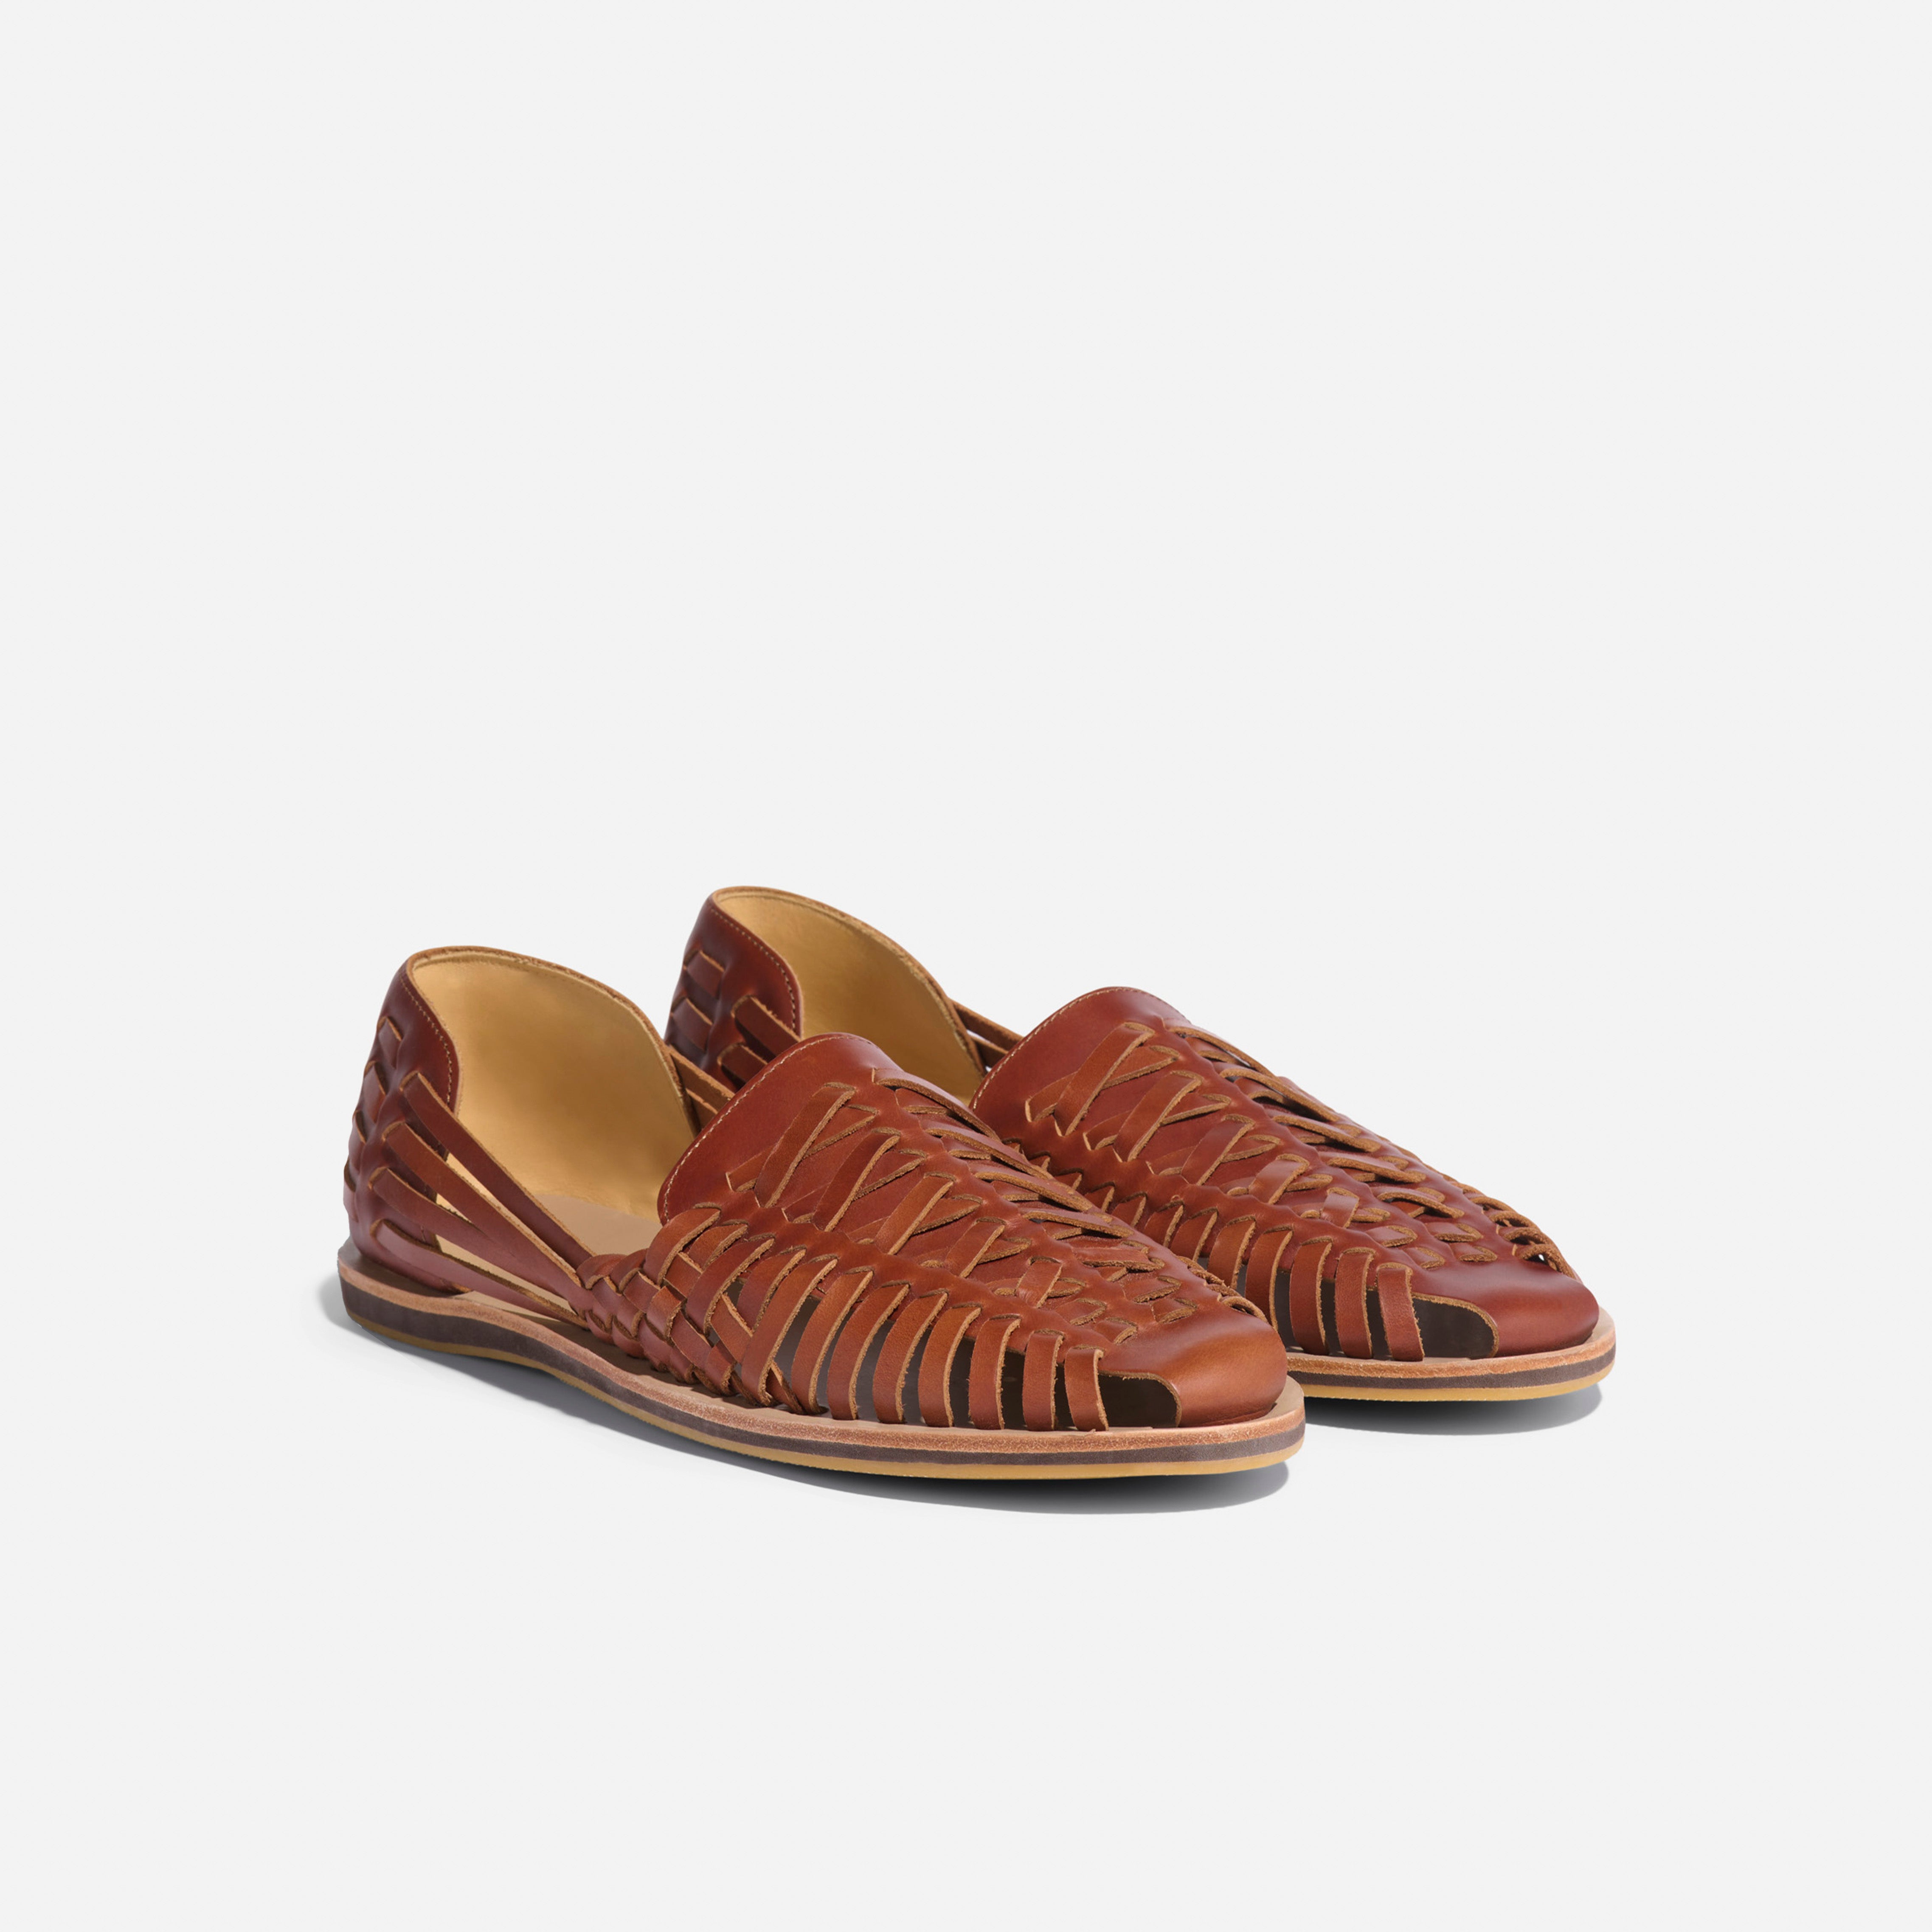
Why waterproof leather sandals matters
Leather soaks up water. Water weakens stitching and dries leather out. Salt, mud, and oils damage the leather over time. Knowing how to waterproof leather sandals properly protects fit, comfort, and appearance. It also prevents odors and reduces the chance of cracking.
Waterproofing is preventive care. Small effort now saves money later. I have revived sandals that looked ruined simply by cleaning, conditioning, and waterproofing them properly. This method keeps leather supple and extends wear by years.
Materials and tools you need
Gather these safe items before you start. Using the right tools makes waterproofing effective and safe.
- Soft brush or cloth for dry dirt removal.
- Mild leather cleaner or saddle soap formulated for footwear.
- Leather conditioner that restores oils and suppleness.
- Leather-safe waterproofing spray, wax, or cream.
- Soft applicator cloths and a small brush for seams.
- A towel and a ventilated drying area.
- Optional: waterproofing balm for exposed stitching or raw edges.
When choosing products, pick items labeled for smooth leather. Avoid harsh solvents and silicone-heavy sprays that can darken, stiffen, or flake. Read product labels and test on an inconspicuous spot first.

Step-by-step waterproofing process
Follow these clear steps for how to waterproof leather sandals properly. Work slowly and use light, even applications.
- Remove loose dirt
- Brush off sand and dirt with a soft brush.
- Use a dry cloth to wipe away dust from straps and soles.
- Clean gently
- Apply a mild leather cleaner to a damp cloth.
- Work in small circular motions. Do not soak the leather.
- Wipe away residue with a clean, damp cloth and let air dry.
- Condition the leather
- Use a thin layer of leather conditioner.
- Rub it in with a soft cloth until absorbed.
- Conditioning restores oils removed during cleaning.
- Repair small damage
- Re-glue loose straps or stitch small tears before waterproofing.
- Apply leather filler sparingly to deep cracks and sand smooth.
- Choose the right waterproofing product
- For smooth leather: silicone-free spray or cream is best.
- For nubuck or suede: use a product made for that texture.
- For sandals with fabric parts: use a combined formula for mixed materials.
- Apply waterproofing correctly
- Shake spray products well.
- Spray from 8–12 inches, using light coats.
- For creams or wax, use a small amount and buff it into the leather in thin layers.
- Pay attention to seams, edges, and the footbed rim.
- Let it cure
- Allow at least 24 hours for sprays and creams to dry.
- Keep sandals in a ventilated, shaded area.
- Avoid heat sources that dry leather too quickly.
- Test and repeat
- Sprinkle a few drops of water on the surface.
- If water beads, the job is done. If not, apply another light coat.
- Reapply more frequently on sandals used near water.
When you learn how to waterproof leather sandals properly, patience and thin layers yield the best results. Thick coatings can flake or crack.

Drying, curing, and testing methods
Drying matters. Rapid drying cracks leather. Use gentle methods to preserve texture.
- Air-dry at room temperature. Avoid heaters and direct sun.
- Use crumpled paper inside sandals to absorb moisture and keep shape.
- Test water repellency with a small sprinkle. Look for beading.
- Walk a short distance in a protected area to ensure the finish feels right.
If the waterproofing darkened the leather too much, let it rest for a day. Colors often mellow as the product settles. If color change is severe, reverse it by buffing with a soft cloth and applying a neutral conditioner.

Maintenance schedule and reproofing frequency
A routine keeps sandals protected. Follow this simple plan for how to waterproof leather sandals properly.
- After heavy use near water: reproof within a week.
- Monthly for frequent wearers exposed to moisture.
- Every 3–6 months for casual use.
- Condition leather every 2–3 months or when it looks dry.
Track use, not time. If you see water soaking or dark stains, reapply sooner. I keep a small spray in my gear bag for quick touch-ups on trips.
Common mistakes to avoid
Avoid these pitfalls when waterproofing leather sandals. They can cause long-term damage.
- Using household sprays not made for leather. They can dry out or stiffen the leather.
- Applying thick coats. Thick layers crack and peel.
- Skipping the conditioner. Waterproofing over dry leather causes brittleness.
- Not testing products first. A small test avoids surprises.
- Drying with heat. Rapid drying creates stiffness and shrinkage.
I once used a silicone-heavy spray on a favorite pair. The finish darkened and became brittle. A gentle cleanser and reconditioning fixed part of it, but the texture never fully recovered. Learn from that and always test.

Frequently Asked Questions of how to waterproof leather sandals properly
How often should I waterproof leather sandals?
Waterproof leather sandals properly when they are used around water. For frequent use, reproof monthly. For casual wear, reproof every 3–6 months.
Can I use shoe polish as a waterproofing agent?
Shoe polish offers some protection but is not a true waterproofing solution. Use products made for leather waterproofing for the best, long-term protection.
Will waterproofing darken my leather sandals?
Some products darken leather slightly. Test on an unseen spot first. Darkening often fades as the product settles.
Is it safe to use wax on leather sandals?
Wax can be safe for some smooth leathers when applied thinly. Avoid over-application and never use wax meant for other materials.
Can I waterproof sandals with glued components?
You can, but repair any loose glue first. Waterproofing before repairs can trap moisture and worsen separation.
Are natural oils safe for waterproofing?
Natural oils can condition leather but may attract dirt and darken it. Use a balanced leather conditioner and a dedicated waterproofing product for best results.
Conclusion
You now have a clear, step-by-step plan for how to waterproof leather sandals properly. Clean first, condition next, and apply a leather-safe waterproofing product in thin layers. Test, let it cure, and reproof based on use. Small habits protect leather and save money over time. Try these steps on an old pair first, then protect a favorite pair today. Share your results or questions below and subscribe for more practical leather care tips.

Rubel Miah is the Senior Editor at MyStyleGrid.com, where he brings a sharp editorial eye and an unshakable love for fashion to everything he does. A true style addict, Rubel lives and breathes trends, from streetwear to high fashion, and has a knack for turning inspiration into impactful stories. With years of experience in fashion journalism and digital media, he curates content that empowers readers to express themselves through style. When he’s not editing features or forecasting the next big thing, you’ll find him hunting down vintage pieces or capturing street style moments around the city.