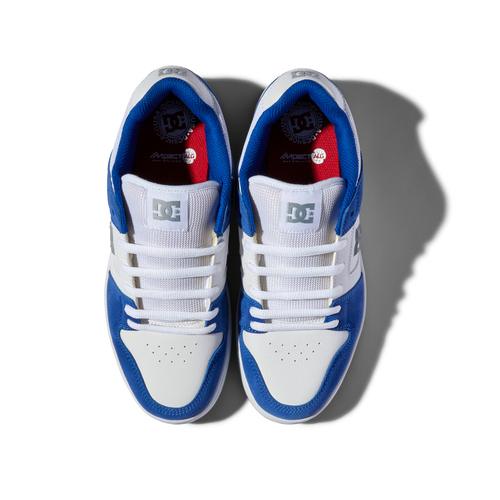
Lace your DC Shoes snug with a simple criss-cross and a heel-lock for comfort and skate control.
I’ve spent years skating, testing lacing tricks, and repairing shoes. I know how to lace up DC shoes for fit, support, and style. This guide breaks down easy steps, smart tips, and real-life fixes so you can get the best fit from your DC sneakers. Whether you ride, walk, or wear them daily, you’ll learn exactly how to lace up DC shoes for performance and comfort.

Why lacing matters for DC shoes
A good lace job changes how DC shoes feel. It affects fit, heel hold, board feel, and foot health. DC shoes are built for skate and street use. That means the right lacing keeps your foot secure and reduces wear.
Key benefits of proper lacing:
- Improves heel lock and prevents slipping.
- Balances snugness across the foot.
- Extends the life of your shoes.
- Helps with ankle comfort during tricks or long walks.
I’ve seen riders swap shoes less often after fixing lacing. Small tweaks make big differences for comfort and control when you learn how to lace up DC shoes.
Tools and materials you need
Most of the time you only need what came with your shoes. But a few extras help.
- DC shoes with factory eyelets and flat laces.
- Replacement flat laces if originals wear out.
- Scissors for trimming long laces.
- Lace lock or stopper for added heel hold (optional).
- A soft cloth and mild cleaner to spot clean laces.
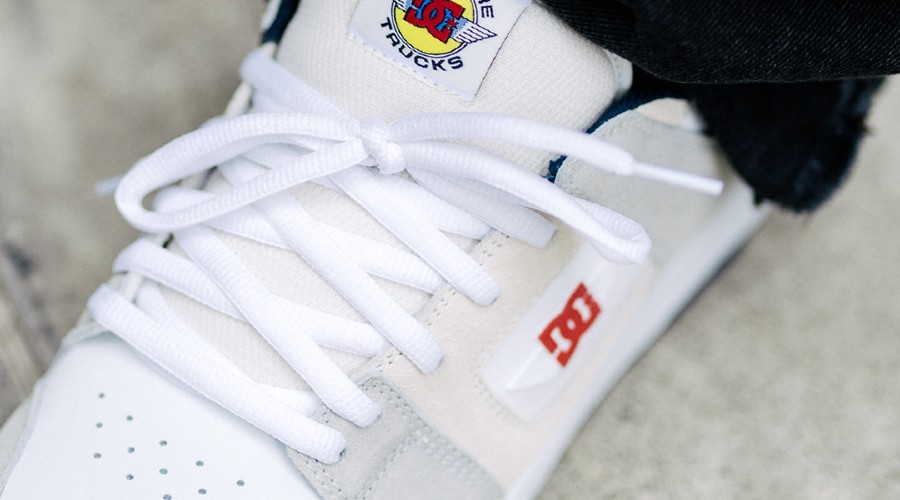
Using flat laces is key for DC models. They sit flat on the tongue and resist slipping. When you learn how to lace up DC shoes, prefer laces that match the shoe width for neatness and function.

Step-by-step lacing guide for DC shoes
Follow these clear steps to lace your DC shoes with a reliable criss-cross that you can tweak for a heel lock.
Preparation
- Untie and pull the tongue forward so it lies flat.
- Remove old lace if damaged. Use a new flat lace for best hold.
Standard criss-cross lacing
- Start by feeding the lace through the bottom eyelets. Make sure both ends are equal.
- Cross the lace and feed through the next eyelet on the opposite side. Keep tension light and even.
- Repeat until you reach the second-to-last pair of eyelets.
- Pull the laces snug. Check that the shoe feels comfortable across the instep but not tight.
Add a heel lock (for skate or running)
- After you lace to the second-to-last eyelets, thread each lace straight up into the top eyelet on the same side.
- Cross each end and insert through the loop created on the opposite side.
- Pull tight to create a small loop near the top. Tie as usual.
- This locks the heel down and reduces heel slip.
Fine-tuning fit
- If the toe box feels tight, loosen lower crosses a notch.
- If the instep is loose, tighten the central crosses.
- Trim excess lace but leave enough for a secure double knot.
Practice this method at home. Once you know how to lace up DC shoes this way, you’ll get consistent fit and less movement during skating or walking.
Alternative lacing styles for DC shoes
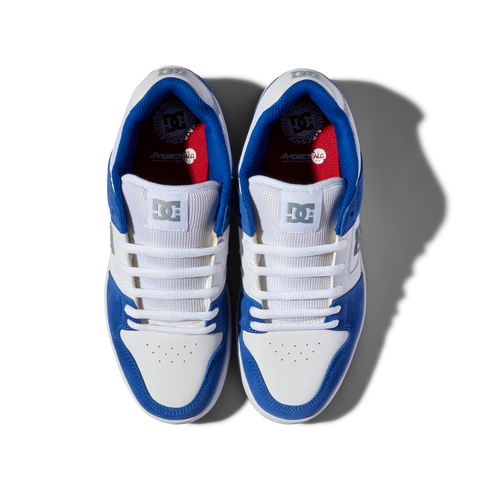
Different styles change look and function. Try these when you want a different fit or aesthetic.
Straight bar lacing
- Gives a clean look and reduced pressure on the top of the foot.
- Good for casual wear and tight-fitting jeans.
Over-under lacing
- Alternates the lace passing direction to reduce friction.
- Keeps laces longer and can feel smoother when tightened.
Checker or skip-lacing
- Skip some eyelets to relieve pressure points in the middle of the foot.
- Useful if you have a high instep or sensitive spots.
Lock lacing variations
- Use only the top two eyelets for heel lock.
- Combine with straight bars lower for tidy look and secure heel.
I used straight bars on a pair of DC canvas shoes for commuting. They felt lighter and looked cleaner, while still letting me tighten the heel when needed.
Common mistakes and fixes
Avoid these simple errors when you learn how to lace up DC shoes. They cause discomfort or early wear.
Too-tight lacing
- Problem: numb toes, poor circulation.
- Fix: Loosen lower eyelets first. Tighten only where needed.
Loose heel
- Problem: heel lifts and blisters.
- Fix: Add heel lock and ensure tongue sits flat.
Uneven lace lengths
- Problem: too much excess on one side.
- Fix: Start with lace centered at bottom and count eyelets as you lace.
Wrong lace type
- Problem: round laces slip and untie.
- Fix: Use flat laces sized for DC shoes.
Eyelet damage
- Problem: ripped eyelets from forcing laces.
- Fix: Replace laces and avoid sharp knots. Repair eyelets or use a cobbler if needed.
I once learned the hard way that tight laces at the top caused ankle pain. After switching to heel lock and easing the topmost cross, comfort returned.
Care, maintenance, and when to replace laces
Caring for laces keeps your DC shoes working well. Small steps extend life and performance.
- Hand wash laces with mild soap and air dry.
- Remove dust from eyelets using a soft brush.
When to replace
- Replace laces if frayed, thin, or if knots slip.
- Replace every 6–12 months with heavy use, sooner for skating.
Preventive measures
- Keep laces fluffed, not overly tight, to reduce eyelet stress.
- Store shoes laced loosely to keep shape.
Proper care helps when you want to know how to lace up DC shoes and keep them performing at peak level.
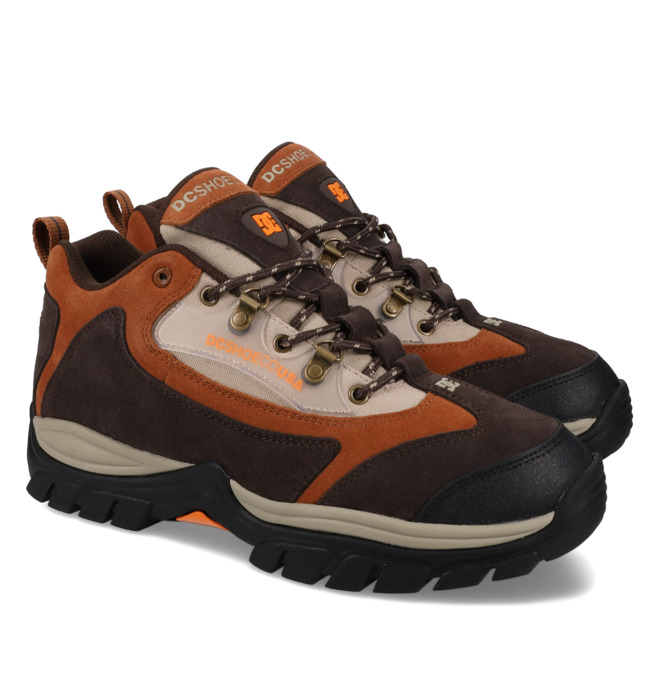
Personal tips and lessons from experience
I’ve used DC shoes for skating and daily wear. Here are some hands-on tips I learned.
Quick tips I trust
- Always use flat laces for DC models. They stay tied better.
- Use a single heel-lock for skating and tricks.
- Re-tie after the first 30 minutes of use; the shoe will settle.
Mistakes I made
- Using laces that were too long. They tripped me during tricks.
- Over-tightening the top eyelets. It caused ankle stiffness.
What worked best
- Matching lace thickness to the eyelet width. It felt secure and clean.
- Keeping a spare pair of laces in the skate bag.
These small moves made my shoes last longer and feel better. They’ll help you too when you practice how to lace up DC shoes.

SEO and styling tips for using laces with DC shoes
If you style DC shoes for content or retail photos, these tips help.
- Use contrast laces for visual pop in photos.
- Show step-by-step lacing images for user guides.
- Include close-ups of the heel-lock and eyelets to highlight technique.
When writing about how to lace up DC shoes online, use clear step headings and short sentences. Readers like quick action steps and images that show each stage.
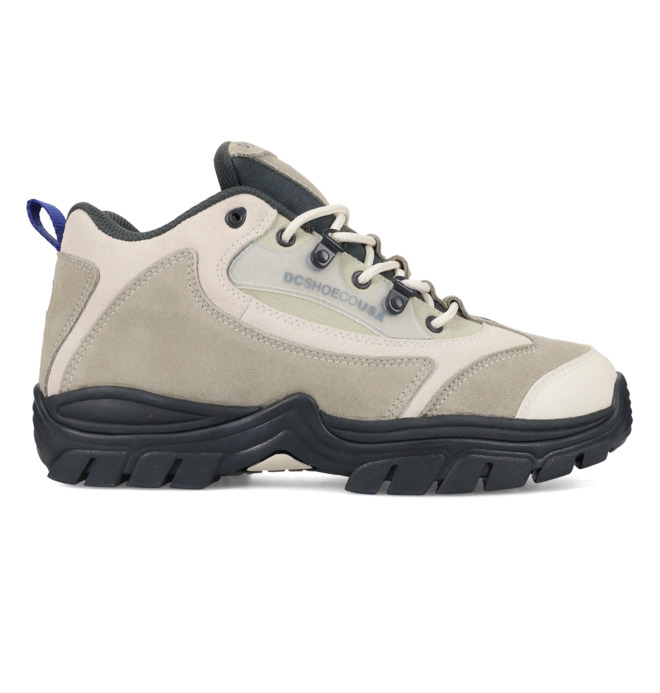
Frequently Asked Questions of how to lace up dc shoes
How tight should I lace my DC shoes for skating?
Lace snugly but not painfully. Tighten lower eyelets for midfoot support and use a heel lock to keep the heel down. Adjust until you feel solid contact without numbness.
Can I use round laces in DC shoes?
You can, but flat laces are better. Flat laces lie flat on the tongue and resist coming undone, so they suit DC shoes more for skate use.
How long should my DC laces be?
Measure from the bottom eyelet to the top for best fit, but most DC low-tops use 45–54 inch laces and mids use 54–63 inch laces. Replace with the right length for neat knots and no excess.
Will a heel lock damage my shoe?
No, when done correctly a heel lock does not damage the shoe. Use gentle tension and avoid forcing the tongue forward; this protects the eyelets and material.
How often should I replace my DC shoe laces?
Replace laces when they fray, slip, or stain heavily. For heavy skate use, inspect them monthly and replace every 6–12 months as needed.
Conclusion
Learning how to lace up DC shoes is a small skill that pays big dividends. Proper lacing boosts fit, prevents blisters, and keeps your shoes durable. Try the criss-cross with a heel lock for the best balance of comfort and control. Tweak tension zone by zone and replace worn laces before they fail. Now take a few minutes to re-lace your pair and see the difference. Share your results, subscribe for more shoe tips, or leave a comment with your favorite lacing trick.
Madison Clark is a footwear expert and the voice behind MyStyleGrid.com. She specializes in honest shoe reviews, style tips, and practical guides to help readers find the perfect pair for any occasion. With years of experience in blogging and content creation, Madison makes footwear knowledge simple, stylish, and easy to follow.