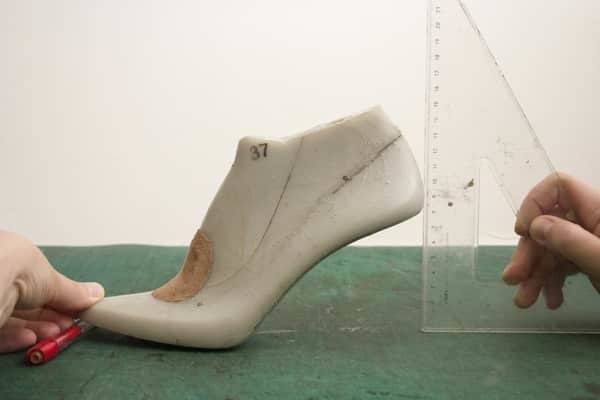
Making shoe heels involves shaping, reinforcing, and attaching wood, plastic, or stacked leather with care.
I have built and repaired dozens of heels, from simple block heels to sculpted stilettos, and this guide lays out practical steps, tools, and tips so you can learn how to make shoe heels confidently. You will get clear explanations, safety notes, and hands-on tips drawn from real shop work and industry practice to help you design, craft, and finish heels that fit, last, and look great.

Materials and tools you need to make shoe heels
To learn how to make shoe heels well, start with the right materials and tools. A simple kit helps you control quality and speed.
-
Materials you may use
- Hardwood blanks for wooden heels
- Stacked leather sheets for classic heels
- High-density polyurethane or thermoplastic for molded heels
- Metal shanks and nails for reinforcement
- Adhesives rated for shoes, like contact cement or polyurethane glue
- Heel taps and sole materials for finishing
-
Essential tools
- Bandsaw or jigsaw for rough cutting
- Belt sander and files for shaping
- Drill and countersink for fasteners
- Heat gun for molding plastics or shaping leather
- Clamps, rasp, and cutting mat
-
Safety gear
- Safety glasses, mask, and hearing protection
- Stable workbench and good lighting
Choosing the right materials early makes the step of how to make shoe heels much easier and more predictable. Start with one material type and master it before trying others.
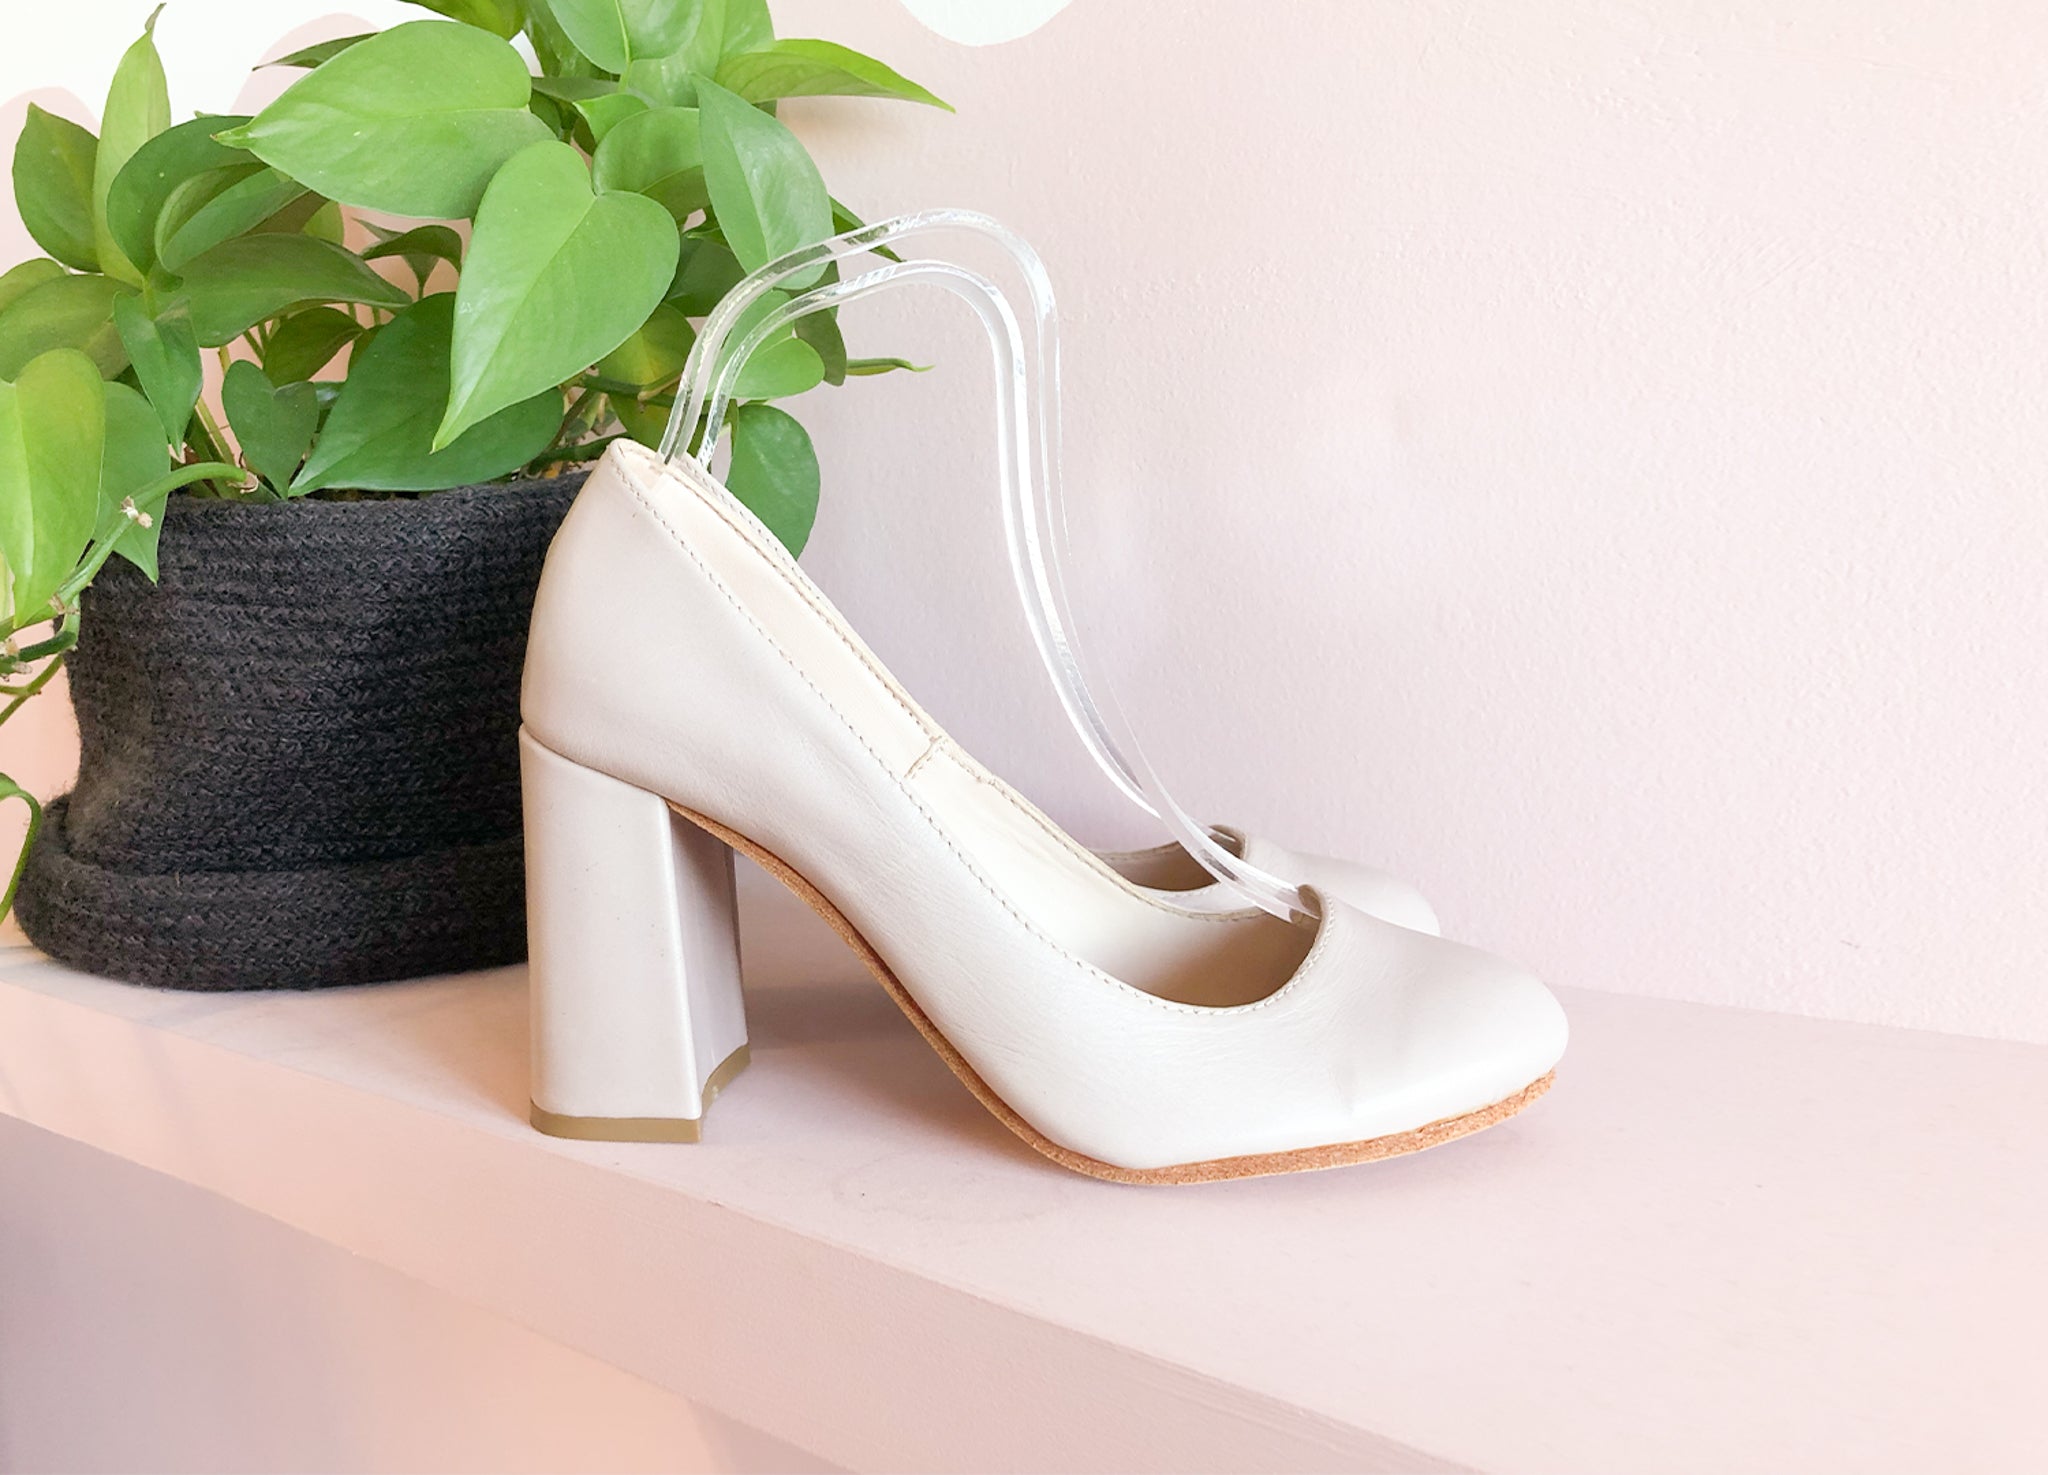
Types of heels and when to choose each
Knowing the heel type helps you match design, comfort, and durability when you make shoe heels. Each type needs a different workflow.
- Block heels
- Best for stability and easy to make from wood or stacked leather.
- Wedge heels
- Can be carved from foam or molded plastics and covered for a smooth look.
- Stiletto heels
- Require metal shanks and precise shaping. Often molded from reinforced plastic or metal.
- Cuban and tapered heels
- Small variations of block heels that need careful profiling.
- Molded and injection-molded heels
- Best for mass production; use thermoplastics and molds.
I like starting with block heels for practice. They teach shaping, attachment, and balancing without the risk of fragile thin parts. Learning these basics teaches you how to make shoe heels that function and last.
Design and measurement: plan before you cut
A clear plan reduces waste and keeps heels comfortable. Precise measurements are key when learning how to make shoe heels.
- Measure shoe size and heel height
- Mark the heel location on the outsole, note height in millimeters.
- Consider center of gravity
- Heel placement affects balance and gait. Keep the load centered under the heel bone.
- Create templates
- Use cardboard or thin plywood templates to test shape and fit.
- Sketch profile and bottom shapes
- Draw side and bottom views to guide cutting and sanding.
I always test a paper template on the shoe before cutting material. This saves hours of rework and helps you make shoe heels that match the shoe’s posture.
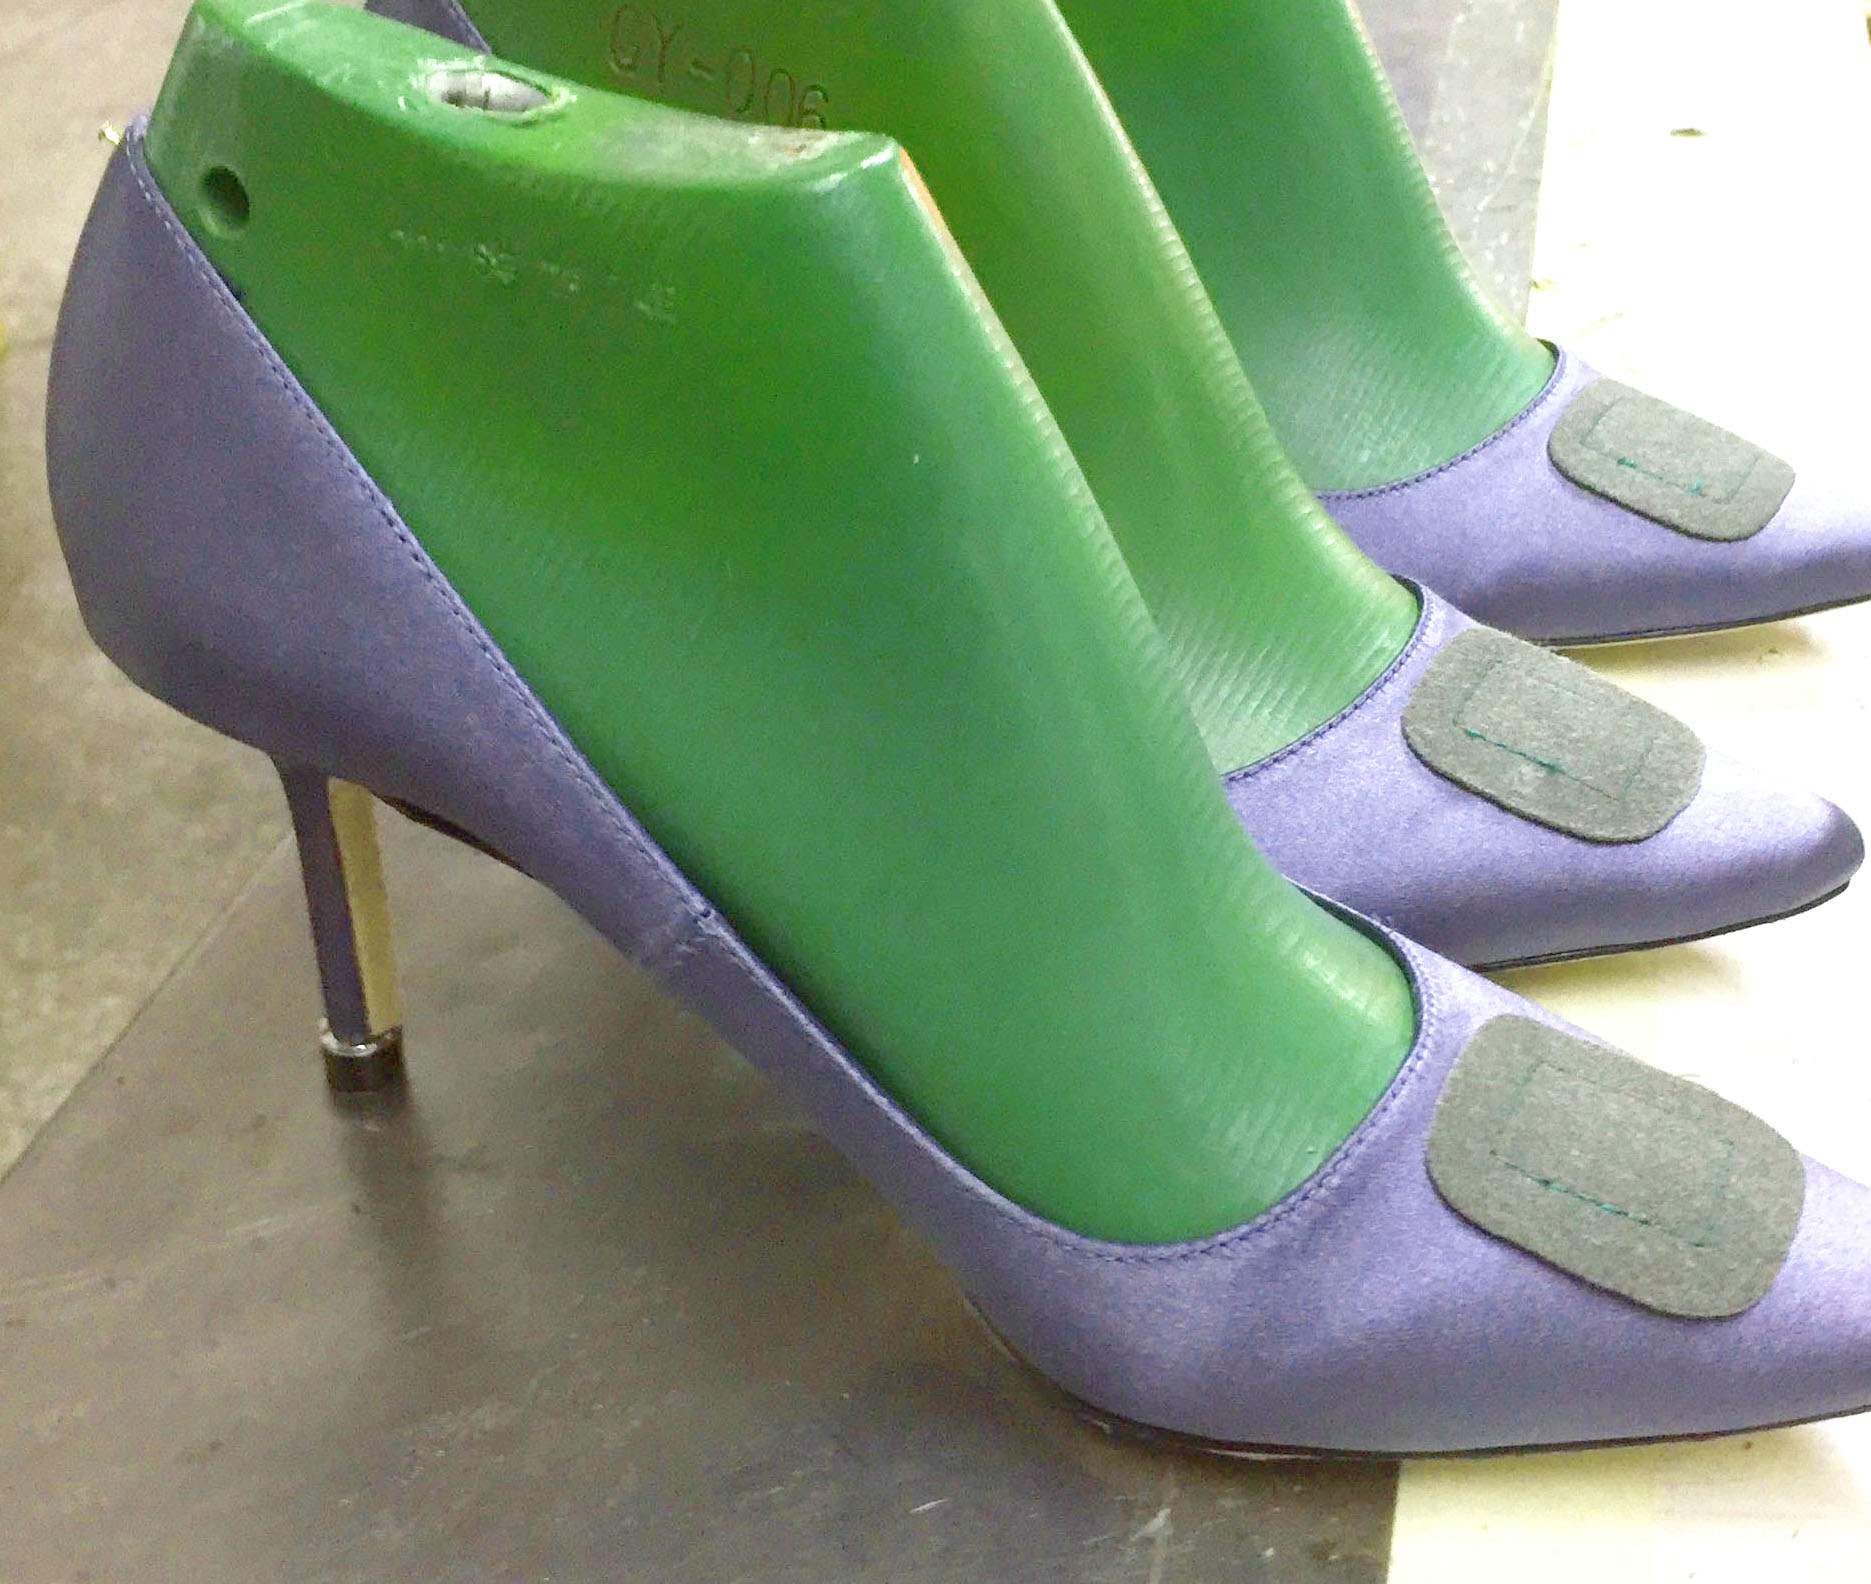
Step-by-step: how to make shoe heels (basic wooden/stacked leather method)
This step-by-step covers a reliable way to make shoe heels with wood or stacked leather. Follow short steps and repeat until comfortable.
-
Prepare the blank
- Cut a block slightly larger than the template. Keep extra for sanding.
- Mark center and profile lines.
-
Rough cut and stack
- If using stacked leather, glue and clamp sheets to the height needed.
- If using wood, cut rough shape on a bandsaw.
-
Shape the profile
- Use rasps and a belt sander to refine the side profile to the template.
- Keep strokes consistent; check fit often.
-
Create the bottom and top surfaces
- Plane or sand the bottom flat so it sits cleanly on the sole.
- Carve the top to mate with the shoe’s counter, leaving space for glue and a metal shank if needed.
-
Reinforce and fasten
- Drill pilot holes if you’ll use nails or screws. Install a metal shank for thin heels.
- Use strong adhesive between heel and shoe. Clamp and let cure per adhesive instructions.
-
Finish and cover
- Sand to final smoothness, then stain or paint.
- Apply heel caps or taps for wear protection.
- Glue and stitch a leather wrap if needed.
Repeat these steps when you practice how to make shoe heels. Each step builds skill. Small adjustments in sanding and clamping change fit and feel dramatically.

Making molded and plastic heels
Molded heels use different steps but follow the same planning and testing principles for how to make shoe heels.
- Create or buy a mold
- Design the negative for the heel shape and finish.
- Choose material
- Polyurethane, ABS, or reinforced plastics are common.
- Pour or inject
- For small runs, pour resin or polyurethane into molds with a release agent.
- Demold and finish
- Trim flash, sand, and add inserts for shanks or screws.
- Attach to shoe
- Use adhesives rated for plastics and shoe materials; mechanical fasteners can help.
Molding requires more upfront work but lets you repeat consistent heels. For custom shapes, molding is efficient and precise.

Attaching heels: adhesives, fasteners, and alignment
A strong bond and correct alignment make heels safe and comfortable. These tips cover how to make shoe heels that stay attached.
- Surface prep
- Clean, abrade, and prime bonding surfaces.
- Glue choice
- Use contact cement for leather and wood. Use polyurethane glue for porous materials.
- Fastening
- Small nails or screws add security. Countersink to avoid stress points.
- Alignment checks
- Test fit and walk slowly before final curing. Check heel position under load to ensure comfort.
I once failed to countersink a screw. The heel cracked on the first wear. The lesson: prep and gentle fastening prevent stress fractures.

Finishing touches, wear protection, and maintenance
Finishing extends life and improves looks. These final steps complete how to make shoe heels professionally.
- Heel caps and taps
- Use replaceable caps where the heel hits the ground.
- Coatings
- Waterproof finishes and paints increase durability.
- Repairs
- Replace caps early. Re-glue loose heels immediately.
- Storage and care
- Rotate shoes, avoid wet conditions, and use heel protectors for long wear.
A good finish makes your heels look custom and last longer. Simple maintenance prevents most failures.

Common mistakes and troubleshooting when making heels
Knowing pitfalls helps you avoid wasted time and materials when you make shoe heels.
- Wrong placement
- Leads to poor balance and faster wear. Always test with templates.
- Poor bonding
- Surfaces not clean or adhesives wrong for materials cause separation.
- Thin heels without reinforcement
- Thin materials need shanks or metal inserts to avoid snapping.
- Over-sanding
- Remove too much material and the heel becomes weak or misaligned.
If a heel wobbles after attachment, remove it, clean both surfaces, and re-glue with proper clamps and fasteners. Small fixes often restore function without full replacement.

Personal experience and tips from the workshop
I have repaired and made heels for clients and friends. These real tips come from hands-on work and mistakes I learned from.
- Start with block heels
- They teach sanding, fitting, and attachment without fragile parts.
- Keep a test pair
- Make a cheap pair to practice new shapes or materials.
- Track adhesives and cure times
- Write them down; they vary by brand and temperature.
- Invest in a small mold kit
- For repeating a shape, a simple mold saves time and keeps quality high.
One memorable job involved reshaping a boot heel to correct a lean. The fix required careful sanding and adding a thin wedge. The client left happy, and I learned more about how small changes affect gait.
Frequently Asked Questions of how to make shoe heels
How long does it take to make a basic heel?
Making a basic block heel from stacked leather takes about 1–3 hours for an experienced crafter, including drying time. Molded heels take longer up front to make the mold but are quicker per piece.
What material is best for long-lasting heels?
High-density polyurethane and hardwood both last well; polyurethane resists moisture and wear, while hardwood can be refurbished. Each has trade-offs in cost and finish options.
Can I make heels at home without heavy tools?
Yes. You can make simple stacked leather or wooden heels with hand tools, a small file set, clamps, and a handheld saw. Expect slower work but good learning.
How do I attach a stiletto heel securely?
Use a metal shank or threaded insert plus strong adhesive and counter-sunk screws or nails. Precision in placement is crucial to avoid stress and breakage.
Are custom-made heels safe to wear?
Yes, when made with proper materials, reinforcement, and correct alignment. Test wear them slowly and inspect fastenings and taps regularly.
Conclusion
You now have a clear roadmap for how to make shoe heels, from choosing materials to shaping, attaching, and finishing. Start simple, practice templates, and build skill with one material before branching out. Take one project at a time, document what works, and fix errors early to save time and materials. Try a small practice pair this week, share your results, and keep learning—your next pair will be better than your last.

Madison Clark is a footwear expert and the voice behind MyStyleGrid.com. She specializes in honest shoe reviews, style tips, and practical guides to help readers find the perfect pair for any occasion. With years of experience in blogging and content creation, Madison makes footwear knowledge simple, stylish, and easy to follow.