Want to give your Nike shoes a fresh, unique look that stands out from the crowd? Painting your sneakers is a fun and creative way to express your style without spending a fortune on a new pair.
But how do you make sure your design lasts and looks professional? In this guide, you’ll learn simple, step-by-step tips to paint your Nike shoes like a pro. Keep reading to unlock the secrets that will transform your kicks into wearable art you’ll be proud to show off.

Credit: www.esseg.eu
Choosing The Right Materials
Choosing the right materials is the first step to paint Nike shoes successfully. Good materials help the paint stick well and last longer. They also make the painting process easier and more fun. Picking the right supplies saves time and avoids problems later.
Selecting Paint Types
Acrylic paint works best for Nike shoes. It dries fast and stays flexible. Fabric paint is another good choice. It moves with the shoe without cracking. Avoid spray paint because it can peel off quickly.
Look for paints made for leather or fabric. These paints hold up better on shoes. Choose colors that match your design. Always test paint on a small shoe part first.
Essential Tools And Supplies
Get quality brushes of different sizes. Small brushes help with fine details. Bigger brushes cover large areas fast. Use painter’s tape to protect parts you don’t want to paint.
Sandpaper smooths the shoe surface before painting. A clean cloth helps wipe dust off. Use a sealant spray to protect your paint job after it dries.
Preparing Your Workspace
Choose a well-lit, clean area to work in. Cover the surface with newspaper or a plastic sheet. Keep all tools and paints within reach. Good lighting helps you see colors clearly.
Make sure the space is ventilated to avoid paint fumes. Avoid windy places to stop dust from settling on wet paint. Organize your supplies to work faster and neater.
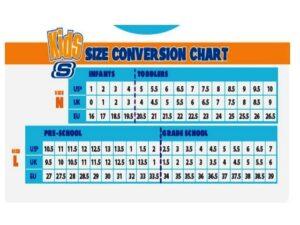
Credit: www.spec-school.org
Preparing Your Nike Shoes
Preparing your Nike shoes properly is the first step before painting. It helps the paint stick well and last longer. Taking time to get your shoes ready ensures a smooth and clean finish.
Cleaning The Surface
Clean the shoes to remove dirt and oils. Use a soft brush or cloth with mild soap and water. Gently scrub all areas you want to paint. Let the shoes dry completely before moving on.
Removing Laces And Insoles
Take out the laces and insoles. This step makes painting easier and prevents paint from getting on them. You can paint the laces separately if you want a matching look.
Priming For Better Adhesion
Apply a thin layer of primer to the shoe’s surface. Primer helps the paint stick better and prevents cracking. Use a primer made for leather or fabric, depending on your shoe material. Let the primer dry fully before painting.
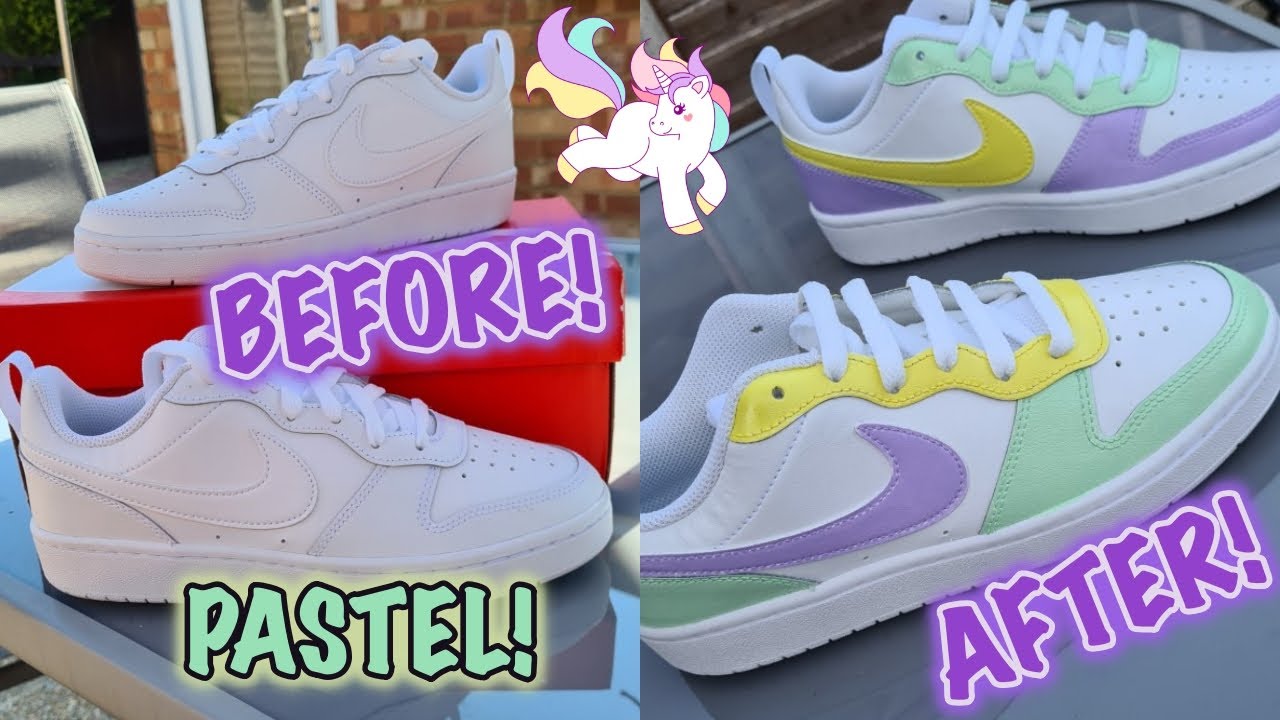
Design Planning And Inspiration
Planning your design is the first step to painting Nike shoes. It helps turn your ideas into clear visuals. Good planning saves time and avoids mistakes. Inspiration guides your creativity and gives your shoes a unique look. Explore different styles before starting to paint.
Sketching Your Ideas
Start by drawing simple sketches of your design. Use pencil and paper to map out shapes and details. Sketching helps you see what works and what does not. Make several versions to compare different styles. Keep your sketches small and easy to change.
Color Theory Basics
Learn basic color rules to create a balanced look. Choose colors that match or contrast well. Use the color wheel to find good combinations. Warm colors like red and orange feel energetic. Cool colors like blue and green feel calm. Use these ideas to pick the best colors for your shoes.
Finding Inspiration Online
Search websites and social media for shoe art ideas. Look at other painted Nike shoes for style tips. Save images that catch your eye. Notice color choices and patterns you like. Use these ideas to shape your own design. Online inspiration can boost your creativity quickly.
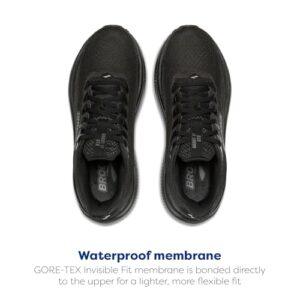
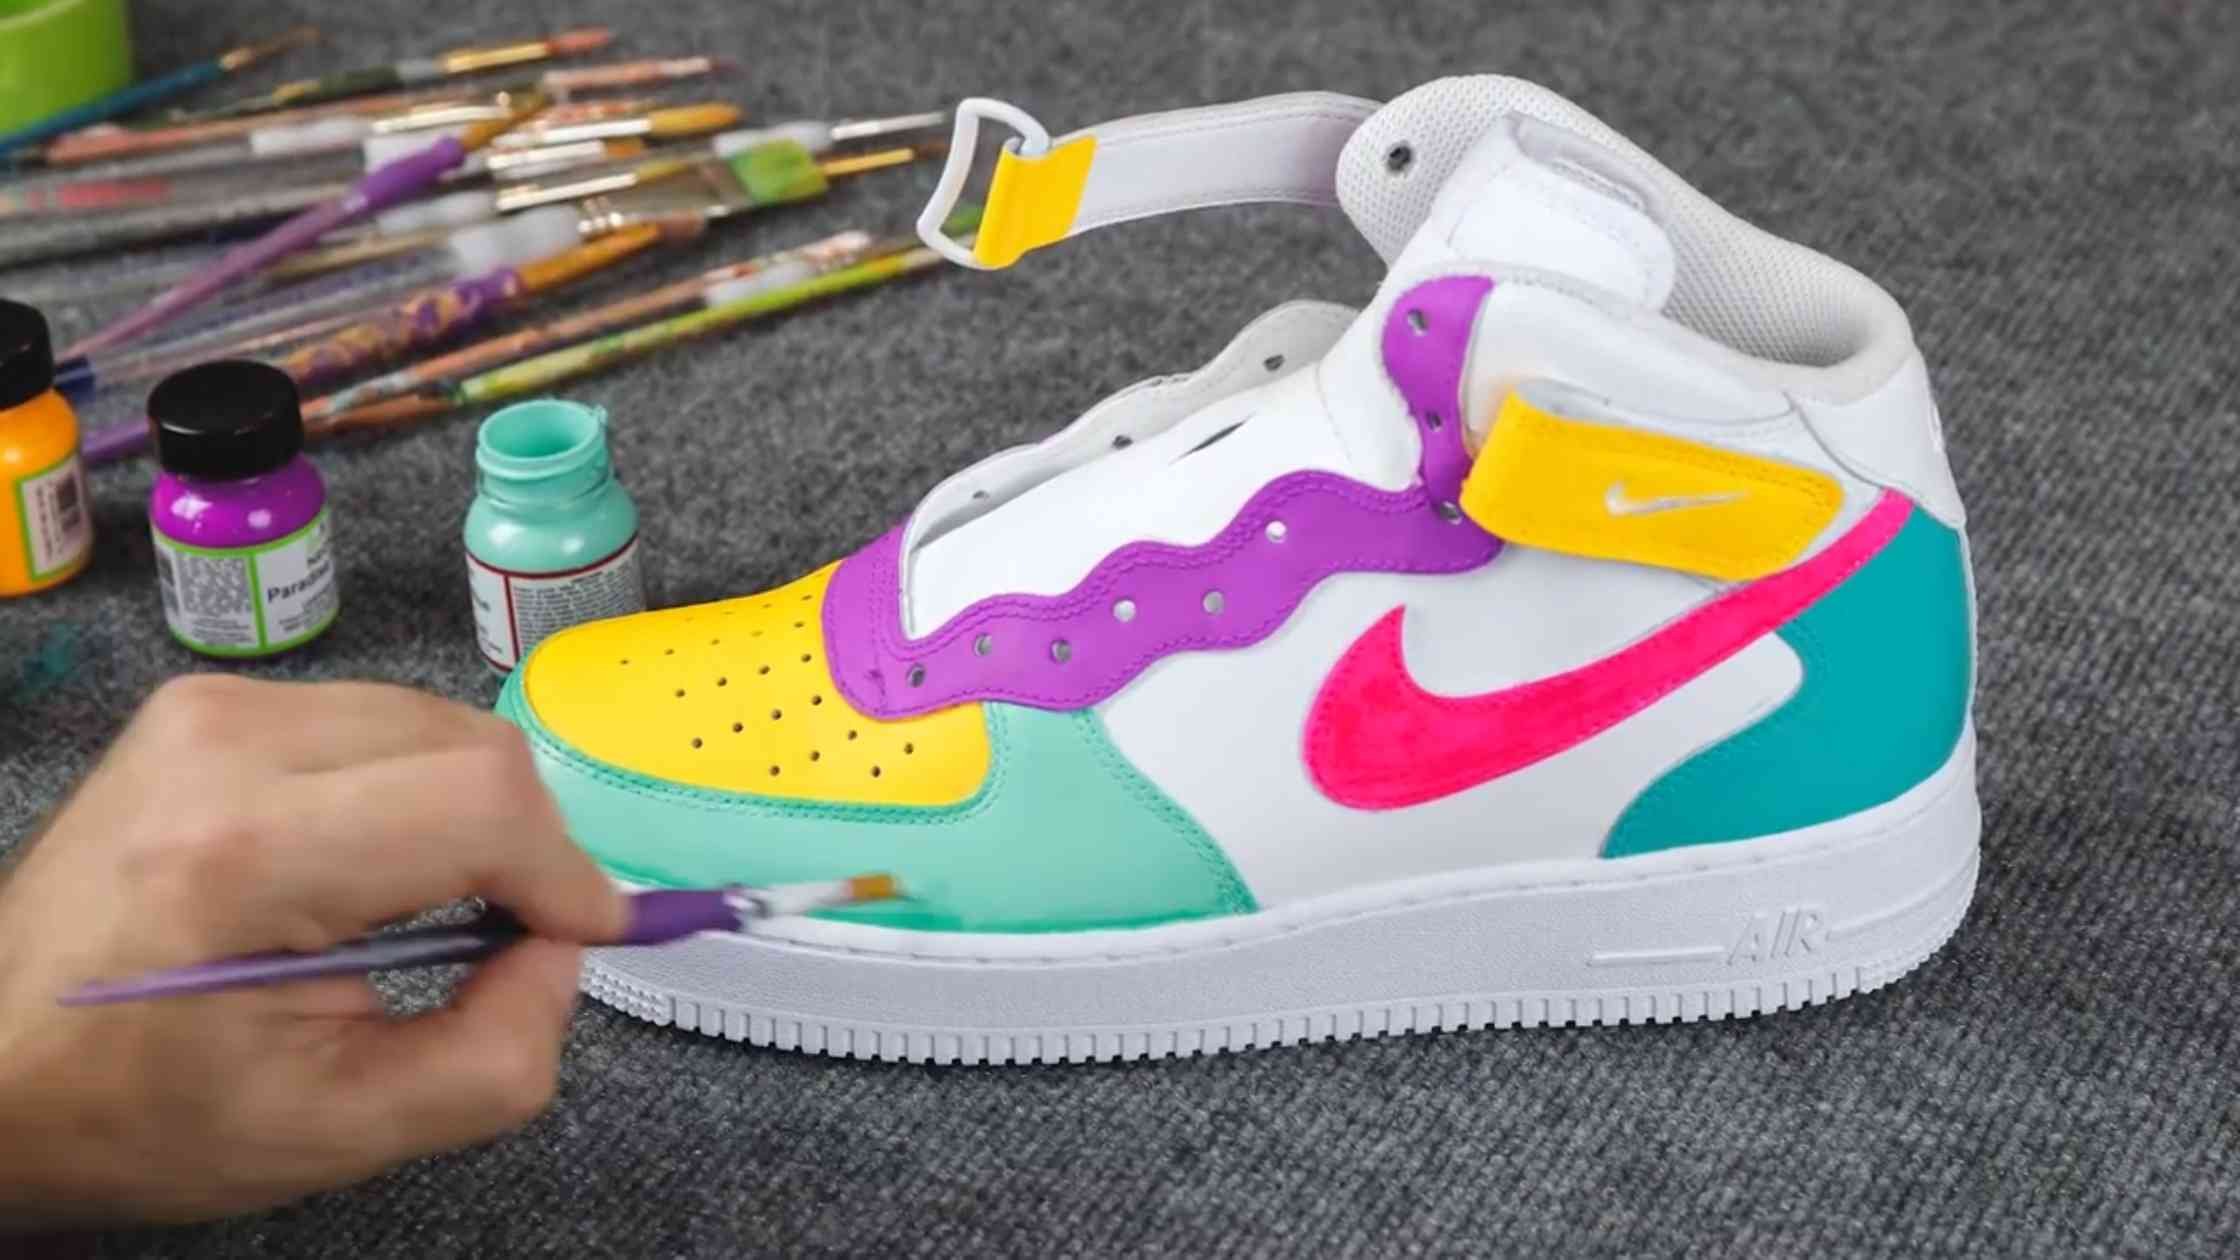
Credit: www.youtube.com
Painting Techniques
Painting Nike shoes needs skill and the right methods. Good techniques help colors look smooth and last longer. Each step shapes the final look. Focus on layering, using stencils, and adding fine details. These methods make your shoes unique and neat.
Layering And Blending Colors
Start with thin paint layers. Let each dry before adding the next. This stops colors from mixing badly. Blend colors by gently mixing edges while wet. Use a soft brush for smooth transitions. Layering builds depth and rich color on shoes.
Using Stencils And Masking Tape
Stencils create sharp shapes and clean lines. Place them firmly on the shoe surface. Paint carefully over the stencil edges. Masking tape covers areas you do not want painted. Remove tape slowly after paint dries. This keeps patterns crisp and designs clear.
Detailing With Fine Brushes
Use small, fine brushes for tiny details. This adds precision to logos and accents. Keep your hand steady to avoid mistakes. Thin lines and small shapes look sharper. Detailing makes your painted shoes stand out and look professional.
Drying And Setting The Paint
Drying and setting the paint is a key step in painting Nike shoes. It ensures your design stays fresh and lasts long. Proper drying helps avoid smudges and uneven colors. Setting the paint makes it stick well to the shoe material.
Optimal Drying Times
Let the paint dry for at least 24 hours. This gives the paint enough time to harden. Drying in a cool, dry place works best. Avoid direct sunlight or heat, which can cause cracks. Thin layers dry faster, but thicker coats need more time.
Heat Setting Methods
Heat setting makes the paint more durable. Use a hairdryer on low heat for about 5 minutes. Keep the dryer moving to avoid overheating. Another way is placing the shoes in a warm room. Do not use an oven or open flame. High heat can damage the shoes and paint.
Avoiding Common Mistakes
Do not rush the drying process. Touching the paint too soon can ruin the design. Avoid applying too much paint at once. Thick paint takes longer to dry and may crack. Keep shoes away from dust and moisture while drying. Clean hands help prevent smudges too.
Protecting Your Custom Design
Protecting your custom design is key to keeping your Nike shoes looking fresh. Paint can chip, fade, or crack without proper care. A strong protective layer helps your artwork stay vibrant and durable. Simple steps can extend the life of your painted shoes and keep them looking great for a long time.
Applying Sealants
Sealants create a shield over your painted design. Use a clear acrylic spray or brush-on sealant. Apply thin, even coats to avoid clumps. Let each layer dry fully before adding the next. Sealants protect against water, dirt, and scratches. This step locks in your colors and prevents fading.
Maintaining Painted Shoes
Keep your shoes clean to protect the paint. Use a soft cloth or brush to remove dirt gently. Avoid harsh chemicals or soaking the shoes. Store them in a cool, dry place away from direct sunlight. Proper maintenance helps your paint stay strong and bright.
Touch-up Tips For Longevity
Small scratches or chips can be fixed easily. Keep some of your original paint for touch-ups. Use a fine brush to fill in damaged areas carefully. After touching up, apply a fresh layer of sealant. Regular touch-ups keep your design sharp and lasting longer.
Troubleshooting Common Issues
Painting Nike shoes can be fun but may cause some common problems. Fixing these quickly keeps your shoes looking fresh. This section covers easy ways to solve issues like paint cracks, smudges, and unwanted marks. Follow these tips to improve your painting results.
Fixing Paint Cracks
Paint cracks happen when the paint is too thick or dries too fast. Lightly sand the cracked area with fine-grit sandpaper. Wipe away dust with a clean cloth. Apply a thin layer of flexible paint made for shoes. Let it dry slowly at room temperature. Repeat if needed to cover cracks fully.
Dealing With Smudges
Smudges appear if you touch wet paint or paint runs. Let the paint dry completely before fixing. Use a small brush dipped in paint remover or rubbing alcohol. Gently dab the smudge to lift the color. Avoid rubbing hard to prevent damage. Repaint the spot carefully after cleaning.
Removing Unwanted Marks
Unwanted marks may come from accidental stains or paint drops. Use a cotton swab with mild soap and water to clean the area. For tough stains, try a soft eraser or nail polish remover on a cloth. Test on a small spot first to avoid damage. Touch up the paint after cleaning to keep the look smooth.
Frequently Asked Questions
How Do I Prepare Nike Shoes For Painting?
Clean the shoes thoroughly with soap and water. Remove dirt and oils. Use painter’s tape to protect areas you don’t want painted. Let the shoes dry completely before starting the painting process.
What Type Of Paint Works Best For Nike Shoes?
Acrylic leather paint is ideal for Nike shoes. It adheres well and is flexible. It prevents cracking and peeling. Avoid regular acrylic or spray paint, as they may damage the material.
Can I Customize Nike Shoes Without Ruining Them?
Yes, using proper materials and techniques ensures safe customization. Always prep the shoes well. Use quality paints designed for leather or fabric. Seal the paint with a protective finisher to maintain durability.
How Long Does Paint Take To Dry On Nike Shoes?
Acrylic leather paint usually dries within 1-2 hours. For best results, allow 24 hours for full curing. Dry in a well-ventilated area. Avoid touching or wearing shoes until fully dry.
Conclusion
Painting Nike shoes can be a fun and creative project. Use the right materials and take your time. Clean the shoes well before starting. Apply paint in thin, even layers for best results. Let each layer dry fully to avoid smudges.
Protect your design with a good sealant. Small mistakes can be fixed with a brush or cloth. Enjoy wearing your unique, personalized shoes. Practice makes perfect, so don’t be afraid to try again. Your creativity can turn old shoes into something new.
Keep experimenting and have fun with every step.

Madison Clark is a footwear expert and the voice behind MyStyleGrid.com. She specializes in honest shoe reviews, style tips, and practical guides to help readers find the perfect pair for any occasion. With years of experience in blogging and content creation, Madison makes footwear knowledge simple, stylish, and easy to follow.