Repair patent leather shoes by cleaning, filling scuffs, re-coating, and polishing for lasting shine.
I’ve spent years fixing shoes for friends and clients, so I know exactly how to repair patent leather shoes without ruining the glossy finish. This guide mixes practical know-how, tested steps, and real-world tips so you can assess damage, choose the right products, and restore shine safely. Read on to get confident, step-by-step instructions and avoid common mistakes I’ve learned from doing repairs in my shop.

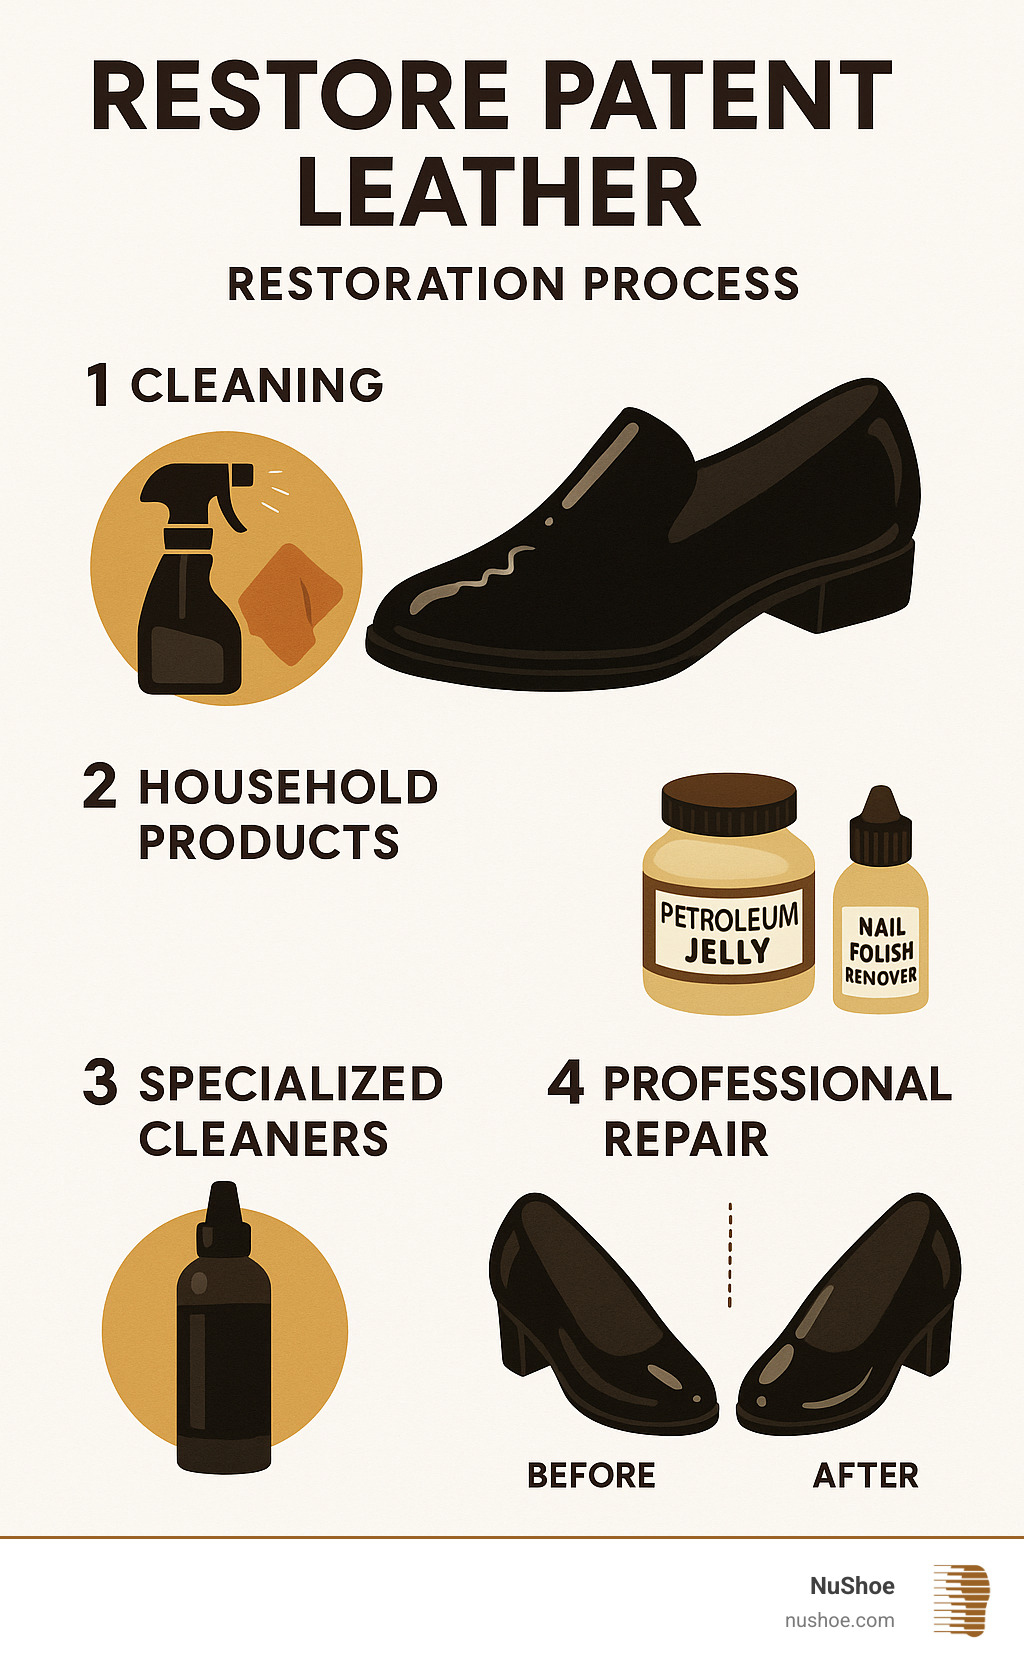
Why patent leather needs special care
Patent leather wears and breaks differently from regular leather because it has a glossy, plastic-like coating. That coating makes it water-resistant but also prone to scuffs, white marks, and cracking when bent or exposed to heat. Knowing the coating’s limits helps you decide when a DIY fix will work and when a pro repair is safer.

Materials and tools you’ll need
Preparing the right kit makes how to repair patent leather shoes faster and neater. Gather simple items you can buy online or at a shoe or craft store.
- Soft microfiber cloth for cleaning and buffing.
- Mild dish soap and water in a small bowl.
- Cotton swabs and cotton pads for precise cleaning.
- Rubbing alcohol or isopropyl alcohol for ink and stubborn marks.
- Clear flexible adhesive or shoe goo for small cracks and lifting edges.
- Clear nail polish or a dedicated patent leather top coat for tiny chips.
- Flexible acrylic leather filler or patent leather repair compound for deeper cracks.
- Very fine grit sandpaper or micromesh (2000–3000 grit) for smoothing.
- Soft toothbrush for textured areas.
- Leather dye or patent paint (optional) matched to color.
- Protective gloves and masking tape.
I keep a small kit like this in my shop. It covers most fixes and helps me respond fast when someone brings a pair with a glossy finish problem.

Step-by-step: How to repair patent leather shoes
Follow these steps when you want to repair patent leather shoes safely. Work in a well-lit, ventilated area and test products on a hidden spot first.
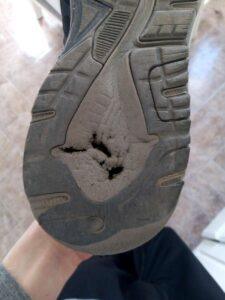
- Assess the damage
- Look for scuffs, surface scratches, cracks in the coating, peeled areas, and any separation at seams.
- Decide if it’s surface-level (cleaning and polishing) or structural (cracks, peeled coating).
- If soles or heels are damaged, treat them separately or see a cobbler.
- Clean the surface
- Mix a drop of mild soap with water. Dampen a microfiber cloth and wipe gently.
- Use a cotton swab dipped in rubbing alcohol to remove ink or oil stains, but test first.
- Let shoes dry completely in shade; avoid heat, which can worsen cracking.
- Remove light scuffs and marks
- Rub a small amount of mineral oil or petroleum jelly on scuffs with a soft cloth. Buff gently.
- For white bloom or chalky residue, a tiny dab of silicone-based patent leather cleaner can restore gloss.
- Repeat gently until scuffs diminish. Avoid abrasive cleaners that dull the finish.
- Repair minor chips and peeled edges
- Clean the area and tape around it to protect undamaged finish.
- For tiny chips, a thin coat of clear nail polish can fill and seal the exposed spot.
- Let dry fully, then buff with a soft cloth for shine.
- Fix deeper cracks and splits
- Clean and dry the crack area thoroughly.
- Apply a flexible adhesive or clear leather filler into the crack in thin layers, letting each layer dry.
- Once filled, lightly smooth the surface with very fine grit micromesh. Use tiny, gentle strokes.
- If color is lost, use a patent leather dye or matched paint sparingly, then seal with a glossy top coat.
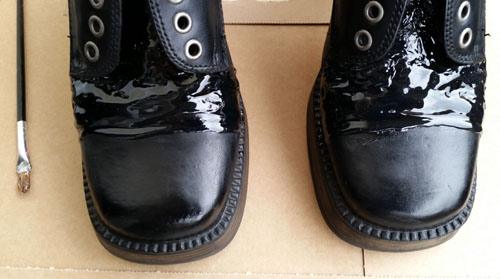
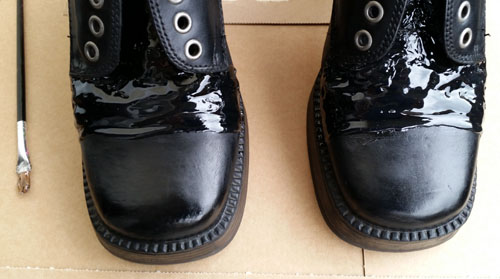
- Re-coat heavily peeled sections
- For large peeled areas, you may need a patent leather repair kit with flexible lacquer. Apply thin coats and allow proper curing.
- Do several light layers rather than one heavy coat to avoid runs.
- If the base material is exposed or the structural leather is compromised, consult a professional cobbler.
- Final buff and protect
- After repairs cure, buff gently with a microfiber cloth.
- Apply a dedicated patent leather conditioner or a very thin layer of silicone-based polish for ongoing protection.
- Store properly to avoid repeat damage.
When I first tried filling cracks without testing the filler’s flexibility, the repair cracked again within weeks. Thin layers and flexibility are the keys I always stress to clients.
Restoring shine and color
Bringing back that mirror-like shine is the last and most satisfying step when you learn how to repair patent leather shoes. The right products and gentle technique make a big difference.
- Use a soft cloth to apply a small amount of silicone-based patent leather cleaner or mineral oil. Work in small circles.
- Buff lightly until the gloss appears. Keep pressure low to avoid flattening the coating.
- For color loss, very small amounts of patent leather paint can be blended in, then sealed with a clear top coat.
- Avoid natural wax polishes made for regular leather; they can dull the plastic finish on patent leather.
I find that a final wipe with a clean cloth removes residue and gives the proper sheen. A mirror shine is possible without aggressive polishing.

When to seek a professional cobbler
Some problems are best left to pros, especially if you want a durable, clean finish. Consider professional repair if:
- The coating is extensively peeled across large areas.
- The shoe's base leather is fractured or weak.
- Soles and heels need structural repair along with cosmetic fixes.
- You need a color-match across a large surface.
A cobbler can strip and re-lacquer the shoe or replace panels. A well-done professional repair often lasts longer than repeated DIY fixes.
Preventive care and storage tips
Preventing damage reduces the need to repair patent leather shoes. Small habits protect your investment.
- Store shoes upright in dust bags or boxes. Do not fold or squash them.
- Use shoe trees or loosely stuff with acid-free tissue to keep shape.
- Avoid prolonged heat, sun, or humidity. Keep away from radiators.
- Wipe off water and dirt as soon as possible. Dry in shade on a flat surface.
- Rotate shoes and avoid wearing the same pair daily to reduce stress on the coating.
I once kept a pair by a sunny window for weeks; the finish cracked along the toe box. After that, I treat storage as part of care.
Troubleshooting common problems
Quick fixes for usual issues will help you when you need fast results on the go.
- Sticky or tacky finish: Wipe with a little soapy water and then a damp cloth. Dry fully and use a silicone-based polish sparingly.
- Persistent white residue: Clean with isopropyl alcohol on a cotton pad, then condition the area lightly.
- Repaired area cracking again: The filler used may be too rigid. Use a flexible repair compound and apply thinner layers.
- Color mismatch after touch-ups: Blend small amounts of patent paint and feather edges for a smoother transition; repeat thin layers until matched.
If a problem persists after these steps, professional help is the safest route.

Frequently Asked Questions of how to repair patent leather shoes
How can I remove scuffs from patent leather shoes?
Use a soft cloth with a small amount of mineral oil or a silicone-based patent leather cleaner. Rub gently and buff to restore shine.
Can I use regular leather polish on patent leather?
No, regular leather polishes can dull the glossy coating. Use products made for patent leather or a very light silicone-based polish.
Will clear nail polish fix cracks in patent leather shoes?
Clear nail polish can work for tiny chips and surface nicks but is not flexible enough for larger cracks. For deeper damage, use a flexible leather filler or repair compound.
How do I fix peeling on patent leather shoes?
Small peeled spots can be sealed with a repair lacquer from a patent repair kit. Extensive peeling usually requires a professional re-coat.
Is it safe to use rubbing alcohol on patent leather?
Rubbing alcohol is useful for tough stains but should be used sparingly and tested on an inconspicuous spot. Overuse can dull the finish.
How long does a DIY patent leather repair last?
A careful DIY repair can last months to years depending on wear and materials used. Proper preparation, flexible fillers, and thin coats improve longevity.
Conclusion
Repairing patent leather shoes is mostly about assessment, patience, and using flexible, glossy products that match the coating. Clean first, choose the right filler or lacquer, build repairs in thin layers, then buff and protect to restore shine. Try these steps on minor damage, and call a cobbler for major peeling or structural issues. If this guide helped, try a small repair on a discreet spot, subscribe for more shoe-care tips, or leave a comment sharing your repair story.

Rubel Miah is the Senior Editor at MyStyleGrid.com, where he brings a sharp editorial eye and an unshakable love for fashion to everything he does. A true style addict, Rubel lives and breathes trends, from streetwear to high fashion, and has a knack for turning inspiration into impactful stories. With years of experience in fashion journalism and digital media, he curates content that empowers readers to express themselves through style. When he’s not editing features or forecasting the next big thing, you’ll find him hunting down vintage pieces or capturing street style moments around the city.