Use a mesh patch, flexible sneaker glue, and tight stitching to repair torn mesh on sneakers quickly.
I’ve repaired dozens of pairs in my shop and at home, and I’ll walk you through clear, tested steps on how to repair torn mesh on sneakers. This guide shows tools, multiple repair methods, when to patch or replace, and pro tips I learned from fixing athletic and casual shoes for years. Read on to get the right fix for your shoes and save a favorite pair from the trash.

Why mesh rips and when to repair
Mesh tears happen from friction, impact, or long-term wear. A small hole can grow fast if you ignore it. Knowing how to repair torn mesh on sneakers early keeps the shoe waterproofing, support, and looks intact. Fixing a tear quickly also prevents the midsole and inner lining from getting damaged.

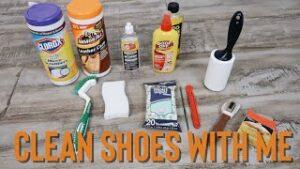
Tools and materials you’ll need
Simple tools work best. Gather what you need before you start a repair. The right supplies help the repair last longer and look cleaner.
- Mesh patches (nylon or polyester) in a color that matches your shoe.
- Flexible shoe glue or contact cement made for fabrics.
- Clear fabric repair tape or iron-on mesh patches for quick fixes.
- Needle and strong nylon thread or polyester thread.
- Scissors, tweezers, and a small paintbrush for glue.
- Isopropyl alcohol and cloth to clean the area.
- Optional: seam sealer, reinforcing fabric, and a curved needle for hard angles.
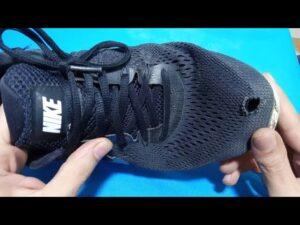
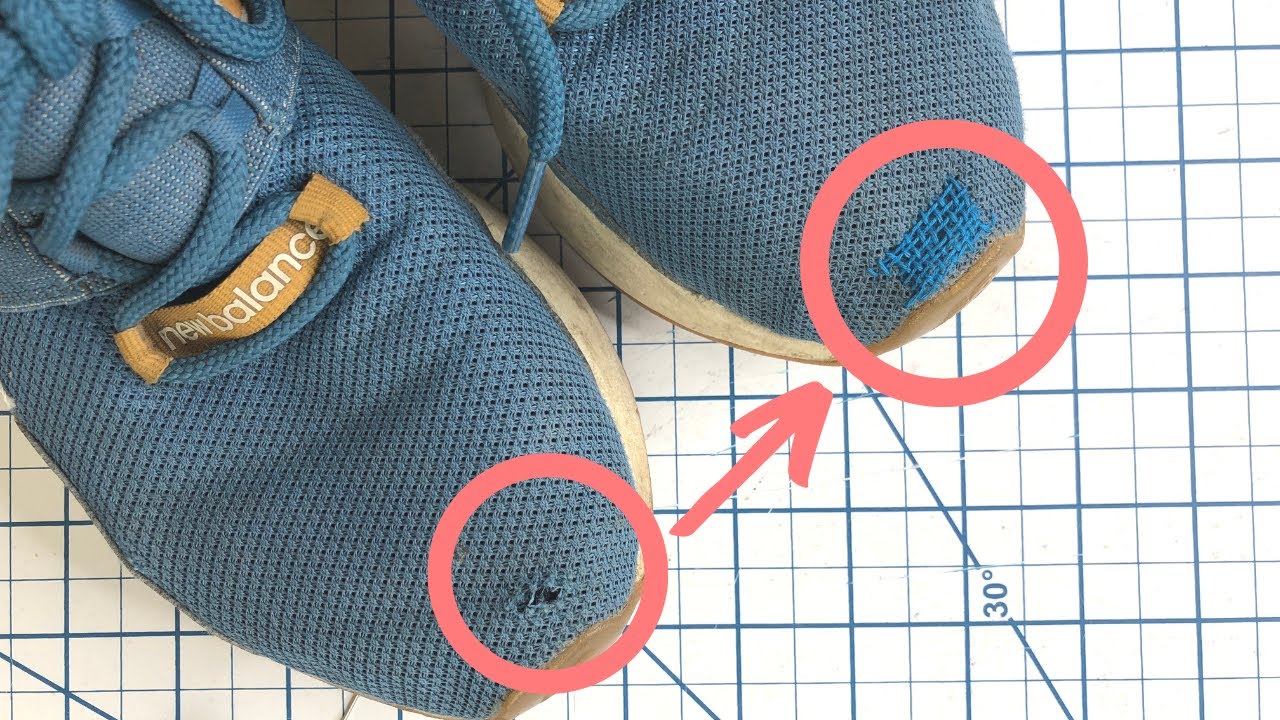
Step-by-step: small tears and runs
Small tears are the easiest to fix and the best place to start learning how to repair torn mesh on sneakers. These steps take 15–30 minutes for most shoes.
- Clean the area with isopropyl alcohol. Let it dry completely.
- Trim any frayed threads close to the mesh edge.
- Cut a small mesh patch that overlaps the tear by about 1/4 inch on all sides.
- Apply a thin layer of flexible glue to the patch or to the shoe. Use a small brush for control.
- Press the patch from the inside of the shoe against the mesh. Hold or clamp for the glue’s cure time.
- Optionally stitch around the patch edge with small, neat stitches to add strength.
This method keeps the outer look tidy and adds strength where you need it. If the tear is on a high-stress spot, add a second patch on the outside for backup.

Step-by-step: large holes and structural repairs
Larger holes need more support. Here’s how to repair torn mesh on sneakers when the damage is bigger.
- Remove the insole near the repair to access from inside, if possible.
- Clean and trim the damaged mesh. Cut away jagged bits without making the hole much larger.
- Cut a backing piece of stable fabric or mesh 1/2 inch larger than the hole.
- Glue the backing inside the shoe and let it set partially.
- Apply mesh patch on the outside. Use flexible glue between both layers so they bond.
- Use needle and nylon thread to sew the outer mesh patch to the shoe. Use small, even stitches and knot securely inside.
- Add seam sealer around the stitches to keep moisture out.
For large structural damage, consider replacing the whole panel with new mesh and a sturdy adhesive. That is more work but can restore function better than a layered patch.
Alternative methods: iron-ons, tape, and sneaker-specific glues
Not every repair needs sewing. Here are faster choices and when to use them.
- Iron-on mesh patch: Quick and clean for casual wear. Not ideal for athletic shoes that flex a lot.
- Fabric repair tape: Great for temporary fixes and travel repairs. Less durable long-term.
- Sneaker-specific adhesive: Use when you need a flexible bond. It often resists sweat and movement.
- Liquid seam sealer: Works well over stitches and edges to stop fraying.
Pick a method based on use. If you run or play sports, favor stitched and glued repairs. For fashion-only wear, iron-ons or tape can be fine. These options show different ways to handle how to repair torn mesh on sneakers with speed or durability.

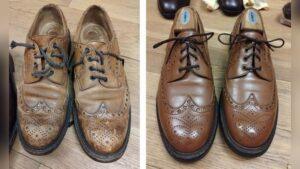
Matching color and texture; finishing touches
A great repair looks natural. Small details make a big difference.
- Match color by comparing patches under natural light.
- Trim excess patch fabric flush with the shoe once glue is fully cured.
- Use tiny, even stitches to keep the look neat.
- Clear fabric paint or a light dye can hide small color gaps.
- Clean glue smudges with isopropyl alcohol before they cure.
Take time on finishing touches. My clients notice neat seams more than an exact color match. This tip helps the repaired shoe blend into daily wear.

When to replace sneakers instead of repair
Not all shoes are worth fixing. Know when to repair and when to replace.
- Replace if the sole is separating, midsole dry-rotted, or if multiple areas need repair.
- Repair if the mesh tear is the main issue and the shoe fits well.
- High-performance footwear with structural damage may cost more to restore than to replace.
If the shoe is a high-value runner’s shoe, check the foam and support before you invest time on how to repair torn mesh on sneakers. Often the cost and performance loss mean replacement is smarter.
My experience, common mistakes, and pro tips
I’ve fixed running shoes, skate shoes, and casual sneakers for friends and customers. I learned a few things the hard way.
- Mistake: Using standard craft glue. It dries hard and cracks. Use flexible fabric glue instead.
- Mistake: Skipping cleaning. Oil or dirt stops glue from bonding properly.
- Pro tip: Stitch after gluing, not before. Glue first holds the patch; stitches add strength.
- Pro tip: Keep repairs thin. Bulky patches cause pressure and wear faster.
- Pro tip: Test a small hidden area with any adhesive before full use.
One time I repaired a favorite pair badly with thick patches. The shoe looked chunky and the patch peeled at the toe. I redid it with thin mesh and a hidden stitch, and the shoe lasted two more seasons. These lessons guide my simple, effective approach to how to repair torn mesh on sneakers.

Quick answers people ask about repairs
Q: How long does a repair last?
A: Longevity depends on activity. A good sewn-and-glued repair can last months to years for casual wear.
Q: Can I run after repairing mesh?
A: If you used flexible adhesive and reinforced stitching, light running is OK. For heavy training, monitor the repair closely.
Q: Will patches change breathability?
A: Some patches reduce breathability slightly. Use thin, breathable mesh patches to keep airflow.
These short answers help you decide which method of how to repair torn mesh on sneakers fits your needs.
Frequently Asked Questions of how to repair torn mesh on sneakers
What is the fastest way to fix a small mesh tear?
Use fabric repair tape or an iron-on mesh patch from the inside of the shoe for a quick, clean fix that takes minutes.
Can I use super glue to fix mesh?
Super glue dries brittle and often fails with flex. Use flexible fabric glue designed for shoes instead.
Will a patch show on lightweight mesh sneakers?
A patch may be visible, especially on thin mesh. Choose thin, color-matched mesh and neat stitching to minimize visibility.
How do I stop the mesh from fraying after repair?
Trim frays and apply a small amount of seam sealer or fabric glue around the edges to lock threads and prevent more fraying.
Is professional repair worth it for branded sneakers?
If the shoe is high-end or sentimental, professional repair can restore structure and looks better than a DIY patch, and it may extend shoe life significantly.
Conclusion
You can save many pairs by learning how to repair torn mesh on sneakers with simple tools and steady work. Start with cleaning and a small patch for little holes, step up to backing and stitching for larger damage, and choose adhesives made for fabric and flex. Try one method on a low-cost shoe first, then use the approach that gives the best mix of strength and appearance. If this guide helped, try a repair today, share your result, or ask a question below — I’ll help you pick the right method.

Rubel Miah is the Senior Editor at MyStyleGrid.com, where he brings a sharp editorial eye and an unshakable love for fashion to everything he does. A true style addict, Rubel lives and breathes trends, from streetwear to high fashion, and has a knack for turning inspiration into impactful stories. With years of experience in fashion journalism and digital media, he curates content that empowers readers to express themselves through style. When he’s not editing features or forecasting the next big thing, you’ll find him hunting down vintage pieces or capturing street style moments around the city.