Use a shoe stretcher or warm sock and gentle heat to expand sandals safely.
I have spent years fixing and fitting footwear for friends, family, and clients, so I know what works and what can ruin a pair. This guide clearly explains how to stretch tight sandals without damage, step by step. You will learn safe methods for leather, suede, and synthetics, how to inspect sandals first, when to call a cobbler, and common mistakes to avoid. Read on to save your sandals and your feet.
Why sandals feel tight and the risks of stretching
Sandals can feel tight for many reasons. They may be new, made from stiff materials, or designed with narrow straps. Feet also swell during heat or long days. Trying to force sandals wider can harm glue, crack leather, or warp the footbed. Knowing how to stretch tight sandals without damage means using the right method for the material and the problem area. Small, gradual changes work best to protect seams, embellishments, and sole adhesion.
Inspect your sandals before stretching
Check material and construction first. Look at the label or product page to confirm leather, suede, faux leather, rubber, or cork. Inspect seams and glued joints for weak spots. Note embellishments, beads, or painted finishes that heat or moisture can harm. Test a hidden spot with a small dab of conditioner or water to see how the material reacts. This initial check prevents common mistakes and tells you which method to use when learning how to stretch tight sandals without damage.
Safe home methods to stretch tight sandals without damage
Below are reliable methods that work for most sandals. Use each one in small steps. Stop if you see cracking, glue softening, or dye transfer.
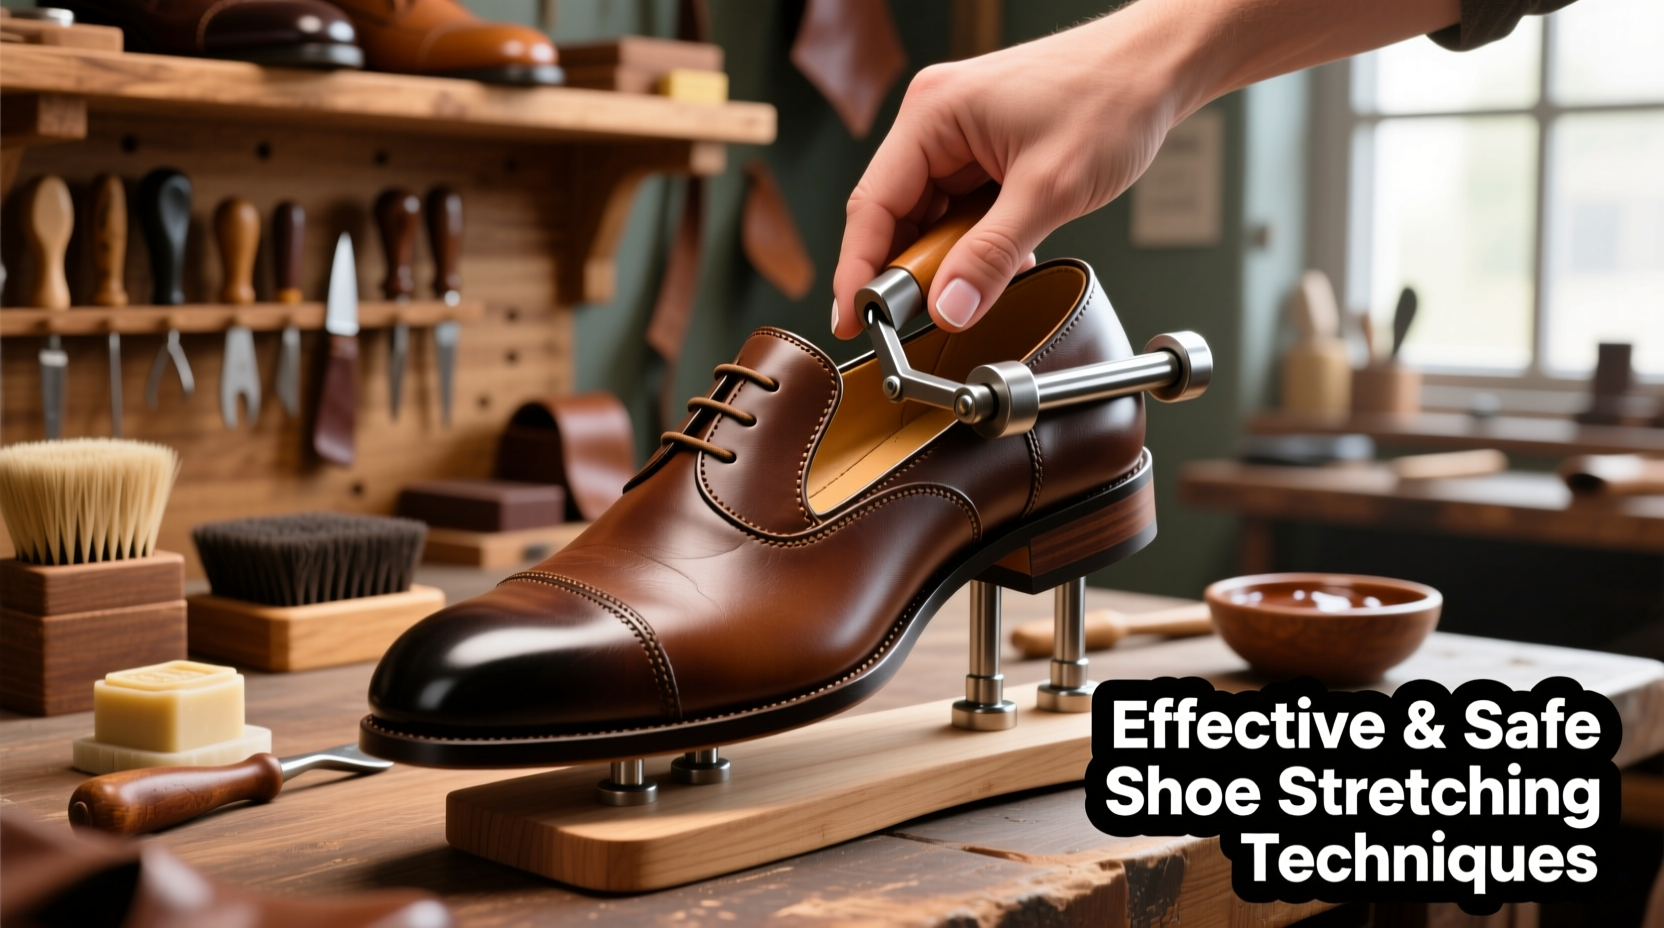
1. Shoe stretcher with adjustable knobs
- Insert a stretcher designed for sandals or open shoes.
- Turn the knob slowly to expand width or length.
- Leave it set for 6–8 hours, then check fit and repeat if needed.
This method gives controlled, even stretching and minimizes risk when doing how to stretch tight sandals without damage.
2. Thick socks plus heat
- Wear two pairs of thick socks and put the sandals on.
- Heat the tight areas with a blow dryer on medium for 20–30 seconds while flexing your foot.
- Walk around for 10–15 minutes until sandals cool.
Heat relaxes the material slightly and helps it mold to your foot. Avoid high heat and stay cautious with glued soles.
3. Stretching spray or leather conditioner
- Apply a commercial stretching spray or leather conditioner to the tight areas.
- Gently massage the product into the straps and upper.
- Use a stretcher or wear the sandals with thick socks for several hours.
This softens fibers and reduces cracking while stretching.
4. Freezing / water-bag method (use sparingly)
- Fill sealable plastic bags with water and place them inside the sandal where you need expansion.
- Put sandals in the freezer until water is fully frozen.
- Allow thawing before removing bags.
Only use on solid, waterproof footbeds and synthetic straps. Do not use this method on delicate leather or glued soles because freezing can weaken glue and finish.
5. Steam method for suede and fabric
- Hold the sandal above (not in) boiling water to get steam to the tight area for 10–20 seconds.
- Wear the sandal with thick socks until it cools.
Steam opens suede fibers gently. Use suede brush afterward to restore nap.
6. Professional cobbler for stubborn or expensive sandals
- A cobbler has professional stretchers and solvents that protect glue and finish.
- This is the safest option for leather, hand-stitched sandals, or sandals with beading.
If you value the pair, pay for professional stretching rather than risk damage when attempting how to stretch tight sandals without damage.

Material-specific guidance
Different materials need different care. Follow these tips to stretch without harm.
Leather
- Use leather conditioner first to prevent drying.
- Use a shoe stretcher or heat-with-socks method.
- Stretch slowly; leather will hold shape after a few sessions.
Suede and nubuck
- Use steam or a suede-specific stretching spray.
- Brush nap gently after stretching to restore texture.
- Avoid oils and heavy water contact.
Faux leather and synthetic straps
- These tolerate heat and water better but can warp if overheated.
- Freezing method can work for some synthetics.
- Test an edge first.
Cork and molded footbeds
- Avoid soaking or heat on cork.
- Add padding or use professional reshaping.
- Do not force major size changes; replace if too tight.
Rubber and plastic soles
- Heat can make these pliable but also misshape the sole.
- Prefer mechanical stretchers and professional help.

Troubleshooting common problems
Straps that rub the toes
- Add thin gel toe pads or cut a small piece of moleskin to protect skin.
- Stretch only the strap area using a small spacer or toe stretcher.
Heel slippage after stretching
- Use heel grips or thin insoles to fill space.
- Avoid over-stretching lengthwise; that causes slippage.
Sole separation or glue softening
- Stop any heat or water method immediately.
- Take sandals to a cobbler for re-gluing and safe stretch.
Discolored or cracked finish
- This indicates over-treatment.
- Use a color restorer or professional refinishing for leather.
When unsure, test on an inside edge first to avoid permanent cosmetic damage while practicing how to stretch tight sandals without damage.

Maintenance and break-in tips to prevent future tightness
Break in new sandals gradually. Wear them around the house for short sessions. Rotate sandals with other shoes to avoid overuse. Condition leather monthly if you wear them often to maintain suppleness. Store sandals in a cool, dry place away from direct sun to prevent drying and shrinkage. These habits make it easier to manage how to stretch tight sandals without damage later on.
Frequently Asked Questions of how to stretch tight sandals without damage
What is the safest method to stretch tight sandals at home?
The safest is a shoe stretcher used with a leather conditioner or stretching spray. It gives controlled expansion and reduces the risk of cracking or glue failure.
Can I use a hair dryer on leather sandals?
Yes, but use low to medium heat and keep it moving. Overheating can dry out or crack leather and can weaken glued parts.
Will freezing sandals damage them?
Freezing can work for rigid synthetics and some footbeds, but it can weaken glue and harm leather. Test on an inconspicuous spot first.
How long does stretching usually take?
Most methods need multiple short sessions over a few days. Expect 2–3 sessions for light adjustment and a week for more change.
When should I see a cobbler instead of stretching myself?
If sandals are expensive, hand-stitched, or have complex embellishments, go to a cobbler. Also consult a cobbler if you see sole separation or major structural limits.
Can I stretch sandals that are one size too small?
Small adjustments are possible, usually width rather than length. One full size bigger is hard to achieve safely at home without risking damage.
Conclusion
You can successfully learn how to stretch tight sandals without damage by choosing the right method for the material, inspecting the sandals first, and taking slow, careful steps. Use a stretcher or gentle heat with thick socks for most leather and faux leather pairs, use steam for suede, and rely on a cobbler for valuable or complex sandals. Start small, test hidden spots, and stop if you see damage. Try one safe method today, and share your results or questions below — subscribe or leave a comment to get more shoe care tips.

Rubel Miah is the Senior Editor at MyStyleGrid.com, where he brings a sharp editorial eye and an unshakable love for fashion to everything he does. A true style addict, Rubel lives and breathes trends, from streetwear to high fashion, and has a knack for turning inspiration into impactful stories. With years of experience in fashion journalism and digital media, he curates content that empowers readers to express themselves through style. When he’s not editing features or forecasting the next big thing, you’ll find him hunting down vintage pieces or capturing street style moments around the city.