Use glue, stitch, or patch depending on the tear; choose method by material and location.
I’ve repaired hundreds of shoes in my life and workshop. I know what works and what fails. This guide explains how to fix a torn shoe step by step. You’ll get clear methods for fabric uppers, separated soles, and ripped heels. I’ll share tools, commonsense tips, and lessons I learned the hard way. Read on to save your favorite pair and learn the best practices for lasting repairs.
Why shoes tear: common causes and quick diagnosis
Shoes fail for a few simple reasons. Constant bending and pressure weaken seams and glue. Wet conditions and poor fit speed wear. Knowing the cause helps you decide how to fix a torn shoe.
Look at where the rip is. Check material type. Note whether the sole is lifting or the upper is split. This quick exam tells you whether you need glue, stitches, or a cobbler’s help.

Materials and tools you'll need
A small kit covers most repairs. Collect these items before you start.
- Super glue or shoe glue that bonds rubber and leather.
- Shoe repair cement for soles and heavy wear.
- Heavy nylon or polyester thread and a curved awl or needle.
- Shoe patches (leather, fabric, or rubber) sized to the area.
- Sandpaper, rubbing alcohol, clamps, and masking tape.
- Optional: sewing awl tool for strong stitches.
Having the right tools makes repairs last. Pick adhesives made for shoes. They flex and resist moisture. This matters when you learn how to fix a torn shoe well.

Quick fixes: glue, tape, and temporary patches
When you need a fast fix, these methods work. They can hold a shoe long enough to do a full repair later.
Steps for a glue fix
- Clean the area with rubbing alcohol and let it dry.
- Roughen both surfaces with sandpaper.
- Apply thin, even glue to both sides.
- Press together and clamp for the recommended time.
- Trim excess glue once cured.
Tape and temporary patches
- Use cloth tape inside a split upper to stop the tear from growing.
- Use strong waterproof tape on soles in a pinch.
- These are short-term. They buy time to do a proper fix.
Quick fixes help you test how to fix a torn shoe on the spot. For lasting results, use full repairs later.

Step-by-step repairs by tear type
Below are clear steps for common tears. Pick the section that matches your shoe.
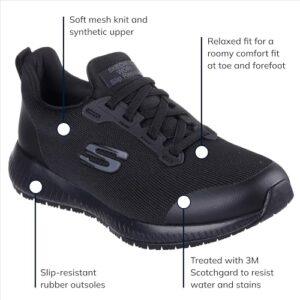
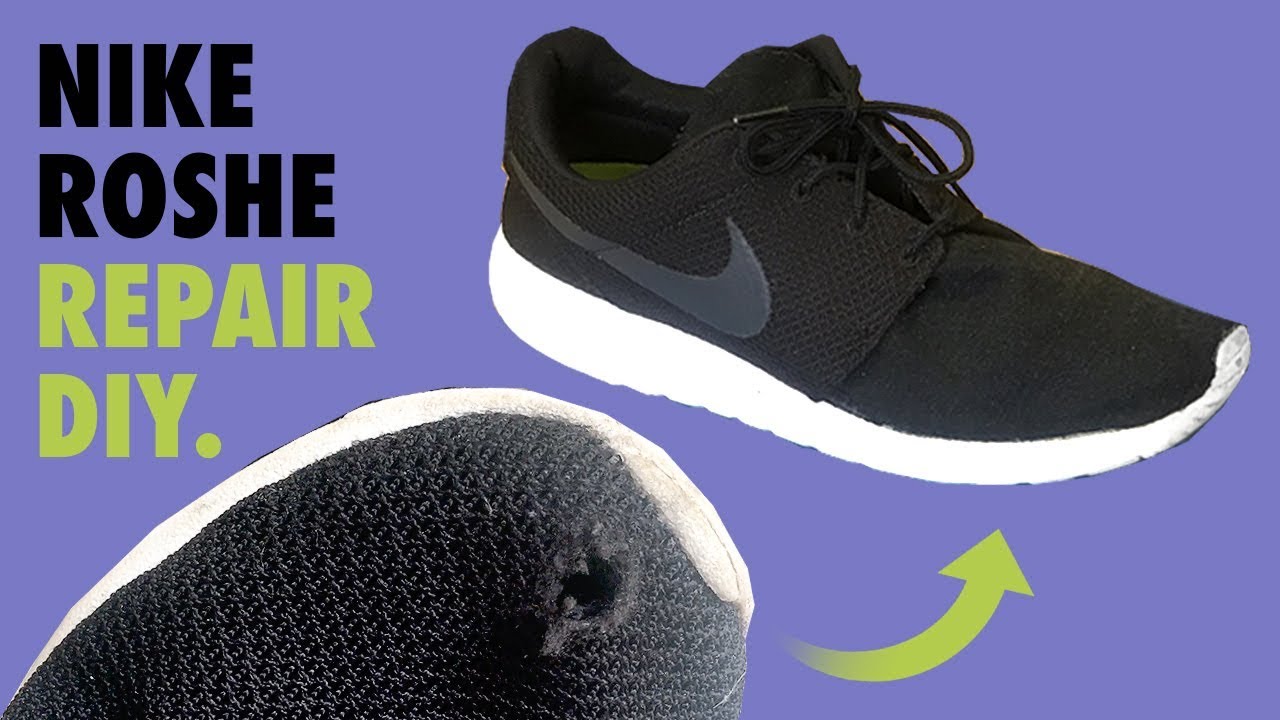
Torn upper (fabric or mesh)
- Clean the area and dry it.
- Apply a small patch behind the tear using flexible fabric glue.
- Press patch flat and let cure.
- For larger tears, sew the edges first, then glue and add a patch.
- Trim loose threads.
This method keeps the shoe flexible and neat. It works for canvas, knit, and mesh uppers.
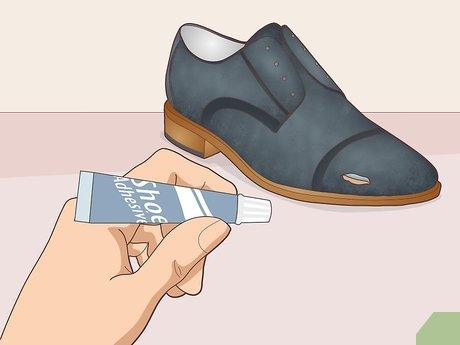
Leather upper split
- Clean with alcohol and dry.
- Use leather glue on the split edges.
- Press and clamp.
- For strength, sew a few hidden stitches with waxed thread after glue cures.
- Condition leather to blend repair.
Leather needs glue that stays flexible. I often use a small stitch to reinforce the glued seam.
Separated sole
- Clean the sole and shoe edge.
- Roughen both surfaces.
- Use shoe repair cement; spread thin.
- Clamp for the full cure time, often 24 hours.
- Trim cured glue and test walk gently.
If the sole is badly worn or the midsole is damaged, seek a cobbler. Most home fixes handle edge separation well.
Heel or back seam tear
- If seam is split, trim frayed threads.
- Re-stitch with a curved needle or sewing awl.
- Add a leather or fabric patch inside for extra support.
- Glue edges after stitching for water resistance.
Heels get stress. Reinforce visible seams to prevent repeat tears.
How to fix a torn shoe depends on the tear type. Follow the matching steps above for best results.

Advanced repairs and when to seek a cobbler
For heavy damage, use pro tools or a cobbler. Advanced repairs include sole replacement and last reshaping.
Pro-level steps
- Use vulcanizing glue for rubber soles.
- Stitch through the welt for durable shoes.
- Replace midsoles and insoles when needed.
When to go to a cobbler
- Major sole failure or full sole replacement.
- Structural damage in boots or hiking shoes.
- High-value or sentimental shoes that need lasting work.
I once tried to fix a full sole failure at home. I learned that a cobbler’s tools and materials saved the shoe. Cost was fair compared to the time I spent. Be honest about your skill. If a repair is beyond your tools, a pro will save time and money.

Preventing future tears: care and maintenance
Preventive care extends shoe life and lowers repairs. Simple steps make a big difference.
- Rotate shoes to reduce constant wear.
- Keep shoes dry and clean after use.
- Apply leather conditioner or fabric protector.
- Replace worn insoles for better support.
- Fix small scuffs and weak spots early.
Prevention is the best answer to how to fix a torn shoe you’ll never need to perform. Small habits protect your shoes and your wallet.

Common pitfalls and mistakes to avoid
These small errors ruin repairs. Avoid them for better results.
- Using the wrong glue that stays hard and cracks.
- Skipping surface prep; glue won’t stick to dirty parts.
- Over-stitching thin materials and causing new tears.
- Rushing clamping and not letting glue fully cure.
I used household superglue once on a flexible sole. It hardened and cracked. I had to redo the repair with proper shoe cement. Learn from that mistake. Use the right product and wait the full cure time.

PAA-style questions (short answers)
What is the best glue to use for shoes?
Use a flexible shoe adhesive made for rubber or leather. Shoe repair cement and contact cement are top choices.
Can I sew a torn shoe instead of gluing?
Yes. Sewing adds strength. Use heavy thread and a curved needle. Combine with glue for best results.
How long should shoe glue cure before walking?
Most shoe glues need 12 to 24 hours to cure. Follow the product instructions for safe use.
Will a repair be waterproof?
Some glues and patches are water-resistant. For full waterproofing, use specialist adhesives and sealed stitching.
Can I fix high heels at home?
You can fix small tears and reattach soles. For structural fixes or shank issues, a cobbler is best.
Frequently Asked Questions of how to fix a torn shoe
How long will a DIY shoe repair last?
A good DIY repair can last months to years. Longevity depends on the material, method, and how the shoe is used.
Is sewing better than gluing for torn shoes?
Sewing gives mechanical strength. Gluing adds water resistance and bond. Combining both often yields the best result.
Can I repair a sole that is coming off?
Yes, for edge separations. Use shoe cement and clamp. For full sole damage, consider a cobbler.
What if my repair fails after a week?
Check for wrong glue or poor prep. Clean and reapply with proper adhesive. For repeated failure, seek professional help.
Are home patches visible on shoes?
They can be, but you can match materials and colors. Interior patches are a discreet option.
Conclusion
You can save many shoes with small fixes. Clean the area, pick the right glue or stitch, and use patches where needed. Know when a cobbler is the smarter choice. Start with honest diagnosis, follow the right steps, and let adhesives fully cure. Try one repair on an old pair first. Share your results or questions below, and subscribe for more hands-on shoe care tips.

Rubel Miah is the Senior Editor at MyStyleGrid.com, where he brings a sharp editorial eye and an unshakable love for fashion to everything he does. A true style addict, Rubel lives and breathes trends, from streetwear to high fashion, and has a knack for turning inspiration into impactful stories. With years of experience in fashion journalism and digital media, he curates content that empowers readers to express themselves through style. When he’s not editing features or forecasting the next big thing, you’ll find him hunting down vintage pieces or capturing street style moments around the city.