Fix most separated boot soles at home using the right glue, prep, clamps, and a little patience.
I’ve repaired dozens of boots myself and taught others the same hands-on tricks. This guide shows how to repair separated boot soles at home with clear steps, the best adhesives, tools, and common pitfalls to avoid. You’ll learn prep, bonding, clamping, finishing, and when to call a pro. Read on and you’ll feel confident fixing your own boots quickly and safely.

Why boot soles separate and what that means for repair
Separated soles happen when the sole pulls away from the upper. Age, water, heat, and worn glue cause it. Heavy use, poor storage, and cheap manufacturing make separation more likely. A loose sole can make boots unsafe and let water in. Knowing the cause helps pick the best fix.
Common causes
- Glue failure from age or poor original bonding
- Water and salt that break down adhesives
- Repeated flexing at the toe or heel
- Sole damage or missing stitching
What to assess before you fix
- How wide and long is the separation?
- Is the sole cracked or only unglued?
- Are there missing stitches or sole chunks?
- Is the boot leather or synthetic?
Understanding the problem sets the right plan to repair separated boot soles at home. If the sole is ripped or the midsole is crushed, a simple glue fix may not hold. For many clean separations, DIY repair works well.

Tools and materials you’ll need
Use the right tools. Good prep and proper glue matter more than fancy gear. Gather everything before you start.
Must-have items
- Solvent like rubbing alcohol or acetone for cleaning
- Sandpaper (80–220 grit) for roughening surfaces
- Contact cement or urethane shoe glue for flexible bonds
- Small brush or wooden stick to spread adhesive
- Clamps, heavy books, or rubber straps to press parts together
- Utility knife and needle-and-thread if stitching is needed
- Optional: leather conditioner and edge sealer
Recommended adhesives
- Urethane-based shoe glue for long-lasting, flexible bonds
- Contact cement for quick tack and strong hold on leather/rubber
- Epoxy only for non-flexing repairs on rigid soles
I prefer urethane adhesives for most boot repairs. They remain flexible and resist water. I keep a tube at home for quick fixes.

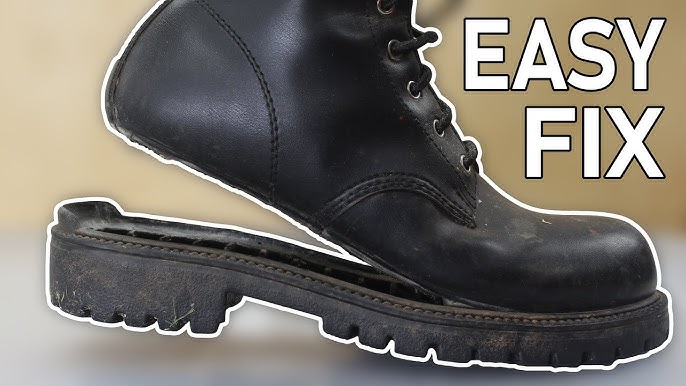
Step-by-step: How to repair separated boot soles at home
Follow these steps for a reliable fix. Take your time at each stage. Rushing the glue cure is the most common mistake.
- Inspect the damage
- Clean off dirt and loose bits.
- Check if glue or stitching failed.
- Decide whether to glue only or glue and stitch.
- Clean the surfaces
- Remove old adhesive with a scraper and solvent.
- Wipe both surfaces until dry and grease-free.
- Let solvent fully evaporate.
- Roughen the contact areas
- Lightly sand both sides where the glue will sit.
- Increase surface area so the glue bonds better.
- Dust off sanding debris.
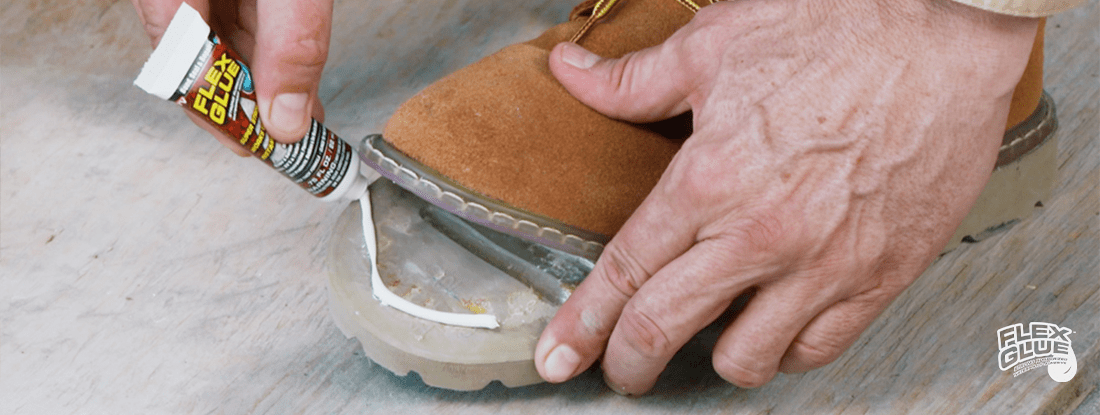
- Apply the adhesive
- Follow product instructions for thin or thick layers.
- For contact cement, coat both surfaces and let dry until tacky.
- For urethane glue, apply a thin even layer to one side.
- Join and clamp
- Align the sole carefully. Once joined, reposition is hard.
- Use clamps, heavy books, or straps to hold pressure.
- Keep consistent pressure over the whole area.
- Cure time and finish work
- Allow full cure per product label—often 24 hours.
- Trim excess glue with a razor once set.
- Touch up edges with edge sealer or dye if needed.
Practical tip from experience: always clamp for at least the minimum cure time. I once peeled a fresh repair by walking too soon. That cost me a re-do and a frustrated evening.

Stitching and reinforced repairs for long-term hold
Gluing often works. But stitching adds strength when the sole will take heavy stress. Use stitching if the boot had stitches originally or the separation is near the toe box.
When to stitch
- If the original shoes had welt or Blake stitching
- Where the bond will flex a lot
- When you want a more permanent fix
How to stitch a sole
- Use an awl to make holes through the sole and upper.
- Use strong bonded nylon or polyester thread.
- Tie secure knots and hide tails with glue.
I learned basic stitching at a repair class. My first stitched repair lasted years and held up to hiking. Stitching takes practice but pays off.
Alternative fixes and quick temporary repairs
Sometimes you need a fast patch. These options are temporary or specific to certain materials.
- Shoe glue or superglue for small peels on walks
- Duct tape or repair tape for short-term water resistance
- Rubber cement for quick but weak hold
Longer-term but DIY
- Full resoling kits if the sole is worn beyond gluing
- Professional resoling when tread or midsole is damaged
Keep in mind: temporary fixes can let you get home, but they rarely replace a proper repair. I use shoe glue in a pinch, then re-do a stronger repair at home later.

Prevention and maintenance to avoid future separation
Simple care keeps soles stuck and boots lasting longer. Prevention beats repair.
Daily habits
- Dry wet boots slowly, away from heat sources
- Clean salt and dirt after each use
- Apply leather conditioner to keep uppers flexible
Seasonal care
- Re-glue small peels before they grow
- Store boots in a cool, dry place
- Replace worn soles at a cobbler rather than wait for failure
Good storage and quick spot fixes reduce the chance you’ll need to repair separated boot soles at home again. Regular checks catch base problems early.

Cost, time, and when to choose a professional
DIY saves money. But not all repairs belong in your garage.
DIY vs pro
- Small separations: DIY costs under $20 and a few hours.
- Major sole damage, hidden midsole rot, or complex stitching: seek a cobbler.
- Resoling at a shop can cost $40 to $120 or more depending on materials.
When to go pro
- If the sole is split or heavily worn
- If the shoe is expensive, vintage, or has unique construction
- If you lack tools or confidence for stitching
I send boots to a cobbler when the work needs custom soles. That service often extends the life of a favorite pair more than repeated DIY fixes.
Safety tips and limitations
Be careful with solvents and adhesives. Work in a ventilated area. Wear gloves when using strong glue. Follow label instructions and store chemicals safely.
Limitations to expect
- Some modern footwear uses glued and molded parts that resist DIY fixing
- Glue alone may fail if structural elements are damaged
- Fast cures can be brittle; flexible urethane is best for walking boots
Be honest about your tools and skill. If a boot has structural failure, professional resoling is safer and more durable.

Personal experience, mistakes to avoid, and pro tips
I’ve repaired hiking boots, motorcycle boots, and dress shoes at home. I learned a few lessons the hard way.
Mistakes to avoid
- Skipping surface prep makes repairs fail fast
- Walking on the boot before full cure ruins the bond
- Using the wrong adhesive (superglue on a flexible sole)
Pro tips
- Match adhesive type to material: urethane for flexibility, contact cement for leather/rubber
- Use gentle heat to flatten warped soles before bonding
- Keep spare glue, sandpaper, and clamps in your repair kit
These small moves saved me time and boots. A steady hand and patience matter most.
Frequently Asked Questions of how to repair separated boot soles at home
How long does glue need to cure before wearing the boot?
Most urethane adhesives need 24 hours for full cure. Some contact cements set quicker, but wait the recommended time on the label.
Can I use superglue to fix my boot sole?
Superglue bonds quickly but is brittle and can crack on flexing. Use it only for small, non-flex areas or quick temporary fixes.
Will sanding damage my boots?
Light sanding just roughens surfaces for better adhesion. Avoid sanding through material or damaging decorative edges.
How do I fix a sole that keeps peeling after repair?
Check for trapped moisture, oils, or bad adhesive choice. Fully clean and sand, then use a flexible urethane glue and clamp long enough.
Is resoling at home possible for thick boots?
Full resoling needs tools and skill for trimming and stitching. It’s possible but often better done by a professional for thick soles and complex construction.
Conclusion
You can successfully repair separated boot soles at home with the right prep, adhesive, and patience. Start by cleaning and sanding both surfaces, choose a flexible urethane or contact cement, clamp well, and let the glue fully cure. For heavy wear or structural damage, seek a skilled cobbler. Try a simple repair on a weekend and keep tools ready so small peels don’t become big problems. Share your repair stories, subscribe for more how-to guides, or leave a comment if you want step-by-step help on a specific boot.

Rubel Miah is the Senior Editor at MyStyleGrid.com, where he brings a sharp editorial eye and an unshakable love for fashion to everything he does. A true style addict, Rubel lives and breathes trends, from streetwear to high fashion, and has a knack for turning inspiration into impactful stories. With years of experience in fashion journalism and digital media, he curates content that empowers readers to express themselves through style. When he’s not editing features or forecasting the next big thing, you’ll find him hunting down vintage pieces or capturing street style moments around the city.