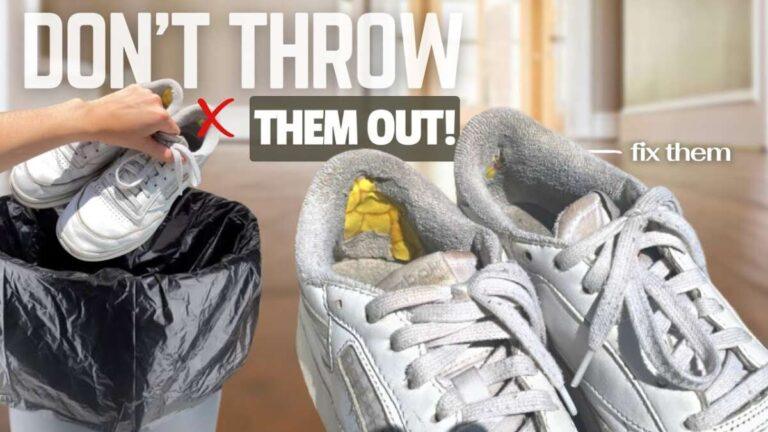
Replace or repair torn boot linings with glue, patches, or a simple sewing fix.
I’ve spent years fixing boots, from workwear to hiking pairs, so I know what works and what fails. This guide on how to repair torn lining inside boots walks you through tools, quick fixes, durable sewing, adhesive and patch methods, and full relining. Read on for step‑by‑step advice, real tips from my shop experience, and clear decisions so you save your favorite boots without guesswork.

Tools and materials you’ll need for how to repair torn lining inside boots
Start with the right kit. Good tools make the repair clean and last longer. Basic supplies include:
- Sharp scissors or a sewing awl
- Needles sized for leather or heavy fabric
- Heavy‑duty thread or nylon cord
- Contact cement or flexible shoe glue
- Fabric or leather patches sized to the tear
- Thimble, clamps, and masking tape
- A seam ripper for removing old lining when needed
If you plan to sew, use a curved needle and waxed thread. If you plan to glue, pick a flexible shoe adhesive. I learned early that cheap glue peels fast; use a product meant for footwear. These materials set you up to repair torn lining inside boots cleanly and durably.
Quick repairs for small tears and worn spots
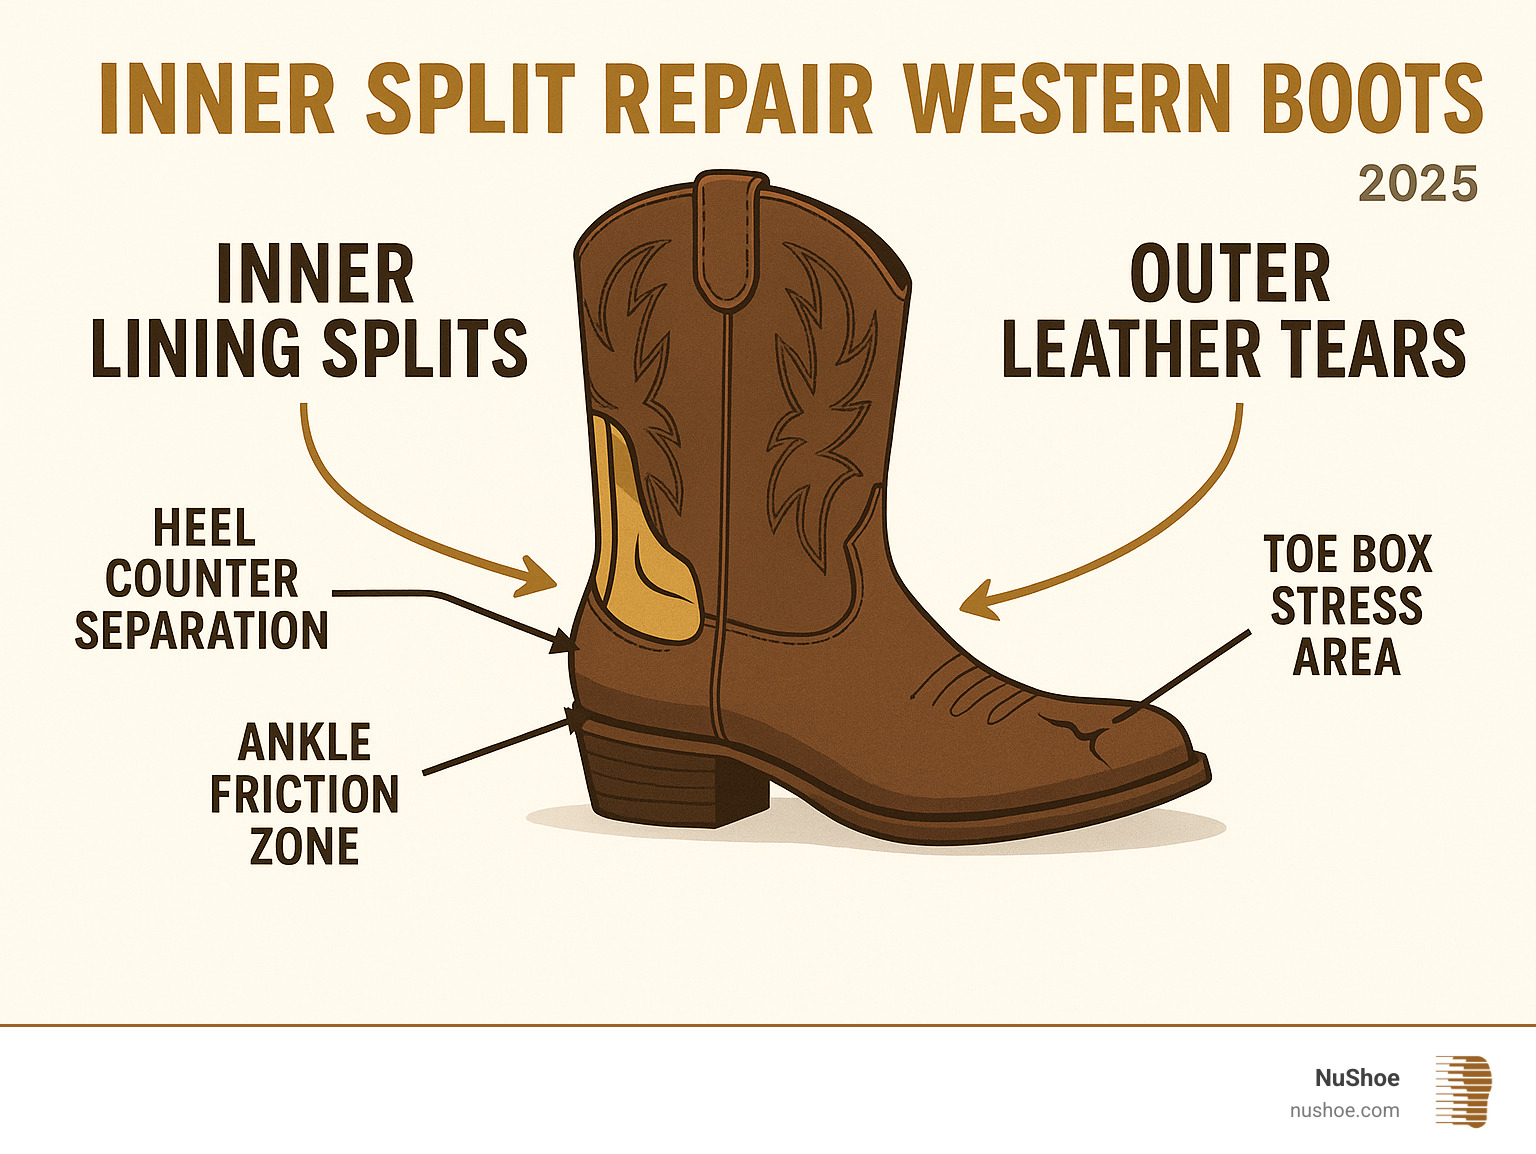
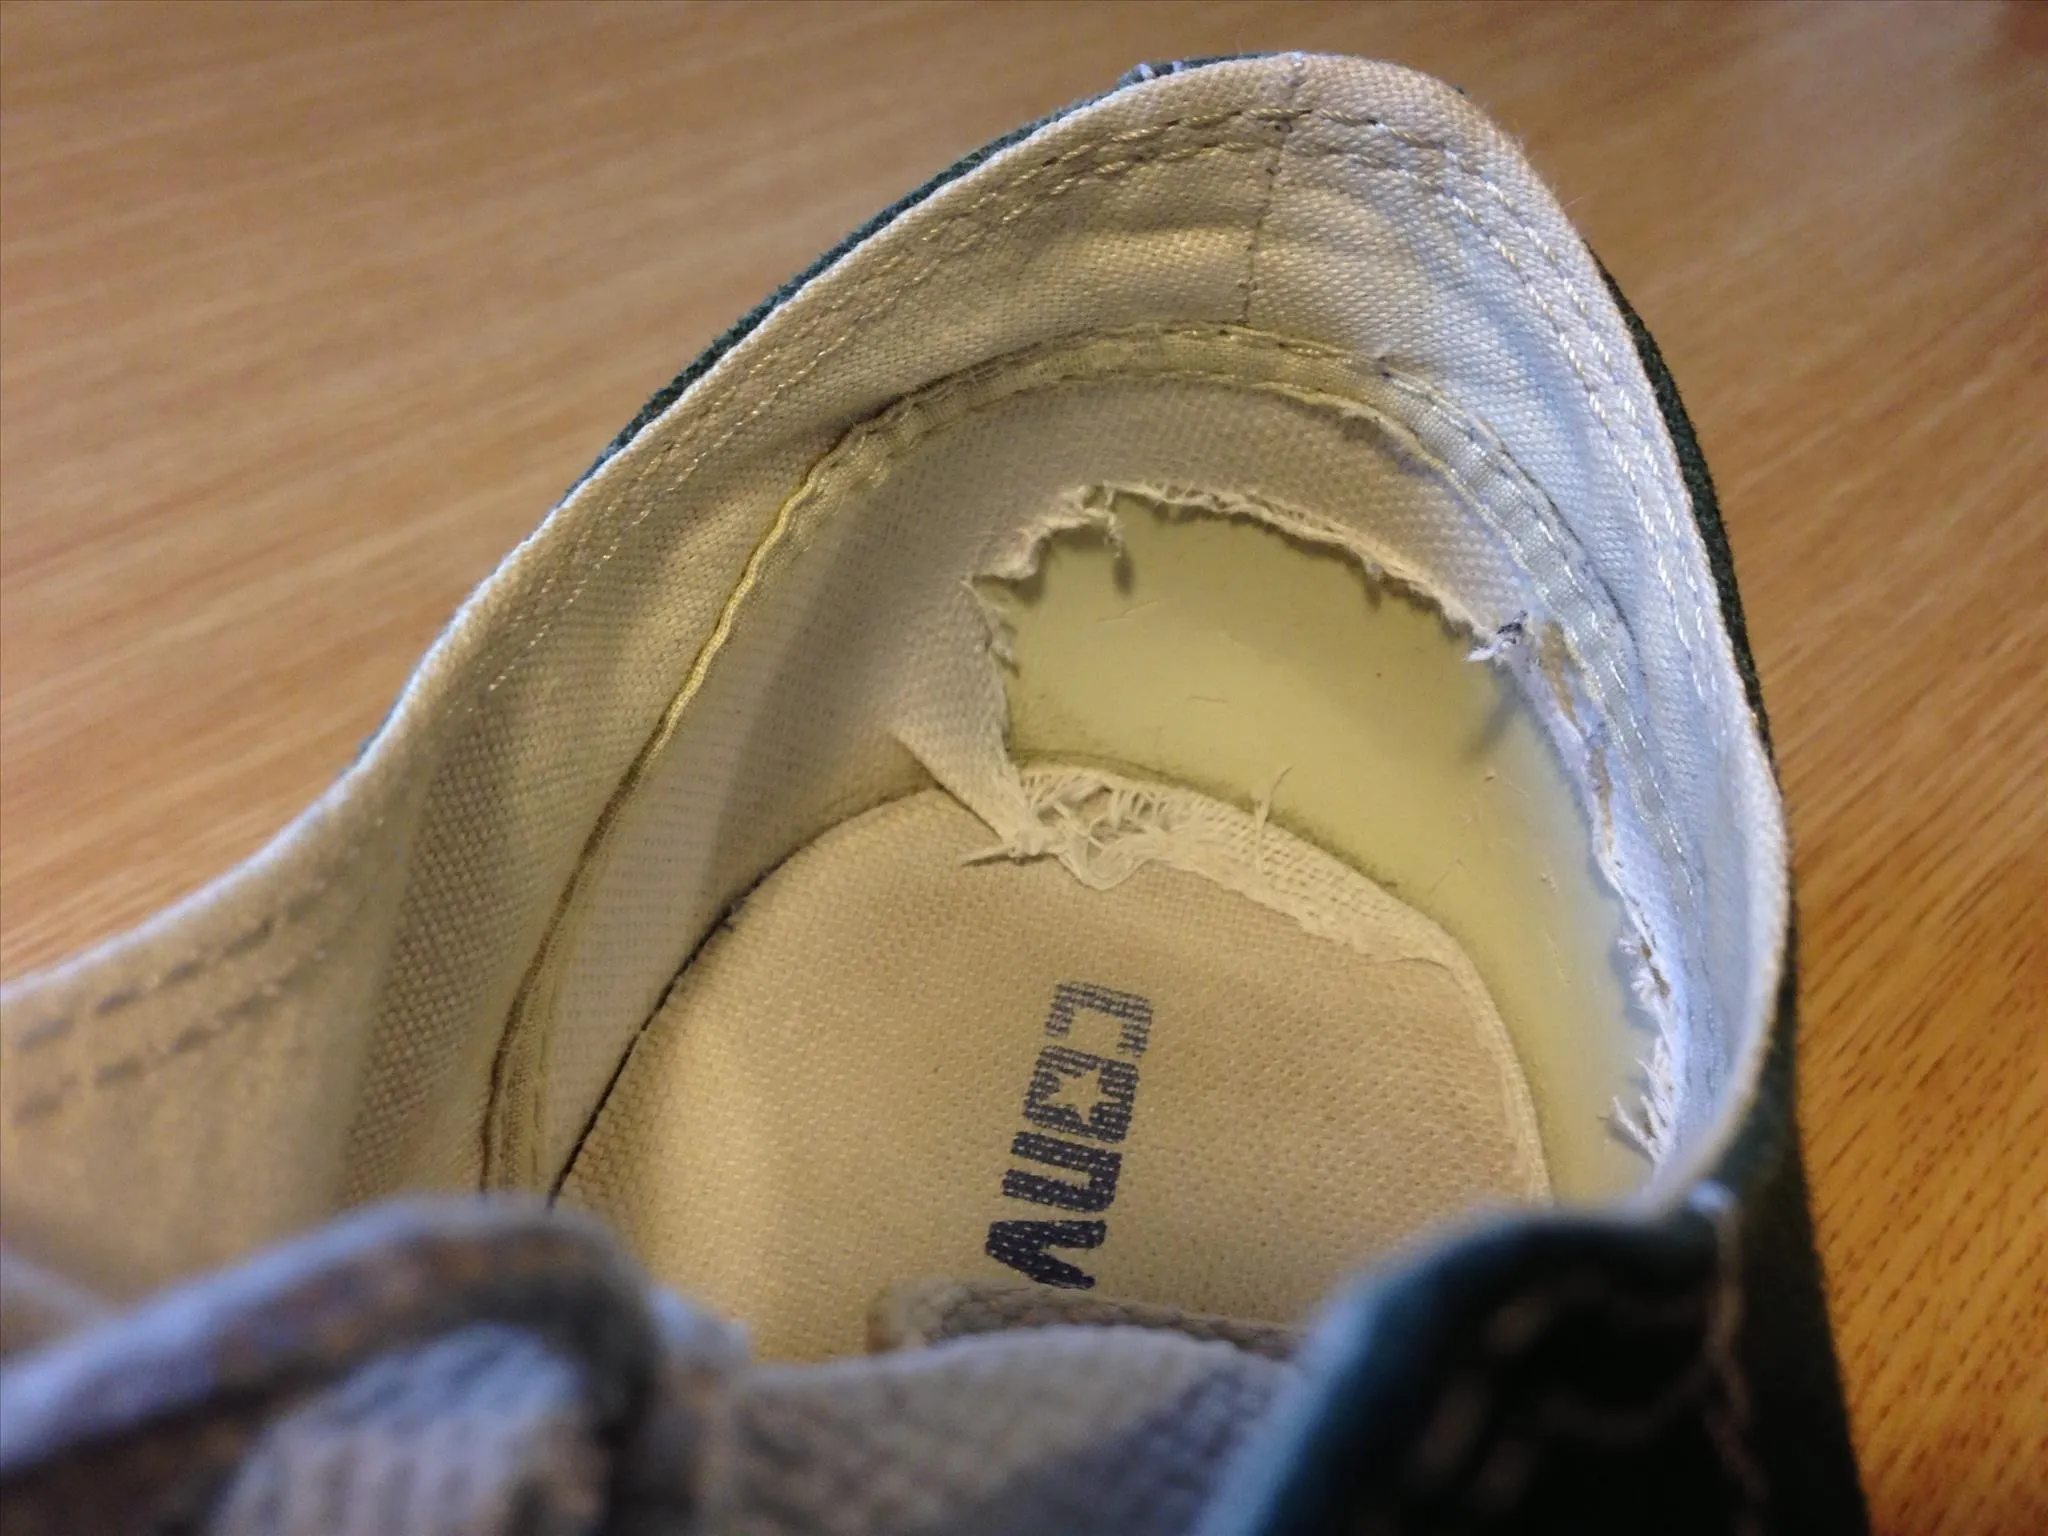
Small tears are common behind the heel or on the inner ankle. Fix them fast to stop the damage from growing.
- Clean and dry the boot interior first.
- Trim loose threads and frayed edges.
- Apply a small fabric patch on the inside with flexible glue.
- Press and clamp for the glue’s recommended time.
- If the tear is along a seam, a quick hand stitch using lockstitch or backstitch often holds.
A quick patch or stitch is perfect when you need a fast, low‑cost repair. For long term results, pair adhesive with light stitching when possible. This approach prevents the need for major work later and is a core part of how to repair torn lining inside boots.
Sewing method for a durable repair to how to repair torn lining inside boots
Sewing is the most reliable way to fix large or structural tears. It takes time but gives the best longevity.
- Remove any old adhesive or lining debris with a seam ripper.
- Turn the boot inside out if possible, or work with an exposed lining area.
- Trim ragged edges so fabric sits flat.
- Use a curved needle and strong thread. Double the thread for strength.
- Use a running stitch for non‑stress areas; use backstitch on high‑stress seams.
- Knot securely and hide knots under a patch or seam.
From my experience, taking the time to access the seam and use proper stitches beats slapping glue on a big tear. Sewing is central to how to repair torn lining inside boots when you want a lasting fix.

Using patches and adhesives: best practices
When the lining is brittle or torn over a wide area, combining patching with adhesive works well.
- Choose a patch material that matches the lining flexibility: thin leather, canvas, or knit fabric.
- Cut the patch slightly larger than the damaged area.
- Roughen both surfaces lightly so glue grabs.
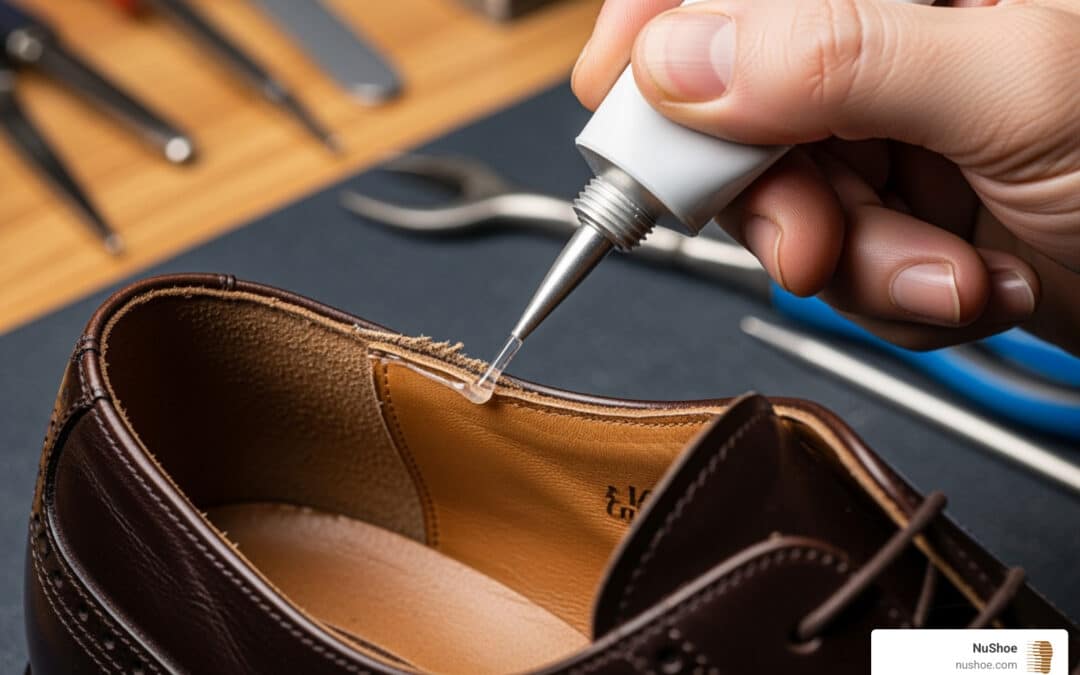
- Apply contact cement or a flexible shoe glue in thin coats.
- Position the patch, press firmly, and clamp or weigh down.
- Let cure for the full time recommended.
Tip from my shop: use glue for flexibility and a few whipstitches around the patch for backup. This hybrid method is often the right answer when learning how to repair torn lining inside boots for medium to large damage.
Replacing the entire lining when minor fixes won’t do
Sometimes the lining is beyond repair due to heavy wear, odour, or multiple tears. Full relining restores fit and comfort.
- Remove the insole and detach the lining carefully with a seam ripper.
- Use the removed lining as a pattern for cutting new material.
- Choose lining fabric with breathability and durability.
- Attach the new lining by hand sewing or by using industrial adhesives used in footwear.
- Reinstall insoles and check fit.
Full relining is a bigger job but brings old boots back to life. I’ve relined leather hiking boots and work boots; patience during removal and accurate patterning are key skills when you tackle how to repair torn lining inside boots at this level.

Preventive care to avoid future lining tears
Small habits prevent big repairs. Consistent care reduces how often you need to repair torn lining inside boots.
- Rotate footwear so one pair isn’t worn daily.
- Use moisture‑wicking socks to cut interior dampness.
- Air boots out after use and dry them at room temperature.
- Avoid heat sources that dry and crack lining material.
- Condition leather linings with products meant for leather interiors.
A little care saves money and keeps linings intact longer. I’ve kept several pairs usable for years just by addressing moisture and fit early.
Troubleshooting and when to seek a professional
Not every repair is DIY. Know when to stop and get expert help.
- If the lining tear is near structural elements, such as the ankle support, consult a cobbler.
- If glue repeatedly peels, the underlying material may need replacement.
- If you lack tools or confidence, a professional can relaunch the boot faster and cleaner.
Professionals have equipment and adhesives that aren’t consumer grade. When you want a long‑lasting repair and you’re unsure, budget for a cobbler. This keeps you from repeating attempts and wasting materials while learning how to repair torn lining inside boots.

PAA-style quick questions
What’s the fastest way to repair a small tear?
- Clean, glue on an interior patch, and press firmly. Add a few stitches if time allows.
Can I use super glue inside boots?
- Avoid general super glue; it becomes brittle. Use a flexible shoe adhesive instead.
Will replacing the insole fix inner lining tears?
- Not usually. Insoles help comfort but don’t repair lining fabric or seams.
How long should glued repairs cure before wearing?
- Allow the full cure time on the glue label, usually 12–24 hours, for best bond strength.
Is sewing better than glue for lining repairs?
- Sewing is more durable on seams. Glue is faster for flat patches. Often use both.
Frequently Asked Questions of how to repair torn lining inside boots
How do I know if a tear needs a full relining?
If multiple areas tear or the lining is brittle and odorous, full relining is better than patching.
Can I use household fabric for a lining patch?
Yes, but choose fabric that breathes and holds up to friction, like canvas or thin leather.
How long does a DIY lining repair usually last?
With proper materials and technique, a repair can last months to years depending on wear.
Will repairs change the boot fit or comfort?
Proper repairs keep fit similar. Bulky patches or glue lumps can change comfort, so trim and smooth carefully.
Can I wash boots after repairing the lining?
Spot clean only. Excess water can loosen glue and weaken stitches, so avoid machine washing.
Conclusion
Repairing torn lining inside boots is a skill you can learn with a few tools and patience. Start with small patches and glue for quick fixes, use proper stitches for durable seams, and consider full relining when damage is extensive. From personal shop work, the biggest wins come from choosing the right adhesive, using strong thread, and keeping boots dry. Try a small repair on a favorite pair today, and share your results or questions below to learn more from the community.

Rubel Miah is the Senior Editor at MyStyleGrid.com, where he brings a sharp editorial eye and an unshakable love for fashion to everything he does. A true style addict, Rubel lives and breathes trends, from streetwear to high fashion, and has a knack for turning inspiration into impactful stories. With years of experience in fashion journalism and digital media, he curates content that empowers readers to express themselves through style. When he’s not editing features or forecasting the next big thing, you’ll find him hunting down vintage pieces or capturing street style moments around the city.