Use a mild vinegar solution and a soft cloth or brush to gently lift salt stains.
I write about shoe care and I have cleaned hundreds of pairs after harsh winters. I will show you step-by-step how to remove salt stains from winter sneakers, using safe, easy methods for leather, suede, mesh, and knit sneakers. Read on for tested tips, common mistakes, and prevention tricks that keep shoes looking their best.
Why salt stains form and why they matter
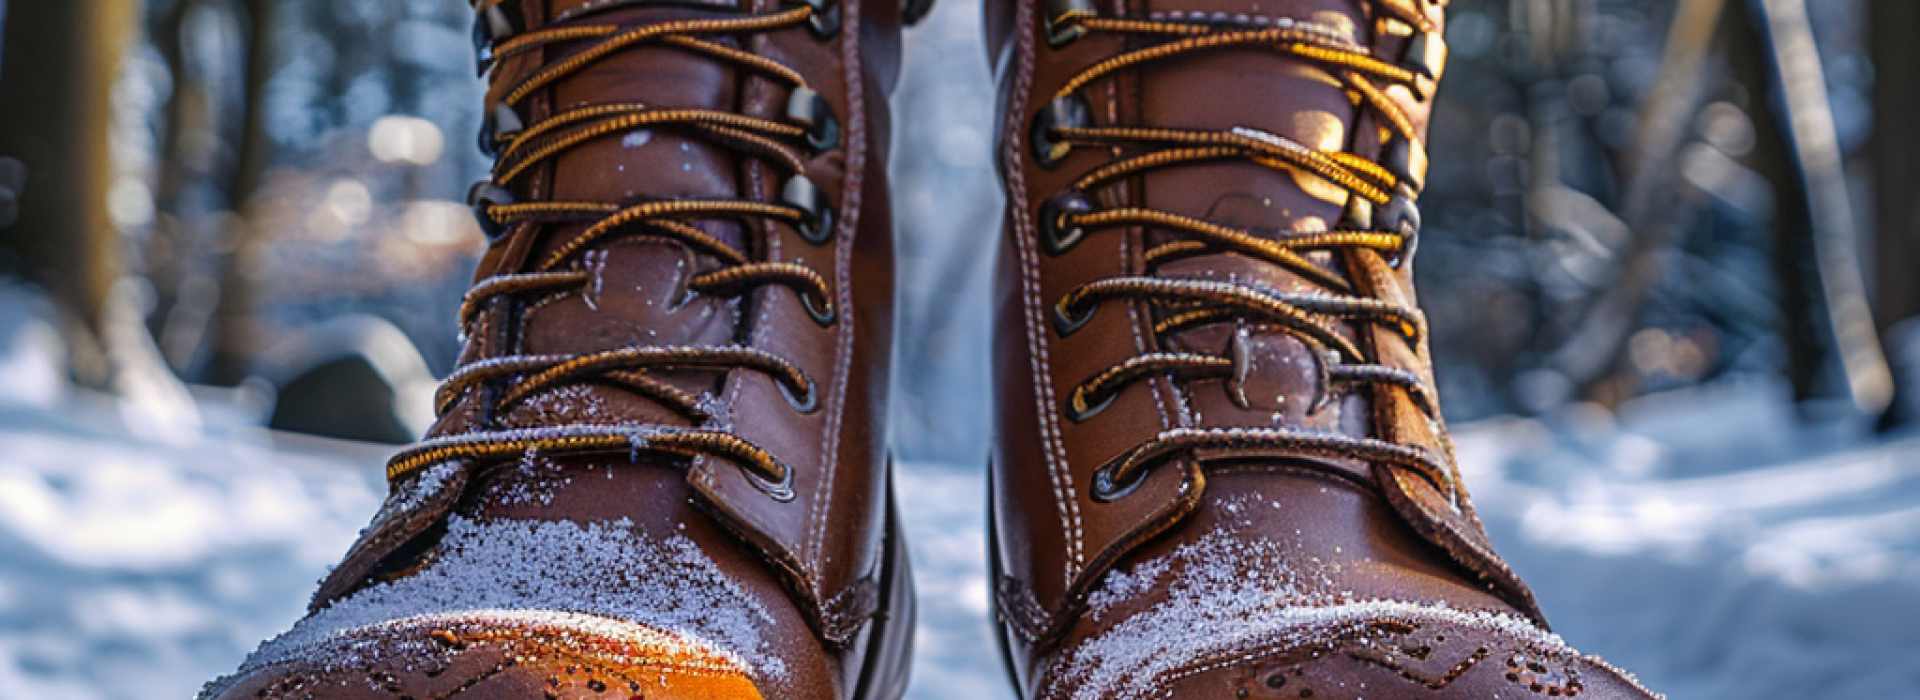
Salt stains appear when road salt or de-icing agents dissolve, splash, and then dry on shoes. The salt crystals and mineral residue leave white marks and can dull color or damage finishes over time. Knowing why stains form helps you choose the right cleaner and avoid damage.
Salt draws moisture. That can dry leather and make suede stiff. Salt also raises pH and can weaken adhesives in glued sneakers. Quick care restores looks and extends shoe life.
Tools and supplies you need
Use gentle tools and household cleaners. Harsh chemicals can strip color or ruin finishes.
- White vinegar or rubbing alcohol for dissolving salt
- Mild liquid soap or dish detergent
- Soft cloths or microfiber towels
- Soft-bristled brush or old toothbrush
- Magic eraser (use lightly on durable soles)
- Suede brush and eraser for suede
- Bowl for mixing solutions
- Warm water (not hot)
- Paper towels or shoe trees for drying
I always pack these items in a small kit each winter. They work for most quick cleanups.
How to remove salt stains from winter sneakers: quick checklist
Follow this simple sequence for best results.
- Remove loose salt and dirt by brushing or tapping soles together.
- Test cleaner on a hidden spot first.
- Use vinegar mix for salt residue on leather and fabric.
- Blot, don’t scrub, to avoid spreading and damaging material.
- Dry naturally away from heat and reshape with paper or shoe trees.
These steps will guide the deeper methods below.

Safe cleaning methods by shoe material
Different materials need different care. Use the method that matches your sneaker.
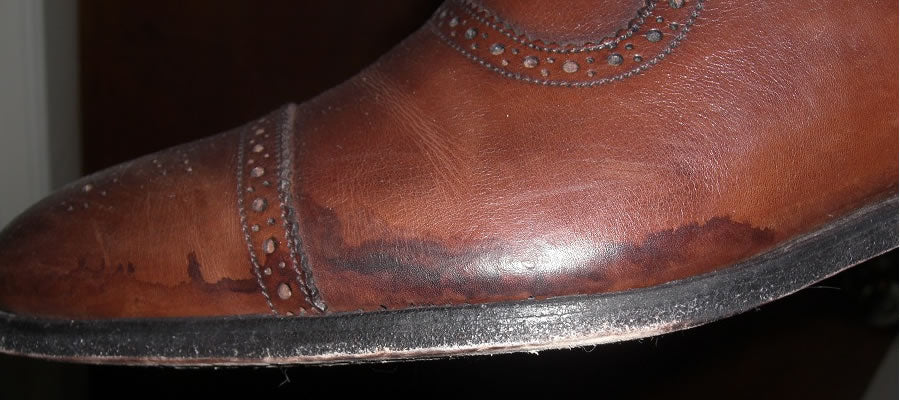
Leather and faux leather
Leather handles mild liquid cleaners well.
- Mix one part white vinegar with two parts warm water.
- Dampen a soft cloth in the mix and gently wipe stained areas.
- Wipe again with clean water and a cloth to remove residue.
- Let shoes air dry away from heat and condition leather after drying.
This method removes salt without stripping natural oils.
Suede and nubuck
Suede is fragile. Do not soak suede.
- Let salt crystals dry fully.
- Brush with a suede brush to lift crystals.
- If stains remain, use a suede eraser or a small amount of white vinegar on a cloth. Dab gently, then let dry and rebrush.
- Avoid water saturation which causes spots.
I once ruined a suede toe by over-wetting it. Dry brushing first prevents that.
Mesh, knit, and fabric
Fabric tolerates gentle cleaners.
- Mix a teaspoon of mild liquid soap with a cup of warm water.
- Use a soft brush to apply and lift salt stains in small circles.
- Rinse with a damp cloth and air dry.
For stubborn marks, follow with a vinegar solution rinse.
Rubber soles and trims
Rubber is sturdy and can take a stronger scrub.
- Use a magic eraser or a paste of baking soda and water.
- Scrub gently, then rinse and dry.
I keep a magic eraser just for rubber trim. It makes a big visual difference.

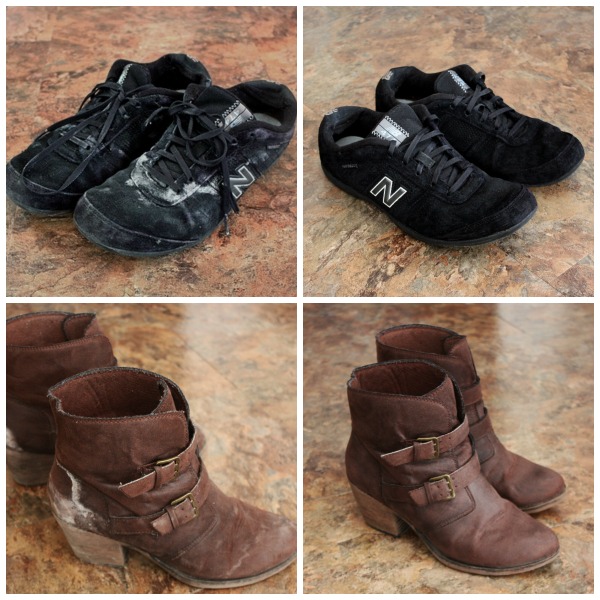
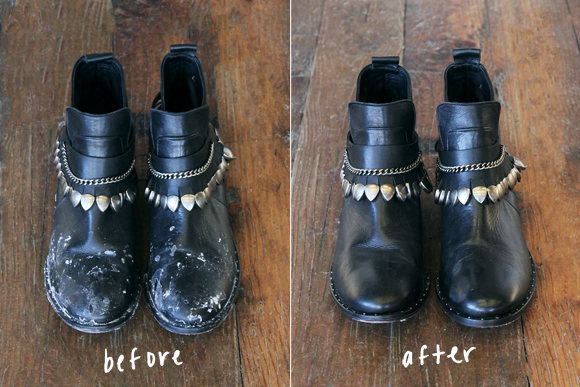
Step-by-step deep clean routine
This routine is for badly stained pairs and works across most materials.
- Remove laces and insoles. Clean these separately by hand.
- Brush off loose salt and dirt.
- Mix cleaning solution appropriate to the material.
- Work section by section. Dab or brush stains until they lift.
- Rinse area with a clean damp cloth.
- Pat dry with paper towels. Reshape using paper or shoe trees.
- Air dry fully. Apply conditioner to leather or protector spray to fabric.
Do not use a dryer or direct radiator heat. Heat can warp glue and shrink materials.

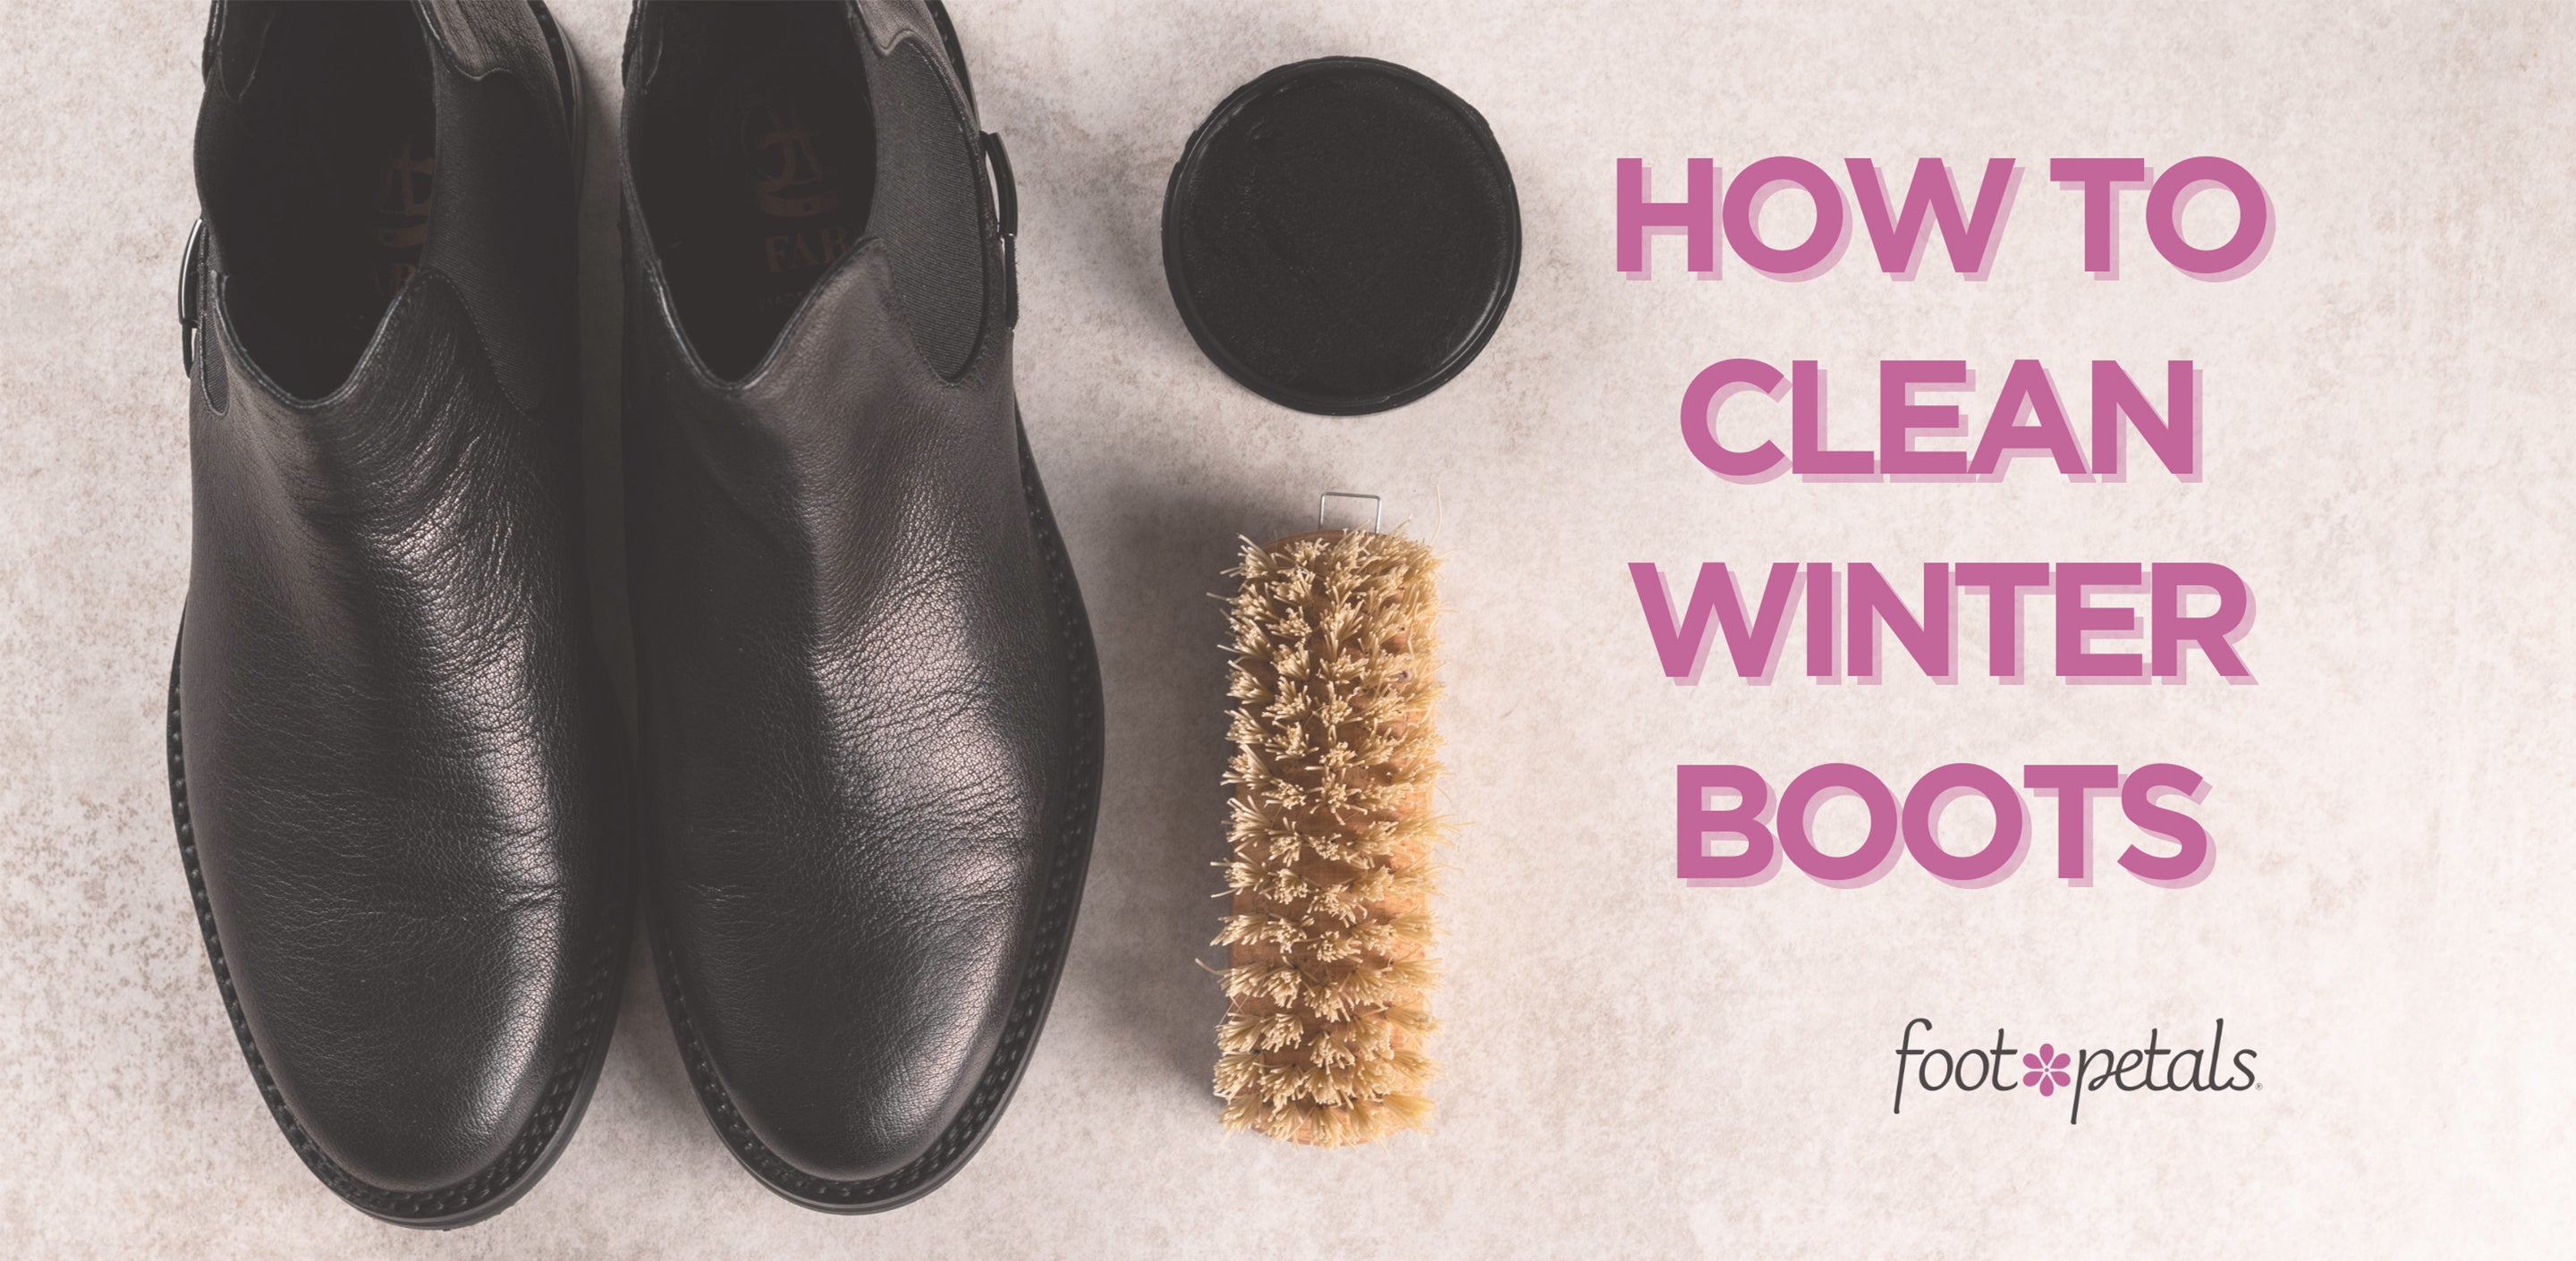
Drying, conditioning, and finishing touches
Drying right is as important as cleaning.
- Air dry at room temperature.
- Stuff shoes with paper towels to hold shape.
- For leather, apply a small amount of leather conditioner once dry.
- For suede, brush to raise the nap after drying.
- For fabric, consider a light spray-on protector to repel future salt.
I let shoes rest 24 hours after cleaning before wearing. That avoids creasing and helps protective treatments bond.
Preventing salt stains next winter
Prevention saves time and keeps shoes newer longer.
- Apply a water and stain repellent before you wear new sneakers.
- Avoid puddles and salted slush when possible.
- Wipe shoes after each outing with a damp cloth.
- Rotate shoes; give pairs time to dry fully between wears.
A quick wipe after a walk often stops stains from setting. That step saves hours later.
Common mistakes to avoid
Watch out for these errors that make salt damage worse.
- Using harsh bleach or cleaners that strip color.
- Scrubbing suede with water; it can leave marks.
- Drying shoes on radiators or in direct sun.
- Skipping a spot test on hidden areas.
- Ignoring small stains until they set.
I learned to always test cleaners first after one ruined a favorite pair. That small check prevented repeat damage.
PAA-style questions (short answers)
What removes salt stains effectively from sneakers?
Use a mild vinegar solution or soap and water, testing first on a hidden spot. Dab and blot gently, then rinse and air dry.
Can I use household bleach on salt-stained sneakers?
No. Bleach can strip color, weaken fibers, and damage shoe finishes. Use gentler cleaners instead.
How soon should I clean salt stains?
Clean stains as soon as possible. Fresh salt is easier to remove and less likely to damage materials.
Will salt ruin leather sneakers?
Salt can dry and dull leather over time and may weaken adhesives if left untreated. Timely cleaning and conditioning protect leather.
Is it safe to machine wash winter sneakers?
Only if the manufacturer allows it. Machine washing can damage glue and shape. Hand-clean when in doubt.
Frequently Asked Questions of how to remove salt stains from winter sneakers
How often should I treat my sneakers for salt stains?
Treat stains as they appear. Quick wipes after each winter walk minimize build-up and reduce the need for deep cleaning.
Can I use vinegar on all sneaker materials?
Vinegar works well on leather and many fabrics but use it sparingly on suede and test first. For suede, prefer dry brushing and a suede eraser.
What dry time is best after cleaning?
Let sneakers air dry for at least 12 to 24 hours away from direct heat. Drying slowly helps adhesive and materials stay intact.
Are commercial cleaners better than home remedies?
Some commercial cleaners are effective and formulated for shoe materials. Mild home remedies often work well and cost less. Choose based on material and stain severity.
How do I protect new sneakers from salt?
Apply a water and stain repellent before first wear and reapply periodically. Wipe shoes after exposure to salt to stop stains from setting.
Conclusion
You can keep winter sneakers looking fresh with gentle, tested steps. Clean salt stains quickly with the right method for the material, dry shoes properly, and protect them to prevent repeat damage. Start a small shoe-care routine this season and you will save time and money. Try the methods here on one pair this week and share what worked — leave a comment or subscribe for more shoe-care tips.

Rubel Miah is the Senior Editor at MyStyleGrid.com, where he brings a sharp editorial eye and an unshakable love for fashion to everything he does. A true style addict, Rubel lives and breathes trends, from streetwear to high fashion, and has a knack for turning inspiration into impactful stories. With years of experience in fashion journalism and digital media, he curates content that empowers readers to express themselves through style. When he’s not editing features or forecasting the next big thing, you’ll find him hunting down vintage pieces or capturing street style moments around the city.