Lace tuxedo shoes using straight bar lacing for a sleek, symmetrical, and formal finish.
I have spent years helping men prepare for weddings, black-tie events, and red-carpet nights, and I know that how to lace tuxedo shoes matters as much as the suit. This guide walks you through every method—from classic closed-lacing to straight bar lacing—so you get a clean look, even tension, and proper comfort. Read on to master how to lace tuxedo shoes with confidence, practical tips, and real-world tricks I use before every formal event.
Why correct lacing matters
Good lacing does three key things. It makes the shoe look formal and polished. It keeps the shoe snug without pinching. It helps the shoe hold its shape over a long evening.
How you lace tuxedo shoes affects how your foot sits. Uneven lacing can create creases in patent leather or gaps in the vamp. That harms both fit and style.
I’ve seen well-cut tuxedos ruined by sloppy lacing. Take the time to lace right. The payoff is a sharp, confident look that lasts all night.
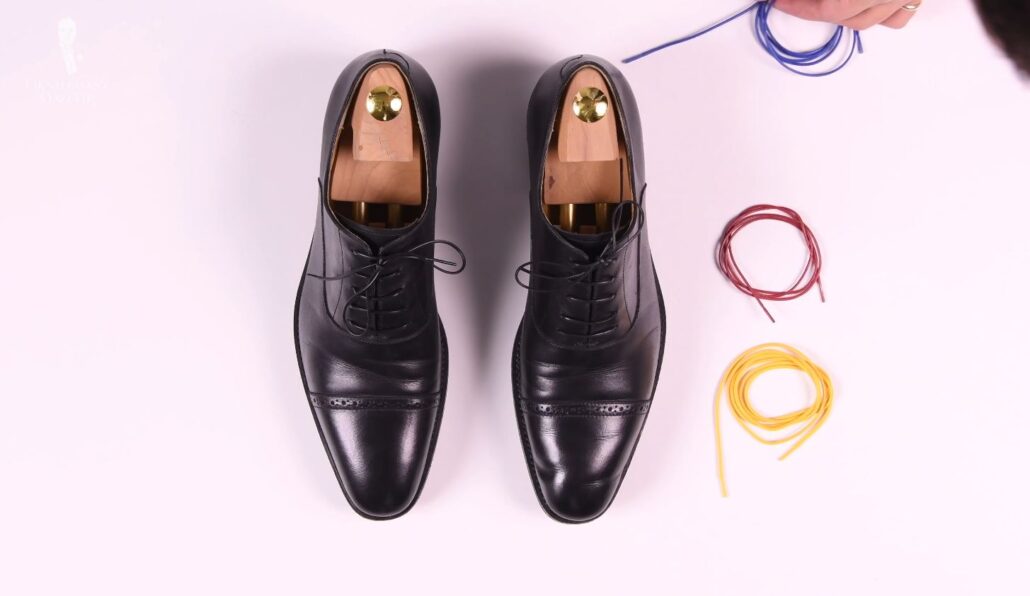
Types of tuxedo shoe laces and which to choose
Choose the right lace before you start. The lace type affects how to lace tuxedo shoes and how the final look reads.
- Waxed round laces
- Best for oxfords and wholecuts.
- Stay neat and resist slipping.
- Thin flat waxed laces
- Work well with patent leather.
- Create a low-profile, formal appearance.
- Ribbon or satin laces
- Used for opera pumps or patent dress shoes.
- Offer a classic black-tie finish.
Match lace length to the shoe. Most oxford shoes need 24–30 inches depending on eyelets. Knowing your lace type simplifies how to lace tuxedo shoes and keeps the result consistent.

Step-by-step: classic closed-lacing (Oxford) method
The closed-lacing method keeps the vamp neat and formal. Use this when your tuxedo shoes are true oxfords or wholecuts.
- Prepare the lace
- Use a waxed lace that is the right length for your shoe.
- Center the lace so both ends are equal.
- Start at the bottom
- Insert both ends from inside out in the bottom pair of eyelets.
- Pull until the center rests over the tongue.
- Cross or straight method
- For a traditional look, cross the laces and feed through the opposite eyelet, working upward.
- Keep each crossover neat and consistent as you move up.
- Tighten progressively
- Pull snug at the bottom first, then each pair above.
- Test fit the shoe, walk a few steps, then re-tighten.
- Finish the knot
- Use a discreet knot: a small bow or a secure reef knot.
- Tuck excess lace behind the tongue if you want a cleaner front.
This method is how to lace tuxedo shoes when you want a conservative, tailored look. I use it for client fittings because it respects the shoe’s lines and keeps creases minimal.
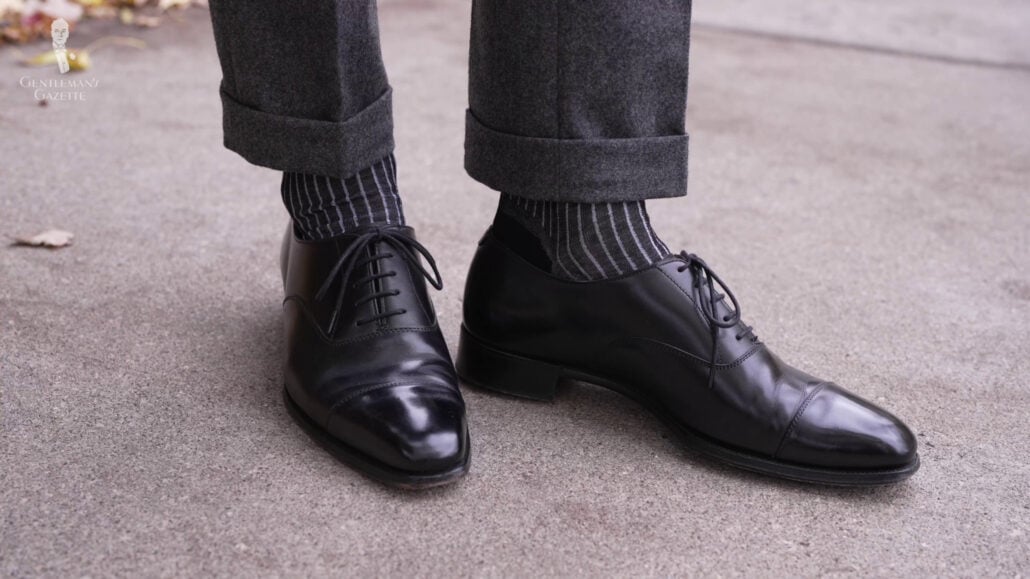
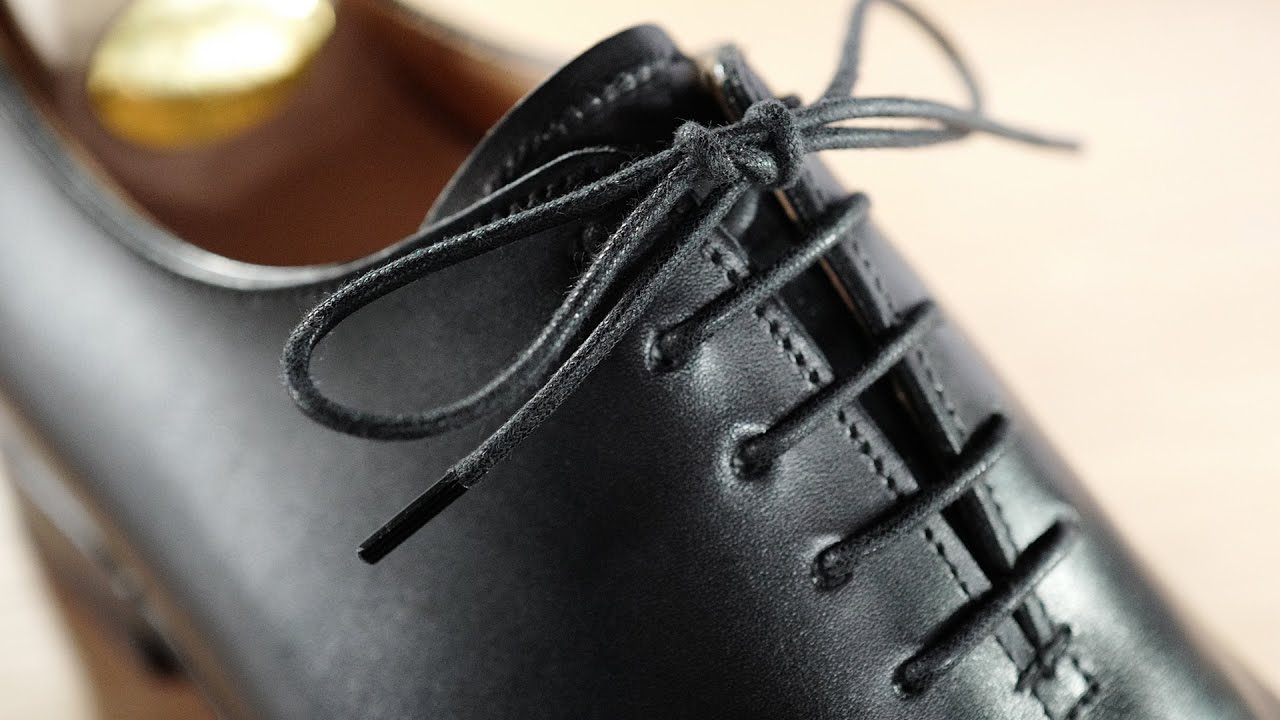
Step-by-step: straight bar lacing for the formal look
Straight bar lacing gives perfect horizontal bars and a tuxedo-appropriate face. Use this for the cleanest, most formal presentation.
- Center the lace
- Feed the lace through the bottom eyelets from inside out and pull even ends.
- Create the first bar
- Take the left end straight across and into the second eyelet from the top on the right side.
- Pull through so the bar lies flat.
- Work upward
- From the right end, bring it straight across to the next left eyelet, but go under the vertical section to hide the diagonal.
- Continue flipping sides, keeping bars parallel.
- Keep tension even
- Make small adjustments as you go so each bar matches width.
- Test by looking down; the bars should be uniform and flat.
- Secure the ends
- Tie a small, tidy knot or bow and tuck it behind the tongue.
- If using ribbon laces, tie a neat bow and keep loops short.
Straight bar lacing is the classic answer to how to lace tuxedo shoes for black-tie events. I prefer it when the shoe front is plain and the outfit calls for the most formal detail.
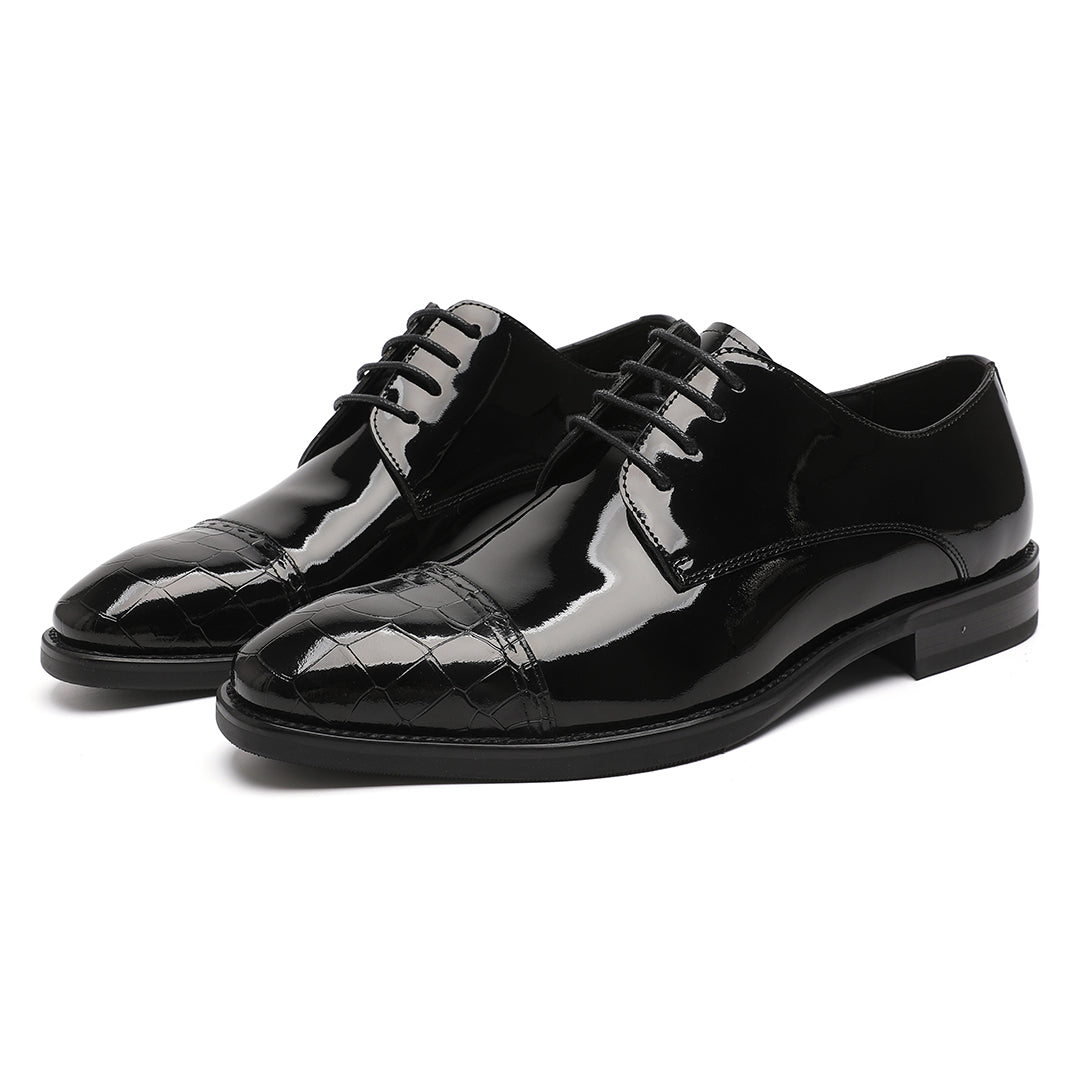
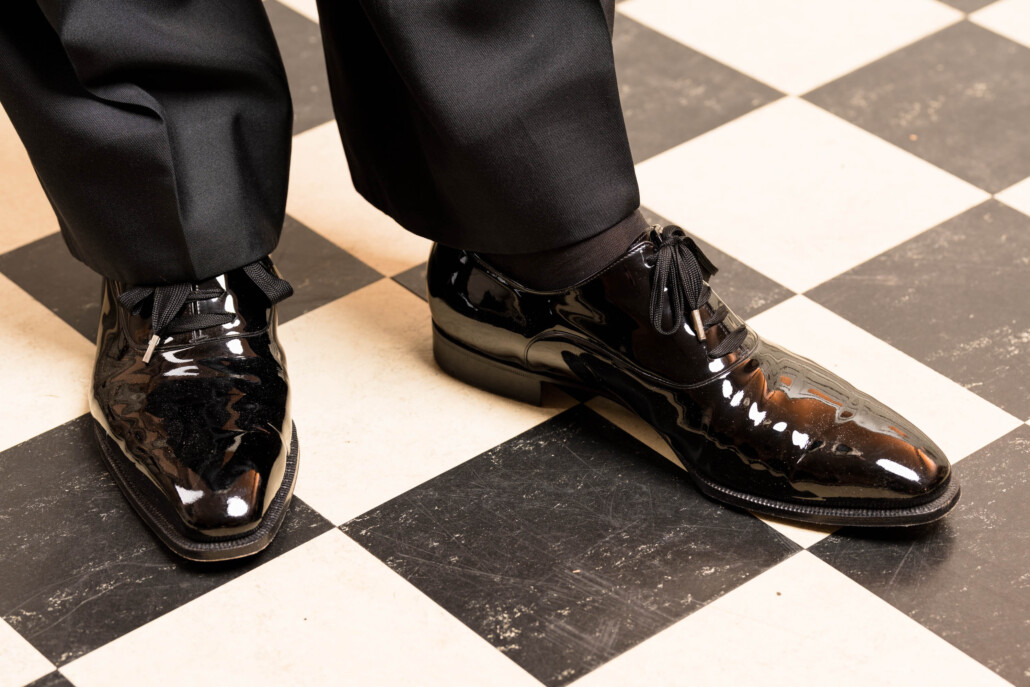
How to lace opera pumps and patent dress shoes
Patent shoes and opera pumps often work best with minimal lacing or decorative ribbon. The aim is to keep shine and simplicity.
- Use thin, flat waxed laces or satin ribbons.
- Apply straight bar lacing or a single crossover to minimize visible tension lines.
- Keep knots small or tuck them beneath the tassel or tongue.
- For slip-on pumps, no lacing is needed; keep them polished and fitted.
I’ve seen pumps upgraded by swapping thick laces for thin satin ones. It instantly raises the level of formality and keeps the shoe in tune with a tuxedo’s shine.

Common mistakes and how to avoid them
Avoid these frequent errors to perfect how to lace tuxedo shoes.
- Using the wrong lace type
- Thick athletic laces ruin formality.
- Choose waxed, thin, or satin laces.
- Uneven tension
- Causes blisters and looks sloppy.
- Tighten from the bottom up and re-check after walking.
- Over-long bows or loose knots
- They look messy and can come undone.
- Use small knots and tuck excess lace.
- Wrong lace length
- Too short and you can’t tie; too long and it flaps.
- Measure before you buy.
From my fittings, even small fixes—like choosing waxed laces—make a big difference. Learn these tips to save time and avoid last-minute panic.
Care tips and finishing touches
Small finishing touches make your lacing last and look sharp.
- Keep laces clean
- Wipe waxed laces with a damp cloth.
- Replace frayed laces before an event.
- Protect patent leather
- Buff with a soft cloth to remove scuffs.
- Avoid harsh cleaners that dull shine.
- Final fit check
- Walk 10 steps after lacing and adjust tension.
- Make sure your heel sits firm and your toes have room.
When I prepare shoes for special events, I always do a final lace check 15 minutes before the door opens. It prevents slips and keeps the look flawless.

Frequently Asked Questions of how to lace tuxedo shoes
What is the most formal way to lace tuxedo shoes?
The most formal way is straight bar lacing, which creates clean horizontal bars and a minimal front. It pairs best with oxfords, wholecuts, and patent shoes for black-tie events.
How long should laces be for tuxedo oxfords?
Most tuxedo oxfords need 24–30 inch laces depending on the number of eyelets and foot width. Measure an existing lace or the shoe’s eyelet span to choose the right length.
Can I use ribbon or satin laces on tuxedo shoes?
Yes, ribbon or satin laces work well on opera pumps and patent shoes for a classic black-tie look. Use short, neat bows and keep loops small to stay formal.
Should laces be tight or slightly loose for comfort?
Laces should be snug but not tight; allow a finger-width of wiggle room at the forefoot. Tighten from the bottom upward and test by walking to prevent pressure points.
How do I hide the knot for a cleaner look?
Tie a small knot or reef knot and tuck the ends under the tongue or behind the facing. For ribbons, a compact bow works well and can be tucked for a low profile.
Conclusion
Lacing tuxedo shoes is a small craft that makes a big impression. Whether you use straight bar lacing, classic closed-lacing, or a satin ribbon, aim for even tension, the right lace type, and a tidy finish. Practice these steps before any event, and you’ll step out with a polished, confident look. Try the methods above at home, swap to the correct laces, and leave a comment about which technique worked best for you.

Rubel Miah is the Senior Editor at MyStyleGrid.com, where he brings a sharp editorial eye and an unshakable love for fashion to everything he does. A true style addict, Rubel lives and breathes trends, from streetwear to high fashion, and has a knack for turning inspiration into impactful stories. With years of experience in fashion journalism and digital media, he curates content that empowers readers to express themselves through style. When he’s not editing features or forecasting the next big thing, you’ll find him hunting down vintage pieces or capturing street style moments around the city.