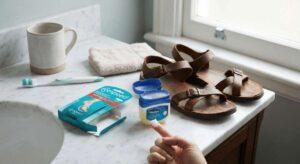

Break in sandals slowly with short walks, soft socks, gentle stretching, and skin protection to prevent pain and blisters.
Learning how to break in sandals takes patience, not force. New leather, rubber, and synthetic straps often need time to soften and adjust to your feet. This guide explains safe methods that work, common mistakes to avoid, and signs that your sandals may be the wrong fit.
Why New Sandals Feel Uncomfortable
New sandals can hurt because their materials are stiff and their shape has not yet adapted to your feet. Straps may rub the toes, heel, or top of the foot. A firm footbed can also create pressure in places that are not used to it.
The goal of breaking in sandals is to help the materials flex while your feet slowly adjust. Think of it like training for a long walk. You would not run a marathon on your first day, and you should not wear new sandals all day on your first outing.
Common causes of discomfort include:
• Stiff leather or synthetic straps
• Rough edges near the toes or heel
• Tight straps that press into the skin
• A footbed that does not match your arch
• Excess movement caused by loose sandals
• Poor sizing or an unsuitable sandal shape
A short break-in period is normal. Sharp pain, numbness, severe rubbing, or repeated blisters are not. These signs may mean the sandals need adjustment or do not fit well.

How to Break In Sandals Safely
The safest way to break in sandals is to use them for short periods at home first. This lets you notice pressure points before they turn into painful blisters.
Follow these steps:
- Wear the sandals for 15 to 30 minutes indoors.
- Check your skin for red areas or rubbing.
- Adjust the straps without making them overly tight.
- Repeat the process once or twice each day.
- Increase wear time by 15 to 30 minutes when your feet feel comfortable.
- Take a rest day if your skin feels sore.
- Try a short outdoor walk only after the sandals feel good indoors.
When you break in sandals this way, both the material and your feet get time to adapt. It may take a few days for flexible sandals and one to two weeks for firm leather styles.
Do not wait until a vacation, wedding, or hiking trip to test new sandals. Wear them around the house several times before the event. This simple step can prevent a small rubbing spot from becoming a large blister.

Use Socks During the First Few Sessions
Thin socks can reduce friction while you break in sandals. They also help soften stiff straps through gentle pressure. Crew socks may look unusual with some sandal styles, but they are useful during indoor break-in sessions.
Choose socks that are:
• Thin and smooth
• Free from bulky seams
• Made from breathable cotton or a moisture-wicking blend
• Large enough to avoid tight pressure
Wear the socks with your sandals for 15 to 30 minutes. If the straps feel less harsh, continue this method for a few sessions. Then try the sandals without socks for a short period.
Avoid thick socks if they make the sandals too tight. Extra pressure can cause more rubbing instead of less. Socks are a temporary comfort tool, not a solution for sandals that are clearly too small.
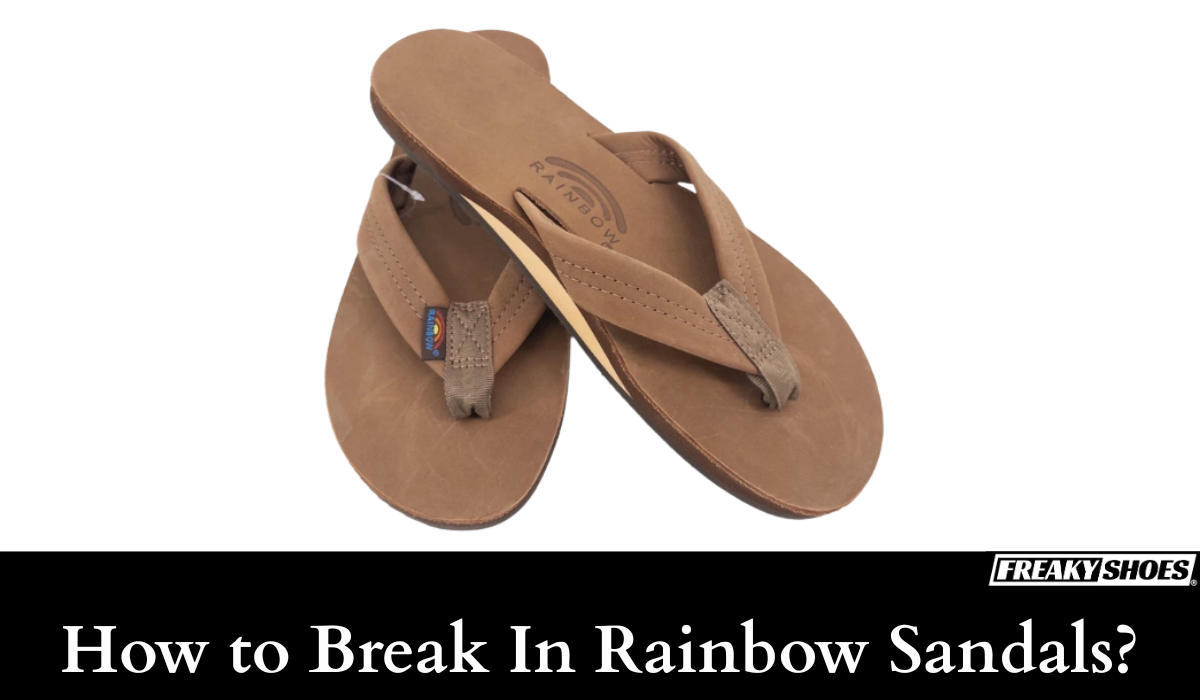
Soften Sandal Straps With Care
Softening the straps is one of the most helpful parts of learning how to break in sandals. The correct method depends on the material.
For leather sandals, gently bend the straps by hand. Move them back and forth in small amounts. You can also massage the leather with clean fingers to help it flex.
A leather conditioner may help, but use only a product approved for that type of leather. Test it on a hidden area first. Too much oil or conditioner can darken the material, weaken some finishes, or leave the sandals slippery.
For fabric sandals, gentle wear usually works best. Avoid soaking the fabric unless the care label allows it. Wet fabric can shrink, lose its shape, or develop an odor.
For rubber and synthetic sandals, warmth may make the material more flexible. However, do not use a hair dryer on high heat. Excess heat can warp straps, damage glue, or irritate your skin when you wear the sandals.
Protect Your Feet From Blisters
Friction causes most sandal blisters. A blister forms when repeated rubbing damages the upper layers of skin. Moisture, heat, and tight straps can make the problem worse.
Before wearing new sandals, apply a thin layer of anti-chafing balm to areas that often rub. You can also use small gel pads, moleskin, or blister bandages on known trouble spots.
Helpful prevention steps include:
• Keep your feet clean and dry
• Apply foot powder if your feet sweat heavily
• Cover hot spots before they become blisters
• Stop wearing the sandals when rubbing begins
• Change into comfortable shoes during long outings
• Keep blister bandages in your bag
A “hot spot” is a warm, tender, or red patch of skin. Treat it as an early warning. Continuing to walk on it can lead to broken skin and infection.
If a blister opens, wash the area with clean water and mild soap. Cover it with a clean dressing. Seek medical care if you notice spreading redness, pus, increasing warmth, fever, or severe pain.
Adjust the Straps and Footbed
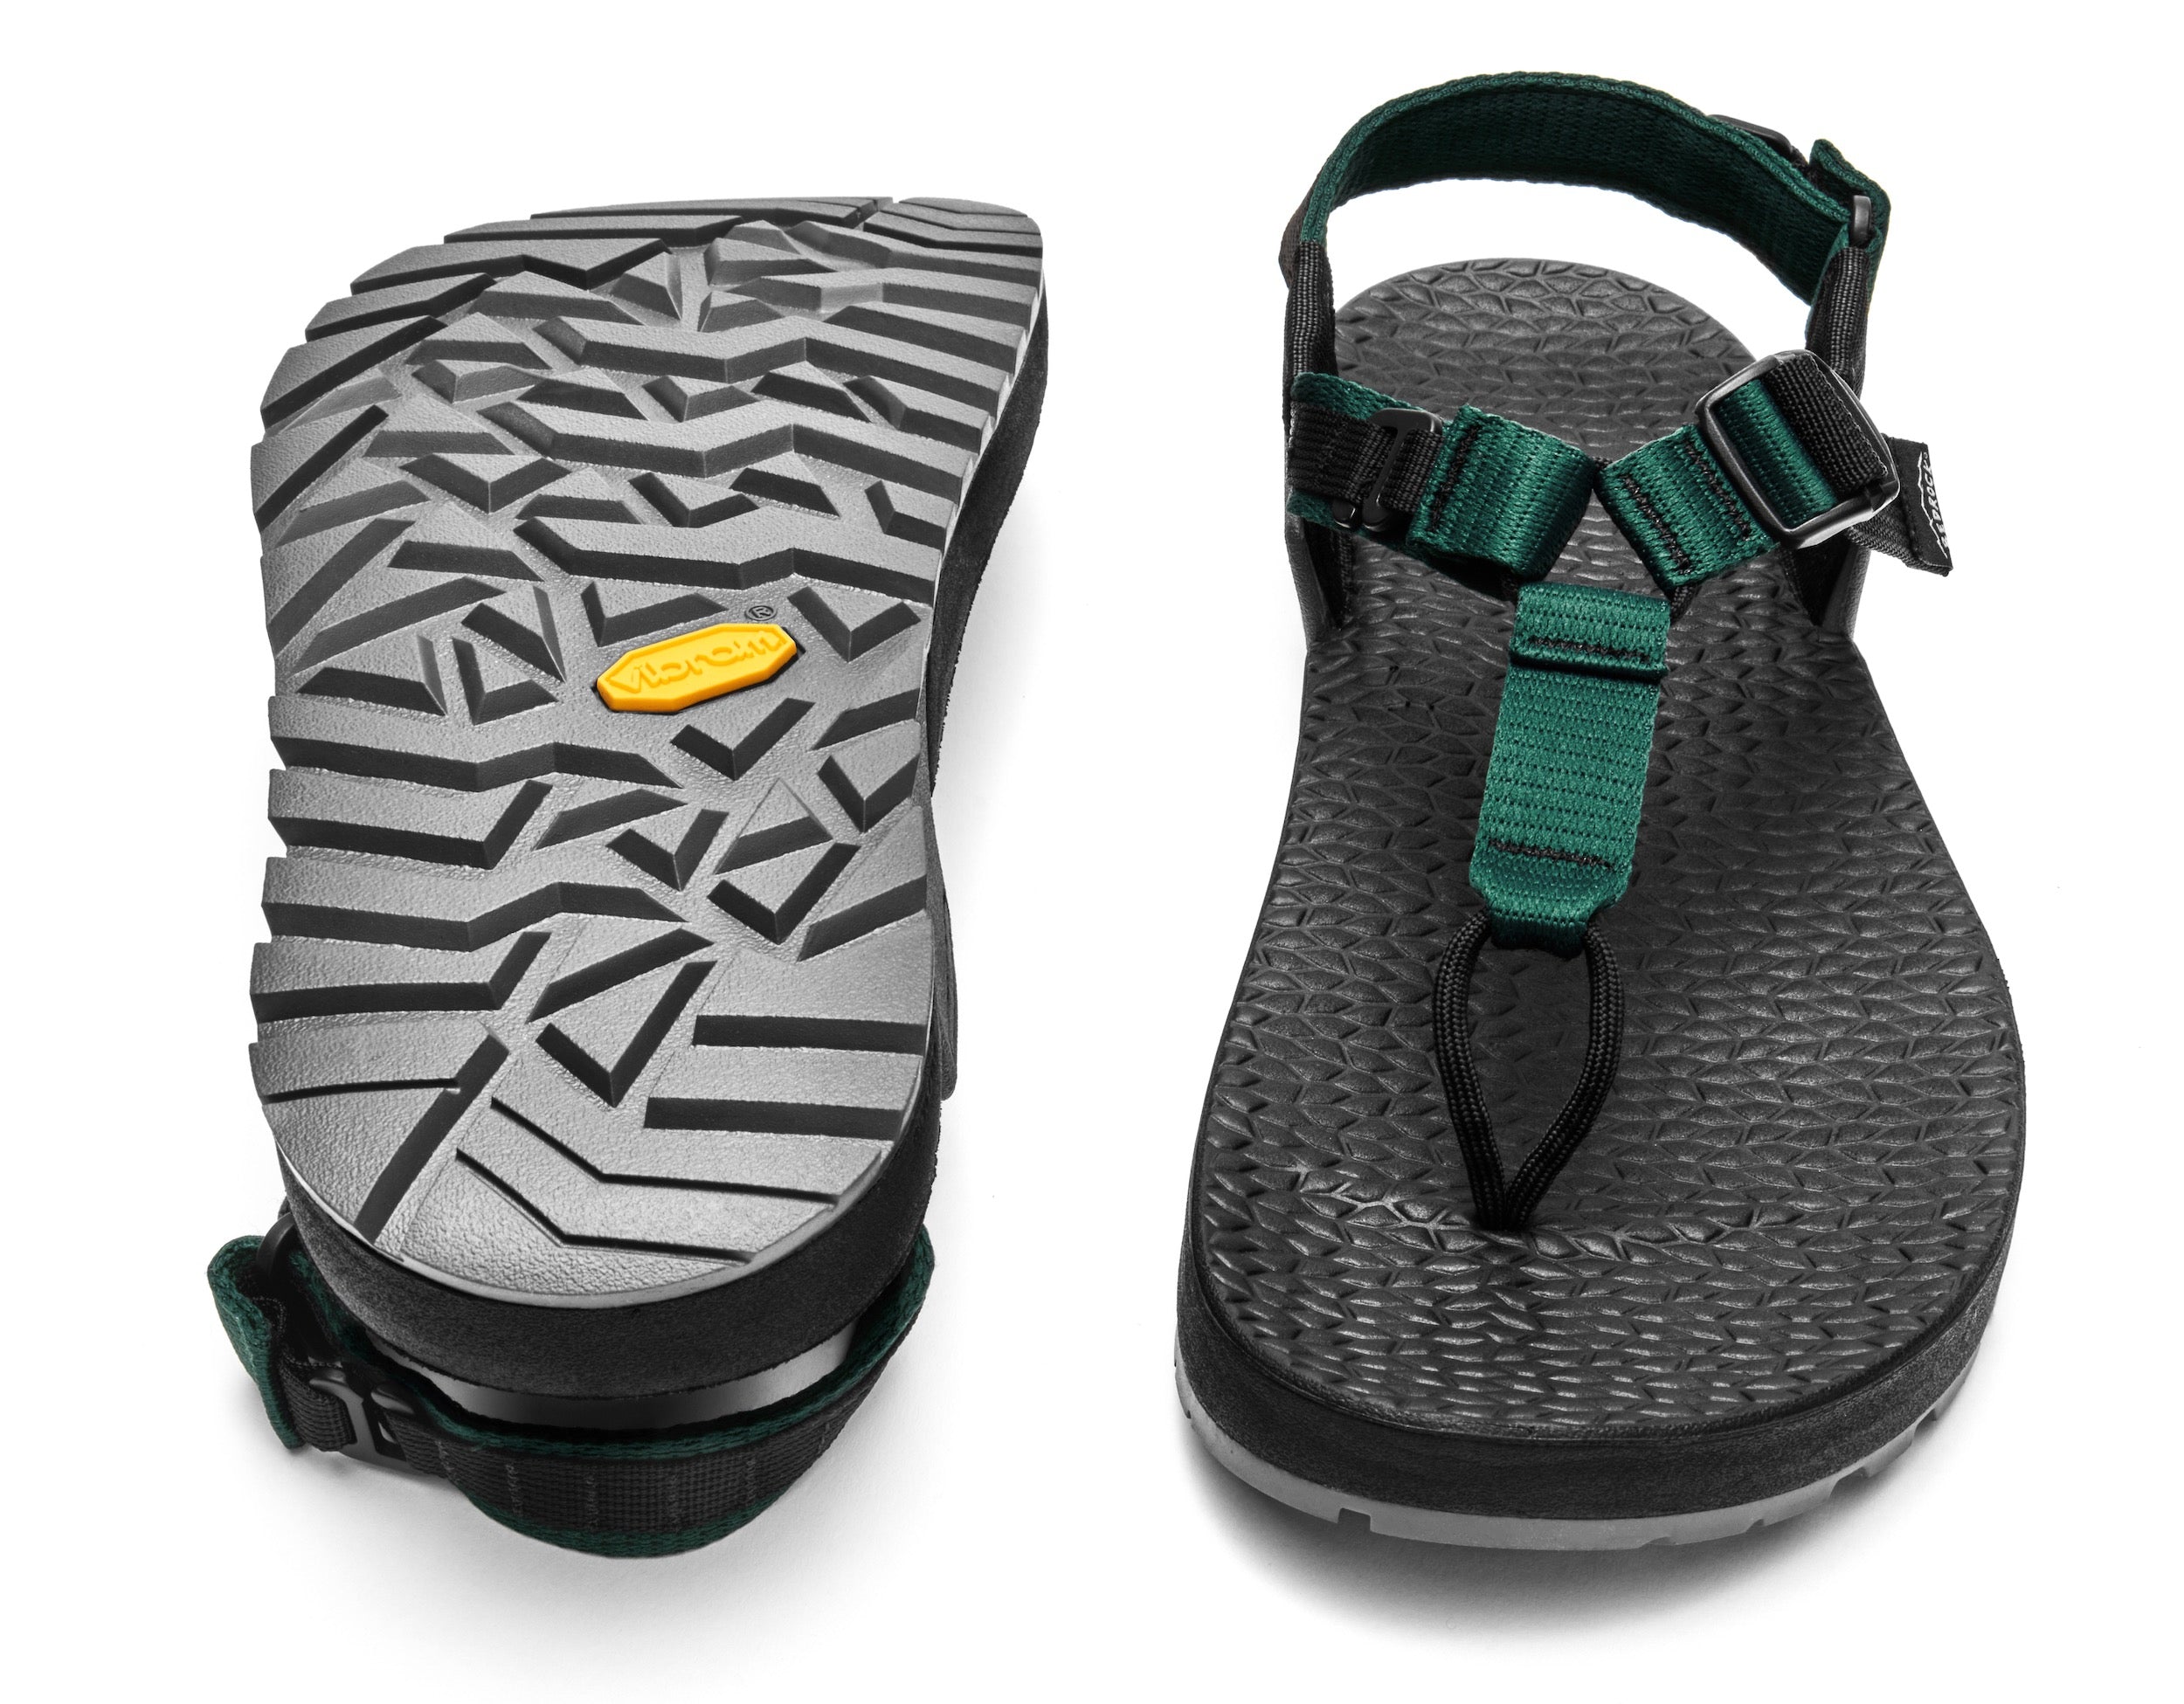
Many people try to break in sandals when the real issue is poor adjustment. Straps should hold your foot securely without leaving deep marks. Your toes should not curl to grip the footbed.
Check each part of the sandal:
• Toe strap: It should not squeeze or rub the toes.
• Forefoot strap: It should hold the foot without cutting into the skin.
• Ankle strap: It should prevent sliding but still allow normal movement.
• Heel area: Your heel should not hang off the back or slip out with each step.
• Footbed: Your arch should rest near the sandal’s arch support.
Walk on a flat surface after each adjustment. If your foot slides forward, tighten the strap slightly or try a different size. If the strap leaves a deep mark, loosen it.
Some sandals have removable insoles or adjustable buckles. A shoe repair professional may also stretch leather straps or add padding. Do not make major changes yourself if the sandals are expensive or delicate.

Stretch Sandals Without Damaging Them
Gentle stretching can help when a strap feels slightly tight. It will not fix sandals that are much too small.
Try these low-risk methods:
• Wear thick socks for a short indoor session.
• Flex the straps gently with your hands.
• Use a shoe stretcher designed for sandals, if the shape allows it.
• Ask a shoe repair shop to stretch leather professionally.
• Place a soft cloth between the strap and footbed during storage to encourage mild flexing.
Avoid soaking sandals in water, freezing them, or heating them aggressively. These popular internet methods can damage adhesives, stain leather, and change the shape of the footbed.
If your toes touch the front edge or your heel extends beyond the back, stretching will not create enough length. You need a different size or style.

How Long Does It Take to Break In Sandals?
The time needed to break in sandals depends on the material, design, and fit. Soft fabric sandals may feel comfortable after one or two short sessions. Firm leather sandals may need several days or up to two weeks.
A general guide looks like this:
• Soft fabric sandals: One to three days
• Flexible synthetic sandals: Two to five days
• Leather sandals: Several days to two weeks
• Firm hiking sandals: One to two weeks
• Rigid fashion sandals: They may never become comfortable if the fit is wrong
When deciding how to break in sandals, focus on comfort rather than a fixed schedule. Increase wear time only when your skin feels normal after each session.
In my experience testing footwear, the most common mistake is wearing new sandals for a full day too soon. A person may feel fine for the first hour, then develop painful rubbing after several miles. Slow progress is far more reliable.
Mistakes to Avoid When Breaking In Sandals
Some break-in methods create more problems than they solve. Avoid any technique that causes pain, weakens the material, or changes the sandal’s shape.
Common mistakes include:
• Wearing new sandals on a long walk right away
• Ignoring a hot spot or red patch
• Tightening every strap as much as possible
• Using strong heat to soften plastic or glue
• Applying household oils to leather without testing them
• Soaking sandals to make them stretch
• Assuming pain will disappear with time
• Wearing sandals that make your toes grip the footbed
• Skipping socks during the first indoor sessions
• Keeping sandals that cause numbness or sharp pain
One lesson I have learned from helping people prepare footwear for travel is to test sandals on the same type of surface you will use later. A sandal that feels fine on carpet may rub on pavement, uneven ground, or hot concrete.
Breaking In Sandals for Travel and Hiking
Travel puts more stress on your feet than normal daily wear. You may walk farther, stand longer, and deal with heat or swelling. Start breaking in sandals at least one to two weeks before your trip.
Use this plan:
- Wear the sandals indoors for short periods.
- Walk around your neighborhood for 15 to 30 minutes.
- Try stairs, sidewalks, and gentle slopes.
- Wear them for a short shopping trip.
- Test them with the socks, insoles, or accessories you plan to pack.
- Complete one longer walk only after several comfortable sessions.
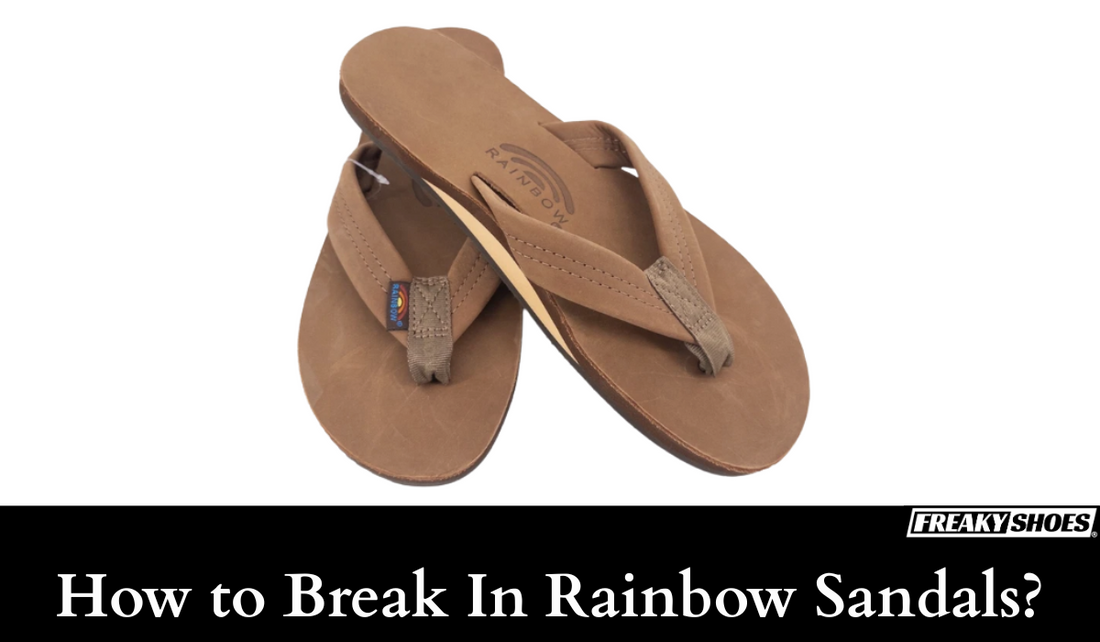
For hiking sandals, check the outsole grip, heel hold, toe protection, and drainage. Hiking sandals should keep your foot stable on uneven ground. They should not allow your toes to hit rocks or your heel to slide during downhill steps.
Pack a backup pair of comfortable shoes. Even well-fitted sandals may not suit every activity or weather condition. This is especially important for people with diabetes, reduced sensation, circulation problems, or a history of foot ulcers.
When You Should Stop Wearing the Sandals
Breaking in sandals should cause mild adjustment, not injury. Stop wearing them if you feel sharp pain, burning, numbness, or strong pressure.
You should also stop if:
• Your skin breaks
• A blister becomes large or painful
• Your toes turn pale, blue, or feel cold
• The sandal causes limping
• Your foot slides dangerously on each step
• Pain continues after removing the sandals
• You develop swelling that does not improve
People with diabetes or reduced foot sensation should be especially careful. The American Diabetes Association advises regular foot checks and appropriate footwear because small injuries can become serious when sensation or healing is reduced.
If discomfort continues after careful adjustments, the sandal may not suit your foot. A comfortable shoe is not a luxury. It is part of protecting your skin, joints, and walking pattern.
How to Choose Sandals That Need Less Breaking In
The best way to avoid a difficult break-in period is to start with a good fit. Shop later in the day, when feet may be slightly larger from normal activity. Wear the type of socks you plan to use with the sandals.
Look for:
• Enough room for your longest toe
• A secure heel and ankle
• Smooth edges and soft lining
• A supportive footbed
• A flexible sole that bends near the toes
• Straps that can be adjusted
• A stable outsole with good traction
Walk in both sandals before buying. Stand still, climb a few steps, and turn in place. Your toes should lie flat, and your foot should not slide forward.
Do not buy a painful pair because you love the color or style. Materials may soften, but the sandal cannot correct a poor shape, narrow width, or missing arch support.
Frequently Asked Questions About How to Break In Sandals
How many days does it take to break in sandals?
Most sandals take two days to two weeks, depending on their material and fit. Wear them for short periods and increase the time only when your feet remain comfortable.
Can I use water to break in leather sandals?
Water can stain leather, weaken adhesives, and change the sandal’s shape. Use gentle hand flexing, short wear sessions, or professional stretching instead.
Should sandals hurt when breaking them in?
Mild stiffness is common, but sharp pain, numbness, burning, or open blisters are not normal. These signs often point to poor fit or a strap that needs adjustment.