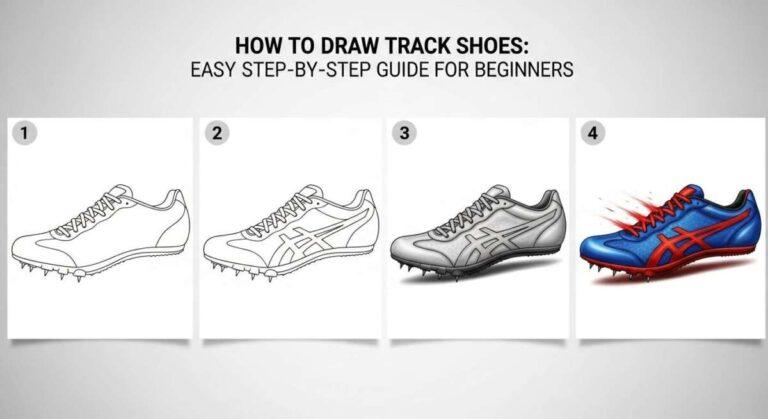
Do you want to learn how to draw track shoes? You are in the right place. Drawing sports gear is fun. It is also a great way to practice art. Track shoes are unique. They are sleek. They look fast even when standing still.
I have been drawing for years. I still remember sitting on the cold metal bleachers at a track meet. I had my sketchbook. I tried to draw my friend’s spikes. It was hard. The shapes were weird. The spikes looked like blobs. But I kept trying. Eventually, I figured it out. Now, I want to help you do the same.
In this guide, we will go slow. We will use simple steps. You do not need to be a pro. You just need patience. We will cover shapes, lines, and details. By the end, you will have a cool drawing. Let’s get started.
Understanding Your Tools and Materials
First, let’s talk about tools. You need the right gear. It makes the job easier. You do not need expensive stuff. Simple tools work fine.
The Best Pencils for the Job
Start with a regular pencil. An HB pencil is good. It is standard. It is easy to erase. If you have a drawing set, grab a 2H pencil too. The “H” stands for hard. It makes light lines. These are great for the first sketch. Later, use a 4B pencil. The “B” stands for black. It makes dark lines. This is for shading.
Paper and Erasers
Use smooth paper. Sketching sports footwear requires clean lines. Rough paper can make it messy. A standard sketchbook is perfect.
You also need a good eraser. I love kneaded erasers. They look like gray putty. You can shape them. They pick up graphite gently. They do not leave dust crumbs. This keeps your drawing clean.

Credit: www.arloren.com
The Anatomy of a Track Shoe
Before we draw, we must look. What makes a track shoe special? It is not like a heavy boot. It is not like a bulky sneaker. It is light. It is thin.
The Spike Plate
This is the bottom. It is hard plastic. It holds the metal pins. It is usually curved. It forces the runner on their toes. This is key. If you draw it flat, it looks wrong. It must look stiff and curved.
The Upper Mesh
The top part is soft. It is usually mesh. It hugs the foot. It has no hard edges. It folds and bends. We will draw this with soft lines.
The Heel Counter
This is the back part. It cups the heel. On track shoes, it is very round. It is also narrow. Track shoes are tight. We need to show that tightness in the drawing.
Step 1: Observation and The “Line of Action”
Every good drawing starts with a line. We call this the line of action. It shows movement.
Look at your reference photo. Or look at a real shoe. Notice the curve. Track shoes curve up at the toe. They curve up at the heel too. They look like a banana.
Drawing the Curve
Take your pencil. Draw one long line. Curve it gently. It should go from the heel to the toe. Do not press hard. Keep it light. This line is your guide. It helps you place the shoe on the paper.
I once drew a shoe without this line. It looked stiff. It looked like a brick. The line of action brings life to the art. It is a simple trick. But it works wonders.
Step 2: Blocking in the Basic Shapes
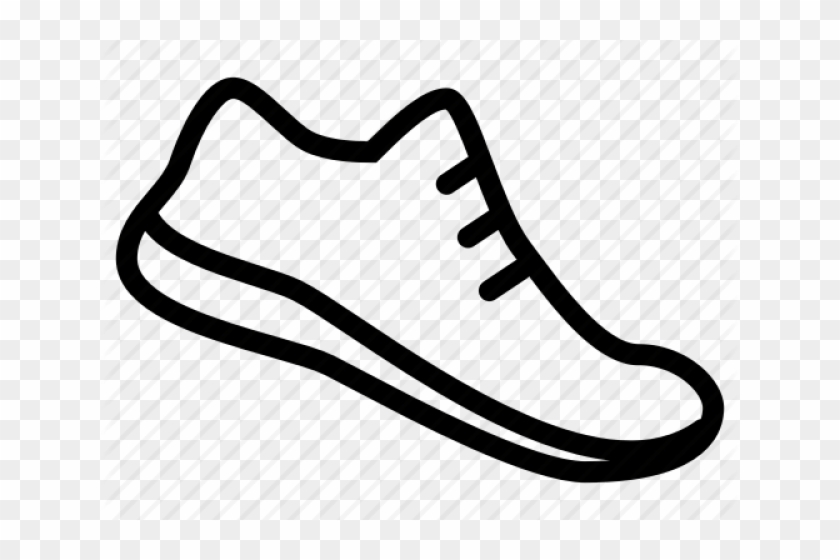
Now, we add shapes. We are not drawing a shoe yet. We are drawing blobs. This is an easy shoe drawing tutorial method. It stops you from worrying about details.
The Heel and Toe
Draw a circle at the back of your line. This is the heel. Draw an oval at the front. This is the toe box. Connect them with lines.
The Arch
Track shoes have high arches. The bottom line should curve up in the middle. The top line should dip down. It should look like a peanut shell.
Do not rush this. Look at your shapes. Do they look long enough? Do they look too tall? Fix them now. It is easy to fix a circle. It is hard to fix a finished shoe.
Credit: www.clipartmax.com
Step 3: Outlining the Sole and Spike Plate
Now we get specific. We will focus on the bottom. This is the soul of the shoe.
The Hard Plastic Plate
Draw a line along the bottom of the toe oval. Make it sharp. This is the spike plate. It usually stops in the middle of the shoe. The heel usually has a separate foam piece.
Adding the Spikes
This is the fun part. Drawing spikes for running shoes makes them look real. Spikes are metal pins. They are sharp.
Draw small triangles. Place them under the toes. Most shoes have seven or eight pins. Put them near the edges of the plate.
- Make the front spikes point down.
- Make the back spikes point slightly back.
- This shows the curve of the plate.
When I first drew spikes, I made them huge. They looked like claws. Keep them small. They are only about 6mm long in real life. Keep it subtle.
Step 4: Sketching the Upper and Heel
The bottom is done. Now we move up. The upper part holds the foot.
The Ankle Collar
Draw the opening for the foot. It is an oval shape. It sits near the back. The back of the collar curves in. It grips the Achilles tendon. The sides dip low. This lets the ankle bone move.
The Toe Box
Connect the collar to the toe. Use a smooth line. Track shoes are streamlined. There are no bumps. The line should flow like water.
The Tongue
Draw a shape sticking out of the collar. This is the tongue. It sits under the laces. It is usually padded. Give it a slightly curved top edge.
Step 5: Laces, Tongues, and Straps
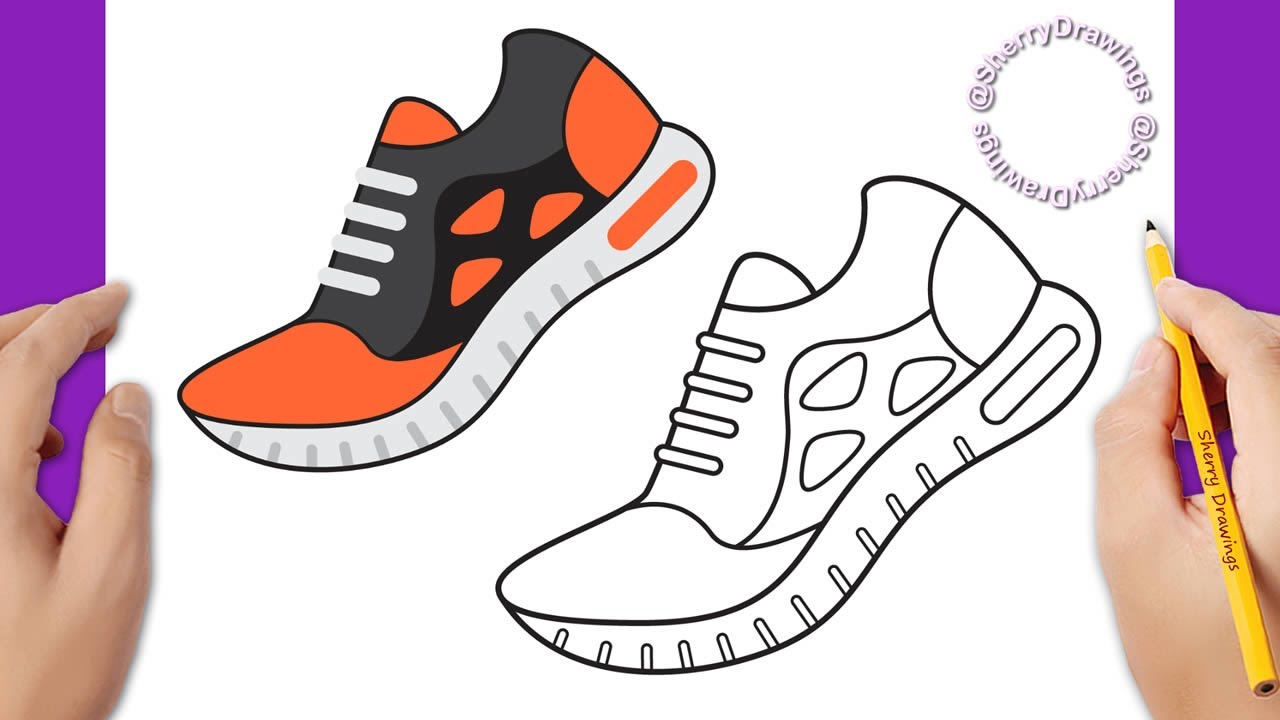
Laces scare people. They look complex. But drawing laces step by step is easy if you simplify.
The Zig-Zag Method
Don’t draw every thread. Start with a zig-zag line. Go from one side to the other. This marks the path of the laces.
Now, turn the zig-zags into rectangles. Draw small, thin boxes. Make them overlap. The lace going over sits on top. Erase the line underneath.
Eyelets and Aglets
Draw small circles next to the laces. These are eyelets. They hold the laces.
Draw the ends of the laces. These are the aglets. They hang down the side. Or they are tucked in. Let them hang loosely. It creates a natural look.
Adding a Strap
Many track shoes have a Velcro strap. It goes over the laces. Draw a long rectangle across the middle. Give it a rounded end. This adds variety to the drawing.
Credit: www.youtube.com
Step 6: Adding Realistic Texture and Material
Your shoe has a shape. Now it needs a feeling. Is it soft? Is it hard? We use texture to show this.
The Mesh Pattern
Track shoes use mesh. It is breathable. To show this, use cross-hatching. Draw tiny ‘X’ marks. Do not cover the whole shoe. Just do a few patches. Put them on the toe. Put them on the side.
The Shiny Heel
The heel is often shiny plastic. Leave this smooth. Do not add texture here. We will use shading later.
Logos and Stripes
Most shoes have a logo. Draw it on the side. Make sure it follows the curve. If the shoe curves, the logo curves. This is vital. A flat logo destroys the 3D effect.
Step 7: Refining and Inking
Your sketch is messy. That is okay. Now we clean it up.
Using a Pen or Dark Pencil
Take your 4B pencil. Or use a black pen. Trace your best lines. Go slow. Be confident.
Line Weight
This is a pro tip. Use different line thicknesses.
- Thick Lines: Use these for the bottom. Use them for shadows. It creates weight.
- Thin Lines: Use these for the top. Use them for the laces. It looks light.
- Broken Lines: Use these for stitching. It looks like thread.
Once the ink is dry, erase the pencil marks. Use your kneaded eraser. Now you have a clean drawing.
Step 8: Shading for Depth and 3D Form
We are almost done. But the shoe looks flat. We need realistic sneaker shading.
The Light Source
Pick a spot for the sun. Let’s say it is top-right. The top of the shoe is bright. The bottom is dark.
Core Shadows
The side of the shoe turns away from the light. Shade this area gently. Use the side of your pencil. Make it smooth.
Cast Shadows
The shoe sits on the ground. It casts a shadow. Draw a dark shape under the sole. It should be darkest right where the shoe touches the ground. Fade it out as it moves away.
Metallic Spikes
Make the spikes shiny. Leave a white spot on each spike. Shade the rest dark. The contrast looks like metal.
Common Mistakes When Drawing Track Shoes
I have made many mistakes. I want to save you time. Here are common errors to avoid.
The Flat Foot
Beginners draw the sole flat. But track shoes are curved. They are built for sprinting. Always curve the toe up. It looks faster.
The Tiny Heel
Sometimes we draw the opening too small. Remember, a foot must fit inside. Make the ankle collar wide enough.
The Messy Laces
Do not scribble laces. Take your time. Draw the shape of the lace. It is a flat ribbon. It twists and turns.
One time, I drew a shoe with the logo backwards. I felt silly. Always check your reference. Look at the photo. Look at your drawing. Do they match?
Practice Drills to Improve Fast
You know the steps. Now you need practice. Here are some drills. They help you learn shoe anatomy for artists.
1. The 5-Minute Sketch
Set a timer. You have five minutes. Draw a shoe. Do not worry about details. Focus on the shape. Do this daily. You will get faster.
2. The Upside-Down Drawing
Turn a photo of a shoe upside down. Draw it that way. This tricks your brain. You stop seeing a “shoe.” You only see shapes. It helps with accuracy.
3. Material Study
Just draw parts. Spend a whole session on laces. Spend another on spikes. Master the pieces. Then put them together.
Conclusion
You did it! You learned how to draw track shoes. It might feel hard at first. That is normal. Every artist starts somewhere.
My first drawings were rough. They had eraser marks everywhere. But I kept going. Now, I love sketching sports gear. It is relaxing. It is rewarding.
Keep your pencils sharp. Keep your paper handy. Look at real shoes. Study the curves. Study the shadows. Practice a little bit every day. Soon, you will draw shoes that look ready to run.
Now, go grab your pencil. Start your next sketch. Have fun with it!
Frequently Asked Questions (FAQ)
How do I keep my drawing clean?
Use a piece of scrap paper. Put it under your hand. It stops your hand from rubbing the pencil. It keeps the paper white. Also, use a kneaded eraser. It picks up graphite without making a mess.
Can I use a pen right away?
It is better to start with a pencil. You will make mistakes. Pencil allows you to fix them. Once the sketch looks good, you can use a pen. This gives the best result.
How do I draw the other shoe to match?
Draw a line across the paper. Mark the top and bottom. Use these marks to keep the size the same. Look at the first shoe often. Measure with your pencil. It takes practice to match them perfectly.
What is the hardest part to draw?
Most people find the laces hardest. They twist and overlap. It is confusing. Break them down into simple shapes. Draw one strap at a time. Be patient with this part.
How do I make the shoe look old or used?
Add wrinkles. Shoes bend at the toe. Draw lines there. Scuff the sole. Make the shading uneven. Dirty shoes are not perfect. Imperfections make them look worn and real.

Madison Clark is a footwear expert and the voice behind MyStyleGrid.com. She specializes in honest shoe reviews, style tips, and practical guides to help readers find the perfect pair for any occasion. With years of experience in blogging and content creation, Madison makes footwear knowledge simple, stylish, and easy to follow.