Patch heel tips, glue soles, and replace caps to quickly fix high heel shoes at home.
I have repaired dozens of pairs over the years for friends, events, and my own wardrobe. This guide pulls together clear, tested steps on how to fix high heel shoes, from quick tip swaps to more advanced sole and heel repairs. Read on for practical instructions, tool lists, and pro tips to get your heels back in service fast.

Why high heels break and how to fix high heel shoes
High heels take a lot of stress from a small area. Tiny parts wear first. Heel tips wear down, soles peel, and stitched seams can split. Knowing the common failure points helps you fix high heel shoes faster and with less cost.
I’ll explain why each problem happens. I’ll show how to fix high heel shoes step by step. I’ll also share when to call a cobbler. My tips come from years of hands-on repairs and working with shoe professionals.
Tools and materials needed to fix high heel shoes
Having the right tools makes repairs simple and reliable. You do not need fancy gear for many fixes, but a few quality basics save time.
- Small flat screwdriver: to pry worn tips and remove nails.
- Needle-nose pliers: to pull staples and hold small parts.
- Shoe glue (flexible, waterproof): to reattach soles and liftable parts.
- Epoxy or superglue: for rigid breaks in heels (use sparingly).
- Replacement heel tips: match size and shape to your pair.
- Sandpaper (fine grit): to prep surfaces for glue.
- Leather or fabric cleaner and conditioner: for cosmetic care.
- Shoe polish and touch-up paints: to blend repairs.
- Heavy-duty thread and leather needle: for re-stitching seams.
- Clamps or heavy books: to hold parts while glue cures.
With these items, you can fix high heel shoes at home and do many professional-looking fixes. Buy quality heel tips to match the shoe type. Cheap parts fail fast and lead to repeat repairs.

Step-by-step fixes to fix high heel shoes
Below are clear fixes for the most common problems. Each section shows what to do, tools needed, and tips to avoid mistakes.
Replacing a worn heel tip
Worn heel tips make walking unsafe. Replacement is quick and often inexpensive.
- Tools needed: replacement tip, screwdriver or awl, pliers, hammer.
- Steps:
- Remove the old tip with pliers or by tapping it out. Use a small screwdriver to pry if stuck.
- Clean the heel end and check the metal pin or core.
- Press the new tip on. Tap gently with a hammer until secure.
- Test balance; trim or replace if the tip wobbles.
Tips: Match the tip diameter. For high-impact heels choose metal-cored tips for durability.
The method above is one of the easiest ways to fix high heel shoes quickly.
Re-gluing a separated sole
Soles often peel at the front or back. A clean glue job restores function.
- Tools needed: shoe glue, sandpaper, clamp or heavy object.
- Steps:
- Clean the area and roughen both surfaces with sandpaper.
- Apply a thin, even coat of flexible shoe glue to both surfaces.
- Press together and clamp for the recommended cure time.
- Trim excess glue and let fully cure before wearing.
Tips: Use waterproof, flexible glue. Avoid walking on the shoes until fully cured.
This repair is central to how to fix high heel shoes that feel loose on the bottom.
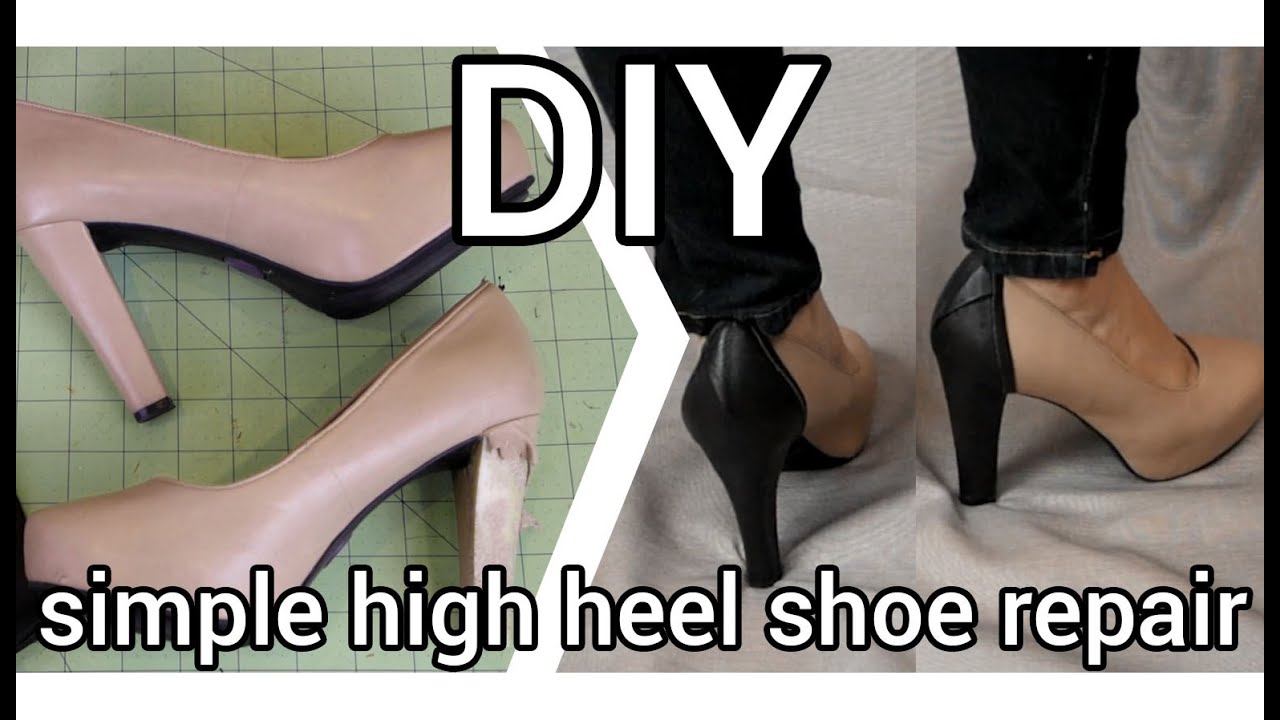
Fixing a cracked or broken heel
A cracked heel can sometimes be saved; severe breaks need replacement by a cobbler.
- Tools needed: epoxy, clamps, filler, paint for touch-up.
- Steps:
- Clean and dry the damaged area.
- Use epoxy to bond cracks and add strength. Fill gaps with a matching filler.
- Clamp firmly and allow full cure.
- Sand and paint to match the heel finish.
Tips: For wooden or stacked heels, use wood-specific epoxy. If the heel snaps at the shank, seek professional repair.
Knowing when to DIY and when to call a pro helps you fix high heel shoes without making them worse.
Repairing sole separation at the toe or vamp
This happens where the upper meets the sole. Proper gluing and stitching can restore the shoe.
- Tools needed: strong flexible glue, needle and thread, clamps.
- Steps:
- Clean and sand the separation area.
- Glue the surfaces and clamp.
- If stitching is needed, sew a few tight, even stitches for strength.
- Condition the leather after repair.
Tips: Use an awl to pre-pierce leather before stitching to avoid tearing.
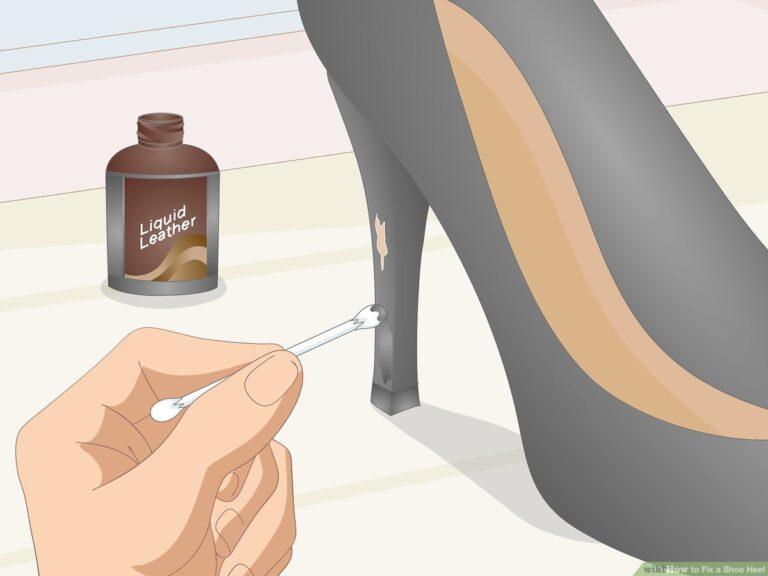
Fixing scuffed leather and scratches
Scuffs make shoes look old but are often easy to hide.
- Tools needed: leather cleaner, conditioner, color-matching cream or polish.
- Steps:
- Clean the area gently.
- Apply conditioner to soften the leather.
- Use color-matching cream and buff until blended.
- Seal with a light polish.
Tips: Test color products on an inside seam first.
Tightening a wobbly stiletto
Wobble often comes from a loose heel attachment or worn shank.
- Tools needed: screwdriver, epoxy, wedges (wood or composite), clamps.
- Steps:
- Inspect the heel attachment. Tighten visible screws or nails.
- If the heel has a gap, fill it with epoxy and a wedge for support.
- Clamp and cure fully.
Tips: If the shank is bent or the heel base is damaged, a cobbler can replace the heel base securely.
Each of these practical fixes covers how to fix high heel shoes reliably at home. Work slowly and follow cure times for adhesives.

Preventive care to avoid frequent repairs
Prevention saves money and keeps heels reliable.
- Rotate your shoes: gives materials time to rest and recover.
- Avoid rough surfaces: gravel and curbs damage tips and heels.
- Use protective heel caps: they take the wear instead of the shoe.
- Keep them clean and conditioned: prevents cracking and dryness.
- Store properly: use shoe trees or stuff toes with tissue to keep shape.
These small habits reduce the need to fix high heel shoes often. I learned this after replacing many tips on one favorite pair.

When to seek professional help for high heels
Some problems are best left to a cobbler. Seeking a pro saves you time and can extend the shoe’s life.
- Major heel breaks or missing heel cores.
- Structural shank damage or bent metal shanks.
- Complex sole replacement with fancy lasts.
- High-value designer shoes where original materials matter.
If you are unsure, take clear photos and ask for a cobbler estimate. Pro work can be affordable and worth it for favorite pairs.

Personal tips and lessons learned
I once glued a sole in a rush and skipped sanding. The repair failed in a week. I learned to prep surfaces every time. I also found that ordering correct-size heel tips prevents returns and mismatches.
Tips from my experience:
- Work in stages and let adhesives cure fully.
- Keep spare tips and glue at home for quick fixes.
- Practice on a cheap pair first to build confidence.
These small practices helped me keep a dozen pairs ready for events and saved me repair bills.

Frequently Asked Questions of how to fix high heel shoes
How long does a DIY heel tip replacement take?
A simple heel tip swap takes 10 to 30 minutes, depending on rust or stuck pins. Allow extra time for alignment and light hammering.
Can I use superglue to fix a sole?
Superglue can work for small fixes but often becomes brittle. Flexible shoe glue is best for soles and areas that bend.
Will repairing a scuffed heel look professional?
With matching polish and careful blending, scuffs can look nearly invisible. Pro touch-ups by a cobbler can be flawless for high-end shoes.
How often should I replace heel tips?
Replace tips when metal or plastic shows through or walking feels uneven. For frequent wear, check every 2 to 3 months.
Is it safe to walk after gluing a sole?
Only after the glue cures fully. Follow the product’s cure time; rushing risks re-separation and damage.
Can I reattach a sole that peeled off entirely?
Yes, if the sole and upper are intact. Clean, sand, and use a strong flexible adhesive, then clamp and cure. For full sole replacement, a cobbler may be needed.
Conclusion
You can fix high heel shoes with the right tools, simple steps, and patience. Focus on tip replacement, clean glue jobs, and preventive care to stretch shoe life. Start with small repairs, learn from mistakes, and call a cobbler for big structural issues.
Try one repair this week. Share how it went in the comments or save this guide for your next heel emergency.

Rubel Miah is the Senior Editor at MyStyleGrid.com, where he brings a sharp editorial eye and an unshakable love for fashion to everything he does. A true style addict, Rubel lives and breathes trends, from streetwear to high fashion, and has a knack for turning inspiration into impactful stories. With years of experience in fashion journalism and digital media, he curates content that empowers readers to express themselves through style. When he’s not editing features or forecasting the next big thing, you’ll find him hunting down vintage pieces or capturing street style moments around the city.