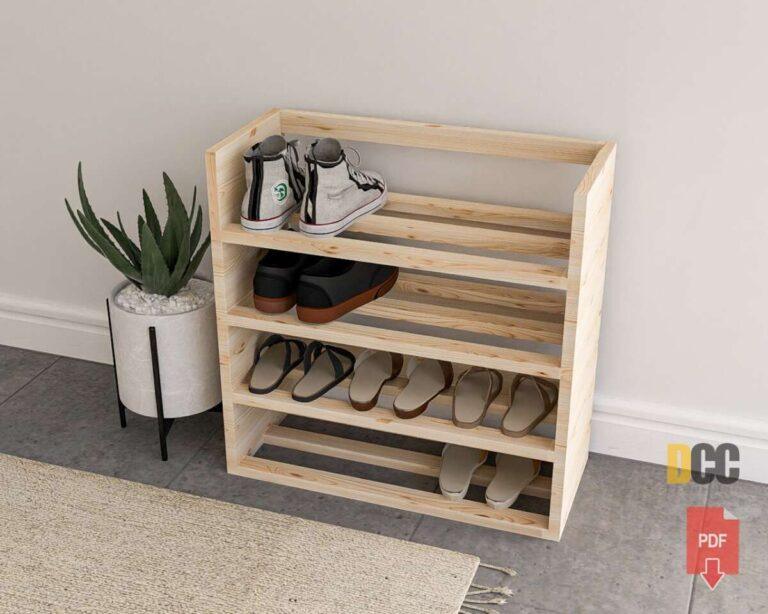
Make a simple, sturdy wooden shoe rack with basic tools, off-the-shelf lumber, and clear step-by-step cuts.
I’ve built dozens of storage pieces, and I’ll walk you through how to make a wooden shoe rack that looks good, fits your space, and lasts for years. This guide covers everything from picking wood and tools to precise cuts, assembly, finishing, and real-world tips I learned on the job. Follow along and you’ll have a practical shoe rack in a weekend, whether you want a small entryway rack or a tall closet organizer.

Why build your own shoe rack?
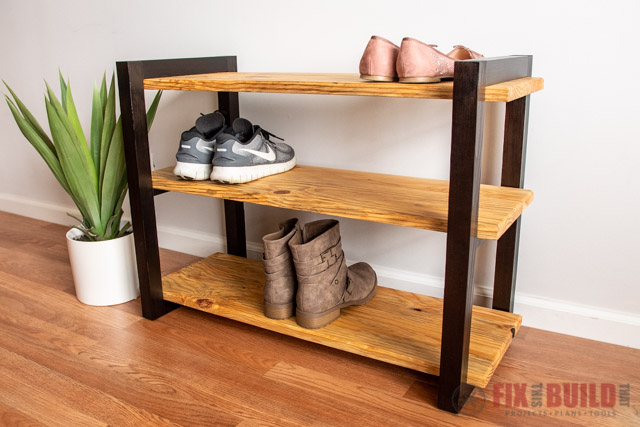
Building your own shoe rack saves money and lets you match the size and style of your space. When you learn how to make a wooden shoe rack, you get custom fit, stronger joints, and the chance to use reclaimed or premium wood. I’ve found DIY racks last longer than cheap store options and can be upgraded if needs change. Making a rack also gives you control over shelf height, depth, and finish to suit heels, boots, or kids’ shoes.
Tools and materials
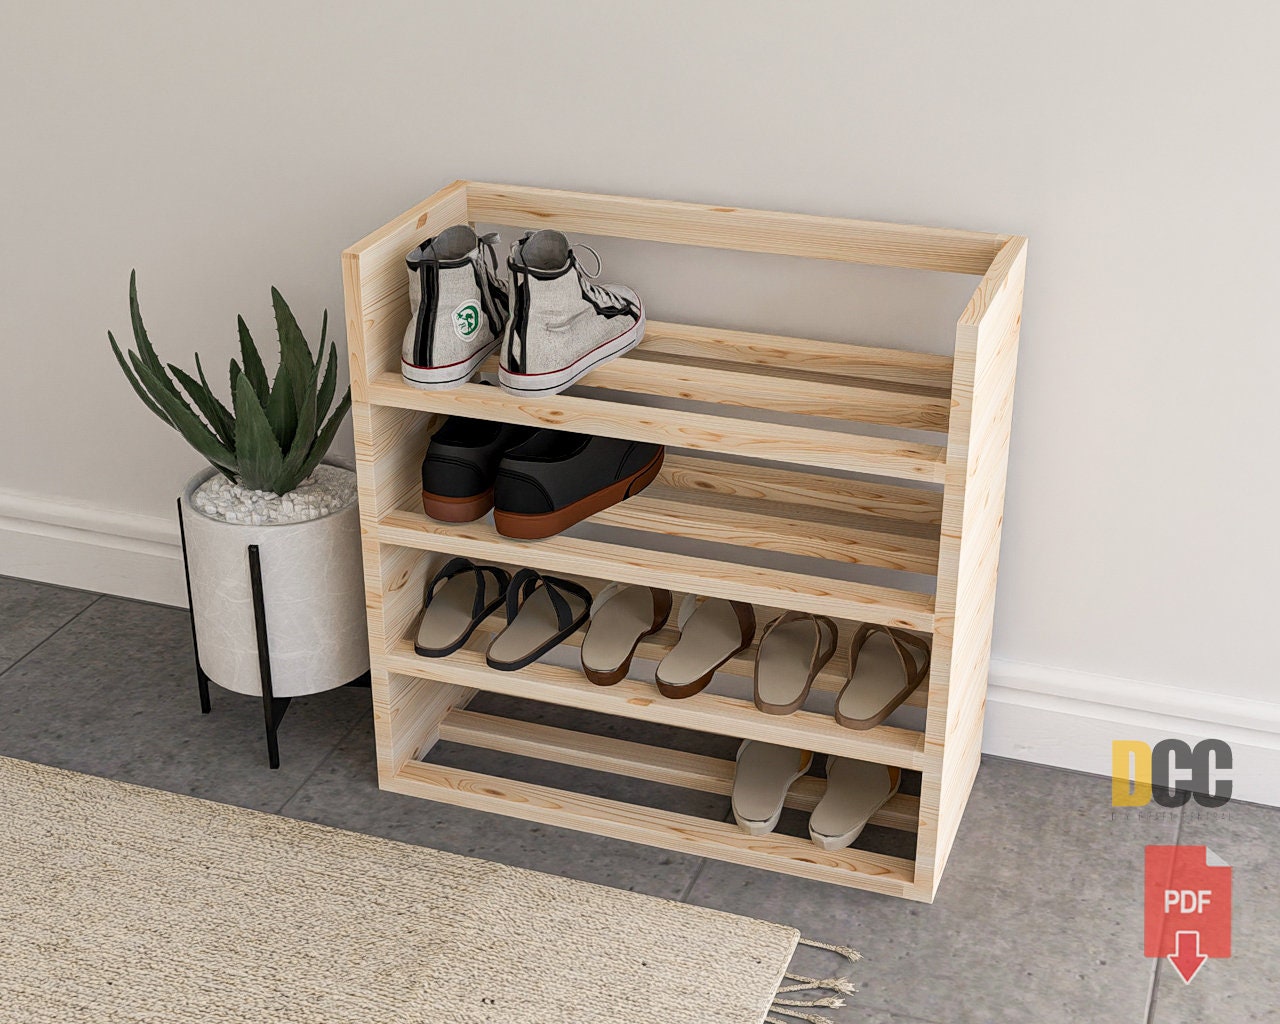
Choose simple tools and materials to keep the project fast and affordable. Below is a practical list for a basic 3-shelf rack.
- Tools
- Tape measure, pencil, and square for accurate layout.
- Circular saw or miter saw for straight cuts.
- Drill with screwdriver bits and countersink bit.
- Orbital sander or sanding blocks for smooth surfaces.
- Clamps to hold parts while glue dries.
- Safety gear: goggles, ear protection, dust mask.
- Materials
- Common board options: pine boards, poplar, plywood, or reclaimed wood.
- Wood glue and 1 1/4" to 1 1/2" wood screws.
- Sandpaper (80, 120, 220 grit).
- Stain or paint and clear sealant (polyurethane or water-based sealer).
- Felt pads for the feet (optional).
How to make a wooden shoe rack starts with picking wood that fits your budget and use. Pine is cheap and easy to work with. Plywood gives more strength for wider shelves. If you want a premium look, use oak or walnut. Choose screws and glue rated for wood. Test-fit parts before glue-up.

Design and measurements
Good design begins with clear measurements. Decide how many shelves you want and what shoes you will store.
- Typical dimensions for a small rack
- Width: 24 inches for 2–3 pairs across.
- Depth: 10 to 12 inches for most shoes.
- Height per shelf: 6 to 8 inches for flats and sneakers, 10+ inches for boots.
- For a 3-shelf basic rack (example)
- Side panels: 30 inches tall by 10 inches deep.
- Shelves: 24 inches wide by 10 inches deep.
- Bottom clearance: 1 inch off the floor to avoid moisture.
Plan spacing so shoes don’t stick out. When you learn how to make a wooden shoe rack, measure typical shoes you own and add a little space. Draw a full-size sketch. This avoids surprises during assembly.
Step-by-step: Build a simple 3-shelf shoe rack
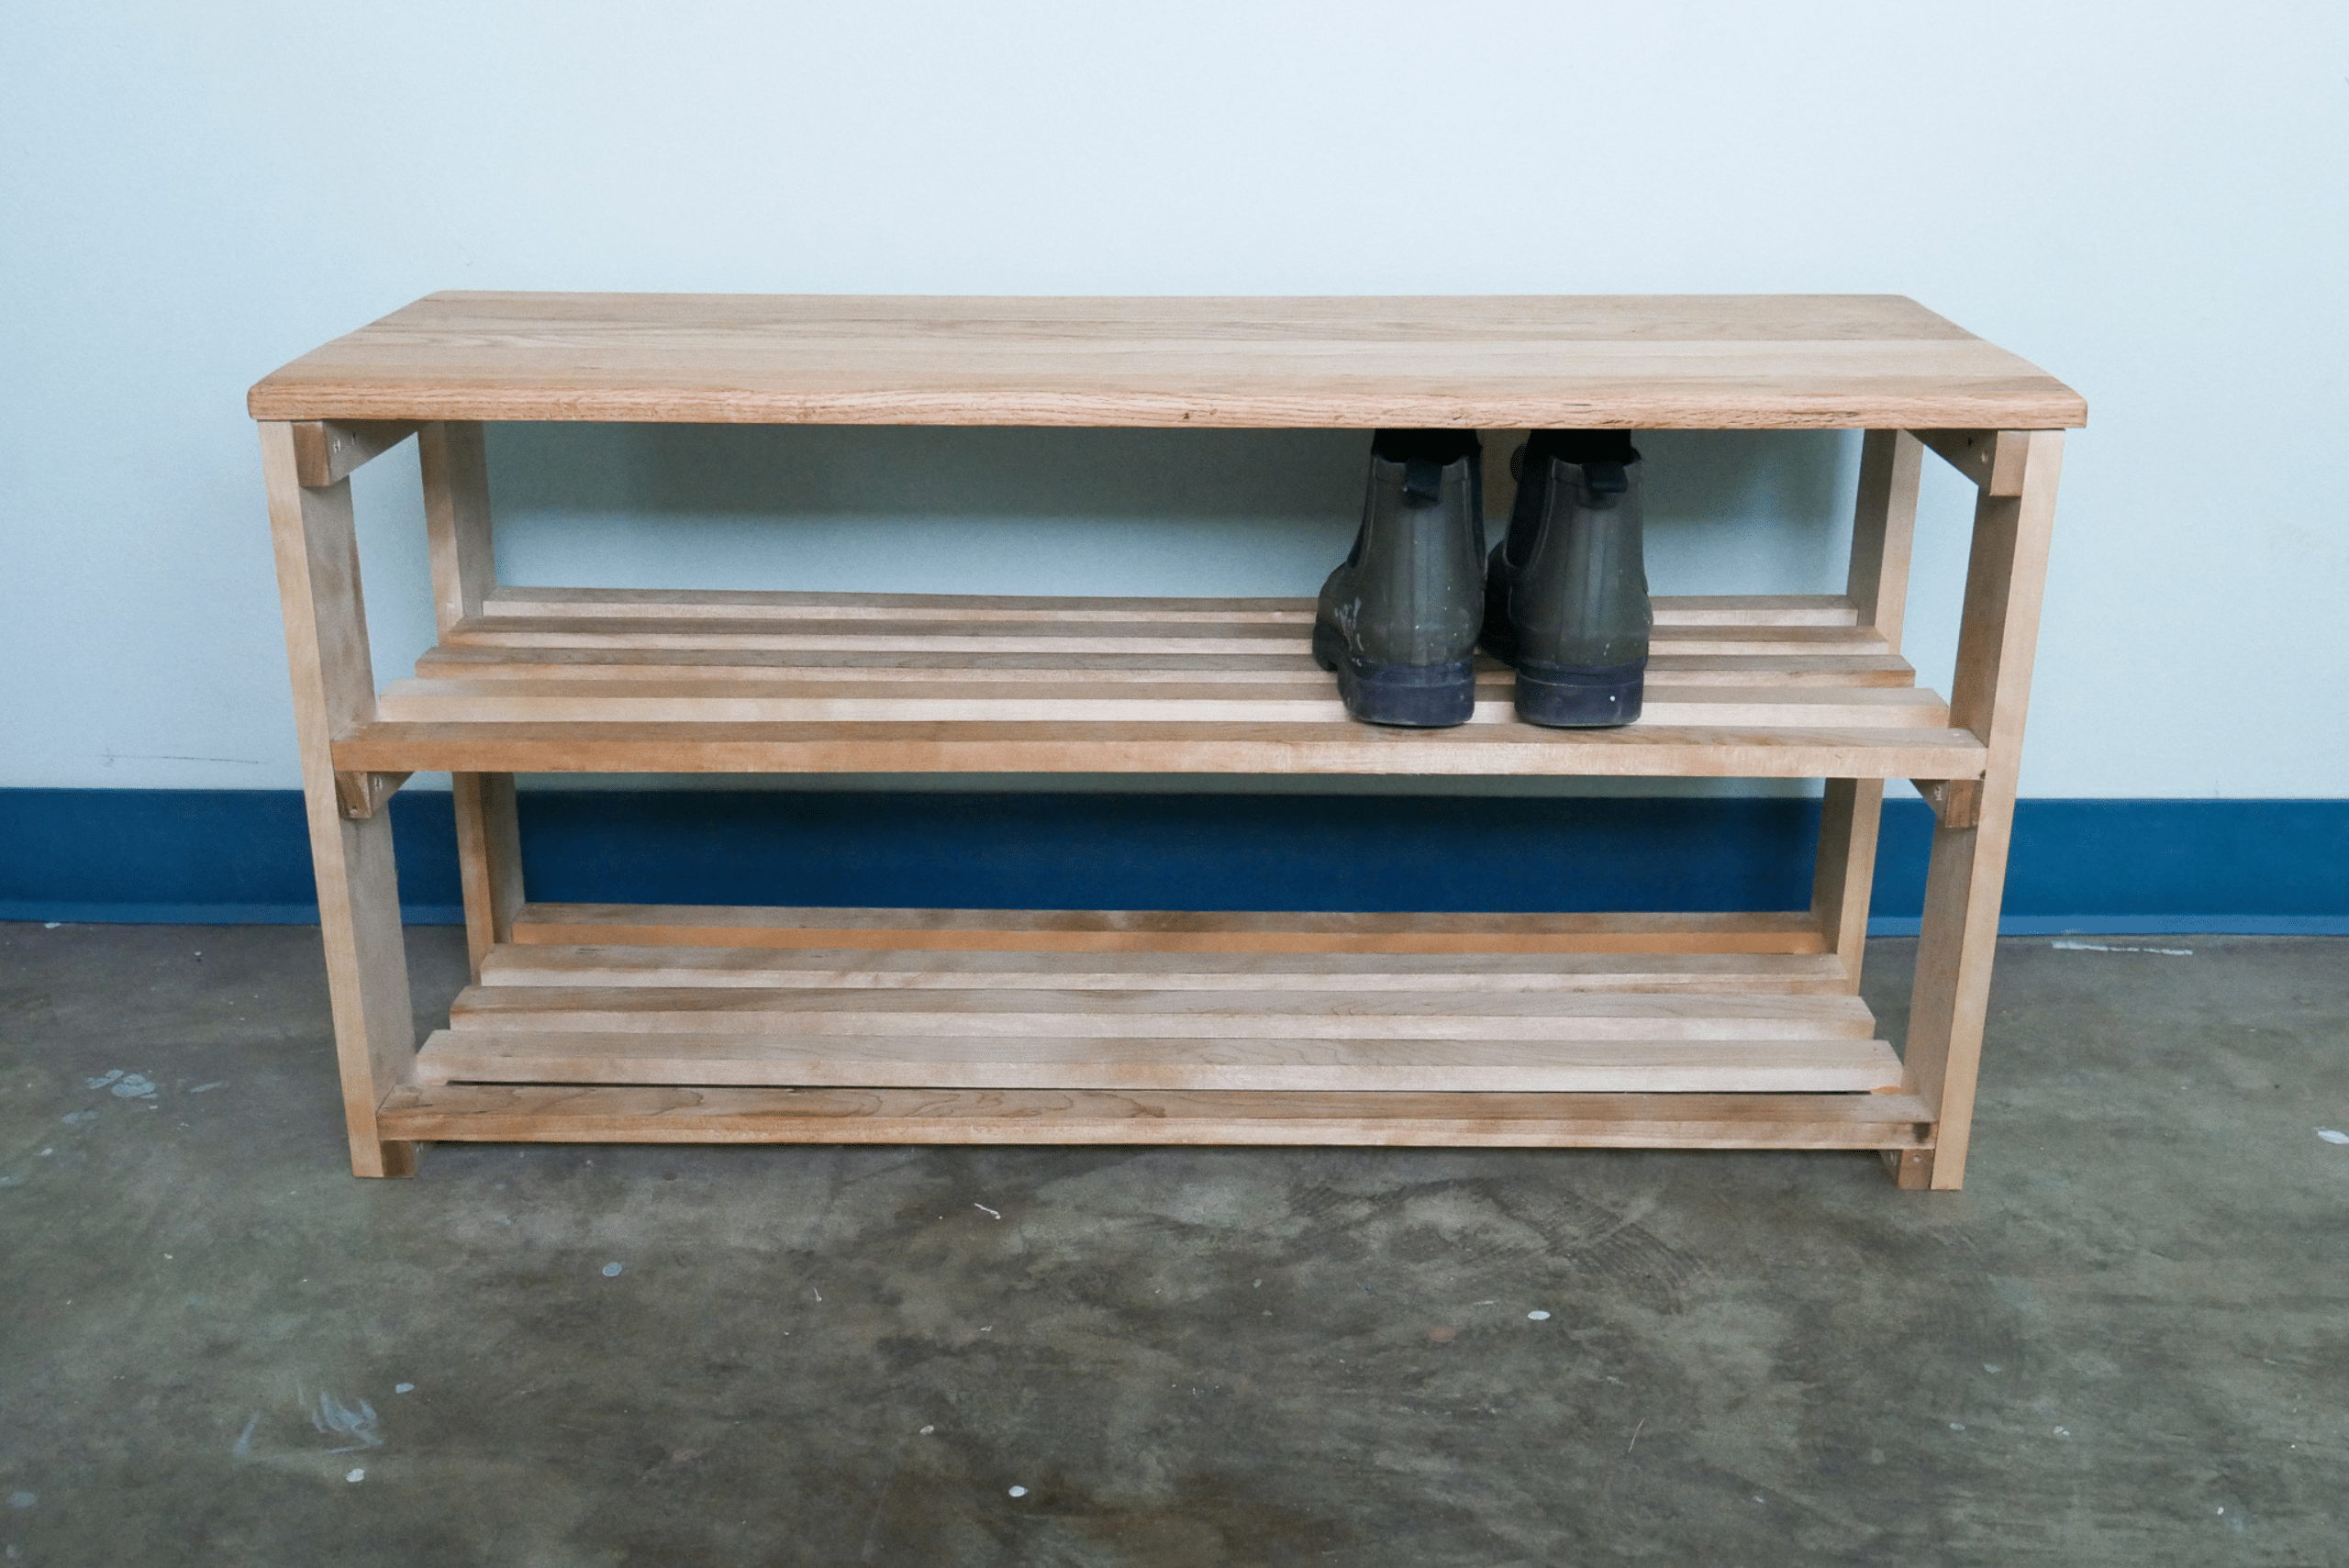
Follow these numbered steps for a straightforward build. This is a repeatable method you can scale up.
- Cut list
- Two side panels: 30" x 10"
- Three shelves: 24" x 10"
- Two cleats (optional rear supports): 22" x 1.5" x 3/4"
- Prepare wood
- Joint and plane if needed, or buy straight boards.
- Sand edges with 120 grit for smooth fit.
- Mark shelf locations on both side panels
- Measure from bottom: 3", 11", 19" for shelf centers (adjust to your shoe height).
- Use a square to transfer marks.
- Attach shelves with glue and screws
- Pre-drill holes through side panels into shelf ends.
- Apply glue to shelf end and clamp into place.
- Drive screws countersunk and filled with wood filler.
- Add cleats or rear strip for strength
- Fasten cleats under each shelf at the back edge.
- This prevents sag on wide racks.
- Sand and finish
- Sand entire unit: 120 then 220 grit.
- Apply stain or paint and two coats of clear sealer.
- Final touches
- Add felt pads to feet to protect floors.
- Check screws after first week and tighten if needed.
When you practice how to make a wooden shoe rack once, the process gets faster. I recommend dry-fitting all parts first. This catches alignment issues before glue sets.

Variations and upgrades
Once you know how to make a wooden shoe rack, you can change the design to match needs.
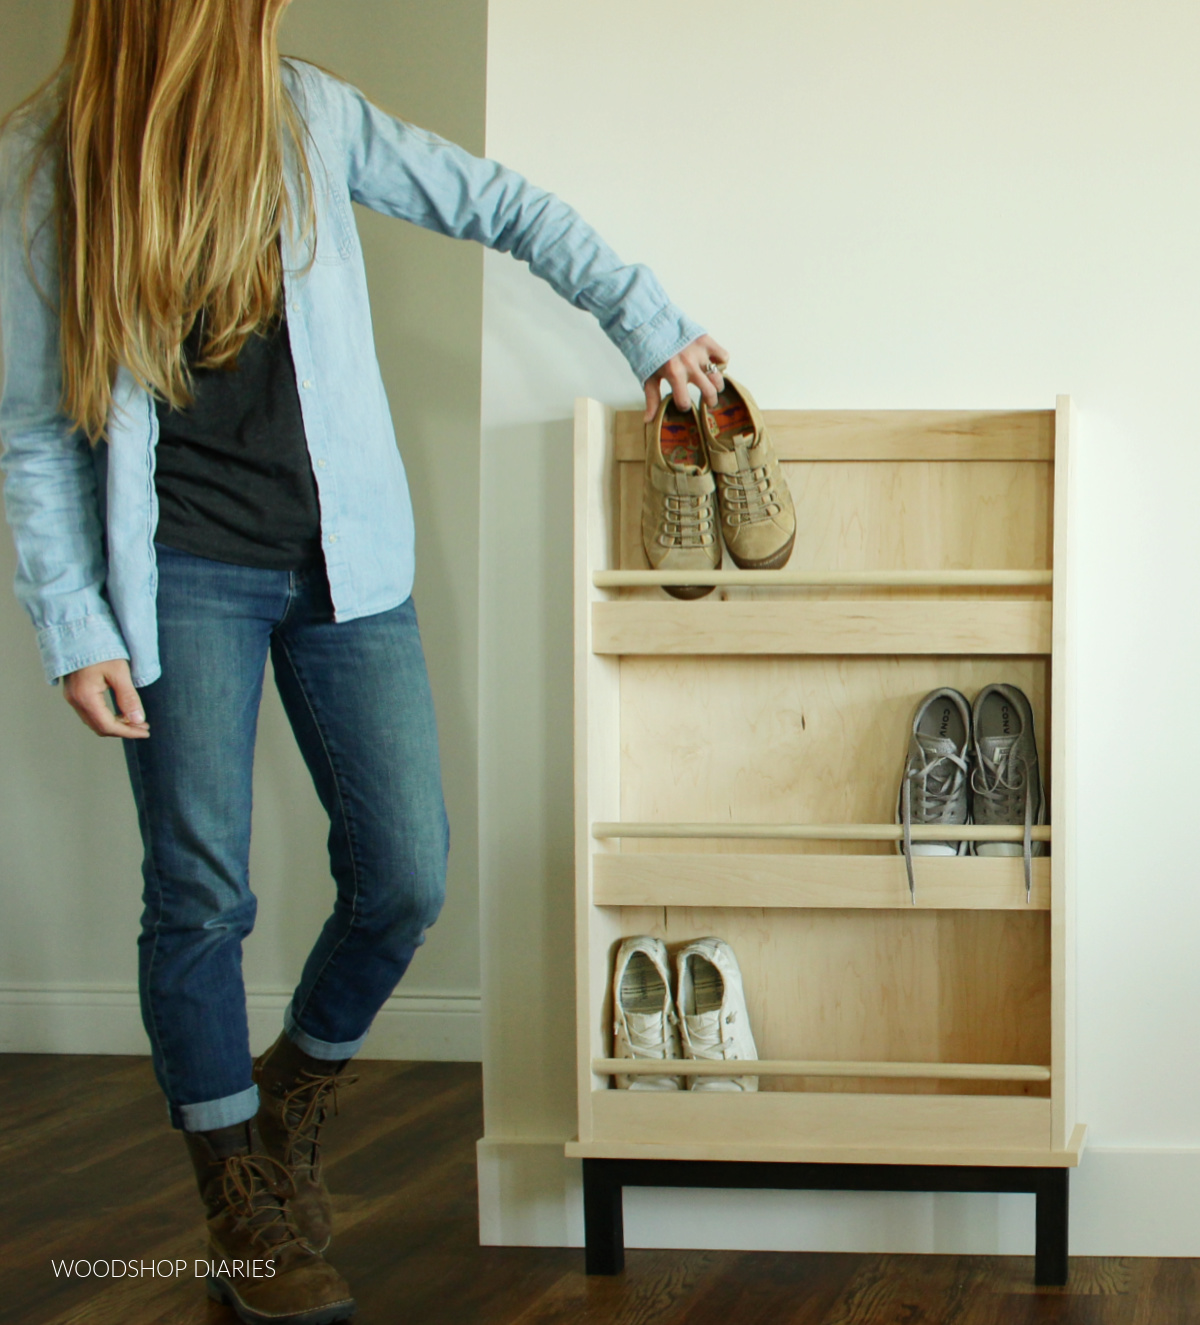
- Wall-mounted rack
- Saves floor space and is quick to build.
- Bench-style rack
- Add a seat top and reinforce for sitting.
- Tiered or slanted shelves
- Easier shoe view and better air flow.
- Expandable modular units
- Stack or bolt multiple racks together for larger closets.
- Decorative touches
- Add trim, routed edges, or beadboard backing for style.
Choose a variation that matches daily use. I turned a simple rack into a bench by adding a plywood top and extra bracing. It became my mudroom favorite.

Finishing, sanding, and protecting
A proper finish protects wood from dirt and moisture. It also makes the rack look done.
- Sanding sequence
- Start with 80 grit to remove rough spots.
- Move to 120 grit to smooth joins.
- Finish with 220 grit for a silky surface.
- Stain or paint
- Stain highlights wood grain; let dry fully between coats.
- Paint hides imperfections and is easy to refresh.
- Sealers
- Water-based polyurethane dries fast and has low odor.
- Oil-based is more durable but longer to dry.
- Application tips
- Use a brush or foam applicator with long, even strokes.
- Sand lightly between coats for smooth results.
If you want to learn how to make a wooden shoe rack that lasts, don’t skip the sealer. Small spills and mud are common and a good finish keeps wood safe and clean.

Maintenance and care
A wooden shoe rack requires little upkeep. A few simple habits extend its life.
- Regular cleaning
- Wipe with a damp cloth to remove dust and dirt.
- Avoid soaking or placing wet shoes directly on wood.
- Seasonal check
- Tighten screws if shelves feel loose.
- Recoat the finish every few years in high-use areas.
- Avoiding damage
- Use trays for wet boots.
- Keep it away from direct heat or prolonged sunlight.
Maintaining what you build is part of learning how to make a wooden shoe rack. Minor fixes now save big repairs later.
Cost and time estimate
Know what to expect before you start. Costs and time depend on size, wood, and finish.
- Budget estimate for a 3-shelf rack
- Low-cost (pine/plywood): $25 to $50.
- Mid-range (poplar, better hardware): $75 to $150.
- High-end (oak/walnut, premium finish): $200+.
- Time
- Planning and cutting: 2 to 3 hours.
- Assembly and drying time: 2 to 4 hours plus glue/finish dry time.
- Total project time across a weekend: roughly 8 to 12 hours.
When you build multiple racks, you get faster. My first rack took a full weekend. The third one took half a day.
Safety and common mistakes
Work safe and avoid these frequent errors. Safety keeps the project enjoyable.
- Safety tips
- Wear eye and ear protection when cutting wood.
- Use a dust mask when sanding or cutting plywood.
- Clamp small pieces to avoid free-hand cutting.
- Common mistakes
- Rushing measurements leads to uneven shelves.
- Skipping pre-drilling causes splitting on thin boards.
- Not dry-fitting assemblies before glue-up leads to misaligned parts.
I once assembled a rack only to find one shelf rotated the wrong way. Dry-fitting prevents that simple and costly error.
Personal tips and lessons learned
I’ve built racks for clients, friends, and my home. Here are practical lessons that help every build.
- Cut both side panels from the same board to match grain and thickness.
- Use pocket screws or dowels for cleaner visible faces.
- Add a 1/8" gap in front of shelves for air and to ease shoe removal.
- If you have limited tools, buy pre-cut boards or use a local mill to cut to size.
- Label parts after cutting to avoid mix-ups during assembly.
These tips come from hands-on builds. They save time and give stronger results when you make a wooden shoe rack.
Quick questions people ask about building shoe racks (PAA-style)
Q: How deep should shelves be for shoes?
A: Aim for 10 to 12 inches deep for most shoes. Boots need deeper shelves or open space.
Q: What wood is best for a shoe rack?
A: Pine and plywood are cost-effective and easy to work with. Oak and maple are best for durability and look.
Q: Can I make a shoe rack without a saw?
A: Yes, you can buy pre-cut boards or ask a hardware store to cut boards to size. Assembly then only needs a drill and basic tools.
Frequently Asked Questions of how to make a wooden shoe rack
What basic tools do I need to make a wooden shoe rack?
You need a tape measure, saw (circular or miter), drill, clamps, and sandpaper. These tools let you cut, join, and finish basic racks.
How long does it take to build a simple shoe rack?
A basic 3-shelf rack typically takes one weekend including drying time. Active work is usually 4 to 8 hours.
Can I use plywood for shelves?
Yes. Plywood resists warping and holds screws well for wider shelves. Choose cabinet-grade plywood for a neater edge.
How do I prevent shelf sagging over time?
Add cleats under shelves or use thicker boards for long spans. For wide shelves, center supports help a lot.
Is it better to paint or stain a shoe rack?
Paint hides imperfections and is easy to refresh. Stain shows the wood grain and can be sealed for durability. Choose what fits your style and traffic.
Do I need to seal the shoe rack?
Yes. Sealing protects wood from dirt, moisture, and scuffs. Use a clear water-based polyurethane for quick drying and low odor.
Conclusion
Making a durable, attractive wooden shoe rack is a weekend project you can complete with basic tools, clear cuts, and simple joinery. Start by planning size and materials, cut carefully, dry-fit parts, and finish with care. Take your time on layout and sanding, and you’ll enjoy a custom rack that fits your space and style. Try the basic 3-shelf design first, then modify it to suit boots, a bench, or wall mounting. Ready to build? Gather your materials, sketch your plan, and share your results or questions below.

Madison Clark is a footwear expert and the voice behind MyStyleGrid.com. She specializes in honest shoe reviews, style tips, and practical guides to help readers find the perfect pair for any occasion. With years of experience in blogging and content creation, Madison makes footwear knowledge simple, stylish, and easy to follow.