Imagine your child waking up on Christmas morning and seeing real Santa boot prints leading right to the tree. How magical would that moment be?
You can create this special surprise easily, and it will make your holiday celebration unforgettable. In this guide, you’ll learn simple steps to make Santa boot prints that look just like the real thing. Ready to bring a little extra Christmas magic to your home?
Let’s get started!

Credit: www.cliths.com
Materials Needed
Choose bootswith a clear, deep tread pattern. Rubber boots work best for making clear prints. Avoid boots with very smooth soles as they won’t leave a good mark.
Use red or brown paintfor a realistic Santa boot color. Tempera or washable paintis easier to clean up. A small paintbrush or spongehelps apply paint evenly on the sole.
Have some paper towelsready to wipe off extra paint. You will also need a flat surfaceto make prints. Keep a bowl of water nearby for cleaning boots between prints.
Preparing The Boots
Start by cleaning the boot surfaceto remove dirt and dust. Use a damp cloth or sponge for this. A clean surface helps the paint stick better. Let the boot dry fully before applying paint.
Choose non-toxic, washable paintfor safety and easy cleanup. Use a small brush or sponge to apply a thin, even layer of paint on the sole. Avoid thick coats; they can smudge and ruin the prints.
Press the painted sole gently onto paper or fabric to make the boot prints. Practice a few times to get clear, sharp prints. Clean the boot after use to keep it ready for next time.
Creating The Prints
Pick a spot where Santa’s boots would look real. Choose soft snow or dirt. Avoid hard or icy places. This helps the prints show clearly.
Press the boot gently but firmly. Make sure the print is deep enough. Don’t move the boot while pressing. This keeps the shape perfect and clear.
Sprinkle some fresh snow around the print. Use a small brush to add snow dust. This makes the print look fresh and real. It also hides any mistakes.
Credit: www.etsy.com
Safety Tips
Choose non-toxic materialslike washable paint or chalk for Santa boot prints. These are safe for kidsand easy to clean. Avoid using harmful chemicals or permanent markers that can stain.
Protect floors and surfaces by placing a plastic sheetor old newspaper under the area. This stops paint or chalk from spreading. Use a soft brushor sponge to apply the paint gently.
Test the paint on a small spot first. Make sure it washes off easily. Clean up spills quickly to avoid damage. Keep all materials out of reachof children when not in use.
Creative Variations
Santa boot prints can have many different styles. You can use a classic round bootor try a square toeshape. Some like to add fur trimaround the edges for a cozy look. Others use tread marksto make prints look more real. Changing the size of the prints can make them fit small or big spaces easily.
Personalizing the prints makes them special. Try adding Santa’s initialsor a small star or snowflakeinside the boot shape. Using colored chalkor paint helps the prints stand out. You can also make footprints that look like Santa’s sleigh tracksor add reindeer hoof printsnearby for extra fun.
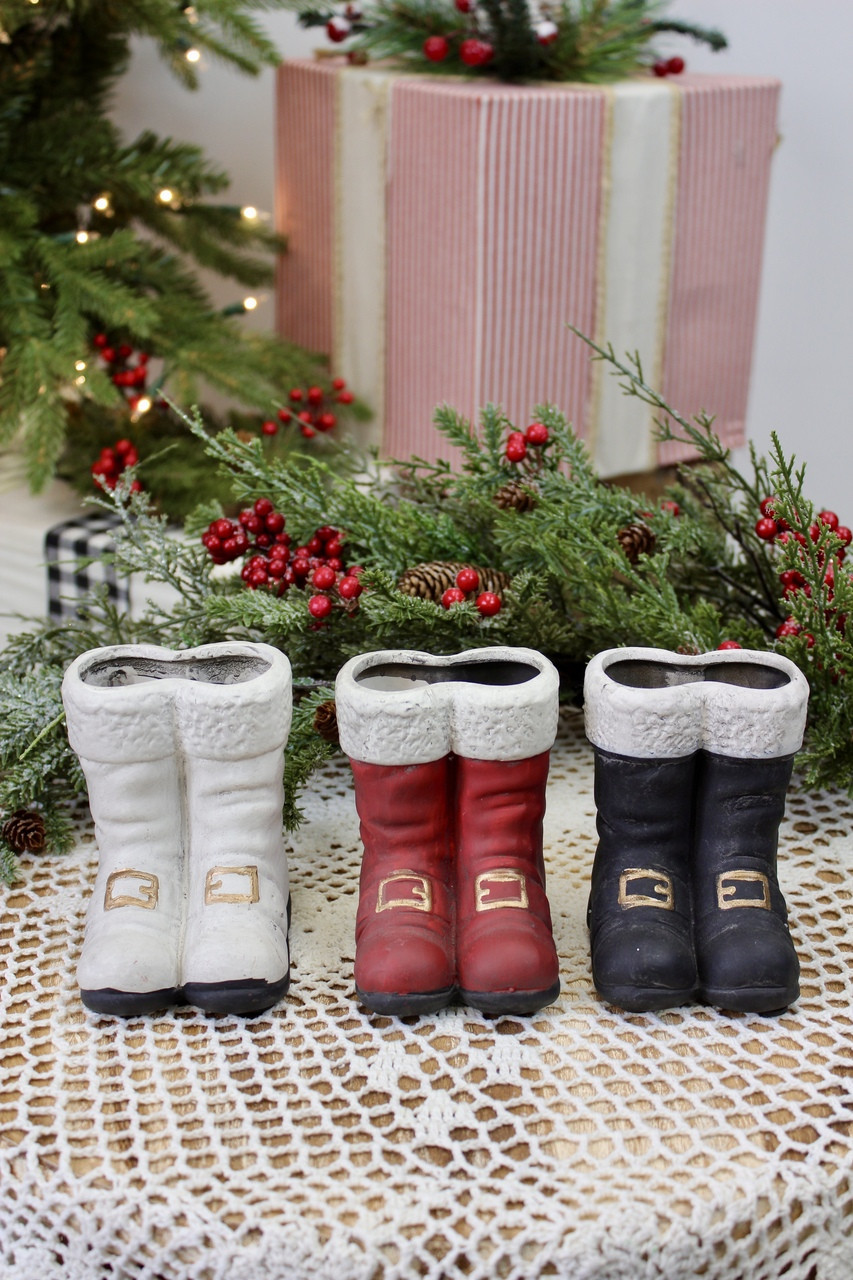
Credit: theshabbytreeboutique.com
Cleanup And Storage
To remove paint from boots, start by wiping off excess paint with a damp cloth. Use warm, soapy water and a soft brush to scrub gently. Avoid harsh chemicals to protect the boots’ material. For stubborn paint, try rubbing alcohol on a cotton ball, but test it on a small area first. Let boots dry completely before storing.
Store boots in a cool, dry place away from direct sunlight. Keep them in a box or a bag to avoid dust. Placing crumpled paper inside helps boots keep their shape. Proper storage will keep boots ready for next year’s fun.
Frequently Asked Questions
How Do You Create Santa Boot Prints?
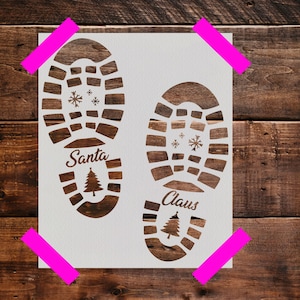
To create Santa boot prints, use a stencil or cut-out of boots. Dip it in washable paint and press on surfaces. This gives realistic prints for holiday fun. Ensure prints are clear and spaced for authenticity.
What Materials Are Needed For Santa Boot Prints?
You need washable paint, a boot-shaped stencil or cardboard cut-out, and a paintbrush or sponge. Use red or black paint for classic looks. Also, have paper towels or cloth for quick cleanup.
Where Can Santa Boot Prints Be Placed?
Place prints near chimneys, fireplaces, or doorways. You can also add them on porches or hallways. This placement adds a magical touch and surprises kids on Christmas morning.
Can Santa Boot Prints Be Made Kid-friendly?
Yes, use non-toxic, washable paints for safety. Involve kids in making prints with supervision. This activity is fun and safe for children during holiday preparations.
Conclusion
Creating Santa boot prints adds magic to holiday fun. It’s simple and brings joy to kids. Just follow easy steps and use common materials. You can make memories that last for years. Try different patterns or colors to be creative.
Watch children’s faces light up with wonder. These prints make Christmas feel special at home. Everyone can join in and help create the magic. Start your Santa boot prints today and enjoy the festive spirit!

Madison Clark is a footwear expert and the voice behind MyStyleGrid.com. She specializes in honest shoe reviews, style tips, and practical guides to help readers find the perfect pair for any occasion. With years of experience in blogging and content creation, Madison makes footwear knowledge simple, stylish, and easy to follow.