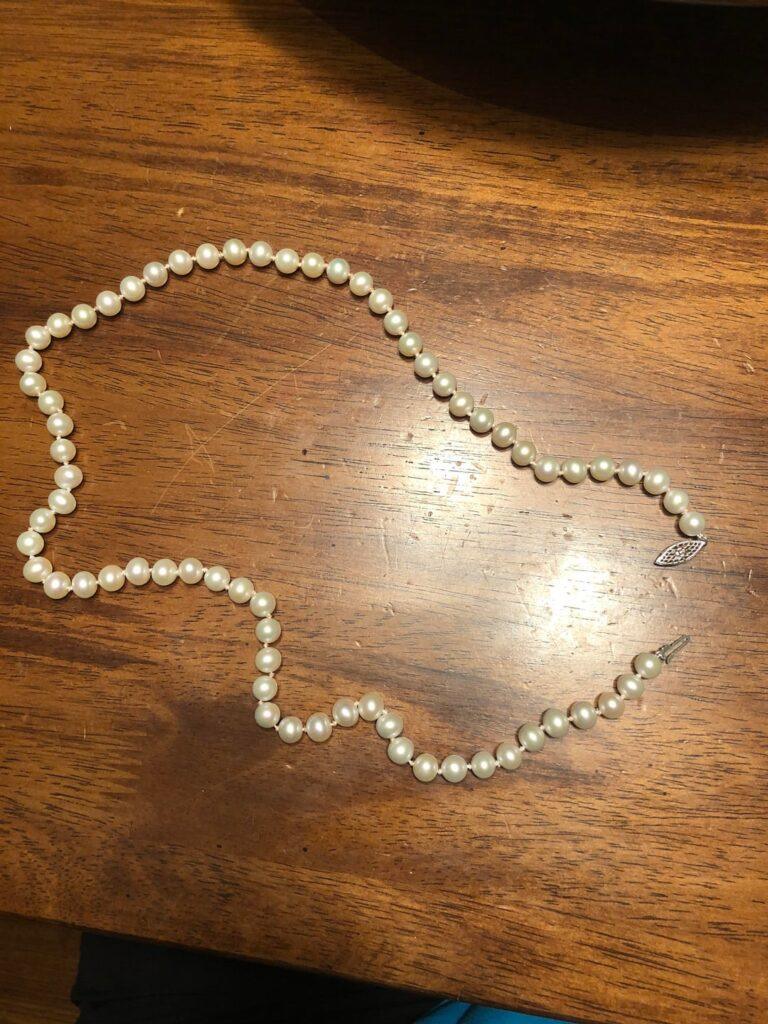
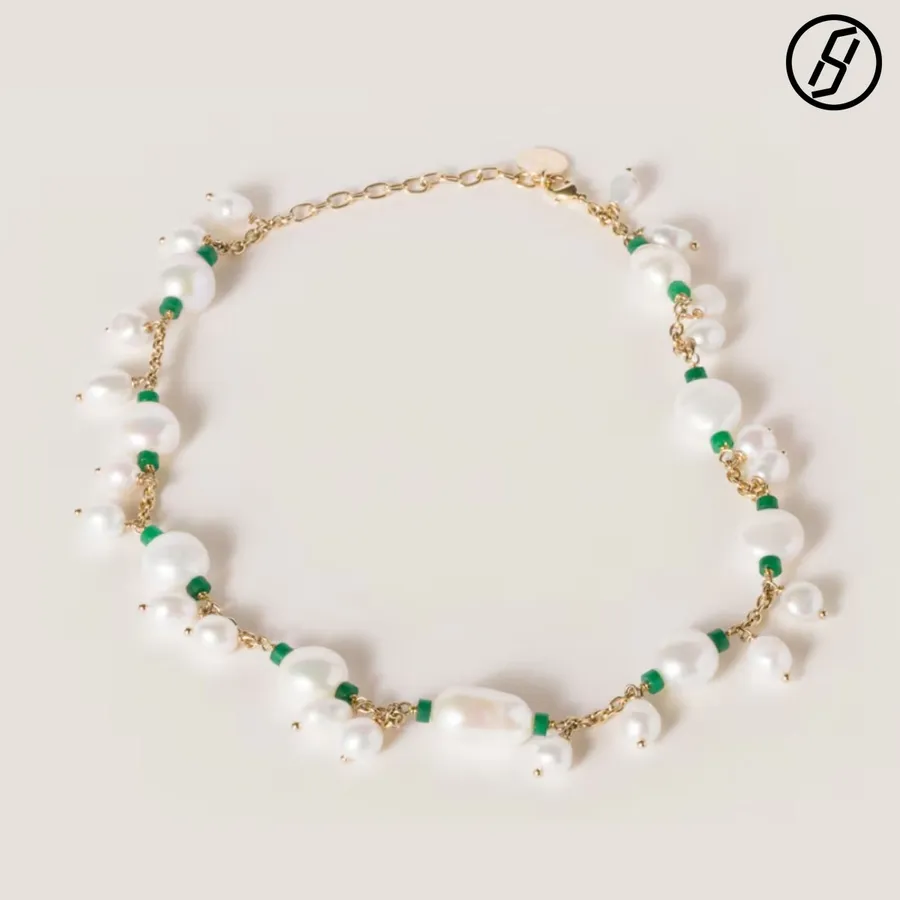
Do you have a beautiful pearl necklace that just doesn’t sit right? Maybe it’s too long, or it hangs awkwardly on your neck.
You don’t have to toss it or spend a fortune to fix it. Shortening a pearl necklace is easier than you think, and you can do it yourself with just a few simple tools. Imagine wearing your favorite pearls perfectly fitted to your style and comfort.
Keep reading, and you’ll learn exactly how to make your necklace look stunning and feel just right every time you wear it.

Credit: blog.landofodds.com
Tools Needed
Shortening a pearl necklace needs a few simple tools. These tools make the task easier and safer. Using the right tools protects your pearls from damage. You will also get a neat, clean finish on your necklace.
Beading Wire Cutters
Beading wire cutters cut through the wire without crushing it. They give a sharp, clean cut. Regular scissors may damage the wire or pearls.
Flat Nose Pliers
Flat nose pliers hold small parts firmly. They help open and close jump rings or clasps. These pliers prevent slipping and scratching.
Crimping Pliers
Crimping pliers secure the crimp beads tightly. This keeps the necklace strong and intact. They press the crimp bead without breaking the wire.
Bead Board Or Mat
A bead board or mat holds your pearls in place. It stops them from rolling away. You can arrange the pearls to the right length here.
Bead Reamer
A bead reamer smooths rough edges inside pearl holes. This prevents wire damage when threading. Use it gently to avoid cracking pearls.
Credit: smart.dhgate.com
Measure The Desired Length
Measuring the desired length is the first step to shorten a pearl necklace. It helps ensure the necklace fits perfectly and looks elegant. Taking accurate measurements avoids mistakes and saves time during the adjustment process.
Start with a soft measuring tape or a piece of string. Wrap it gently around your neck to find the length you want. Mark the spot where the necklace should end for the best fit.
Using A Measuring Tape
Place a soft measuring tape around your neck. Hold it where the pearls should rest. Read the number on the tape carefully. This number is your new necklace length.
Using A String Or Ribbon
Wrap a string around your neck like a necklace. Mark the point where it feels comfortable. Lay the string flat and measure it with a ruler. This gives you the exact length needed.
Checking The Fit On Yourself
Try the string or tape around your neck once more. Adjust if it feels too tight or loose. The necklace should sit comfortably and look good. Use this final measurement for shortening your pearls.
Locate The Clasp And Knot
Locating the clasp and knot is the first step to shorten a pearl necklace. These parts hold the necklace together and guide your work. Knowing their exact position helps you avoid damage during adjustment.
The clasp is the small metal piece that opens and closes the necklace. The knot is the tiny thread tied between each pearl. It keeps pearls from rubbing and breaking.
Identify The Clasp Type
Look closely at the clasp. It can be a lobster, spring ring, or box type. Each clasp opens differently. Understanding this helps you open it carefully without harm.
Find The Starting Knot
After the clasp, find the knot nearest to it. This knot marks where the string ends. It also shows where to start untying the necklace for shortening.
Check Knot Condition
Examine the knot for wear or looseness. A strong knot keeps pearls secure. Weak knots need retying during resizing to avoid pearl loss.
Carefully Remove The Clasp
Carefully removing the clasp is a key step in shortening a pearl necklace. The clasp connects the necklace ends and holds the pearls securely.
Removing it gently prevents damage to the pearls or string. You need patience and steady hands for this task.
Gather The Right Tools
Use small tools like jewelry pliers or tweezers. These help grip the clasp without hurting the pearls.
Have a soft cloth ready to place the necklace on. This keeps the pearls safe during work.
Locate The Clasp Connection
Find where the clasp joins the necklace string. Usually, it is linked with a small jump ring or wire loop.
Look closely to see how the clasp is attached. This helps you know where to open it carefully.
Open The Jump Ring Gently
Hold the jump ring with pliers on both sides. Twist one side slightly sideways to open it.
Do not pull the ring apart. Twisting keeps its shape and makes it easier to close later.
Slide the clasp off the jump ring once it is open. Keep the jump ring safe for reattaching.
Place the clasp and jump ring on the cloth. Avoid losing any small parts during the process.
Adjust The Strand Length
Adjusting the strand length is the key step to shorten a pearl necklace. This process changes how the necklace fits around your neck. A perfect fit makes the pearls look elegant and comfortable.
Changing the length involves removing some pearls and reattaching the clasp. The right tools and a careful hand are important here. This section explains how to adjust the strand length safely.
Gather Necessary Tools
Start by collecting all needed tools. Use a small pair of pliers, a bead reamer, and a soft cloth. Prepare a clean workspace with good lighting. These help you work carefully without losing pearls.
Measure And Mark Desired Length
Wear the necklace to see how short you want it. Use a measuring tape or ruler for accuracy. Mark the new length gently with a soft pencil or tape. This shows where to cut without mistakes.
Remove Excess Pearls
Open the clasp using pliers. Carefully slide off pearls from the strand. Count the pearls you remove to avoid losing any. Place the removed pearls on the cloth to keep them safe.
Reattach Clasp And Secure Knots
After removing the pearls, reattach the clasp. Tie secure knots between pearls to prevent slipping. Use a bead reamer to smooth holes if needed. Check the necklace for any weak spots.
Test The New Length
Wear the necklace to check the new fit. It should feel comfortable, not too tight or loose. Adjust again if the length feels off. Proper fit enhances both comfort and style.
Reattach The Clasp Securely
Reattaching the clasp securely is a key step in shortening a pearl necklace. A loose clasp can cause the necklace to fall off and possibly get lost. Taking time to attach it firmly ensures your pearls stay safe and look polished.
Use strong jewelry wire or thread designed for pearls. Avoid thin or weak materials that can break easily. Proper tools also help make a tight connection.
Choose The Right Clasp For Your Necklace
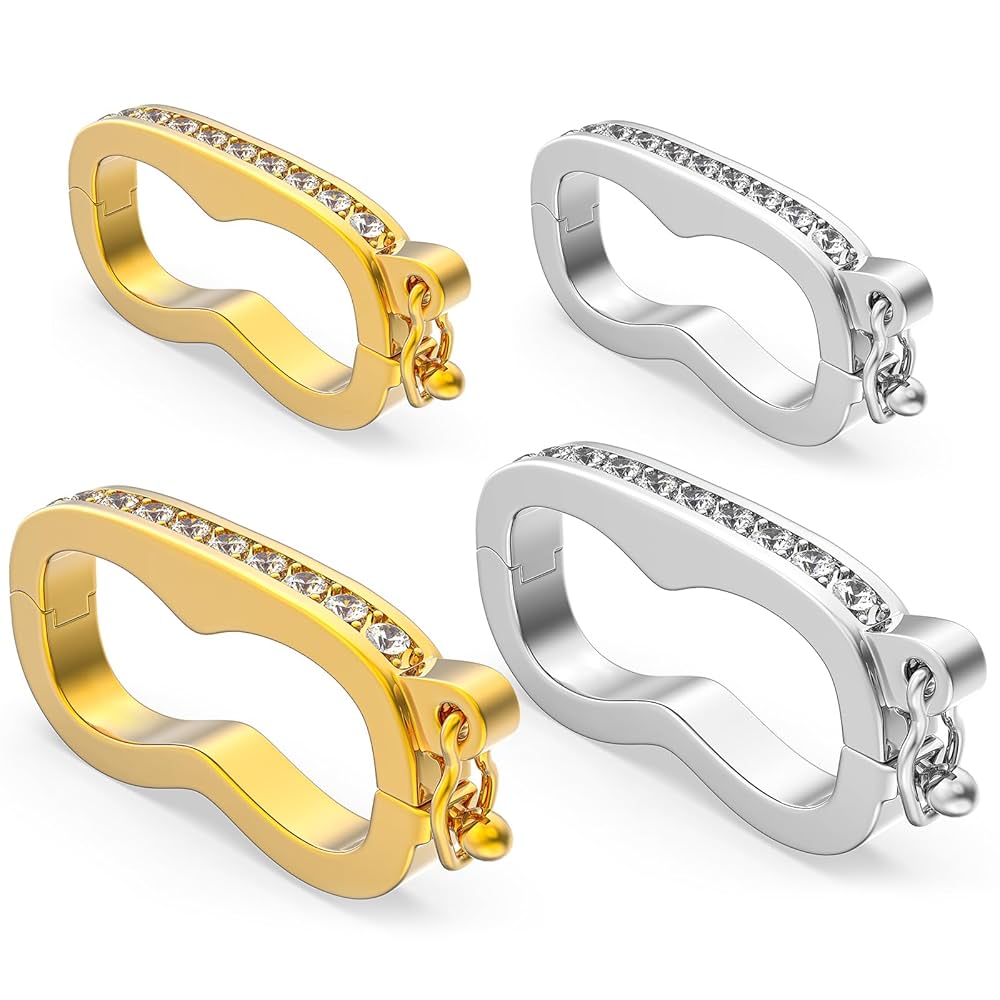
Select a clasp that fits the necklace style and weight. Lobster clasps and spring rings are common and reliable. For heavier pearl strands, a box clasp offers extra security.
Attach The Clasp With Strong Knots Or Wire
Secure the clasp using double knots if you use thread. Pull knots tight to prevent slipping. If you use wire, twist it tightly around the clasp ring.
Check The Clasp Movement And Strength
Test the clasp by gently pulling on it. It should not move freely or feel loose. Ensure the clasp opens and closes smoothly for easy wear.
Trim Excess Thread Or Wire Neatly
Cut off extra thread or wire close to the knot or twist. Leave a small tail for safety but avoid long ends that catch on clothing. Use clear nail polish on knots for extra hold.
Check The Necklace Fit
Before shortening a pearl necklace, check its fit carefully. The right length makes the necklace look elegant and feel comfortable. A necklace that is too long or too short can spoil your outfit. Take time to measure and try it on.
Check how the necklace sits on your neck and chest. Notice if it hangs too low or feels tight. This helps decide how much to shorten. Proper fitting is key to a polished look.
Try The Necklace On
Put the necklace around your neck. Stand in front of a mirror. Look at how it falls on your collarbone. Move your head and shoulders. See if it stays in place or shifts too much.
Measure The Current Length
Use a soft measuring tape to find the necklace length. Measure from the clasp to the center of the necklace. Write down the number. This helps you know how much to remove.
Mark Your Desired Length
Decide where you want the necklace to end. Use a small piece of tape or a marker to mark this spot. Make sure it suits your style and comfort. This step guides the shortening process.
Credit: www.amazon.com
Tips For Maintaining Pearl Necklaces
Maintaining a pearl necklace keeps it beautiful and strong for years. Pearls are delicate and need gentle care. Proper care prevents damage and preserves their shine. Follow these simple tips to keep your pearls looking their best.
Store Pearls Separately
Keep your pearl necklace away from other jewelry. Hard items can scratch pearls easily. Use a soft pouch or cloth bag. Avoid plastic bags, which can dry pearls out.
Clean Pearls Gently
Use a soft, damp cloth to wipe pearls after wearing. Avoid harsh chemicals or cleaners. Mild soap and water work well. Never soak pearls in water for too long.
Avoid Contact With Chemicals
Perfume, hair spray, and makeup can damage pearls. Put on your necklace after applying these products. This helps keep pearls shiny and strong.
Wear Pearls Often
Natural oils from your skin help keep pearls moist. Wearing your necklace regularly prevents drying and cracking. Just remember to clean them gently after use.
Frequently Asked Questions
How Do I Measure A Pearl Necklace To Shorten It?
Use a measuring tape to determine your desired length. Mark where you want to cut. Ensure the length suits your style and comfort.
Can I Shorten A Pearl Necklace At Home Safely?
Yes, with the right tools like pliers and a clasp. Be careful not to damage the pearls or string.
What Tools Are Needed To Shorten A Pearl Necklace?
You’ll need jewelry pliers, a clasp, and strong string or wire. These help you remove beads and reattach the clasp securely.
Should I Restring Pearls After Shortening The Necklace?
Yes, restringing ensures the necklace stays secure and looks polished. Use a strong silk or nylon thread for durability.
Conclusion
Shortening a pearl necklace can refresh your look quickly. With simple tools and steps, you can do it yourself. Measure carefully to avoid mistakes. Always secure the clasp tightly after adjusting the length. This small change makes your necklace fit better and feel more comfortable.
Enjoy your new style without spending much time or money. Try it today and see the difference it makes!

Madison Clark is a footwear expert and the voice behind MyStyleGrid.com. She specializes in honest shoe reviews, style tips, and practical guides to help readers find the perfect pair for any occasion. With years of experience in blogging and content creation, Madison makes footwear knowledge simple, stylish, and easy to follow.