Use clean lighting, clear angles, and simple backgrounds to show every sneaker detail.
I’ve photographed hundreds of pairs for resales, shops, and marketplaces, and this guide breaks down exactly how to photograph sneakers for online selling so your listings convert. I’ll share step‑by‑step setup tips, camera settings, styling advice, editing tricks, and mistakes I learned the hard way — all in plain language so you can shoot pro-level photos fast.
Equipment essentials
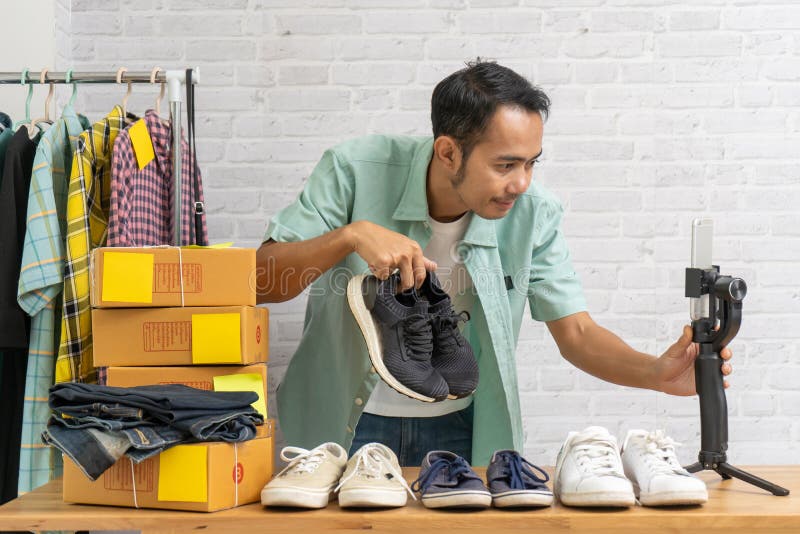
Start with gear you likely already own. A modern smartphone camera or an entry-level mirrorless camera works well for how to photograph sneakers for online selling. Use a tripod for steady shots and a clean lens to avoid soft or smeared details.
Key gear to consider:
- Camera or smartphone — shoot at the highest resolution available.
- Tripod — keeps frames consistent and sharp.
- Macro or standard lens — macro helps capture stitching and wear.
- Reflector or white foam board — fills shadows without adding lamps.
- Softbox or diffused light source — creates soft, even lighting.
Personal note: I began with my phone and a stack of books as a tripod. Even low-cost setups can produce crisp photos if you control light and staging.

Lighting and setup
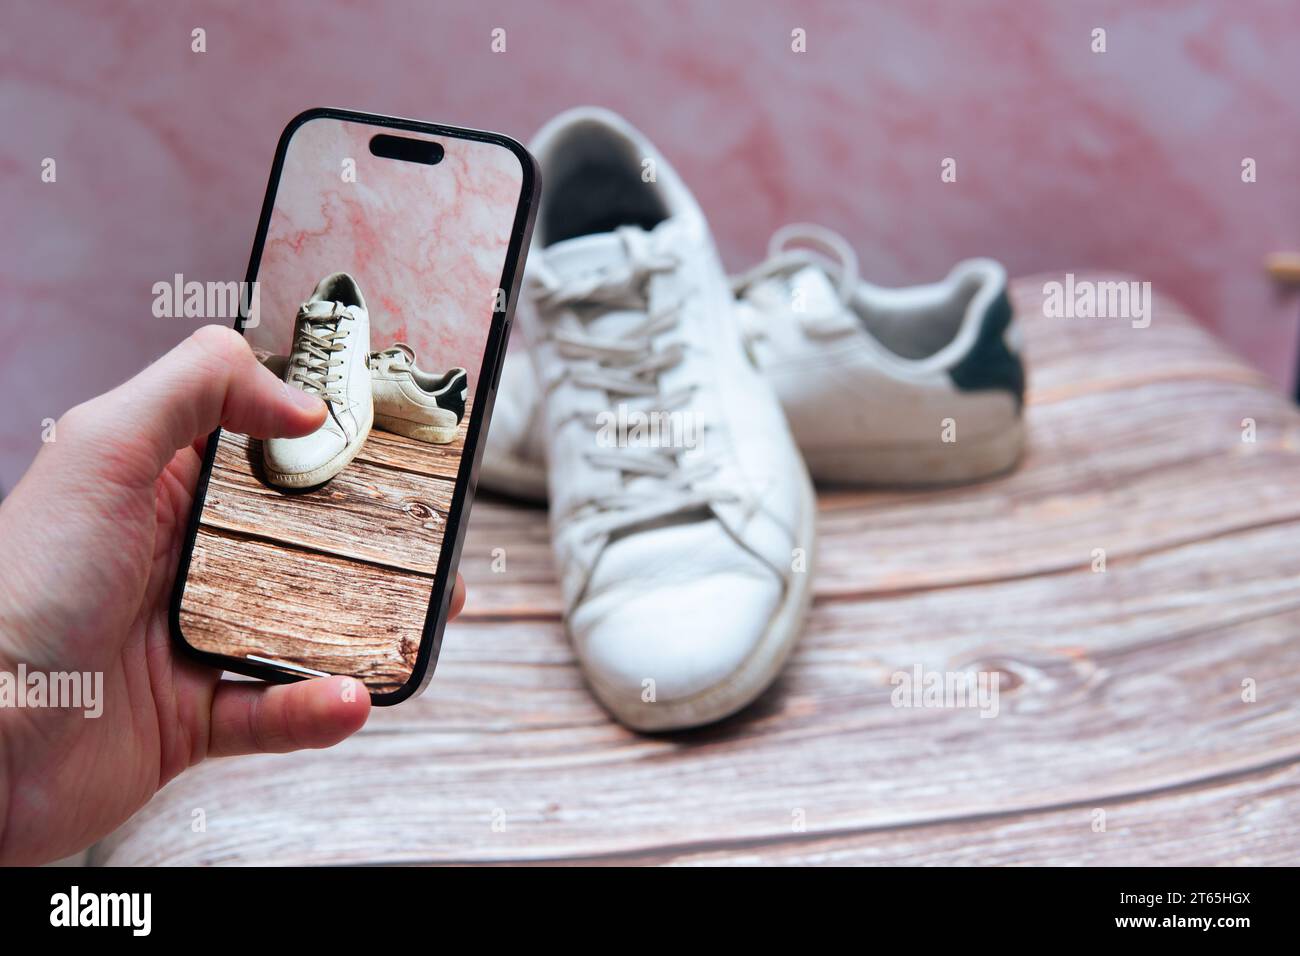
Good light makes or breaks sneaker photos. Natural window light is your best free option for how to photograph sneakers for online selling; it is soft and color-accurate when diffused by a sheer curtain.
Simple lighting tips:
- Use indirect daylight from a large window in the morning or late afternoon.
- Avoid direct sunlight that casts hard shadows or washes colors.
- Add a soft fill with a reflector or white board on the shadow side.
- For consistent results, use continuous LED panels with softboxes when shooting indoors.
Lighting setup basics:
- Place the sneaker on a table near the window.
- Put a reflector opposite the light to reduce deep shadows.
- Keep the camera level with the shoe for most product shots.
From experience, investing in one softbox and a small LED panel gave me consistent color across listings and saved hours in editing.
Backgrounds and styling
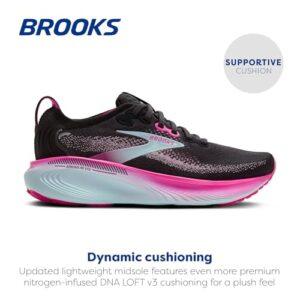
A clean background directs attention to the sneaker. Simple, neutral backdrops show color and detail best when you photograph sneakers for online selling.
Background options:
- White sweep — classic, looks clean on most marketplaces.
- Light gray — reduces harsh contrast and shows midtones well.
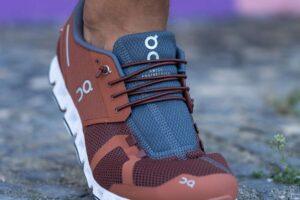
- Contextual lifestyle background — use sparingly for branded or premium listings.
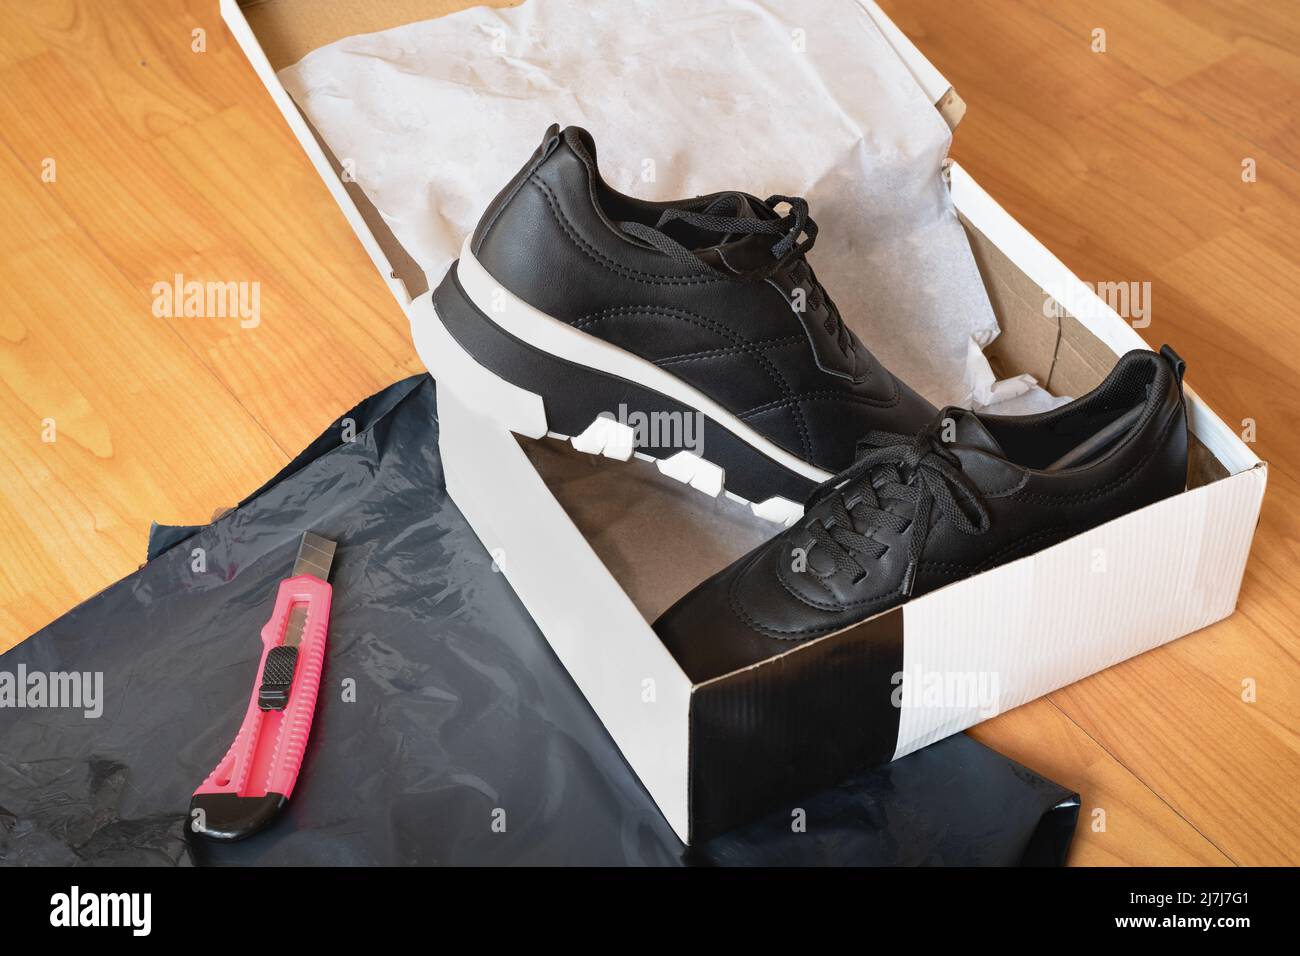
Styling tips:
- Use shoe trees or tissue stuffed to hold shape.
- Clean scuffs and lint before shooting.
- Photograph one shoe and a pair; include close-ups of logos, labels, soles, and defects.
I learned that buyers trust listings that include a clean white image plus at least three detail shots. It reduces returns and speeds sales.

Camera settings and composition
Keep settings simple and reliable. Whether you use a phone or camera, these settings help you photograph sneakers for online selling with clarity.
Recommended settings:
- ISO 100–400 — low for less noise.
- Aperture f/5.6–f/11 — enough depth to keep the shoe in focus.
- Shutter speed 1/60s or faster with tripod, faster handheld.
- Shoot in RAW if available for better color and exposure control.
Composition rules:
- Use the rule of thirds for dynamic shots.
- Keep the sneaker centered for catalog-style images.
- Leave breathing room around the shoe for cropping to marketplace specs.
Practical tip: Lock focus on the logo or most important detail. If the toe is closer to the lens, focus slightly forward to keep the whole shoe sharp.
Shooting angles and essential shots
Buyers want to see a full picture of condition and style. Here are the must-have photos when you photograph sneakers for online selling.
Essential shots:
- Front angle — shows toe box and shape.
- Side profile — displays silhouette and design.
- Heel view — shows back detailing and wear.
- Top-down — reveals lacing and tongue.
- Outsole/sole close-up — critical for wear assessment.
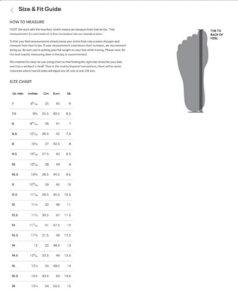
- Inside label and size tag — proves authenticity and size.
- Close-ups of logos, stitching, scuffs, and unique marks.
Shot checklist:
- Main hero shot on neutral background.
- Detail shots at 1:1 crop-friendly framing.
- Left and right shoe both shown if they differ.
Common buyer questions:
Do buyers prefer studio or lifestyle shots?
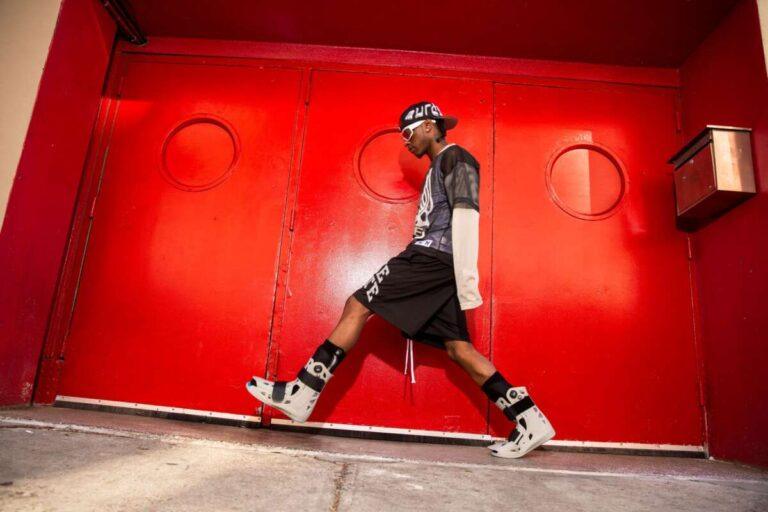
Studio shots are essential for clarity and trust; lifestyle images are great for branding and showing scale.
How many images should I upload?
Aim for 8–12 images that cover all angles, details, and any signs of wear.
Should I show defects?
Always show defects clearly. Honest photos reduce disputes and returns.
From personal tests, listings with a clear hero image plus five detail shots sold 20–30% faster than those with only two photos.
Post-processing and editing
Edit to enhance accuracy, not to mislead. Correct color and clean up dust, but never hide defects when you photograph sneakers for online selling.
Editing workflow:
- Crop to marketplace aspect ratios while keeping full shoe visible.
- Adjust white balance to match real color.
- Fine-tune exposure, contrast, and clarity.
- Remove dust or small sensor spots — do not erase wear or scuffs.
- Export at high quality (JPEG 80–100%) and within file size limits.
Tools I use:
- A mobile app for quick edits and a desktop tool for batch processing.
- Batch actions to keep style consistent across listings.
Trust tip: Keep an original unedited file for your records if a buyer questions authenticity.
Listing optimization and image SEO
Great photos need good captions and filenames to surface in searches. Optimizing images complements the visual work when you photograph sneakers for online selling.
Image SEO steps:
- Use descriptive filenames that include brand, model, color, and key phrase.
- Add detailed alt text that mirrors natural search queries.
- Include measurements and condition in the photo captions or first lines of your listing.
Example filename: nike-air-max-90-white-black-size-10.jpg
Example alt text: Nike Air Max 90 white black mens size 10 photo showing side profile and sole.
Extra tip: Buyers often search by model and condition. Include these terms in both titles and image metadata to help searches.
Troubleshooting and common mistakes
Avoid these repeating errors that undercut listings. Fixing them will increase buyer trust and conversion when you photograph sneakers for online selling.
Mistakes to avoid:
- Poor lighting that changes color or hides detail.
- Cluttered backgrounds that distract from the shoe.
- Overediting that misrepresents condition.
- Missing key shots like soles or size tag.
- Inconsistent framing across listings.
Quick fixes:
- Use a white sweep for background issues.
- Add a color card in the first shot to show true color.
- Re-photograph any image that misleads about wear.
Limitations: Marketplace compression can reduce image detail. Upload the highest allowed resolution and preview listings to ensure images remain clear.
Frequently Asked Questions of how to photograph sneakers for online selling
What camera should I use to photograph sneakers for online selling?
A modern smartphone with a good camera works well, but a mirrorless or DSLR gives more control. Use the highest resolution and shoot in RAW if possible.
How many photos should I include in a listing?
Aim for 8–12 photos covering all angles, close-ups of logos, the sole, the size tag, and any wear or defects. More images help buyers feel confident and reduce returns.
What lighting setup works best for shoes?
Diffuse natural light or a softbox with a reflector produces even, accurate color and soft shadows. Avoid direct sunlight and mixed color temperatures.
How do I show wear honestly but attractively?
Photograph scuffs and sole wear up close and include overview shots showing the shoe’s condition. Clear, honest photos build trust and reduce disputes.
Do I need to edit photos before uploading?
Yes, correct white balance, crop, and remove dust but do not hide damage. Keep edits natural to reflect the true item accurately.
Conclusion
Photographing sneakers for online selling is a mix of good light, clear angles, honest detail shots, and consistent editing. Start with what you have, master a simple setup, and add tools as your listings grow. Your next steps: set up a small shooting area, follow the shot checklist, and post photos that tell the full story of each pair. Try these tips on one listing today, compare views and sales, and refine your workflow as you learn. Leave a comment with your biggest photography challenge or subscribe for more practical gear and listing tips.

Rubel Miah is the Senior Editor at MyStyleGrid.com, where he brings a sharp editorial eye and an unshakable love for fashion to everything he does. A true style addict, Rubel lives and breathes trends, from streetwear to high fashion, and has a knack for turning inspiration into impactful stories. With years of experience in fashion journalism and digital media, he curates content that empowers readers to express themselves through style. When he’s not editing features or forecasting the next big thing, you’ll find him hunting down vintage pieces or capturing street style moments around the city.