Breaking in new ski boots can feel like a challenge you’re not ready for. Tight spots, sore feet, and the fear of ruining your first day on the slopes might make you want to skip it altogether.
But here’s the secret: with the right approach, you can make your boots feel like they were made just for your feet. Imagine hitting the mountain without pain, with boots that fit perfectly and boost your control. Keep reading, and you’ll discover simple, effective steps to break in your new ski boots quickly and comfortably.
Your best skiing experience starts here.
:quality(80))
Credit: www.ellis-brigham.com
Choosing The Right Ski Boots
Choosing the right ski boots starts with checking the fit and size. Boots should feel snug but not tight. Too loose boots can cause blisters, while tight ones hurt your feet. Try boots on with ski socks for the best fit.
Flexmeans how much the boot bends. Beginners need softer flex for comfort. Experts want stiffer boots for control. Pick a boot type that matches your skill and skiing style.
| Boot Type | Description | Best For |
|---|---|---|
| Alpine | Stiff, designed for downhill skiing. | Intermediate to advanced skiers. |
| Touring | Lighter, flexible for uphill and downhill. | Backcountry and uphill skiers. |
| All-Mountain | Good balance of comfort and performance. | Many skiers, all skill levels. |
Custom bootsare molded to your feet. They offer better comfort and support but cost more. Off-the-shelf boots are cheaper and ready to wear. Trying both helps find what suits you best.
Preparing Your Boots
The heat molding processsoftens the ski boot shell and liner. This helps the boot fit your foot shape better. Boots are warmed in a special oven, then worn while warm. This shapes the liner and shell to your feet.
Adjusting liners and shellscan make boots more comfortable. Liners can be compressed or stretched. Shells can be heated and pressed in certain spots. Small changes reduce pressure points and improve fit.
Using boot fitting toolshelps customize the boots further. Tools like stretching machines or grinding devices change shell shape. Footbeds or insoles can be added for support. These tools make boots feel easier and better to wear.
Breaking In Techniques
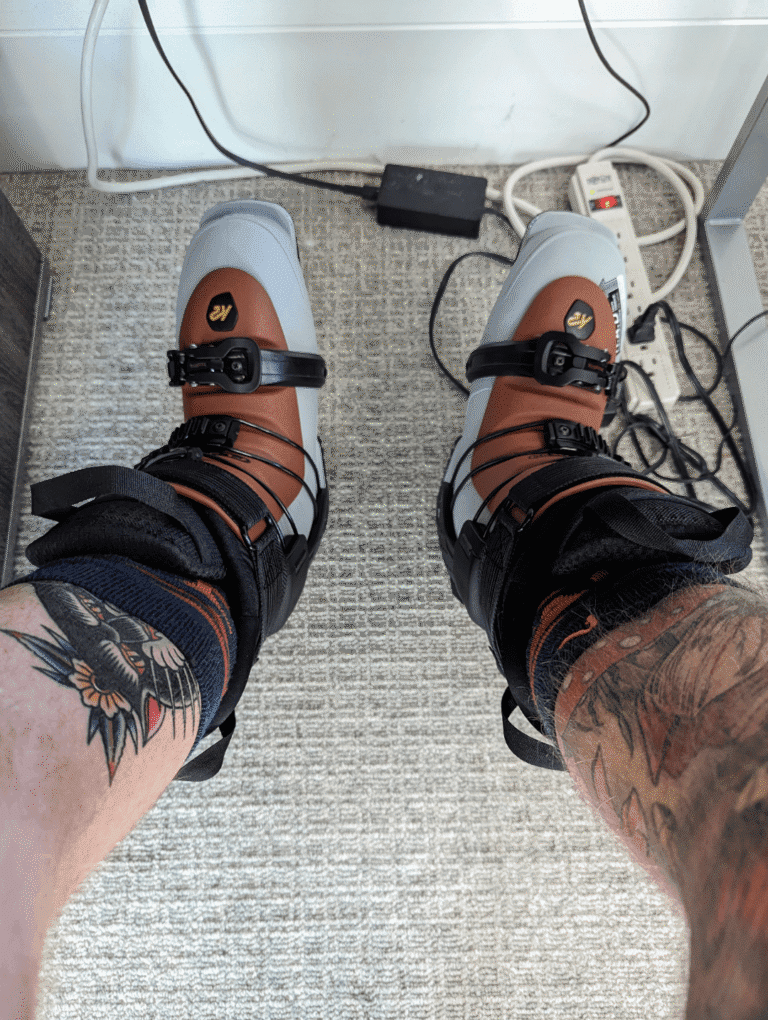
Wearing boots at homehelps your feet get used to the shape. Wear them for short times, like 20-30 minutes. Walk around on carpet or soft floors. This warms up the material and makes it softer. Avoid wearing socks that are too thick or thin. A good fit feels snug but not painful.
Short sessions on the slopesallow your feet to adjust gradually. Ski for short times, then take breaks. This stops soreness and blisters. Pay attention to how your feet feel. Stop if you feel sharp pain or numbness. Over time, increase your skiing time little by little.
Incremental tightening tipskeep boots comfortable and secure. Start with looser buckles. Tighten them a bit after every session. This helps the boots mold to your foot shape. Avoid tightening too much at once. A snug fit improves control and comfort on skis.
Dealing With Discomfort
Pressure pointsin new ski boots cause most discomfort. These spots often feel tight or sore after wearing boots a short time. Common areas include the toes, heels, and sides of feet. Checking for red marks after use helps spot these spots early.
Paddingand insolescan ease pain. Thin foam pads placed on sore areas reduce pressure. Custom insoles support foot arches and improve fit. Both options make skiing more comfortable without changing boots.
| When to Seek Professional Help |
|---|
|
Maintaining Boot Comfort
Proper boot carehelps keep your ski boots comfy and safe. Clean boots after each use. Remove dirt and moisture inside. Use a soft cloth to wipe the shell and liner. This stops bad smells and damage.
Regular adjustmentsare key. Check buckles and straps often. Tighten or loosen to fit your foot well. Visit a boot fitter if needed. They can change the shape or padding for comfort.
Storage tips between seasonskeep boots fresh. Store them in a cool, dry place. Avoid direct sunlight or heat. Keep buckles slightly open to keep shape. Use boot bags or boxes to protect from dust.

Credit: www.reddit.com

Credit: skiing-machine.com
Frequently Asked Questions
How Long Does It Take To Break In New Ski Boots?
Breaking in new ski boots usually takes 3 to 5 days of skiing. Wearing them around the house can speed up the process. Proper fit and gradual use help prevent discomfort and blisters during the break-in period.
What Are The Best Tips To Soften Ski Boots?
Wear thick socks and flex your boots indoors daily. Use heat molding if available to customize the fit. Gradually increase skiing time to allow the boots to conform to your feet naturally.
Can I Speed Up Breaking In Ski Boots At Home?
Yes, wearing boots indoors and flexing them helps. Using a boot heater or heat mold service can speed up softening. Avoid forcing or over-tightening buckles to prevent damage.
Should I Adjust Ski Boot Buckles During Break-in?
Yes, loosen buckles initially for comfort and gradually tighten as boots soften. Proper buckle adjustment ensures a snug fit and reduces pressure points during skiing.
Conclusion
Breaking in new ski boots takes time and patience. Start slow and wear them at home first. Adjust the fit as needed for comfort. Use warm socks and flex your feet often. Small steps help avoid blisters and pain. Enjoy the process and trust your progress.
Soon, your boots will feel just right. Then, you can focus on skiing with confidence. Remember, comfort leads to better performance on the slopes. Take care of your feet, and they will take care of you.

Madison Clark is a footwear expert and the voice behind MyStyleGrid.com. She specializes in honest shoe reviews, style tips, and practical guides to help readers find the perfect pair for any occasion. With years of experience in blogging and content creation, Madison makes footwear knowledge simple, stylish, and easy to follow.