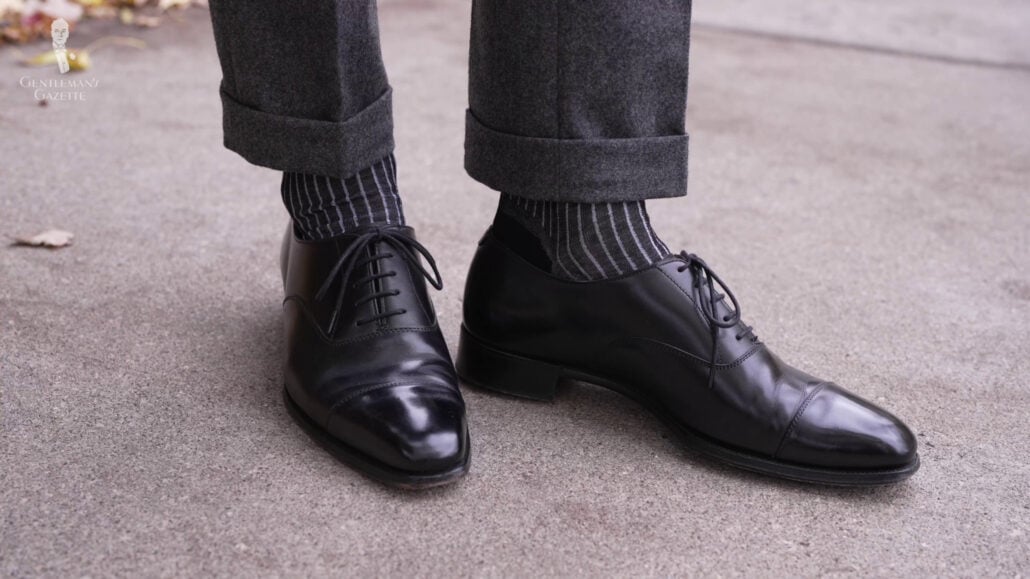
Use straight (bar) lacing with a hidden knot for a clean, formal Oxford look.
I’ve tied hundreds of pairs of dress shoes for clients and events, and I’ll walk you through how to tie Oxford shoes with clear steps, expert tips, and real-world pitfalls to avoid. This guide explains why straight (bar) lacing works best for Oxfords, how to pick the right lace length and style, and the exact step-by-step method to achieve a neat, professional finish every time.
Why mastering how to tie oxford shoes matters
A properly tied Oxford changes your whole outfit. It keeps the shoe symmetrical. It improves comfort and prevents creasing.
I focus on how to tie Oxford shoes so your look stays classic and tidy. Clean lacing preserves the shoe’s lines and signals attention to detail. Learn the methods that pros use and the simple adjustments that make the biggest visual difference.

Understand Oxford shoe anatomy before lacing
Knowing parts of the shoe helps you lace correctly. Oxfords have closed lacing, with the quarter sewn under the vamp. This makes the eyelet tabs sit closer together.
When you learn how to tie Oxford shoes, you must respect the closed lacing system. The low-profile look needs flat, parallel lacing or a neat hidden knot. Using bulky knots or rough laces will ruin the silhouette.

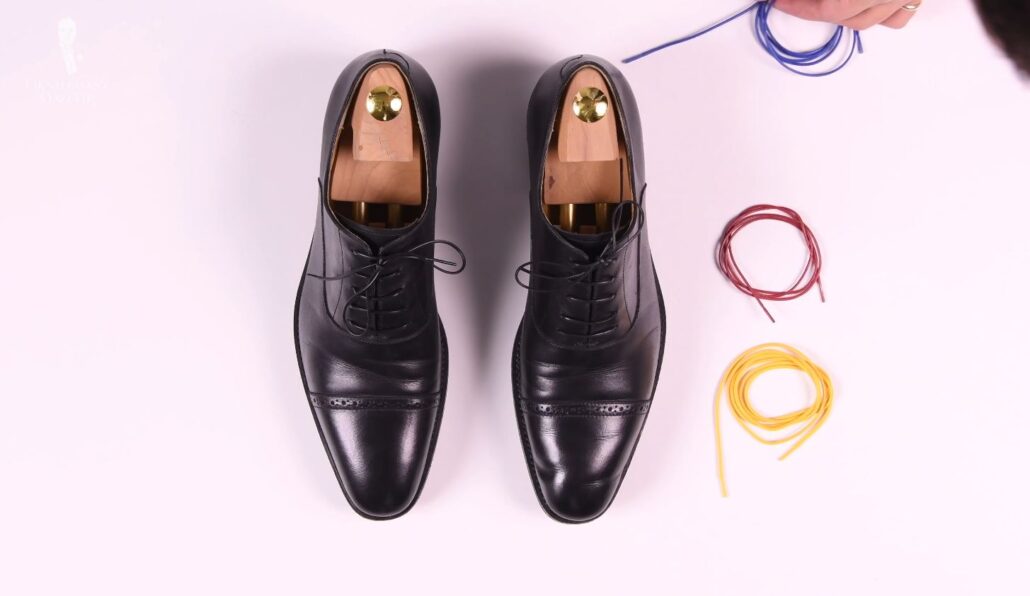
Preparation: choose the right laces and length
Pick the right lace to match formality. Use flat, waxed cotton or thin leather laces for dress Oxfords. Avoid bulky round athletic laces.
Measure lace length for eyelets:
- 4–5 eyelets per side: 27–30 inches.
- 5–6 eyelets per side: 30–34 inches.
- 6–7 eyelets per side: 34–40 inches.
Test lace placement by threading a dry run. This helps you see how much lace remains for a neat hidden knot. Proper prep makes how to tie Oxford shoes simple and repeatable.
Straight (bar) lacing: step-by-step for a classic finish
Straight lacing (bar lacing) is the standard for Oxfords. It creates horizontal bars and a clean look. Follow these precise steps.
- Start with the lace inside the shoe so equal lengths exit the bottom eyelets.
- Take the left lace and thread straight up inside the left bottom eyelet to the outside of the next left eyelet. Pull it across the shoe and insert inside the right bottom eyelet. This creates the first horizontal bar.
- Take the right lace and cross it under the first horizontal bar. Thread it up inside the right second eyelet, then across and into the left second eyelet. Pull snug but not tight.
- Repeat this alternating pattern: left lace forms a bar, right lace crosses under and comes up to the next eyelet. Continue until you reach the top eyelets.
- Aim for the bars to sit flat and parallel. Adjust each bar as you go to keep spacing even.
- Finish with a hidden knot: form a small loop with one lace, tuck the other lace under the loop and pull it through, then tuck the knot under the shoe tongue or the top bar. Trim excess if needed or tuck ends neatly.
- Tighten the laces evenly from bottom to top. Test by flexing your foot to ensure comfort and no pinching.
Practicing how to tie Oxford shoes this way makes the finish consistent. The hidden knot preserves the formal look. Waxed laces help the bars stay aligned.

Other lacing methods for Oxfords
You can use alternatives depending on comfort or style. Know which methods preserve the Oxford’s formality.
- Criss-cross lacing: Easier and faster, but less formal. Good if you prioritize fit over looks.
- Hidden knot (European): Tucks the knot beneath the tongue with a tighter profile. Best for very formal outfits.
- Decorative variants: Aesthetic patterns exist, but most break the Oxford silhouette. Use them on casual Oxfords only.
When learning how to tie Oxford shoes, start with straight lacing. Use other methods only if they respect the closed-lacing design.

Common mistakes and how to avoid them
Avoid these errors that ruin an Oxford’s appearance.
- Tying too tight: Causes puckering and discomfort. Loosen slightly and re-tie evenly.
- Wrong lace length: Too short prevents a hidden knot; too long looks sloppy. Measure before buying.
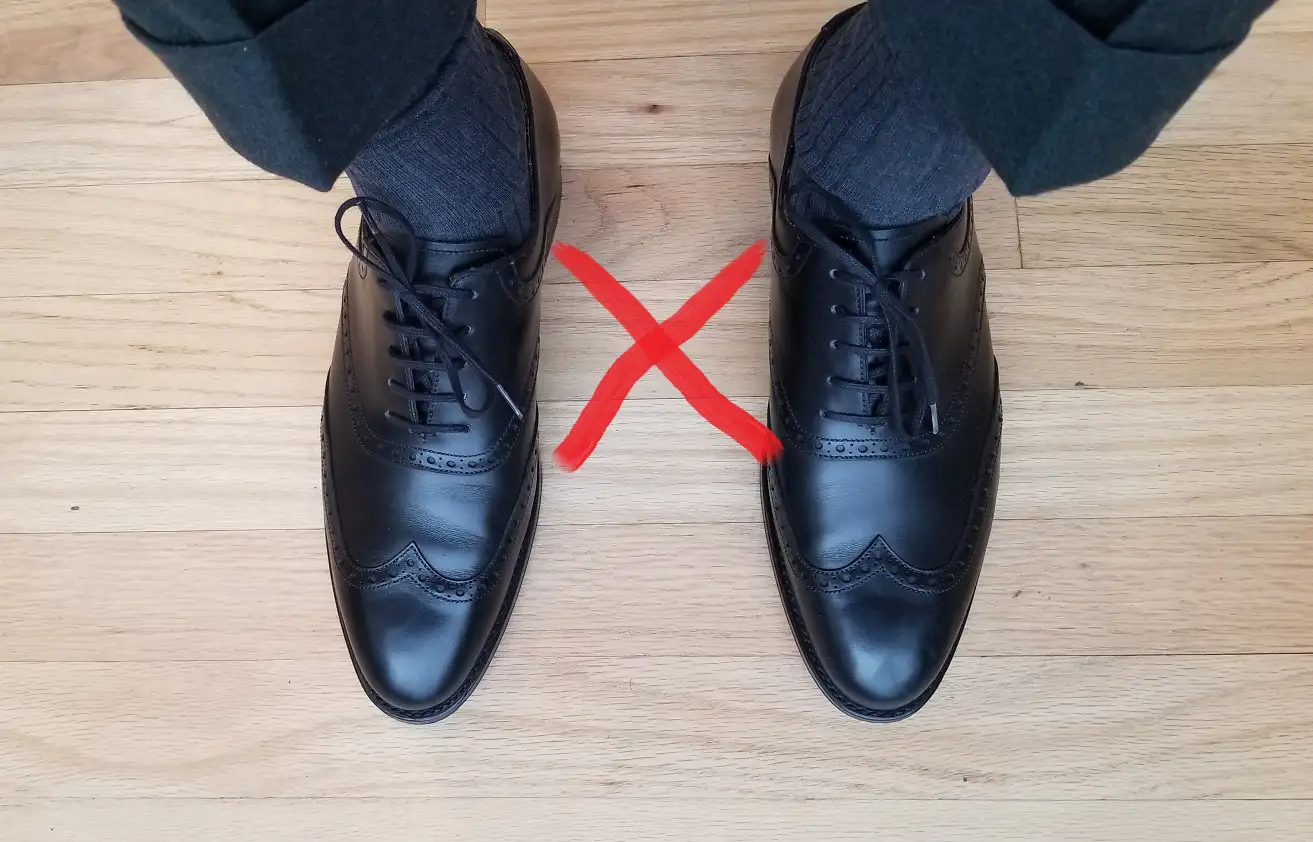
- Bulky laces or large knots: Destroy the shoe’s clean lines. Use thin, flat laces and a small hidden knot.
- Uneven bars: Adjust bars as you lace. Re-lace if bars don’t align.
Knowing these common traps makes mastering how to tie Oxford shoes faster and more reliable.
Care tips to keep your lacing and Oxfords looking sharp
Tie your Oxfords with care and maintain them regularly. Proper upkeep extends life and appearance.
- Replace laces before they fray to keep the look crisp.
- Wax laces to reduce slipping and maintain neat bars.
- Re-lace shoes after heavy wear or if they get wet. Let them dry naturally away from heat.
- Store Oxfords with shoe trees to preserve shape and reduce creases.
These small habits reinforce what you learned about how to tie Oxford shoes and keep your footwear investment looking its best.
Frequently Asked Questions of how to tie oxford shoes
What is the best lacing style for Oxford shoes?
Straight (bar) lacing is the best style for Oxfords because it preserves the closed lacing silhouette and looks formal. It creates a tidy, symmetrical appearance that complements dress outfits.
How long should laces be for Oxford shoes?
Lace length depends on the number of eyelets: 27–30 inches for 4–5 pairs, 30–34 for 5–6 pairs, and 34–40 for 6–7 pairs. Always measure your shoe and test before trimming.
Can I use round laces on Oxfords?
Round laces are typically too bulky for formal Oxfords and can spoil the sleek profile. Use flat, waxed cotton or thin leather laces for the best, most formal result.
How do I hide the knot when tying Oxford shoes?
Use a small hidden knot or European knot and tuck it under the tongue or the top bar. Trim or tuck lace ends neatly so nothing shows when seated.
My laces slip after tying. How do I fix that?
Use waxed laces, tie a firmer knot, or try a small double knot tucked out of sight. Wax reduces slippage and keeps bars aligned.
Conclusion
Mastering how to tie Oxford shoes is a small skill with a big payoff. Focus on straight lacing, the right lace length, and a hidden knot to keep the shoe formal, comfortable, and neat. Practice these steps a few times and lacing will become quick and consistent.
Put this method to use the next time you dress up. Try the straight lacing and hidden knot on one pair, then compare how much sharper your shoes and outfit look. Leave a comment on which lacing method you prefer or subscribe for more practical shoe care tips.

Rubel Miah is the Senior Editor at MyStyleGrid.com, where he brings a sharp editorial eye and an unshakable love for fashion to everything he does. A true style addict, Rubel lives and breathes trends, from streetwear to high fashion, and has a knack for turning inspiration into impactful stories. With years of experience in fashion journalism and digital media, he curates content that empowers readers to express themselves through style. When he’s not editing features or forecasting the next big thing, you’ll find him hunting down vintage pieces or capturing street style moments around the city.