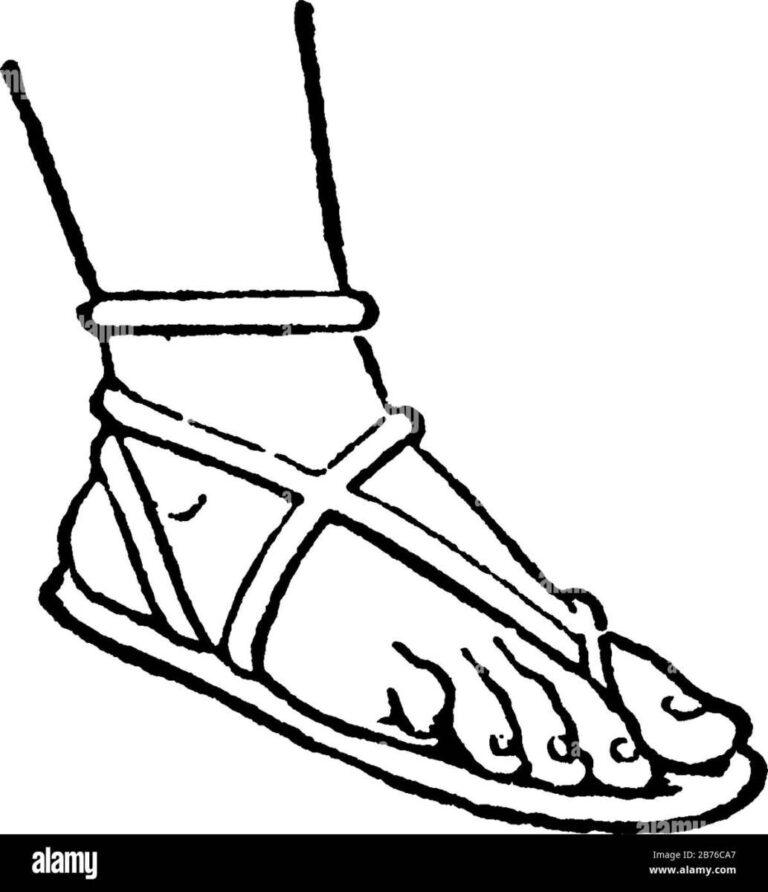
Draw sandals by sketching the sole first, then add straps, details, and shading step-by-step.
As a professional illustrator who has taught sketching for over a decade, I’ll guide you clearly through how to draw a sandals for any style. This guide breaks the process into simple steps, shows common pitfalls, and shares tips I learned in studio work so you can draw sandals that look natural and stylish.

Materials and tools you need
Start with basic, inexpensive tools. You do not need fancy gear to learn how to draw a sandals.
- Pencils: HB for sketching, 2B for darker lines.
- Eraser: a soft kneaded eraser for lifting highlights.
- Paper: smooth sketch paper or a sketchbook.
- Optional: fineliner pens, colored pencils, markers for finishing.
Practice with cheap supplies first. You can learn how to draw a sandals using just a pencil and scrap paper. Keep your tools handy and replace them as they wear out.

Basic steps to draw a sandals (step-by-step)
These steps work for flip-flops, slides, and simple strapped sandals. Repeat the process until it feels natural.
-
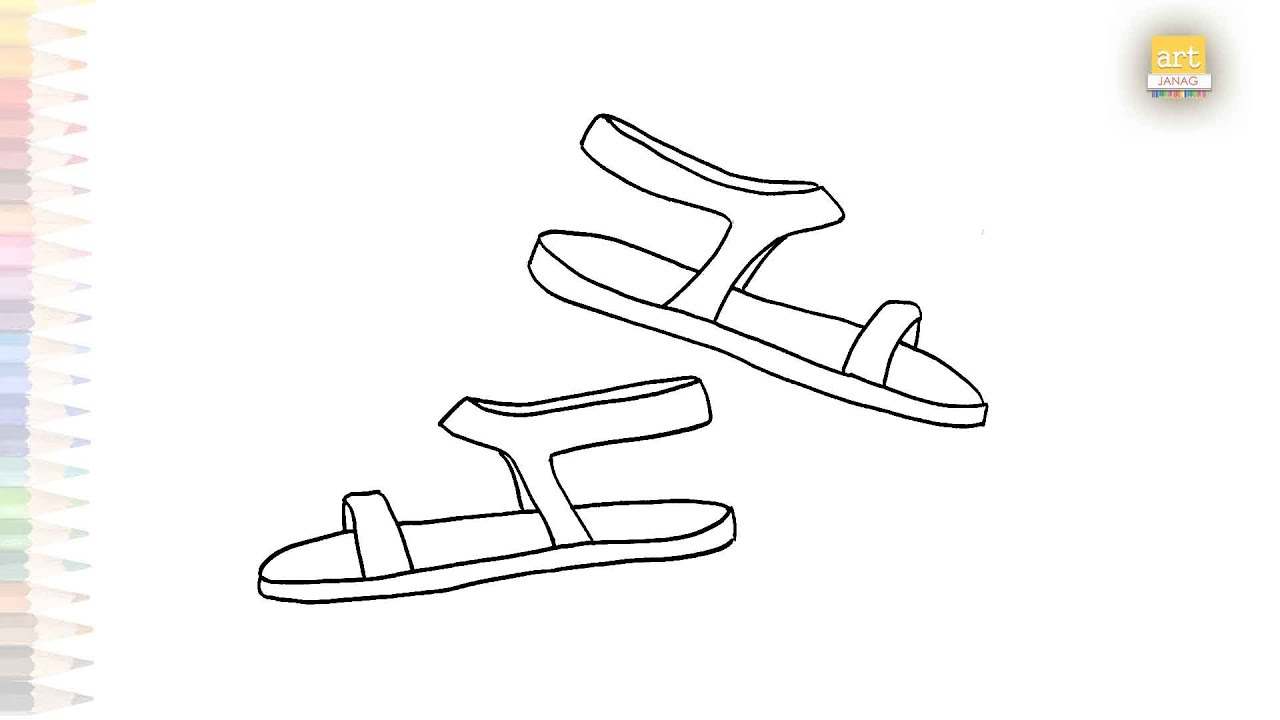
Draw the sole outline
- Sketch a flattened foot shape. Keep lines light.
- Keep proportions simple: sole length equals foot length.
- This step anchors how to draw a sandals.
-
Add the midsole and edge
- Draw a parallel line inside the outer shape for sole thickness.
- Add a slight curve at the heel and toe.
-
Place strap anchor points
- Mark where straps attach: near toes, mid-foot, and heel as needed.
- These points guide strap paths and balance.
-
Draw strap shapes
- Use smooth curved lines. Straps follow the foot curve.
- Vary width for different styles: thin for strappy sandals, wide for slides.
-
Refine and erase guidelines
- Clean up extra lines. Define final contours.
- Check symmetry and proportions.
-
Add texture and shading
- Shade under straps for depth.
- Add stitching lines or material texture to enhance realism.
This clear sequence helps you learn how to draw a sandals reliably. Practice each step slowly, and repeat the sequence until it becomes second nature.

Variations: flip-flops, slides, strappy, gladiator, and wedges
Knowing variations helps you adapt the basic method. Each style changes strap placement and silhouette.
-
Flip-flops
- Single thong strap between toes and two anchors at the sides.
- Keep the sole thin and flat.
-
Slides
- Wide strap across the top of the foot.
- Emphasize strap volume and soft edges.
-
Strappy sandals
- Multiple thin straps. Plan anchor points carefully.
- Use crossing lines to show overlap.
-
Gladiator sandals
- Many vertical and horizontal straps. Add buckles.
- Keep proportions balanced to avoid clutter.
-
Wedge sandals
- Change the sole profile to a continuous wedge heel.
- Keep weight and balance in mind when shading.
Each variation teaches you different ways to think about how to draw a sandals. Try one style per sketch session.
Perspective and proportion tips
Small perspective shifts make designs believable. These rules help you draw sandals that sit naturally on an implied foot.
- Use a horizon line for viewpoint.
- Shorten the sole slightly in foreshortened views.
- Keep strap widths consistent across perspective.
- Add a light shadow under the sole to show contact with the ground.
Applying these tips improves how to draw a sandals in scenes or character sketches. Simple perspective rules go a long way.
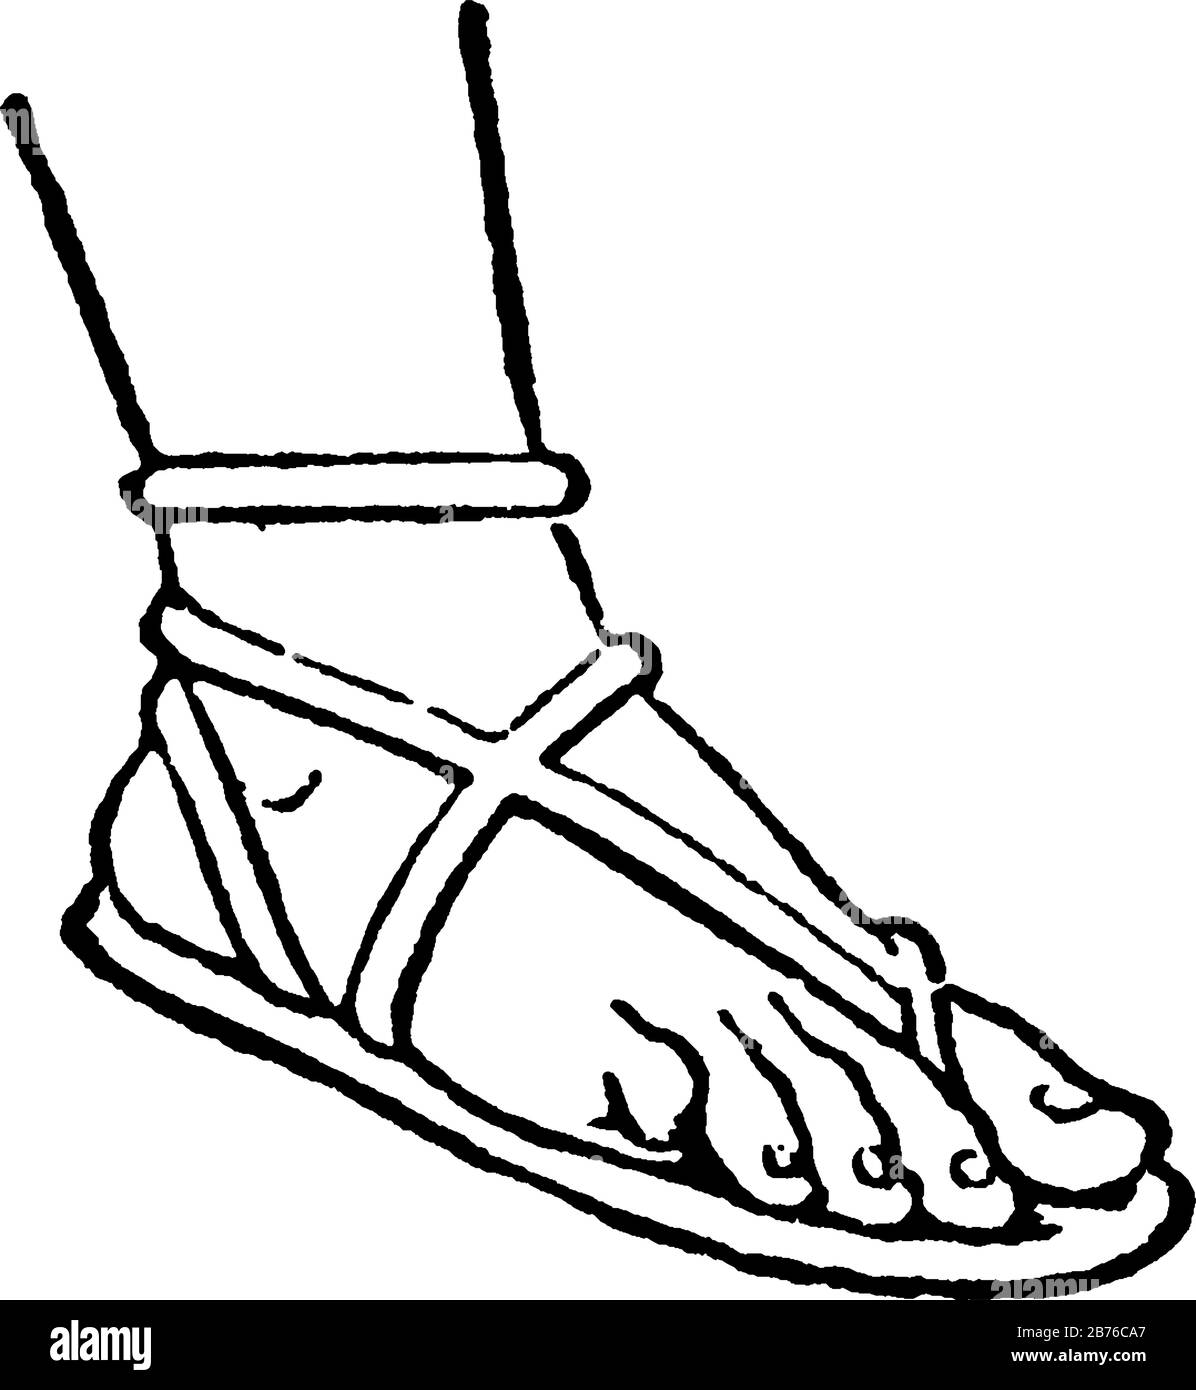
Shading, texture, and finishing touches
Finishing defines material and form. Make details clear but not overworked.
- Leather: soft shading and thin stitching lines.
- Rubber: flat tones and small highlights.
- Fabric: cross-hatching for textile grain.
- Add small creases where straps bend.
- Use a dark line where the sole meets the ground.
Practicing these finishes will elevate how to draw a sandals from flat to three-dimensional.

Common mistakes and how to avoid them
Knowing mistakes speeds learning. Watch for these problems and correct them early.
- Straps placed too far from the sole: Plan anchor points before drawing straps.
- Ignoring sole thickness: Always show a midsole line for depth.
- Over-detailing early: Finish details last to avoid messy sketches.
- Wrong strap overlap: Mark layers as you sketch to keep order.
Fixing these mistakes clarifies how to draw a sandals and saves time.

Personal experience and practical tips
I taught beginner classes where students drew hundreds of shoes. Here are quick lessons I learned.
- Start each sketch with a light sole outline. It centers the design.
- Work in layers: rough shape, straps, refine, finish. This helped my students improve quickly.
- Keep a swipe eraser to lift stray marks. It keeps sketches clean.
- Don’t aim for perfection on first try. Repeat the same model three times for progress.
These tips reflect real classroom wins and mistakes I fixed while learning how to draw a sandals.

Quick practice exercises
Short drills speed up skill growth. Try these to practice specific parts of a sandal.
- Draw 10 soles in 10 minutes to build proportion speed.
- Sketch 20 straps with different widths and overlaps.
- Shade 5 sandals using only two values to train contrast.
Brief, focused practice sessions boost confidence in how to draw a sandals.

PAA-style questions you might ask
What supplies do I need to start drawing sandals? Start with a pencil, eraser, and paper. Optional pens and colored pencils help you finish.
How long does it take to learn basic sandal drawings? With daily 15-minute practice, expect solid progress in two weeks.
Should I trace photos when learning? Tracing helps at first, but move to freehand soon to build observation skills.
Frequently Asked Questions of how to draw a sandals
How do I start drawing a sandal shape?
Begin with a light outline of the sole that matches the foot length. Use simple curved lines and keep the shape loose.
How do I make straps look natural?
Place anchor points first, then draw straps that follow the foot curve. Vary widths and add light shading under straps.
How do I draw sandals in perspective?
Shorten the sole in foreshortened views and align straps to the perspective grid. Add shadows to anchor the shoe.
What materials are best for beginners?
A good HB pencil, a soft eraser, and sketchbook paper are enough. Add pens or colored pencils later for finishes.
How can I improve faster?
Practice short drills daily and redraw the same sandal three times, refining each pass. Review and correct common mistakes.
Conclusion
You can learn how to draw a sandals by breaking the process into simple steps: sketch the sole, mark strap anchors, draw straps, refine lines, and add shading. Practice short drills, study different styles, and repeat designs to build speed and confidence. Start a daily five- to fifteen-minute sketch habit and watch your sandals go from flat outlines to polished illustrations. Try the exercises, share your progress, and subscribe or leave a comment to get feedback and more drawing tips.

Madison Clark is a footwear expert and the voice behind MyStyleGrid.com. She specializes in honest shoe reviews, style tips, and practical guides to help readers find the perfect pair for any occasion. With years of experience in blogging and content creation, Madison makes footwear knowledge simple, stylish, and easy to follow.