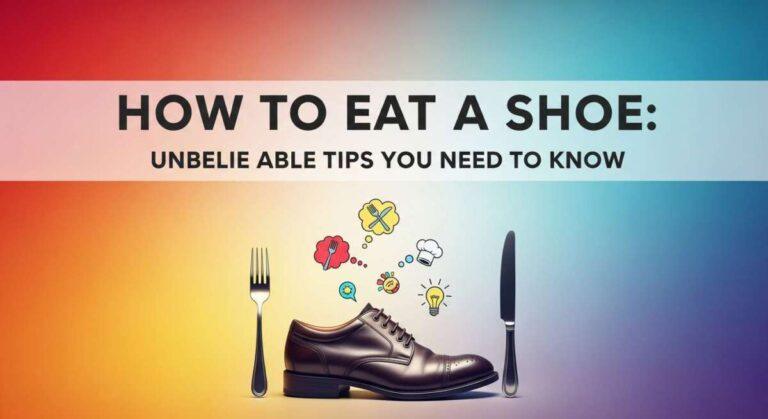
Have you ever looked at a shoe and thought, “I could eat that”? Maybe you lost a bet. Maybe you saw a viral video. Or maybe, like me, you just love a weird challenge.
It sounds crazy. It sounds wild. But guess what? You can do it. You just have to know the right way.
I am not talking about chewing on dirty rubber. That is dangerous. That is bad for you. I am talking about the art of illusion. I am talking about making a shoe that looks real but tastes like heaven.
In this guide, I will show you how to eat a shoe safely. We will look at baking secrets. We will look at history. We will turn this strange idea into a tasty skill.
Stick with me. By the end, you will be ready to shock your friends. Let’s dive in.
Can You Really Eat a Shoe? (The Truth)
First, let us be clear. We need to be safe. You cannot go to your closet, pick a sneaker, and eat it.
Please do not do that.
Real shoes have dangerous things in them. They have glue. They have plastic. They have leather treated with harsh chemicals. If you eat a real shoe, you will get sick. You might end up in the hospital.
The “Werner Herzog” Legend
You might ask, “Didn’t a famous guy eat a shoe once?”
Yes. His name is Werner Herzog. He is a filmmaker. In 1980, he lost a bet. He said if his friend made a movie, he would eat his shoe. The friend made the movie. So, Herzog ate the shoe.
But here is the catch. He did not eat the whole thing. He boiled the leather for hours in garlic and duck fat. He did not eat the rubber sole. He said it was like eating a text. It was a stunt. It was not a meal.
For us, we want flavor. We want safety. We want a realistic food art masterpiece. We want a shoe made of cake, chocolate, and candy.

Credit: tenor.com
My Story: The Day I “Ate” My First Sneaker
Let me tell you a quick story. A few years ago, my best friend had a birthday. He loves sneakers. He collects them. He has hundreds of pairs.
I wanted to prank him. I told him, “I got you the rarest shoe in the world.”
I brought out a shoebox. I opened it. Inside was a dirty, old-looking high-top sneaker. He looked confused. He looked disappointed.
Then, I did it. I picked up the shoe. I took a huge bite out of the heel.
His eyes went wide. He screamed. He thought I was crazy.
But then he smelled it. It smelled like vanilla. It smelled like butter. He laughed so hard.
That “shoe” was made of red velvet cake. The “leather” was fondant. The “dirt” was cocoa powder. It was the best cake I ever made. That moment hooked me. I realized that food can be a magic trick.
Since then, I have made many shoes. I have learned what works. I have learned what fails. Now, I want to teach you.
Understanding Edible Materials (The “Sole” of the Dish)
To eat a shoe, you must build a shoe. You need the right supplies. You cannot just use soft cake. A shoe has a shape. It needs to be strong.
Here are the best materials to use.
Rice Krispie Treats
This is your secret weapon. Cake is soft. It crumbles. Rice Krispie treats are strong. You can mold them like clay.
Use this for the toe of the shoe. Use it for the heel. It holds the weight. Plus, it tastes good. It adds a nice crunch.
Modeling Chocolate vs. Fondant
Most people use fondant. Fondant is okay. It looks smooth. But it tastes like sugary playdough.
I prefer modeling chocolate. It is chocolate mixed with corn syrup. It tastes amazing. It blends better. You can smooth out the seams with the heat of your fingers. It makes the edible shoe cake look seamless.
Edible Glue
You need to stick things together. Water works for fondant. But melted chocolate is stronger. It acts like cement. It sets fast. It holds tight.

Credit: www.timesherald.com
Method 1: The Hyper-Realistic Sneaker Cake
Ready to make your first edible shoe? Let’s make a classic sneaker. This is a fun project. It takes time, but it is worth it.
Step 1: The Template and Base
Do not guess the size. Find a real shoe. Put it on a piece of paper. Trace the sole. Cut out the paper shape.
Now, bake a sheet cake. A dense cake works best. Pound cake is good. Mud cake is good.
Put your paper template on the cake. Cut the shape. You will need two or three layers. Stack them up with frosting in between.
Step 2: Carving the Shape
This is the scary part. You have to carve the cake. You need a small, sharp knife.
Look at your real shoe. Look at the curve of the toe. Look at the dip in the ankle.
Carve slowly. Take off small bits. You can always take more off. You cannot put it back.
If you need a high ankle, use the Rice Krispie treats. Mold them into the shape. Stick them on top of the cake.
Step 3: Crumb Coating (The Glue)
Now your cake looks messy. It has crumbs everywhere. We need to seal it.
Make some buttercream frosting. Cover the whole shoe. Make it thin. Smooth it out.
Put it in the fridge. Let it get cold. Let it get hard. This is your canvas.
Step 4: The “Leather” Look
Now for the magic. Roll out your fondant or modeling chocolate. Keep it thin.
Do not try to cover the whole shoe at once. Real shoes are made of panels. You should do the same.
Cut a piece for the toe. Stick it on. Cut a piece for the sides. Stick them on.
Use a tool to mark the stitches. A small wheel tool works best. Roll it along the edges. It looks just like real thread.
Step 5: Laces and Details
Roll out thin ropes of fondant. These are your laces. Thread them through. Make them look messy. Real laces are not perfect.
Use a straw to poke holes for the eyelets. Paint the holes with silver food coloring.
Now, look at the sole. Use a strip of white fondant. Wrap it around the bottom. Use a knife to make the grip lines.
Congratulations. You have a sneaker.
Method 2: The Chocolate High Heel
Maybe you want something fancy. Maybe you want elegance. Chocolate high heels are perfect for this.
They look delicate. They look expensive. But they are pure chocolate.
Tempering the Chocolate
You cannot just melt chocolate. You have to temper it. This makes it shiny. This makes it snap.
If you do not temper it, it will turn gray. It will be soft. It will melt in your hands.
To temper, melt the chocolate. Then cool it down. Add some solid chocolate chunks. Stir until they melt. This gets the crystals right.
Using a Mold
For a high heel, buy a mold. It is hard to carve a heel from cake. A plastic mold is cheap. It is easy to use.
Pour the tempered chocolate into the mold. Spin it around. Coat every side. Pour out the extra.
Let it set. Do it again. You want a thick shell.
Adding the Red Sole
Want to make it look like a famous designer shoe? Paint the sole red.
Use cocoa butter. Melt it. Add red food powder. Paint it on the bottom of the shoe. It looks iconic. It looks rich.
The Survival Myth: Can You Eat Leather in an Emergency?
We need to talk about survival. People search for is leather edible all the time.
You might have seen movies. A cowboy gets lost. He boils his boot. He eats it to stay alive.
Is this true?
History vs. Now
In the old days, leather was different. It was tanned with tree bark. It was natural. It was just dry skin.
If you boiled it for days, it would turn into goo. It had a little protein. It could keep you alive.
But that was 100 years ago.
Modern Leather is Toxic
Today, leather is tanned with chemicals. We use Chromium. We use Arsenic. We use heavy metals.
These things stay in the leather. You cannot boil them out.
If you eat a modern shoe, you are eating poison. It will shut down your kidneys. It will burn your stomach.
So, the answer is no. Do not eat your boots. Even if you are lost. Eat bugs instead. Eat grass. Do not eat the shoe.

Credit: nypost.com
Making It Taste Good: Flavor Profiles
Your shoe looks real. But does it taste good?
You want the flavor to match the look.
Earthy Flavors
A sneaker looks rugged. It looks earthy. Use dark flavors.
- Chocolate cake.
- Coffee buttercream.
- Peanut butter filling.
These flavors are rich. They fit the vibe of a heavy shoe.
Sweet and Light
For a high heel, go light.
- White chocolate.
- Strawberry filling.
- Champagne flavor.
It feels fancy. It feels light.