Use beeswax, candle wax, coconut oil, or petroleum jelly to add short-term water resistance.
I’ve spent years testing quick, safe fixes for wet weather gear. This guide shows practical, step-by-step methods for how to waterproof boots using household items. I’ll explain which items work best for leather, fabric, and suede. You’ll learn safe application, expected limits, and how to avoid common mistakes. Read on to protect your boots without special gear.

Materials and tools you likely have at home
Below are common household items that work for simple waterproofing. I list pros and limits to help you choose.
- Beeswax or candle wax — creates a solid, water-shedding layer. May darken leather.
- Coconut oil — softens leather and repels water a bit. Short-lived and can attract dirt.
- Petroleum jelly (Vaseline) — good for quick fixes. Temporary and can stain.
- Clear shoe polish — blends protection and shine for smooth leather.
- Old cloths, soft brush, hair dryer or heat gun on low, and a clean towel — basic tools for application.
- Soap and water or leather cleaner — to prep boots.
These items let you learn how to waterproof boots using household items with minimal cost and risk. Clean materials first for best results.

Preparing your boots before any DIY waterproofing
Preparation makes a big difference. Skip this and the finish will fail fast.
- Clean the boots with a soft brush and mild soap. Remove dirt and salt.
- Let them dry naturally at room temperature. Never use high heat to dry leather.
- Test a hidden spot for color change. Many household items darken leather.
- Condition leather if it feels dry. A small amount of leather conditioner or oil keeps leather supple before waterproofing.
Preparation helps you apply household products more evenly and prolongs results. Always test first.

Proven DIY methods to waterproof boots using household items
I use these methods most. Each has clear steps, benefits, and trade-offs.
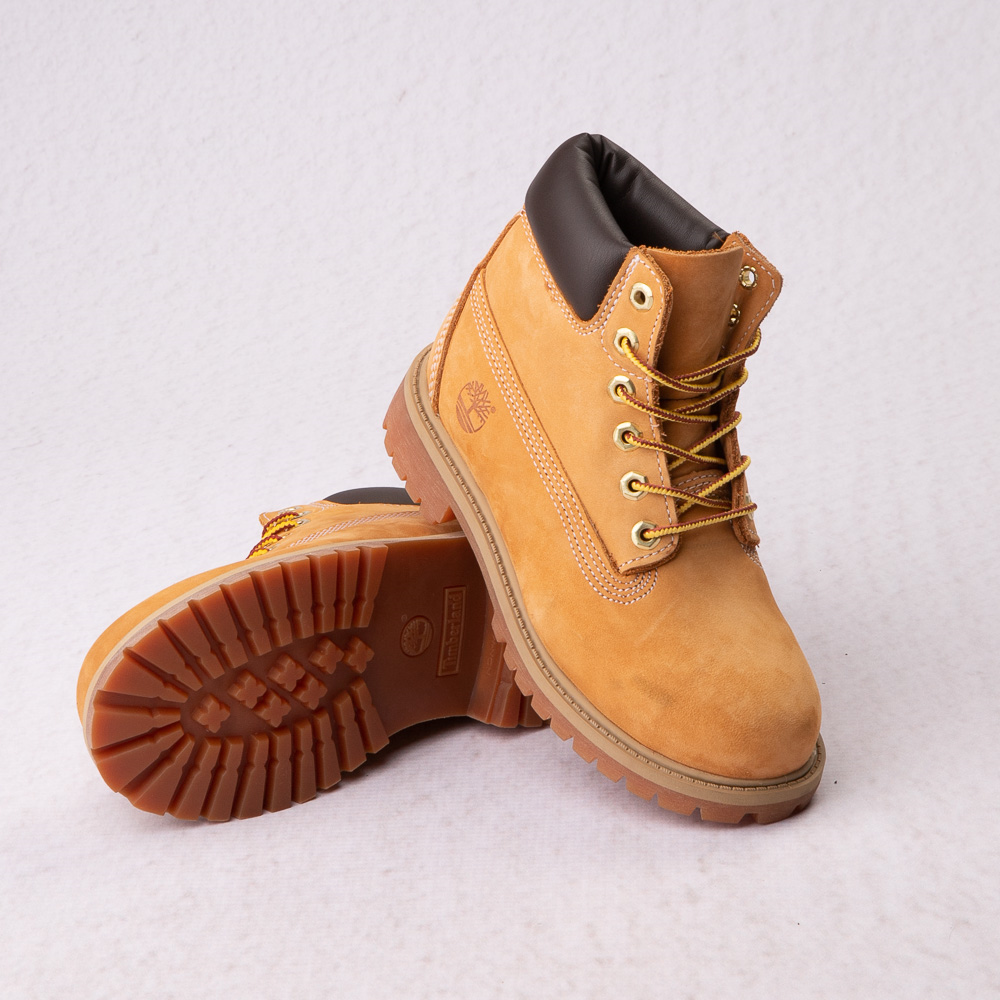
Beeswax or candle wax method (best overall for leather)
Steps
- Remove dirt and let boots dry.
- Warm a small block of beeswax or a plain candle. Rub wax on leather in small circles. Cover seams well.
- Gently heat the wax with a hair dryer to melt it into the leather. Smooth with a cloth.
- Let boots cool and buff off excess wax.
Benefits and limits
- Creates solid water resistance and seals seams.
- Can darken leather and stiffen new boots. Reapply every few months in wet climates.
Beeswax + oil balm (softer, flexible finish)
Steps
- Grate beeswax and mix with melted coconut oil at about 2:1 beeswax to oil.
- Stir until smooth and cool into a paste.
- Rub a thin layer into leather, heat lightly, and buff.
Benefits and limits
- Leaves leather softer than straight wax.
- Still changes color and is less breathable than untreated leather.
Petroleum jelly quick fix (temporary and fast)
Steps
- Apply a thin film of petroleum jelly to seams and areas prone to wetting.
- Wipe excess to avoid sticky buildup.
Benefits and limits
- Fast and easy for a short trip in wet weather.
- Attracts dirt and is not a long-term solution.
Clear shoe polish for smooth leather (cosmetic + repellent)
Steps
- Clean boots. Apply clear shoe polish in thin, even coats.
- Let dry and buff. Repeat two or three times.
Benefits and limits
- Keeps leather looking polished while adding some water resistance.
- Not as strong as wax. Best for occasional rain and light snow.
Fabric boots (canvas or nylon) — wax or silicone-furniture spray
Steps
- For waxable fabric, rub a candle or beeswax across fabric and heat lightly to melt.
- For non-wax fabric, a light spray of a silicone furniture protector can add water beading. Test first.
Benefits and limits
- Fabric waxing works well for canvas.
- Sprays can change breathability and may transfer to skin or clothing. Use with care.
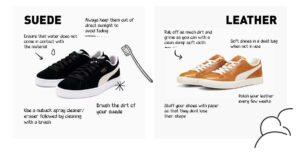
Suede boots — household limits and safe approach
Steps
- Avoid oils and wax that will darken and flatten suede.
- For a household step, use a suede brush to lift nap. Apply a light, even coat of a suede-specific spray if available. If you must use household items, test rarely and accept risks.
Benefits and limits
- Suede is fragile. Most household methods harm texture or color. Commercial suede protectors are best.
These methods show how to waterproof boots using household items while noting the trade-offs. Choose based on material and how the boots are used.

Testing, maintenance, and how long results last
Check performance and plan upkeep. Short steps save future headaches.
- Water test after 24 hours. Sprinkle water and watch beading. If water soaks in, reapply.
- Reapply more often in wet seasons. Expect wax or oil methods to last weeks to months.
- Clean before reapplication. Dirt prevents adhesion.
- For heavy outdoor use, do full reproofing every few weeks to months. For casual use, reproof twice a year.
I found wax methods last longer than oils. Petroleum jelly is the shortest-lived fix. Keep a small repair kit at home for quick touch-ups.
Troubleshooting and common mistakes to avoid
Here are problems I saw and how to fix them.
- Boots too dark after treatment — Test first next time. To fix, use a leather cleaner and a light polish to even color.
- Sticky or greasy finish — Remove excess with a cloth and time. For heavy residue, use mild soap and water, then condition.
- Stiff boots after waxing — Warm gently and flex the leather. Reapply a small conditioner to soften.
- Suede damage — If nap flattens, use a suede brush and a light steam from a distance to lift fibers. Avoid oils and wax on suede.
Avoid over-applying. Thin, even layers work better than heavy coating when learning how to waterproof boots using household items.

Personal experience and practical tips from testing
I’ve waterproofed many boots in rainy seasons using household items. A few things I learned:
- Always test a hidden spot. I once darkened a favorite pair by skipping the test.
- Heat helps wax sink in. A hair dryer makes wax look smooth.
- Less is more. Heavy oiling invites dirt and shortens leather life.
- For daily walkers, waxed leather plus monthly touch-ups keep boots dry and comfy.
These small habits extend results and protect your boots without fancy products. They come from real-world use and trials.
Frequently Asked Questions of how to waterproof boots using household items
Will coconut oil waterproof boots?
Coconut oil gives short-term water resistance and softens leather. It can darken leather and attract dirt, so use it sparingly.
Can I use candle wax on all types of boots?
Candle wax works best on smooth leather and canvas when melted in. Avoid it on suede, as it will flatten and darken the nap.
How long will these household methods last?
Expect results to last from a few weeks to a few months depending on use and weather. Heavy exposure needs more frequent reapplication.
Is petroleum jelly safe for my boots?
Petroleum jelly is safe for quick, temporary fixes but it can stain and attract grime. Clean and reapply only when needed.
Can I waterproof suede with household items?
Suede is delicate. Most household items will harm texture or color. Use a commercial suede protector for best results.
How often should I reapply wax or oil?
For regular use in rainy climates, reapply every 1 to 3 months. For light use, twice a year is usually enough.
Conclusion
You can make boots more water resistant using simple household items like beeswax, candle wax, coconut oil, or petroleum jelly. Clean boots first, test in a hidden spot, and choose the method that fits the material. Expect trade-offs: home methods can darken or change feel, and most are temporary. Start small, reapply when needed, and use commercial products for long-term or suede protection. Try a small patch on one boot, see how it holds up, and then treat both. If this helped, try one method this weekend and share how it worked. Leave a comment with your results or questions.

Rubel Miah is the Senior Editor at MyStyleGrid.com, where he brings a sharp editorial eye and an unshakable love for fashion to everything he does. A true style addict, Rubel lives and breathes trends, from streetwear to high fashion, and has a knack for turning inspiration into impactful stories. With years of experience in fashion journalism and digital media, he curates content that empowers readers to express themselves through style. When he’s not editing features or forecasting the next big thing, you’ll find him hunting down vintage pieces or capturing street style moments around the city.