Are your Bean Boots feeling a little loose or uncomfortable? How you lace your boots can make all the difference in comfort, fit, and style.
Whether you’re hiking through muddy trails or just want your boots to look sharp around town, knowing the right way to lace them can change your experience completely. In this guide, you’ll discover simple, effective lacing techniques that will keep your boots snug and your feet happy.
Ready to make your Bean Boots work better for you? Let’s get started.
Choosing The Right Laces
Choosing the right laces affects both the look and the fit of your boots. Leather lacesoffer durability and a classic style. Nylon lacesare strong and resist water well. Cotton laces feel soft but wear out faster.
Length depends on the number of eyelets your boots have. Short laces fit boots with fewer eyelets. Longer laces are best for boots with many eyelets or if you like to wrap them.
| Color | Effect |
|---|---|
| Brown | Matches most bean boots for a natural look |
| Black | Gives a sharp, clean contrast |
| Tan | Offers a lighter, casual style |
Credit: www.ebay.com
Preparing Your Bean Boots
Start by wiping your boots with a damp cloth to remove dirt. Let them dry completely before lacing. Check the eyelets for any damage or rust. Damaged eyelets can make lacing hard and may tear the leather.
Use a soft brush to clean around the eyelets gently. Make sure no dust or grit stays inside. This keeps the laces smooth and helps them last longer.
Taking time to clean and inspect ensures your boots stay strong and look good. It also makes lacing easier and more comfortable.
Basic Lacing Techniques
The Crisscross Methodis simple and common for bean boots. Start by threading the lace through the bottom eyelets. Cross the laces over each other, then thread through the next eyelets. Repeat until reaching the top. This method keeps laces tight and secure.
The Straight Bar Methodlooks neat and clean. Begin by running the lace straight across the bottom eyelets. Then thread one lace end up and across to the opposite eyelet. Do the same for the other lace end. Continue this pattern until the top. This style reduces pressure on the top of the foot.
Step-by-step Lacing Guide
Start by threading the lace through the bottom eyelets from outside to inside. Make sure both lace ends are the same length. Pull the laces tight but not too tight to keep comfort.
Keep the tension even as you lace up. Pull each lace gently to avoid tight spots. This helps the boot fit well and feels better on your feet.
Secure the knot by tying a simple bow. Double knot it if you want extra hold. This stops the laces from coming loose during walking.
Tips For A Comfortable Fit
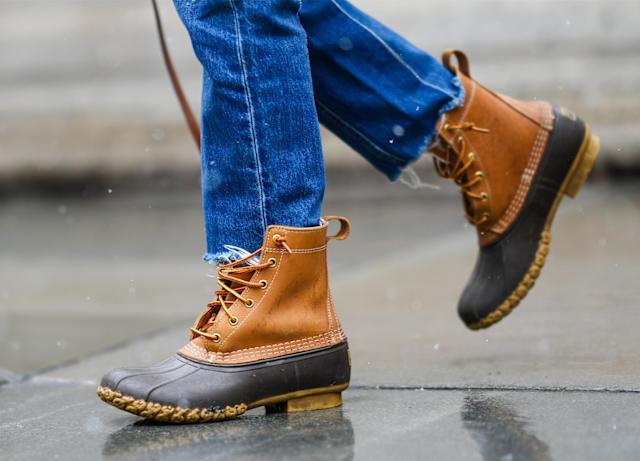
Start by tightening the laces at the bottom to hold your foot well. Leave some space near the top so the boots don’t squeeze your ankle too much. Adjust the tightness slowly, testing the fit after each change. This helps avoid pressure pointsthat can hurt your feet during long wear.
Use the eyeletsnear the ankle to add extra support without making it too tight. If any spot feels too tight, loosen the laces there first. Make sure your toes can move a little inside the boots for comfort.
Try walking a few steps after lacing to check comfort. Tighten or loosen as needed before finishing. This simple method keeps your boots snug but not painful.

Credit: www.llbean.com
Common Lacing Mistakes To Avoid
Uneven lacesmake boots look messy and feel uncomfortable. One side longer than the other causes uneven pressure on your feet. This can lead to blisters or sore spots. Always check that both lace ends are the same length before tying.
Too tight lacescan pinch your feet. This cuts off blood flow and makes walking painful. Boots should feel snug but not tight. You want comfort and support, not pain.
Too loose lacescause your boots to slip. This can lead to tripping or twisting your ankle. Make sure the laces hold your boots firmly on your feet, but allow some wiggle room for movement.
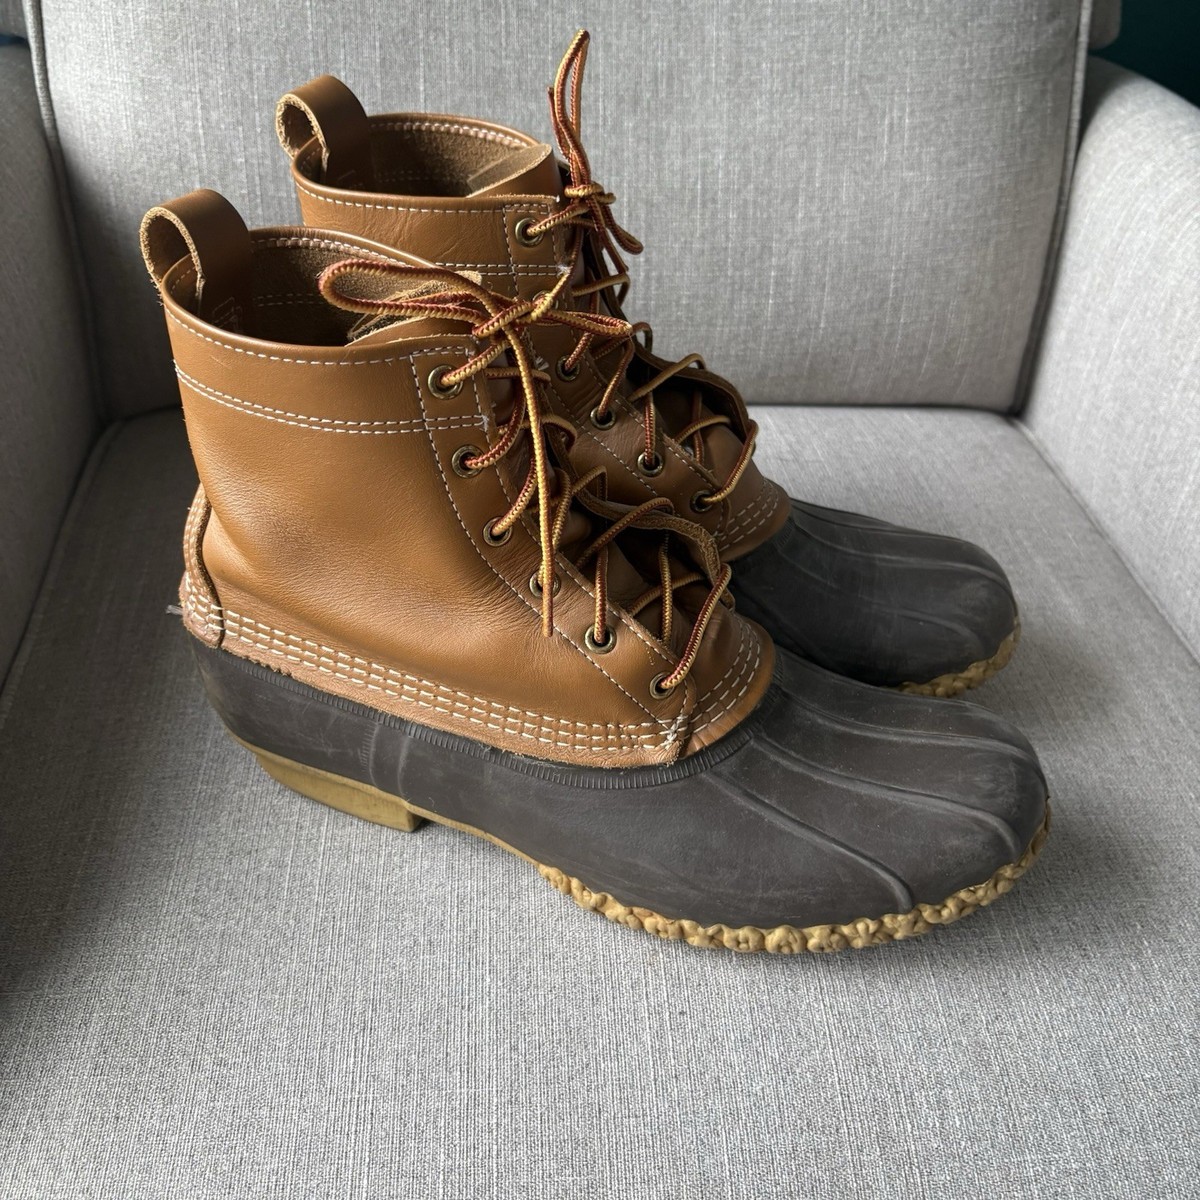
Maintaining Your Laces
Cleaning laceskeeps your bean boots fresh and neat. Soak laces in warm water with mild soap. Gently rub dirt off with fingers or a soft brush. Rinse well and let them air dry completely before re-lacing.
Replacing worn lacesis simple and helps maintain boot support. Check for frayed or broken laces often. Choose laces the same length and material as old ones. Thread new laces carefully to keep the boots comfortable and secure.

Credit: mpphaiti.org
Frequently Asked Questions
How Do I Start Lacing Bean Boots Properly?
Begin by threading the lace through the bottom eyelets from outside in. Ensure both ends are even for balanced lacing.
What Is The Best Lace Style For Bean Boots?
The criss-cross lacing style is ideal. It provides a secure fit and enhances boot durability.
How Tight Should I Lace Bean Boots?
Lace snugly but not too tight. Ensure comfort and avoid pressure points for all-day wear.
Can I Use Any Laces For Bean Boots?
Use durable, round leather or nylon laces. They withstand outdoor conditions and match the boot style.
Conclusion
Lacing your bean boots is simple and helps them fit better. Try different styles to find what feels right for you. Good lacing keeps your boots tight and comfortable all day. Remember to check your laces often and adjust when needed.
With these tips, your boots will look neat and last longer. Enjoy walking in your well-laced bean boots every time.

Madison Clark is a footwear expert and the voice behind MyStyleGrid.com. She specializes in honest shoe reviews, style tips, and practical guides to help readers find the perfect pair for any occasion. With years of experience in blogging and content creation, Madison makes footwear knowledge simple, stylish, and easy to follow.