Clean Clarks sandals by identifying the material, removing dirt gently, using minimal water, and drying them naturally.
Clarks sandals can last for years when you clean them with the right method. Leather, suede, nubuck, fabric, cork, and rubber each need different care. A soft brush may save suede, while a damp cloth works better for smooth leather. This guide explains how to clean Clarks sandals safely, remove stains and odors, protect the footbed, and avoid common mistakes that can damage your favorite pair.
Check the Material Before You Clean
The first step in learning how to clean Clarks sandals is checking what they are made of. Clarks uses several materials, and each one reacts differently to water, soap, heat, and brushes.
Look at the product label, the box, or the care details on the Clarks website. If you cannot find the material, inspect the surface closely:
• Smooth leather looks even and slightly polished.
• Suede has a soft, fuzzy nap that changes shade when you brush it.
• Nubuck feels like fine suede but usually has a smoother, tighter texture.
• Fabric or canvas has a woven surface.
• Cork often appears on footbeds and midsoles.
• Rubber is common on outsoles and some straps.
When I clean Clarks sandals, I always test the cleaning method on a hidden spot first. This small step can reveal color bleeding, dark marks, or changes in texture before they affect the visible part of the sandal.
Do not clean the whole sandal before checking the care label. Some sandals have decorative finishes, coated materials, or glued parts that need extra care.

What You Need to Clean Clarks Sandals
You do not need expensive tools to clean Clarks sandals. Most of the supplies are easy to find at home, but each item should be gentle and clean.
Gather these supplies:
• A soft shoe brush or clean toothbrush
• Two or three microfiber cloths
• Lukewarm water
• Mild soap or a cleaner made for the sandal material
• A small bowl
• A suede brush or suede eraser for suede and nubuck
• Baking soda for odor control
• Leather conditioner for smooth leather
• Cork sealer for exposed cork, when needed
Avoid strong household cleaners. Bleach, ammonia, alcohol, acetone, and harsh degreasers may strip color, dry leather, weaken glue, or leave pale spots.
Dish soap can work in a very small amount on some rubber or fabric areas. Still, a mild shoe cleaner is often safer. Never mix cleaning products. Combining chemicals can create harmful fumes or damage the sandal.
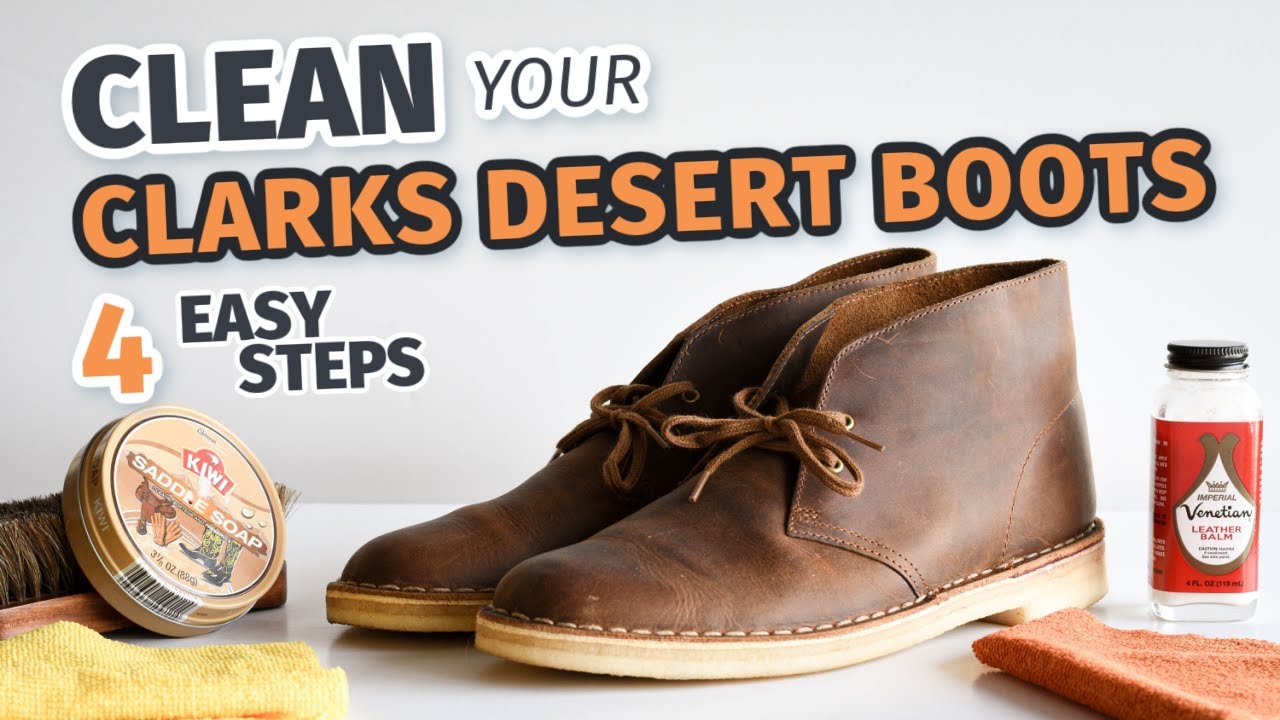
How to Clean Clarks Sandals Step by Step
A careful cleaning routine is the safest way to clean Clarks sandals. Work slowly, use little moisture, and clean from the least dirty area to the dirtiest area.
1. Remove loose dirt
Take out removable insoles if the design allows it. Hold the sandals over a trash can and tap the soles together gently.
Use a dry soft brush to remove sand, dust, and dried mud. Pay attention to the seams, buckle areas, grooves, and the space between the straps.
Do not scrub wet mud. Let it dry first. Wet mud can spread and push dirt deeper into the material.
2. Prepare a mild cleaning solution
Add a few drops of mild soap to a bowl of lukewarm water. The water should feel warm, not hot.
Dip a microfiber cloth into the solution. Wring it out well until it is damp, not dripping. Excess water is one of the most common causes of damage when people clean Clarks sandals.
3. Clean the upper
Wipe the straps and upper in small sections. Use light pressure and rinse the cloth often so you do not move dirt from one area to another.
For smooth leather, use a damp cloth and gentle strokes. For fabric, dab stains instead of rubbing hard. For rubber, you can use a soft toothbrush with the mild solution.
Keep water away from decorative metal, glued edges, and deep seams whenever possible.
4. Clean the footbed
The footbed collects sweat, skin oils, dust, and bacteria. It often needs more attention than the upper.
Use a barely damp cloth with mild soap. Wipe the footbed in short strokes, then remove soap with a second damp cloth.
Do not soak the footbed. Some Clarks sandals contain leather or cork footbeds that may warp, crack, swell, or loosen when saturated.
5. Remove soap residue
Use a clean, damp cloth to wipe away any remaining soap. Soap left on the surface can attract dirt and make the sandal look dull.
Rinse the cloth several times. It is better to wipe the sandal twice with a clean damp cloth than to use one cloth filled with dirty water.
6. Dry the sandals naturally
Place the sandals in a cool, well-ventilated room. Keep them away from direct sunlight, radiators, hair dryers, and heating vents.
Stuffing the sandals with plain paper can help them keep their shape. Do not use newspaper on light-colored materials because ink may transfer.
Let the sandals dry fully before wearing them. Depending on the material and humidity, this may take several hours or overnight.
7. Condition or protect the material
After smooth leather dries, apply a small amount of leather conditioner if the care label allows it. Rub it in with a soft cloth and remove excess product.
Use a suede or nubuck protector only when it is designed for that material. Test the spray first because protectors can darken some colors.
Do not apply leather conditioner to suede, nubuck, fabric, or cork. The wrong product can flatten the texture or leave an oily stain.

How to Clean Clarks Leather Sandals
Smooth leather needs moisture control. The goal is to remove dirt without stripping the natural oils from the leather.
Follow these steps:
-
Brush away dry dirt with a soft brush.
-
Wipe the leather with a slightly damp microfiber cloth.
-
Use a small amount of mild leather cleaner for stubborn marks.
-
Wipe away the cleaner with a clean damp cloth.
-
Allow the sandals to dry at room temperature.
-
Apply a thin layer of leather conditioner after drying.
-
Buff the surface with a dry cloth.
Use very little conditioner. Too much can make leather sticky, dark, or greasy. Always test the product on an unseen area first, especially on colored or metallic leather.
If the leather has water marks, do not treat only one small dot with a lot of water. Lightly wipe the full leather panel with a nearly damp cloth so the color dries more evenly. This method may reduce rings, but it cannot repair severe staining or peeling.

How to Clean Clarks Suede and Nubuck Sandals
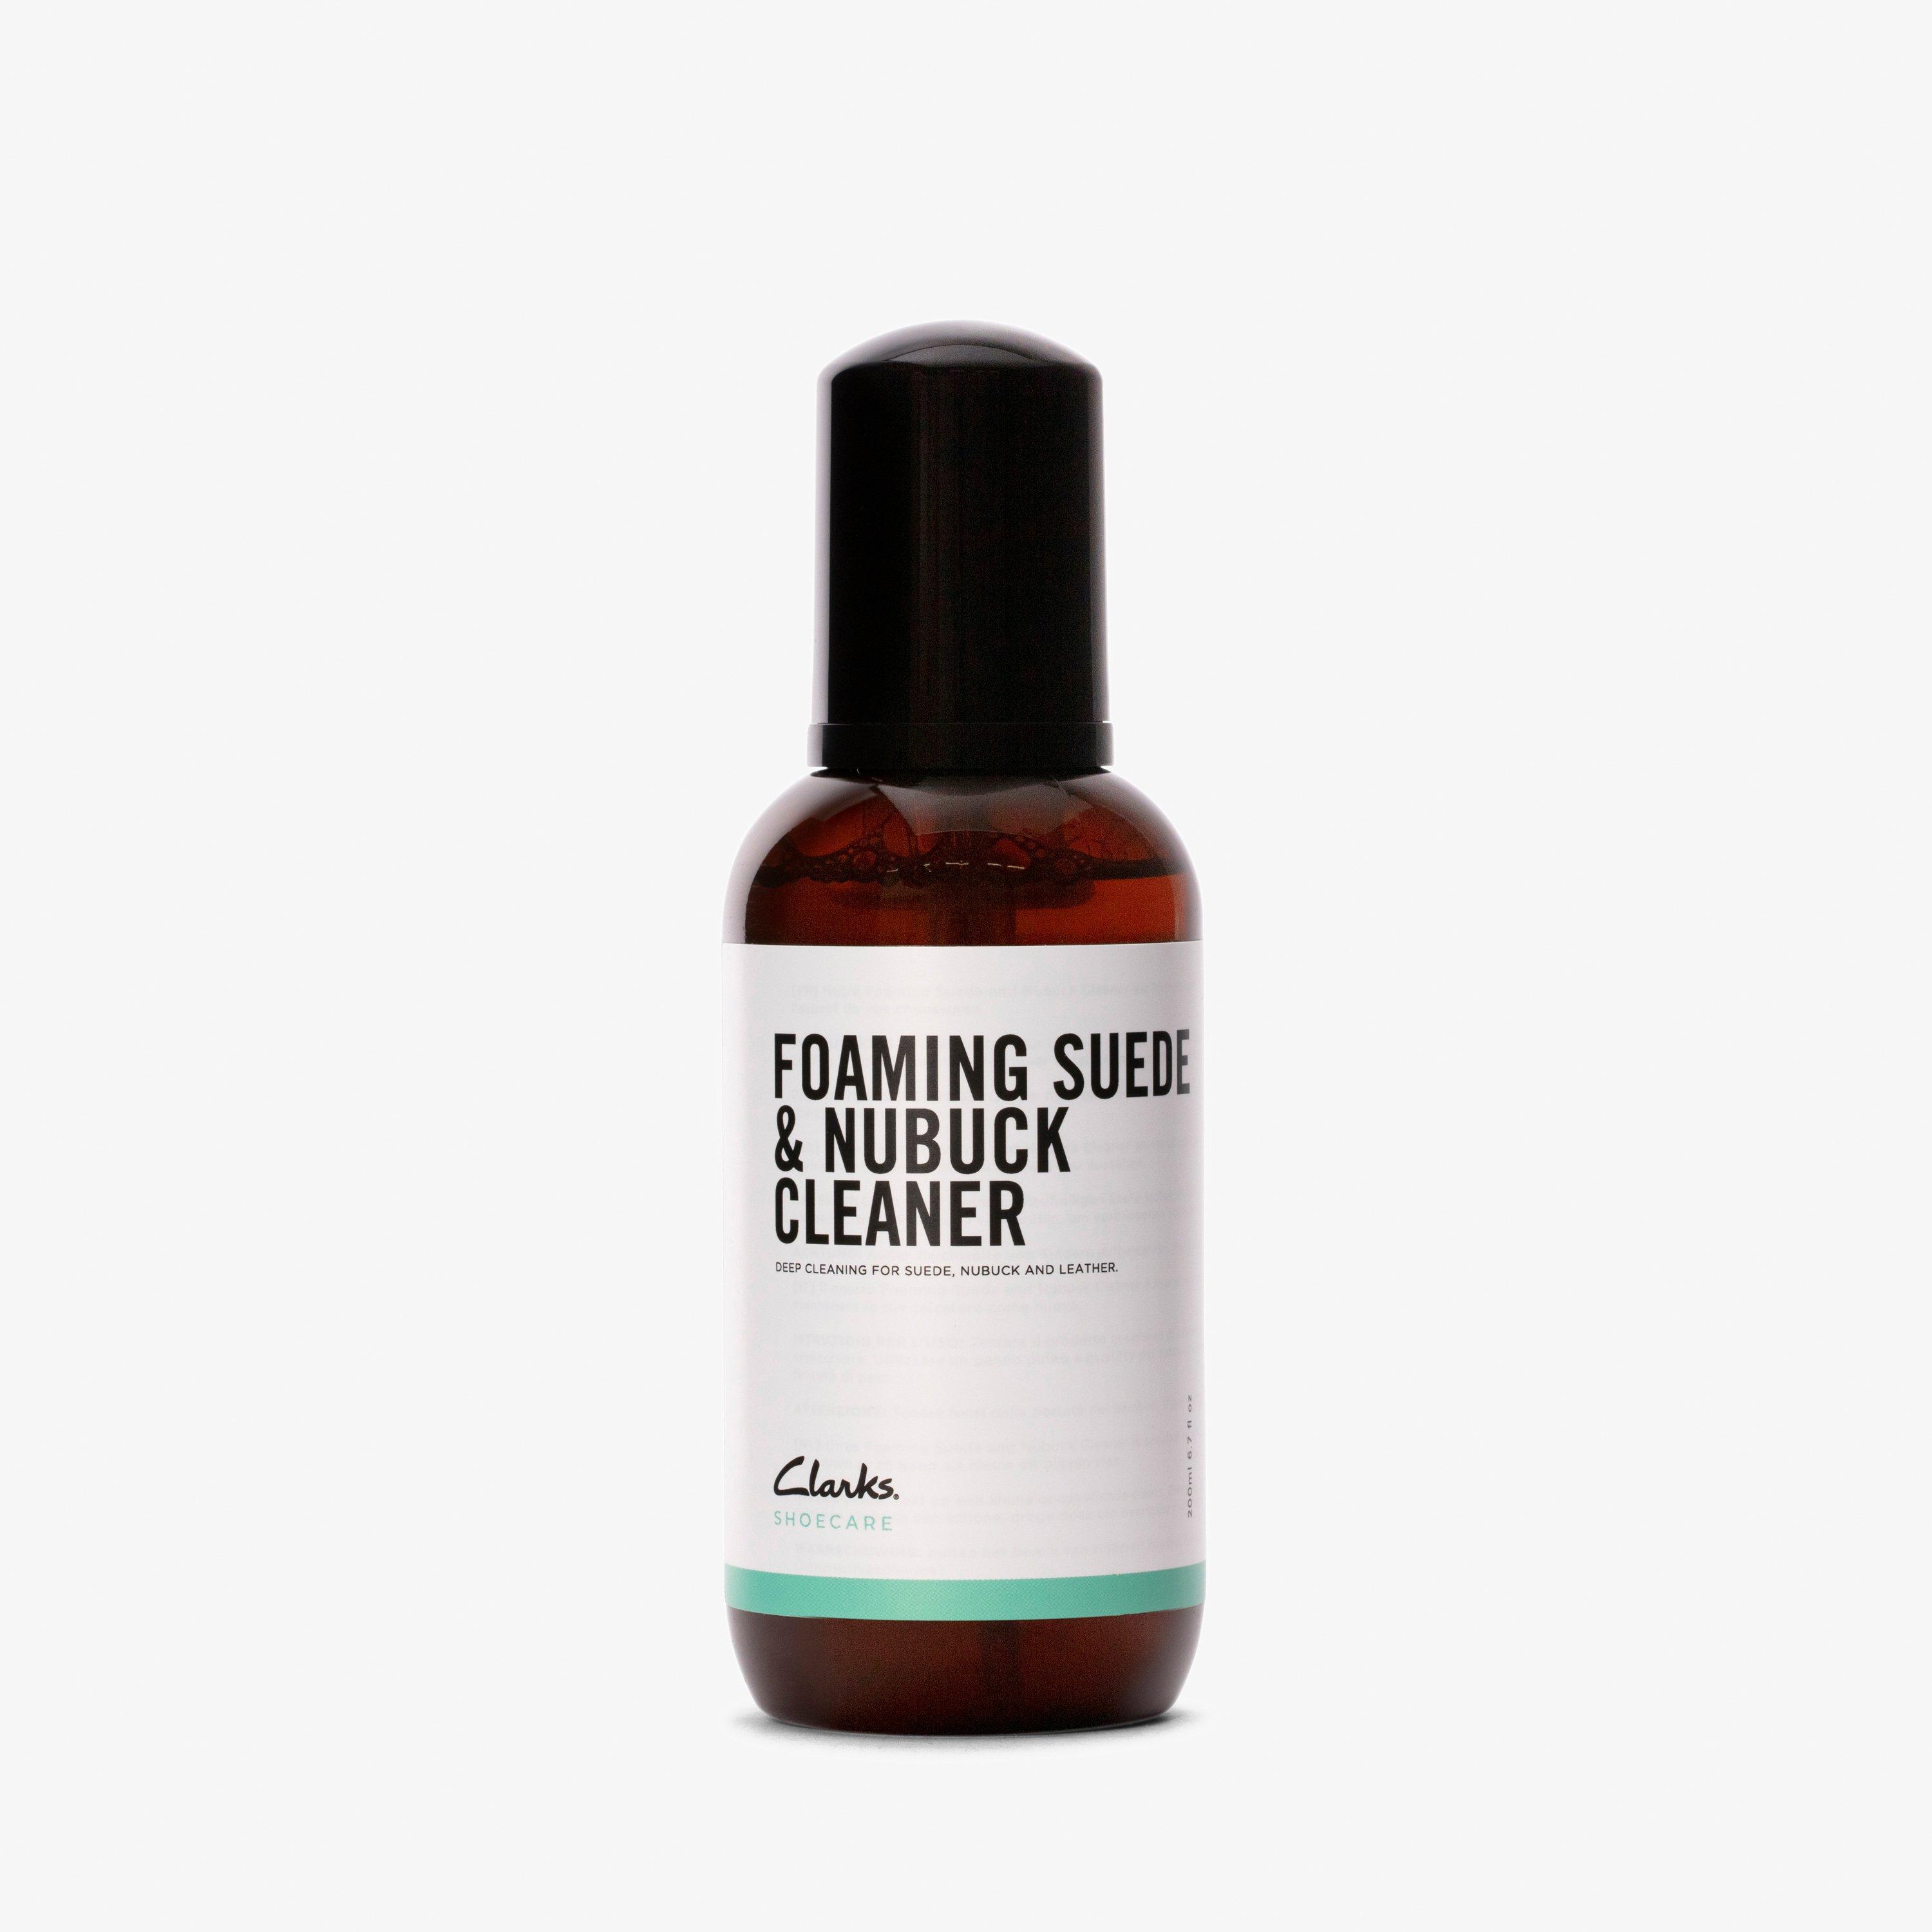
Suede and nubuck require a dry method whenever possible. Water can create dark patches, stiff fibers, and permanent marks.
To clean Clarks sandals made from suede or nubuck:
• Let mud and moisture dry fully.
• Brush the surface with a suede brush.
• Move the brush in one direction first, then lightly across the nap.
• Use a suede eraser on small scuff marks.
• Brush again to restore the texture.
• Apply a suitable suede or nubuck protector after cleaning.
Never use regular soap, leather conditioner, or a soaking wet cloth on suede. These products can flatten the nap and change the color.
For an oily spot, place a small amount of cornstarch or talcum powder over the mark. Leave it for several hours, then brush it away. This may absorb surface oil, but deep stains may need professional cleaning.
A common mistake I have made with suede footwear is brushing too hard. It can create a shiny patch that looks worse than the original dirt. Gentle, repeated brushing is safer than one forceful cleaning session.
How to Clean Fabric, Canvas, Rubber, and Cork
Different sandal parts need different techniques. Cleaning them as if they were all the same material can cause avoidable damage.
Fabric and canvas
Brush off loose dust first. Dab the fabric with a cloth dipped in mild soapy water, then remove residue with a clean damp cloth.
Do not saturate fabric sandals. Thick padding may hold water for a long time, which can lead to odor or mildew. Air-dry them completely before wearing them.