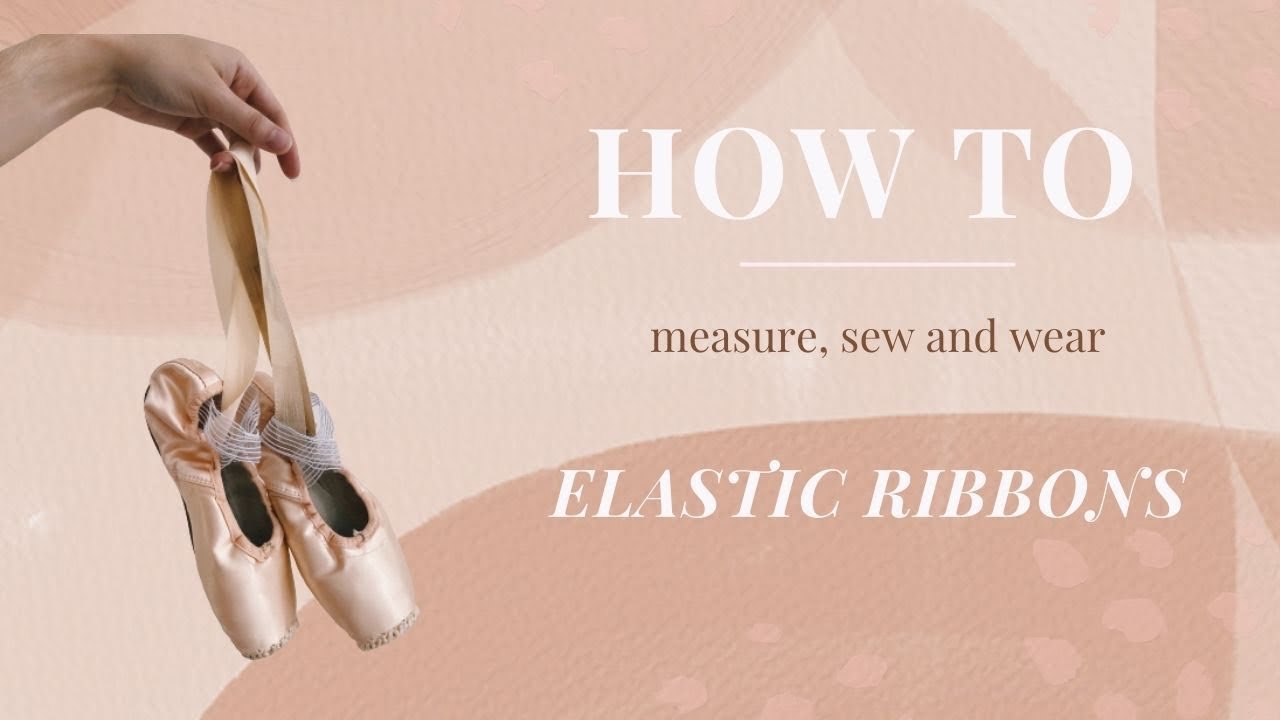
Measure, pin, and hand-sew ribbons and elastic with strong waxed thread for a secure fit.
I’ve fitted and sewn hundreds of pointe shoes for students and company dancers. This guide on how to sew ribbon and elastic on pointe shoes explains step-by-step methods, tool choices, and safety tips so you can finish shoes that feel right and last. Read on for clear instructions, common mistakes to avoid, and practical tips from real fittings.

Materials and tools you need to sew ribbon and elastic on pointe shoes
Gathering the right supplies makes sewing ribbons and elastic on pointe shoes faster and safer. Use quality materials designed for dance use, not craft substitutes.
- Strong waxed nylon or polyester thread for durability and minimal slipping.
- A sharp upholstery or curved needle that can pass through satin and canvas.
- Ribbons: 2-inch (50 mm) satin ribbons cut to length for ankle ties.
- Elastic: 1/2 to 1-inch (12–25 mm) wide elastic for instep or heel support.
- Pins or safety pins to hold placement while you try shoes on.
- Chalk or erasable fabric marker for marking attachment points.
- Small sharp scissors and a lighter or fray check to seal ribbon ends.
- Thimble and small clamp or plyers to help pull tight stitches when needed.
Using the right gear prevents fraying and ensures your stitches hold under stress. I always keep spare thread and a small sewing kit in my dance bag.
Measuring and marking before you sew
Measure carefully; mistakes here mean redoing stitches later. Accurate marks keep ribbons even and elastic comfortable.
- Put on your pointe shoes with the pads or tape you normally use.
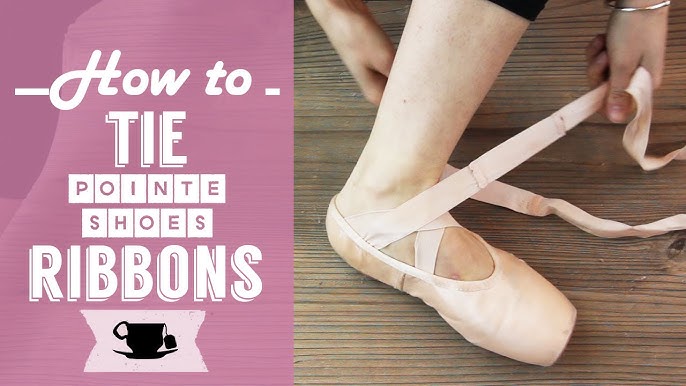
- Mark ribbon start points just below the ankle bone or at the instep seam, depending on your teacher’s guidance.
- For elastic, mark while standing in first or parallel in demi-pointe or full pointe, depending on the style of elastic you’ll sew.
- Test ribbon length by wrapping where you will tie and adding 1–2 inches for overlap and knotting.
- Use pins to hold the ribbons and elastic in place and try the shoe on again to check fit before sewing.
If you are unsure about placement, consult a teacher or fitter. Small adjustments now save time and protect your ankles later.

How to sew ribbons step-by-step
This common method is sturdy and used by many dancers. Follow it for neat, secure ribbon placement.
-
Prepare ribbons and shoes
- Seal ribbon ends with a small drop of fray check or a quick pass near a flame to stop fraying.
- Thread a short length of waxed thread on a strong needle and knot the end.
-
Position ribbons
- Place one ribbon end at the inside edge of the shoe, about 1–1.5 inches from the heel seam for most brands.
- The other ribbon sits symmetrically on the outside edge. Pin them on and try the shoe on to confirm.
-
Stitch method
- Use small, tight stitches through the satin and into the cotton lining. Do not try to sew through a hard shank; go around it.
- Make 6–8 secure back-and-forth stitches in a box or bar-tack pattern for each ribbon end. Wrap the thread back over the stitches and knot inside the shoe.
- Hide the knot between the lining layers so it won’t irritate the foot. Trim excess thread.
-
Final checks
- Tie the ribbons as you will dance and check for slippage or bunching.
- If a ribbon pulls through the satin, re-enforce with additional stitches or a small patch of fabric inside.
This method keeps the ribbon secure without weakening the shoe. I prefer hand stitching rather than machine sewing to control each pass and avoid puncturing the shank.

How to sew elastic step-by-step
Elastic supports the ankle and keeps the shoe snug. There are several styles; pick the one your teacher recommends and sew carefully.
-
Decide placement style
- Instep strap: elastic sewn across the instep just above the arch. Good for mobile feet.
- Heel tab (V-shape): two elastic ends attach near the heel to form a V behind the ankle for extra hold.
- Back strap: single elastic across the heel seam, common for younger students.
-
Measure elastic length
- With socks and pointe shoes on, measure elastic so it is snug but not restrictive when standing in demi-pointe or full pointe. Elastic should allow flexible ankle motion.
- Cut slightly longer and test; you can trim later.
-
Attach elastic securely
- Fold a small tab of satin or fabric under the elastic end to protect the shoe lining.
- Stitch with multiple passes: start with a bar-tack or box stitch pattern. Make at least 8–10 tight stitches for high-stress areas.
- Reinforce by passing the thread back over the stitches and knotting inside the shoe.
-
Test and adjust
- Wear the shoe and move through basic positions and tendus. Check for pinching, slipping, or the elastic riding up.
- If elastic is too tight, remove and shorten; if too loose, tighten and re-sew.
When sewing elastic, pay attention to symmetry. Uneven elastic causes rotation or misalignment during pointe work.

Finishing touches, reinforcement, and safety
Small finishing steps extend shoe life and protect your feet. Take this time before you take the stage.
- Knot and tuck all thread ends inside the shoe lining to prevent blisters.
- Use a few drops of clear fabric glue on knots for extra security, but do not glue over the shank area.
- Trim ribbon and elastic ends neatly and seal them to stop fraying.
- Always test sewn ribbons and elastic in class or at the barre before performances. If anything shifts, re-stitch immediately.
- Avoid sewing directly through the shank area, as this can damage support and alter the feel of the shoe.
If you are not confident sewing your own pointe shoes, ask a fitter or teacher to check your work. Proper fit and attachment are vital for safety.
Common mistakes and troubleshooting
Knowing common errors saves time and prevents injury. These fixes are simple and effective.
- Sewing too few stitches: reinforce with a box stitch and 8–12 passes for durability.
- Placing ribbons too low or too high: re-measure while wearing shoes and find a comfortable tie point above the ankle bone.
- Elastic too tight: remove and lengthen slightly; elastic should not cut circulation.
- Stitching through the shank: avoid this—sewing through the shank can weaken support and change shoe response.
- Uneven ribbon placement: mark with chalk and measure both sides before sewing.
If your sewn attachment fails on stage, carry an emergency sewing kit and safety pins to temporarily secure ribbons or elastic.
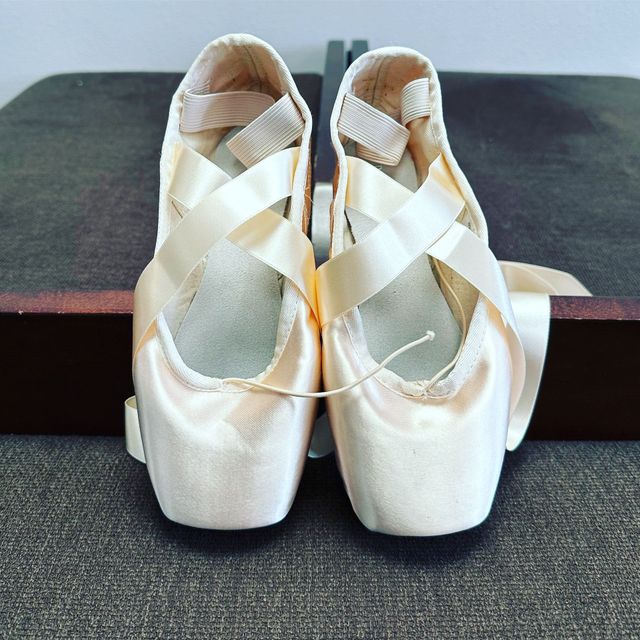
Personal experience and lessons learned
I began sewing pointe shoes for myself and then for students. Over time I learned patterns that work and why small details matter.
- I once sewed ribbons too far back and a student’s ties slipped mid-class; I now always double-check placement on the foot.
- Waxed thread makes a huge difference. Threads that aren’t waxed loosen faster and need redoing.
- I prefer box stitches for ribbons and a V-style elastic for dancers with narrow heels. This combo balances security and mobility.
- When teaching students, I emphasize testing on the barre and short center combinations before a full class.
These practical lessons come from dozens of fittings. They help you save time and protect your ankles.

Common how-to questions (PAA-style)
How tight should the elastic be when you sew it on?
Elastic should be snug but allow full plantar flexion. Test while pointing; it must not restrict circulation or cause pain.
Should you sew ribbons on the outside or inside of the shoe?
Sew ribbon ends on the inside edge of the shoe so ties lie flat and do not rub the ankle. Hidden knots reduce blisters.
Can machine sewing be used for pointe shoe ribbons or elastic?
Machine sewing risks puncturing the shank and satin. Hand sewing gives better control and is the preferred method for most dancers.
How often should stitched ribbons and elastic be checked?
Inspect attachments before every use and re-check after heavy rehearsals. Replace or reinforce if stitching loosens.
Is it okay to use craft ribbon instead of dance ribbon?
Dance ribbons are wider and have less stretch. Using proper dance ribbon preserves comfort and reduces fraying.

Frequently Asked Questions of how to sew ribbon and elastic on pointe shoes
How long should pointe shoe ribbons be?
Ribbons typically range from 22 to 24 inches for adult sizes and 18 to 20 inches for children. Measure on the dancer with shoes on and add 1–2 inches for tying and tucking.
Where exactly should I attach my ribbons?
Attach ribbons about 1–1.5 inches from the heel seam on each side of the shoe unless your fitter advises otherwise. Placement varies by foot shape and shoe brand.
What thread is best for sewing ribbons and elastic?
Use strong waxed nylon or polyester thread. It resists moisture and holds knots better than regular sewing thread.
Can I sew elastic across the instep and a heel elastic too?
Yes. Many dancers use both for added stability. Sew carefully and test for comfort; too much elastic can restrict movement.
How do I prevent blisters from sewn knots?
Tuck knots inside the lining and avoid bulky knots directly under the foot. Use small stitches and smooth down any raised thread.
Should I reinforce stitches after heavy rehearsals?
Yes. Inspect and reinforce stitches regularly. Heavy use can loosen even the best sewing, so plan for upkeep.
Conclusion
Sewing ribbon and elastic on pointe shoes is a simple skill that improves fit and safety. Follow careful measuring, use strong materials, and sew tight, neat stitches to ensure the shoe performs well. Practice on an older pair first, and always test your work in class before performing. Try the methods here, make small adjustments based on your foot, and ask a teacher if you’re unsure. Share your results, subscribe for more tips, or leave a comment with questions about technique or placement.
Madison Clark is a footwear expert and the voice behind MyStyleGrid.com. She specializes in honest shoe reviews, style tips, and practical guides to help readers find the perfect pair for any occasion. With years of experience in blogging and content creation, Madison makes footwear knowledge simple, stylish, and easy to follow.