Use heel grips, moleskin, glue, or replace the lining to fix the inside heel of shoes quickly.
I’ve spent years fixing shoes at home and in small repair shops, so I know exactly how to fix inside heel of shoe issues—whether it’s rubbing, peeling lining, or a collapsed heel cup. This guide walks you step-by-step through diagnosing the problem, choosing the right fix, doing durable DIY repairs, and knowing when to see a pro. Read on to get clear, practical solutions you can apply today to stop pain and extend your shoes’ life.

Why the inside heel of shoe wears out
Inside heel wear shows up as rubbing, blisters, torn lining, or thinning padding. This happens from friction, moisture, and repeated pressure where your heel contacts the shoe. Poor fit, soft lining materials, and heavy walking make the problem worse.
Common causes include:
- Shoes that are slightly loose and let your heel slide.
- Heel counters that have lost stiffness.
- Thin or low-quality lining material.
- Excessive moisture from sweat that weakens glue and fabric.
Knowing the root cause helps pick the right repair. If you want to learn how to fix inside heel of shoe well, start by identifying whether the issue is fit, friction, or material failure.

How to assess the damage
Inspect the inside heel area with light and feel. Look for:
- Torn or peeling lining.
- Thinned padding.
- Cracked or compressed heel cup.
- Areas of discoloration or dampness.
Gently press the heel area to test padding. If the lining peels away easily or the padding is flat, a partial or full reline may be needed. Make notes: is the problem on one shoe or both? Is it new or gradual? These answers guide repair choices.
PAA question: Why does the inside heel of my shoe rub?
- Rubbing usually comes from heel slip, rough lining, or seams that sit where your heel rubs. A small fix like heel grips or moleskin often helps.
PAA question: Can I glue a peeled lining back in place?
- Yes, but use a flexible shoe adhesive made for fabric or leather and clamp carefully. For large separations, a reline by a cobbler is more durable.
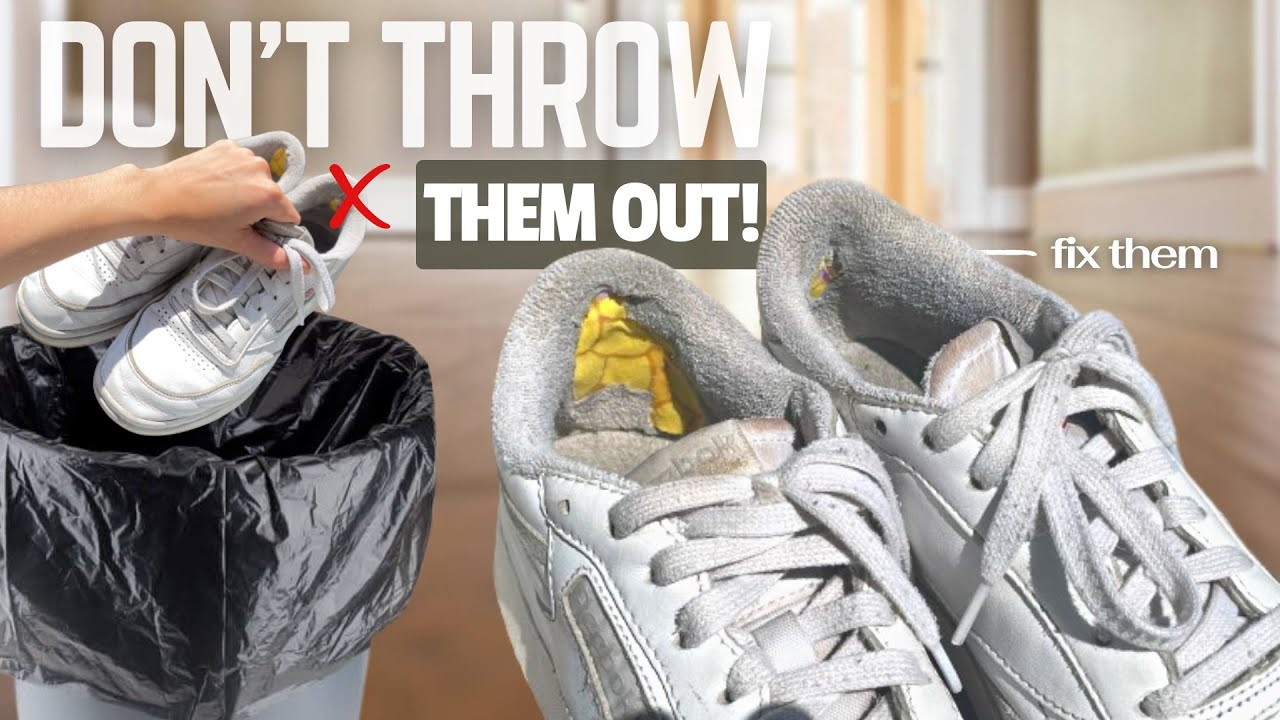
Source: youtube.com
Quick DIY fixes for immediate relief
If you need a fast, low-cost fix, try one of these options. These solutions often stop rubbing and blisters immediately.
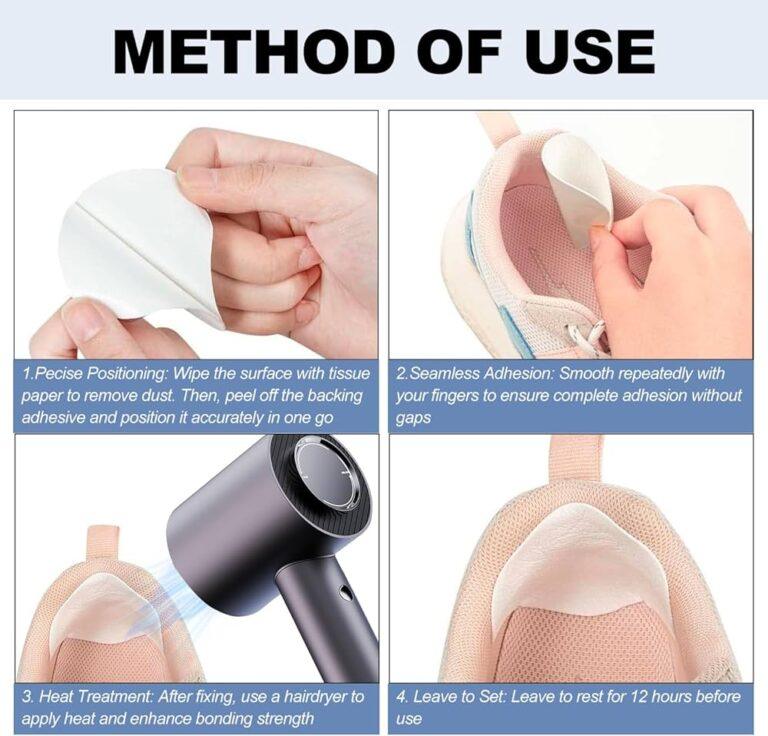
Heel grips and pads
- Clean inside heel with rubbing alcohol and let dry.
- Peel and stick a cushioned heel grip or foam pad to the inside back of the shoe.
- Trim edges if needed so it doesn’t bunch.
Moleskin or anti-blister patches
- Cut moleskin to size and place it over the rubbed area inside the heel.
- Moleskin is soft and reduces friction for several days of wear.
Replace or add an insole
- Swap thin insoles for thicker ones to reduce heel slip.
- Full insoles change foot position and can relieve pressure on the inside heel.
Simple glue reattachment for small peeled spots
- Use a flexible shoe glue, apply sparingly under the loose lining, press down, and let dry under light clamp pressure for 24 hours.
These quick fixes are great for learning how to fix inside heel of shoe without full rework. They often restore comfort and let you wear the shoes while planning a longer fix if needed.

Repairing torn lining and padding (step-by-step)
If the lining is torn or the padding is gone, do a deeper repair. This is a mid-level DIY that takes time but yields durable results.
What you’ll need
- Flexible shoe glue or contact cement.
- Thin replacement lining (leather, fabric, or synthetic).
- Scissors, small brush, clamps or heavy books.
- Optional: foam padding for heel cup.
Steps
- Remove the old insole and clean the heel area.
- Trim any jagged edges of torn lining.
- Cut a replacement patch slightly larger than the damaged area.
- Apply glue to both patch and shoe, wait until tacky per instructions.
- Press patch in place, smooth wrinkles, and hold with clamps or weight.
- Let cure fully (24 hours recommended).
- Replace or add foam padding behind the patch if needed, then replace the insole.
Tips
- Match material to existing lining for breathability.
- Work in small areas to keep glue from soaking through.
- If seam lines are visible, use a thin leather cloth to hide edges.
This process teaches you how to fix inside heel of shoe by rebuilding the area. It feels satisfying and cuts repair costs compared to a full reline.

When to seek a cobbler or replace the shoe
Some problems need professional repair or replacement. Consider a cobbler when:
- The heel counter is broken or collapsed.
- The lining is extensively worn across the heel cup.
- Multiple structural issues exist (sole separation, upper damage).
- You own high-value footwear worth restoring.
A cobbler can reline shoes, replace heel counters, and resew seams. Costs vary by location and shoe type. For budget or mass-market shoes, replacement may be cheaper than major work.
If you’re unsure, get a repair estimate. A small cobbler fee can often extend shoe life by months or years, making it worth the cost. This is an important step in knowing how to fix inside heel of shoe when DIY won’t last.

Tools and materials checklist
Keep this small kit for fast repairs:
- Heel grips and moleskin strips.
- Flexible shoe glue.
- Small scissors and tweezers.
- Thin leather or fabric patches.
- Foam heel pads and replacement insoles.
- Rubbing alcohol and soft cloth.
- Clamps or heavy books for pressing.
Having these on hand makes quick fixes painless and helps you act before damage worsens. Knowing which tool to use is part of mastering how to fix inside heel of shoe.

Preventing inside heel wear
Prevention saves time and money. Simple routines help shoes last longer.
Fit and break-in
- Buy shoes that fit your heel snugly.
- Break in new shoes gradually with short walks.
Moisture control
- Use breathable socks and alternate shoes to dry.
- Insert moisture-wicking insoles for sweaty feet.
Maintenance
- Replace insoles before they are fully compressed.
- Add heel grips or protectors early if you notice slippage.
Care routine keeps the lining healthy and delays the need to learn how to fix inside heel of shoe.
Troubleshooting common problems
Blisters still occur after adding pads
- Check fit. If heel slip persists, the shoe may be too large or the toe box misaligned.
Bunching or gaps after gluing
- Reapply with less glue and smooth carefully. Use a thin brush to distribute adhesive.
Glue smell or stiffness