Shoe Goo usually skins over in 1–2 hours and fully cures within 24–72 hours.
I’ve repaired dozens of boots, running shoes, and work shoes with Shoe Goo and similar adhesives. I’ll walk you through exactly how long does shoe goo take to dry, what affects drying time, how to speed safe curing, and how to tell when a repair is strong enough to use. Read on for clear, tested advice and quick checks you can use today.

How Shoe Goo Works and Why Dry Time Varies
Shoe Goo is a thick, contact-style adhesive and sealant. It bonds by solvent evaporation and polymer cross-linking. That means drying is not just evaporation. The outer layer can skin over quickly, while the inner mass keeps curing for many hours.
How long does shoe goo take to dry depends on chemistry and conditions. Thin layers dry and cure faster. Thick beads take longer. Porous surfaces pull solvent away faster. Cold or humid air slows both evaporation and curing.
Typical Drying Times: Skin Over vs Full Cure
Here are common timelines you can expect for how long does shoe goo take to dry:
- Skin over time: 1 to 2 hours for a thin layer to form a non-sticky surface.
- Light tack-free time: 4 to 8 hours before light handling.
- Functional cure: 24 hours for many repairs to reach useful strength.
- Full cure: 48 to 72 hours for maximum bond strength, especially for thick beads.
Always allow longer for cold, damp, or low-ventilation conditions. When I rush a repair, it usually fails. Let it cure as advised for best results.

Factors That Affect How Long Does Shoe Goo Take to Dry
Many things change dry time. Keep these in mind:
-
Layer thickness
Thinner coats dry faster. Thick blobs trap solvent and slow curing. -
Temperature
Warm air speeds evaporation and polymerization. Below 50°F (10°C) expect much slower cure. -
Humidity
High humidity slows solvent loss. Dry air shortens time. -
Ventilation
Moving air helps solvent escape. A fan speeds drying. -
Substrate porosity
Leather and fabric soak up some solvent. Hard plastics may not, so surface cure differs. -
Tube age and storage
Old or partially cured adhesive can behave unpredictably and dry more slowly. -
Additives or sealers
Primer or accelerant use can change times. Follow manufacturer guidance.
These variables explain why the same repair can cure at different speeds on different days.
Real-World Examples and Use Cases
Here are typical scenarios and times based on use:
-
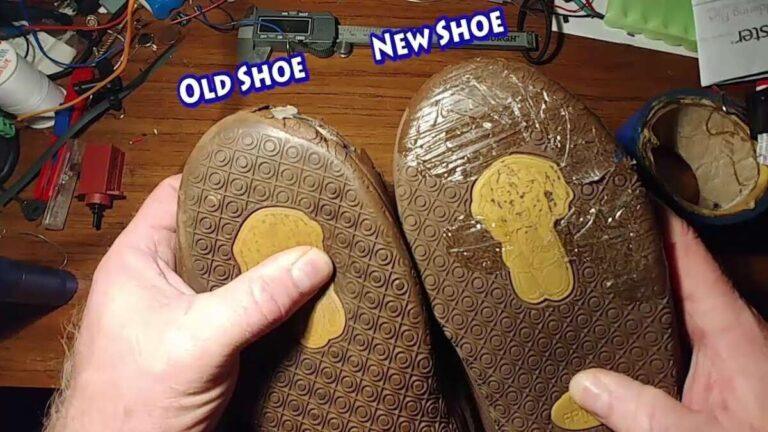
Re-gluing a separated sole
Apply a medium bead. Clamp or weight it. Wait 24–48 hours before hard use. -
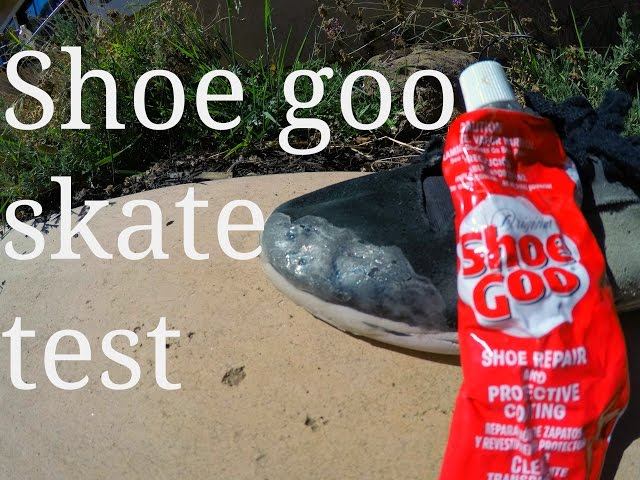
Patching a hole in the outsole
Use thin layered builds. Each thin layer skins in 1–2 hours. Finish after 24–48 hours. -
Heel lift or tip repair
Thin beads and a few hours of firming are enough for light wear in 8–24 hours. Full heavy-use cure in 48–72 hours. -
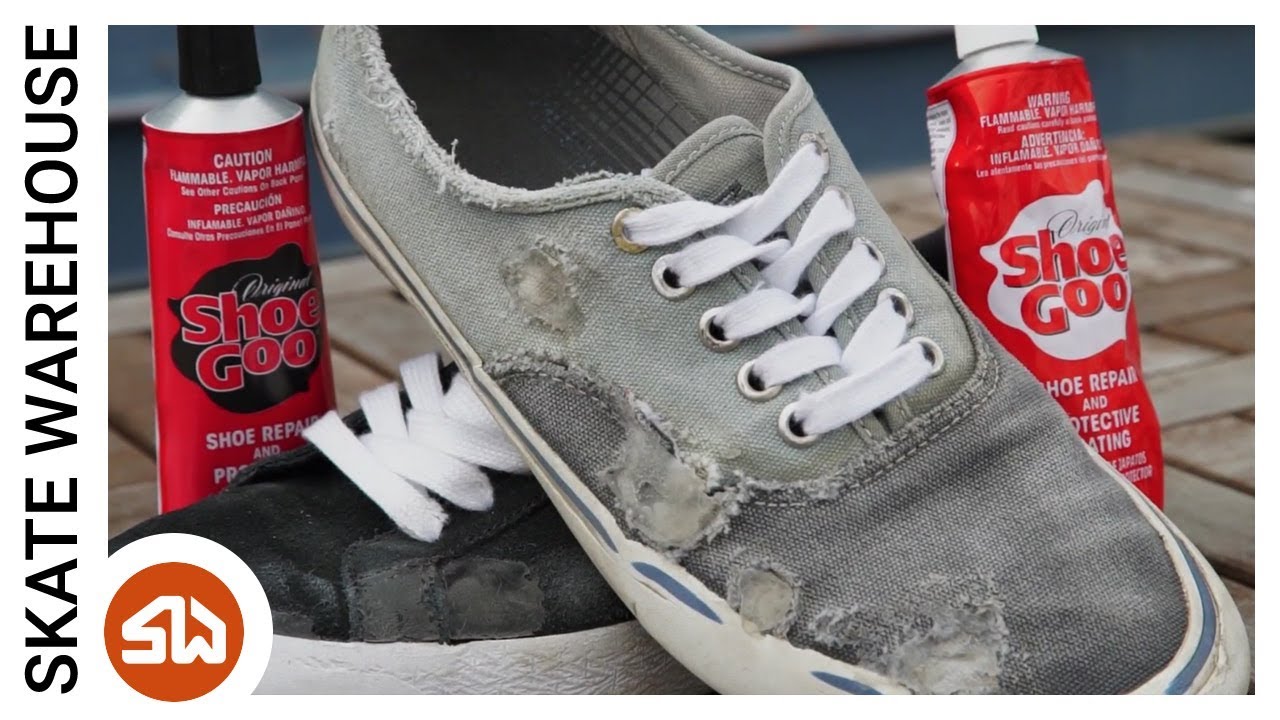
Water-seal or small tear on upper
Thin spread; avoid thick ridges. 24 hours before wearing in wet conditions.
From personal experience, a running shoe sole re-glued with thin beads was safe for walking after 24 hours and for running after 72 hours. A thick work-boot build needed the full 72 hours to avoid re-separation.

Tips to Speed Up Drying Safely
If you need to accelerate drying, do it cautiously:
- Use thin layers and let each layer set before adding more.
- Work in a warm room (70–85°F) with low humidity.
- Use a fan to move air across the repair.
- Use a dehumidifier in damp spaces.
- Clamp or weight the repair to improve contact and reduce movement.
Avoid open flames, ovens, or direct high heat. High heat can deform materials and release fumes. Do not add solvents or unknown accelerants. If a product offers a recommended activator, follow the instructions.
How to Know When Shoe Goo Is Fully Cured and Strong
Signs the repair is cured and ready:
- No tack when you press lightly.
- The adhesive feels firm, not doughy.
- Smell fades significantly.
- A gentle flex or peel test shows a secure bond.
For critical repairs, wait the full 48–72 hours. If you tested earlier, use gentle motion first. This prevents a partial cure from failing under stress.

Common Mistakes and How to Avoid Them
Avoid these errors I’ve seen often:
- Applying too large a bead. Keep layers thin and controlled.
- Not cleaning the surface. Dirt, oils, and old adhesive weaken bonds. Clean and dry first.
- Moving or stressing the repair too soon. Wait for at least a functional cure.
- Working in cold or humid spaces. Move the shoe to a warm, dry area.
- Using the wrong product for the material. Check compatibility first.
A small extra wait time beats a repeated repair.

Safety, Storage, and Shelf Life
Safety and storage matter:
- Work in a ventilated area. Vapors can be strong.
- Wear gloves to avoid skin contact. Clean spills immediately.
- Keep away from heat and open flame; some formulas are flammable before cure.
- Store the tube capped in a cool, dry place. Unopened tubes last longer than opened ones.
- Discard if the product thickens or shows skin inside the tube.
Shelf life varies by formula, but expect reduced performance after long storage or repeated opening.

Frequently Asked Questions of how long does shoe goo take to dry
How long does shoe goo take to dry before it's tack-free?
Typically 1 to 2 hours for the surface to skin over and 4 to 8 hours to be mostly tack-free under good conditions.
Can I speed up curing with a heat gun or oven?
A fan or warm room is safe. Avoid ovens, heat guns, or open flames because they can damage shoes and release harmful fumes.
When is it safe to wear shoes after using Shoe Goo?
Light wear is usually okay after 24 hours. For running or heavy use, wait 48 to 72 hours for full strength.
Does humidity lengthen how long does shoe goo take to dry?
Yes. Higher humidity slows solvent evaporation and can extend cure times by many hours.
Will Shoe Goo bond leather and rubber equally fast?
Bond speed varies by material. Porous leather may absorb solvent and speed surface dry, but true cure still needs time for full bond to develop.
Conclusion
Knowing how long does shoe goo take to dry helps you plan repairs and avoid rework. Thin layers, warm dry air, and patient curing lead to the best results. Let repairs sit for 24–72 hours depending on use and conditions, and test gently before full use.
Try these tips on your next repair. Leave a note below about your results, subscribe for more practical repair guides, or ask a question if you need help with a specific shoe type.

Rubel Miah is the Senior Editor at MyStyleGrid.com, where he brings a sharp editorial eye and an unshakable love for fashion to everything he does. A true style addict, Rubel lives and breathes trends, from streetwear to high fashion, and has a knack for turning inspiration into impactful stories. With years of experience in fashion journalism and digital media, he curates content that empowers readers to express themselves through style. When he’s not editing features or forecasting the next big thing, you’ll find him hunting down vintage pieces or capturing street style moments around the city.