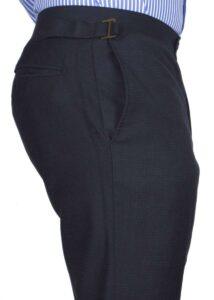
To take in women's dress pants, mark the excess fabric, sew a new seam, then press and test the fit.
Learning how to take in women's dress pants can save a favorite pair from the donation pile. With careful measuring, small stitches, and patience, you can improve the waist, hips, or legs without making the pants look altered. This guide explains the process used in basic tailoring, along with common mistakes, fit checks, and tips for different pant styles.
What It Means to Take In Women's Dress Pants
To take in women's dress pants means removing extra width from the garment. You do this by sewing a new seam closer to the body. The goal is a smooth fit, not a tight or uncomfortable one.
Most alterations involve one of these areas:
• Waistband
• Center back seam
• Side seams
• Hip area
• Thigh or leg seams
• Darts at the back waist
The best method depends on where the pants feel loose. If the waist gaps but the hips fit well, adjust the center back or waistband. If the whole garment feels loose, the side seams may need attention.
When learning how to take in women's dress pants, remember that dress pants often have lining, pockets, pleats, belt loops, and zippers. These details can limit how much fabric you can remove safely.

Tools and Supplies You Need
Good tools make this job much easier. You do not need a full tailoring studio, but sharp tools and accurate measurements matter.
Gather these supplies:
• Sewing machine with a matching thread
• Seam ripper
• Sharp fabric scissors
• Sewing pins or clips
• Flexible measuring tape
• Tailor’s chalk or washable fabric marker
• Hand-sewing needle
• Iron and pressing cloth
• Seam gauge or ruler
• Full-length mirror
• A firm surface for pressing
Use thread that matches the pants as closely as possible. Black, navy, gray, and beige threads can look very different under bright light. Test the thread on an inside seam before you begin.
For delicate wool, rayon, or silk blends, use a pressing cloth. High heat can leave shine or flatten the fabric. A low or medium setting is often safer, but always check the care label first.
Check the Fit Before You Sew
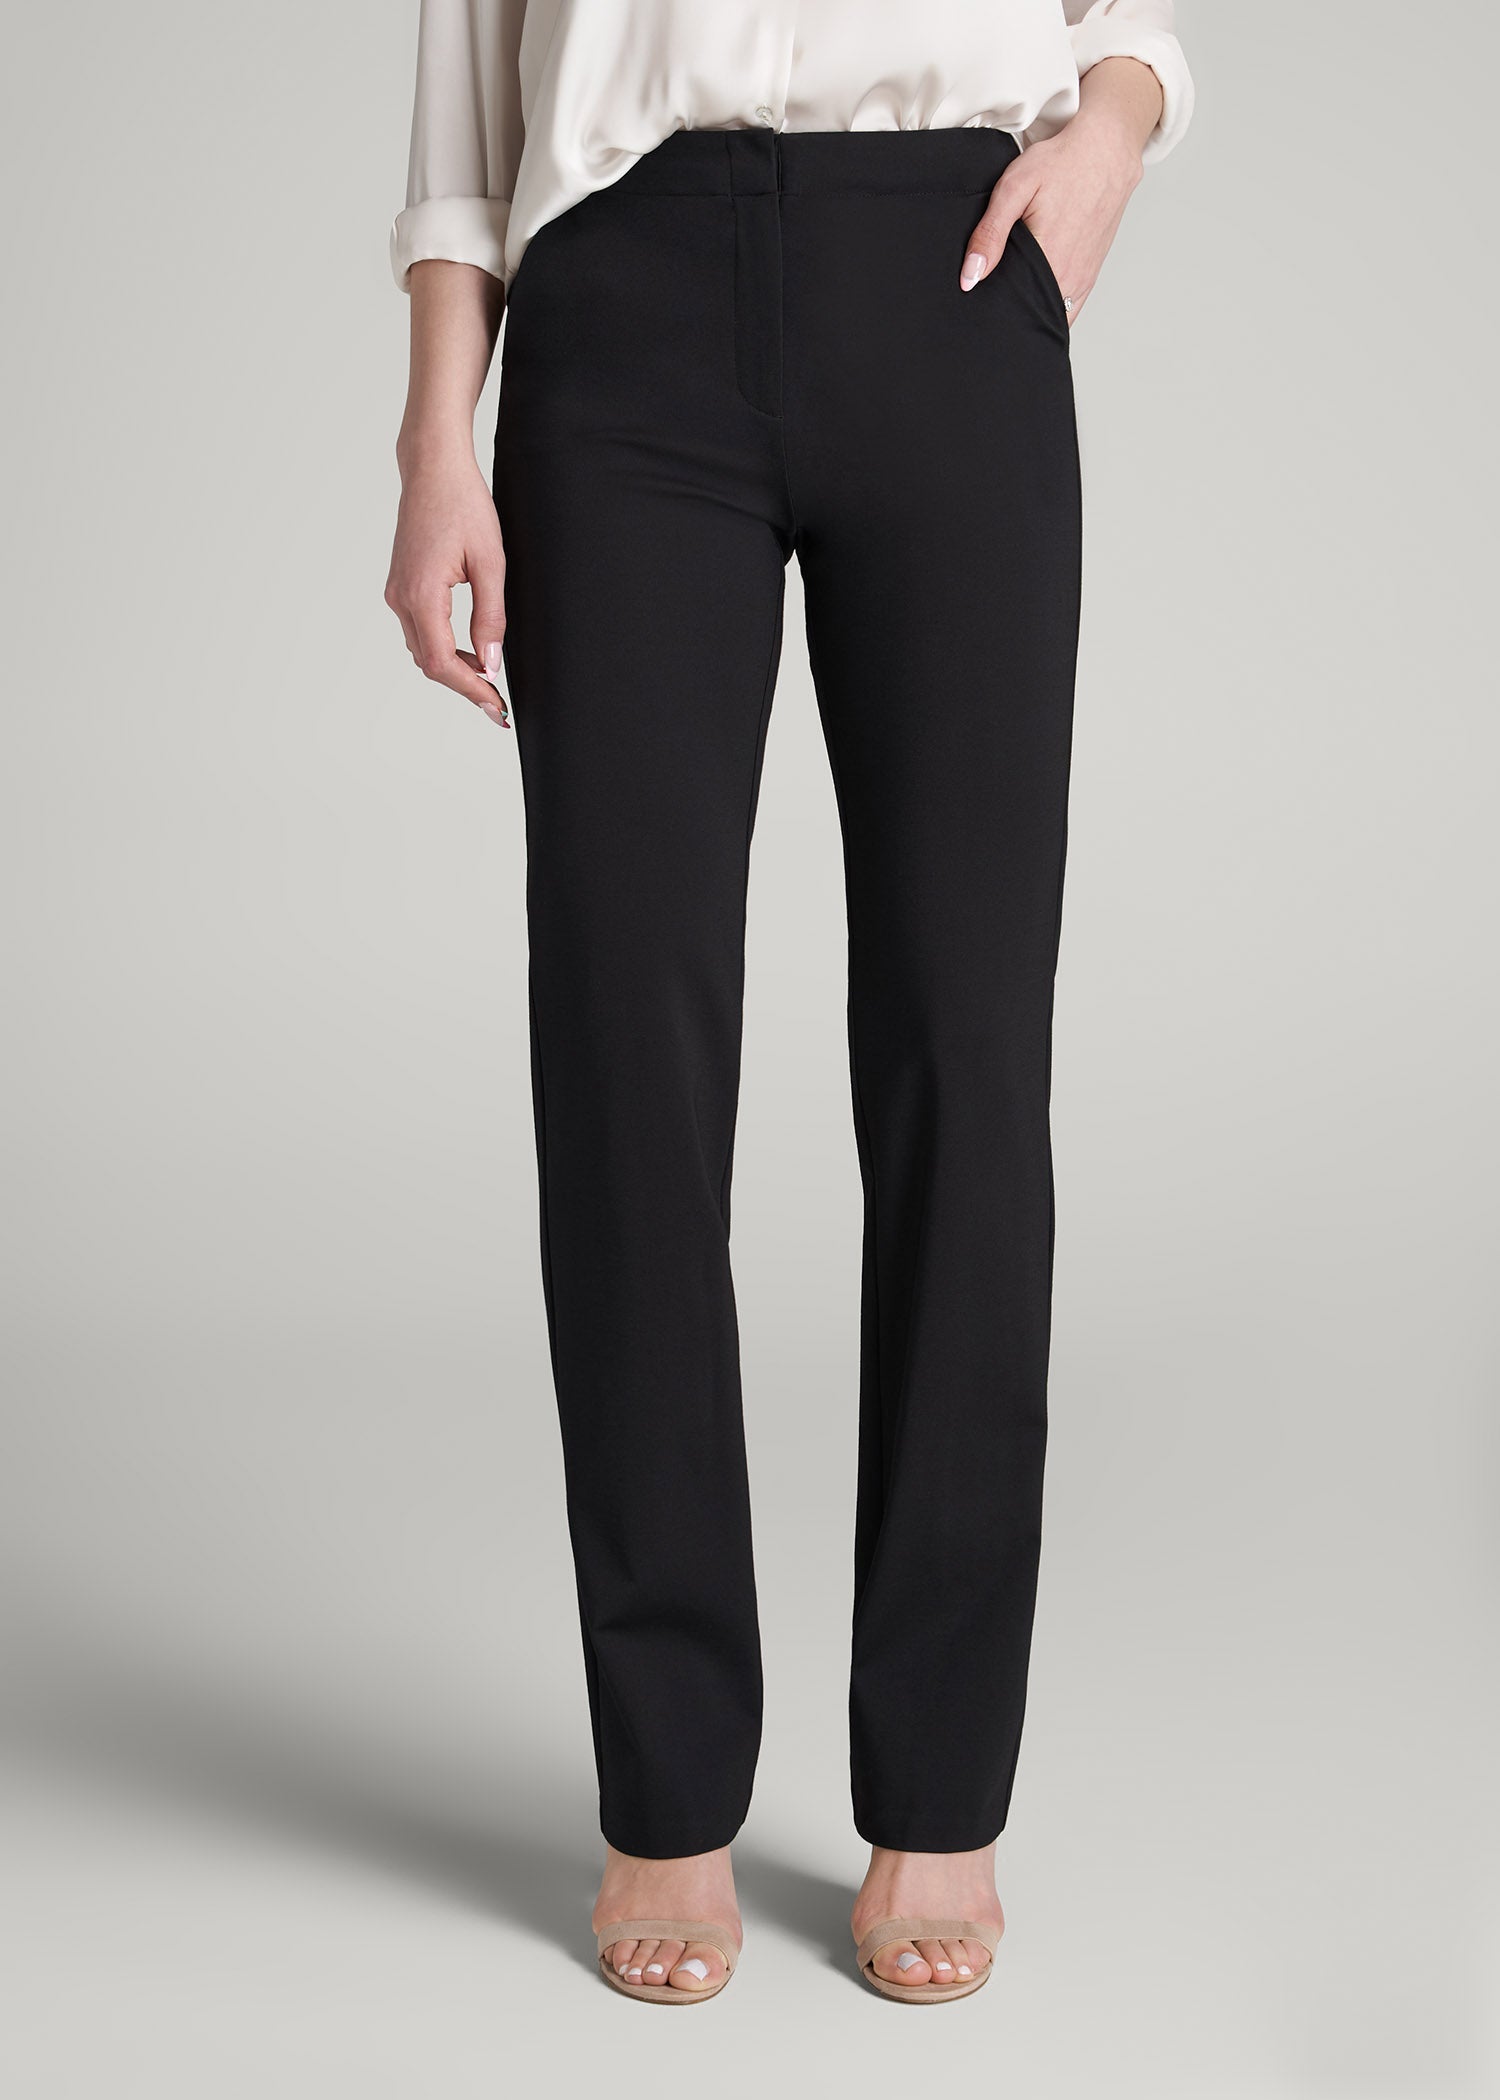
Put on the pants with the shoes and top you usually wear with them. This matters because posture, undergarments, and shoe height can change how the pants sit.
Stand naturally in front of a mirror. Do not pull the fabric into place with your hands. Look for these signs:
• A gap at the back waistband
• Loose folds below the seat
• Excess fabric at the hips
• Wrinkles that point toward a seam
• Side seams that swing toward the front or back
• A waistband that feels loose when you sit
Smooth pants should hang from the waist or hips without pulling. A few small folds are normal, especially in woven fabric. Deep horizontal wrinkles often show that the pants are too tight, while loose vertical folds may show excess width.
Safety pins can help you test the change. Pin the extra fabric on the inside of the pants while wearing them. Then sit, walk, and bend. If the pants feel restricted, reduce the amount you plan to remove.
When I work out how to take in women's dress pants, I always test the fit in motion. Pants that look perfect while standing can pinch at the waist when you sit. Comfort is part of a good alteration.
How to Take In Women's Dress Pants at the Waist
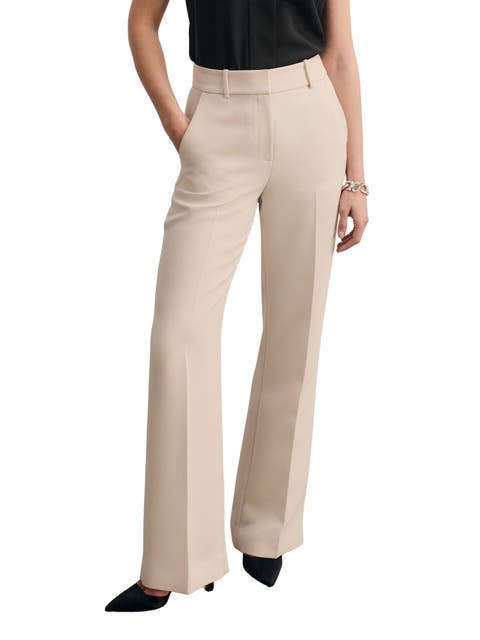
A loose waist is one of the most common problems. In many cases, the center back seam is the easiest place to adjust. This method keeps the front shape, pockets, and zipper in their original positions.
Method 1: Taking In the Center Back
Follow these steps:
-
Turn the pants inside out.
-
Remove the center back belt loop if it covers the seam.
-
Find the existing center back seam below the waistband.
-
Mark a smooth new seam line with chalk.
-
Start with a small amount, such as ½ inch on each side of the seam.
-
Pin the line and try the pants on again.
-
Sew the new seam with a straight stitch.
-
Trim excess fabric only after checking the fit.
-
Press the seam open or toward one side, based on the original construction.
The amount removed at the seam is not always equal to the amount removed from the waist. For example, taking in 1 inch at the center back usually means removing about ½ inch from each side of that seam.
Leave enough seam allowance for future changes. A tailor may need to let the pants back out later.
Method 2: Adjusting Back Darts
Some women's dress pants have two darts near the back waist. You can deepen these darts when the waist is loose but the seat and hips fit well.
Open the waistband only if needed. Mark the dart evenly from the top toward the existing point. Do not extend the dart too far down, or it may create a pointed shape on the seat.
Sew the dart gradually to a soft point. Press it toward the center back. This creates a smooth transition rather than a sharp bump.

How to Take In Women's Dress Pants at the Side Seams
Side-seam alterations work well when the pants are loose through the waist, hips, and upper legs. They can be more complex if the pants have side pockets.
Start by turning the pants inside out. Locate the original side seam and check whether it includes a pocket opening. If a pocket is nearby, avoid removing too much fabric. A new seam can make the pocket gape or reduce its opening.
Mark the new seam from the waist down. Blend the line gradually instead of creating a sudden angle. A smooth curve is easier to wear and looks more professional.
Sew a temporary basting stitch first. Try the pants on from the right side. If the fit looks good, sew the final seam with a normal stitch length.
This method is useful when considering how to take in women's dress pants that feel loose at the hip. However, do not use the side seams to fix a waist-only problem. You may make the hips too narrow and change the balance of the garment.
How to Take In the Legs and Thighs
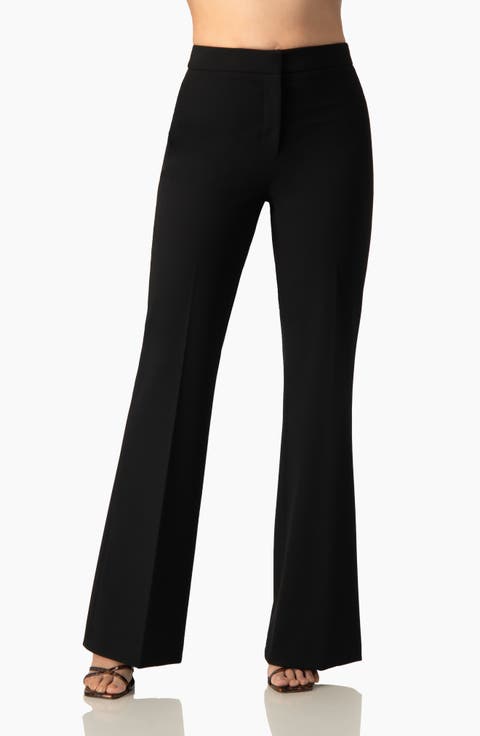
Loose legs can make dress pants look oversized. You can take in the inner leg seam, outer leg seam, or both. The best choice depends on the design.
Use the inner leg seam when:
• The pants have a plain outer side
• There are no side pockets or decorative seams
• You want to preserve the original crease
Use the outer leg seam when:
• The inner seam has a flat-felled construction
• The pants have a lining that is easier to access from the side
• The outer seam has enough seam allowance
Use both seams when you need a larger adjustment. Remove small amounts from each side to keep the leg balanced.
Always compare both legs before sewing. Measure from the same point on each leg. Uneven changes can make one leg twist or hang differently from the other.
If the pants have a pressed front crease, protect it. The crease should remain centered over the foot. A leg that becomes too narrow may pull the crease toward one side.
How to Take In Women's Dress Pants With a Lining
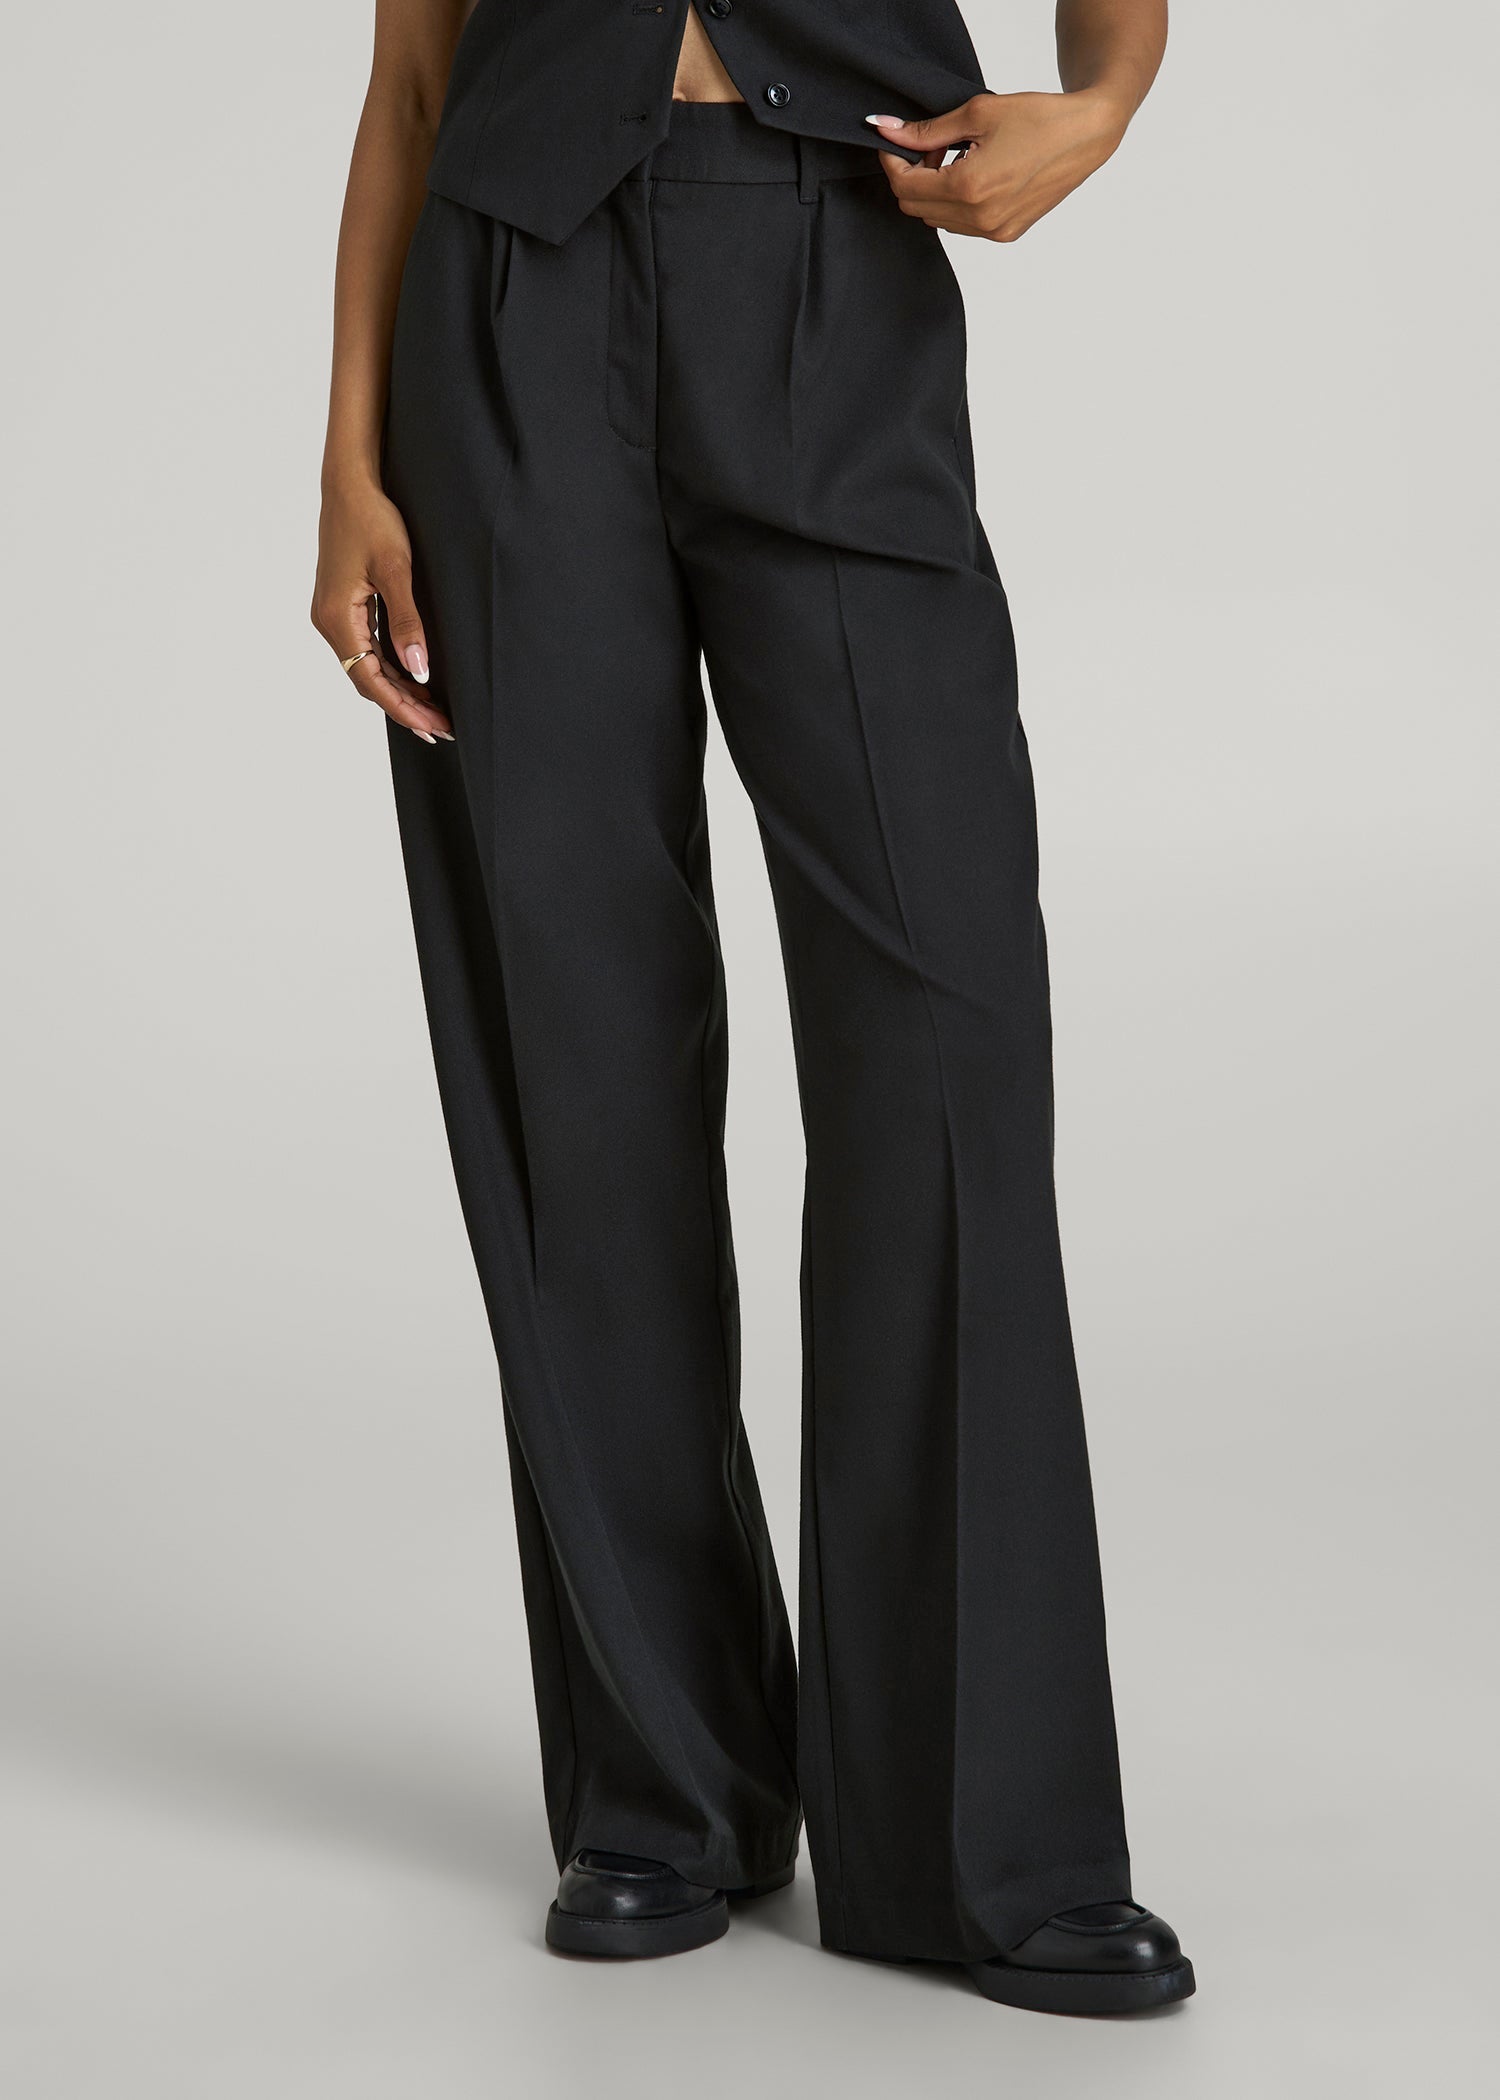
Lined dress pants need extra care. The lining usually has its own seams and may be attached at the waistband, hem, or zipper.
Turn the pants inside out and inspect how the lining is attached. Look for small hand stitches, machine stitches, or a loose opening designed for alterations. Use a seam ripper to open only the area you need.
Alter the outer fabric first. Then place the lining inside without stretching it. The lining should be slightly looser than the outer fabric so it does not pull when you move.
Sew the lining with a smaller adjustment if necessary. Reattach it by hand with small slip stitches or the same type of stitching used before.
One lesson I learned early in tailoring is that lining should never be treated like an afterthought. If the outer pants fit well but the lining is tight, the garment will still feel wrong.

A Safe Sewing Process
A careful process helps prevent permanent mistakes. This is especially important with expensive wool pants or pants with a complex waistband.
Use this order:
-
Measure the loose area.
-
Mark the adjustment on the inside.
-
Pin or baste the new seam.
-
Try on the pants and move around.
-
Sew the final seam.
-
Press the seam carefully.
-
Trim excess fabric only when you are sure.
-
Reattach belt loops, lining, or waistband pieces.
Basting means sewing a temporary line with long stitches. It allows you to remove the seam easily. This step takes a few extra minutes but can protect the garment from a costly error.
Use a straight stitch for most woven dress pants. A medium stitch length is usually suitable. Backstitch at the start and end, but avoid making bulky knots.
Do not sew over pins. Remove each pin before the needle reaches it. Sewing over pins can damage the needle or shift the fabric.
How Much Fabric Should You Remove?
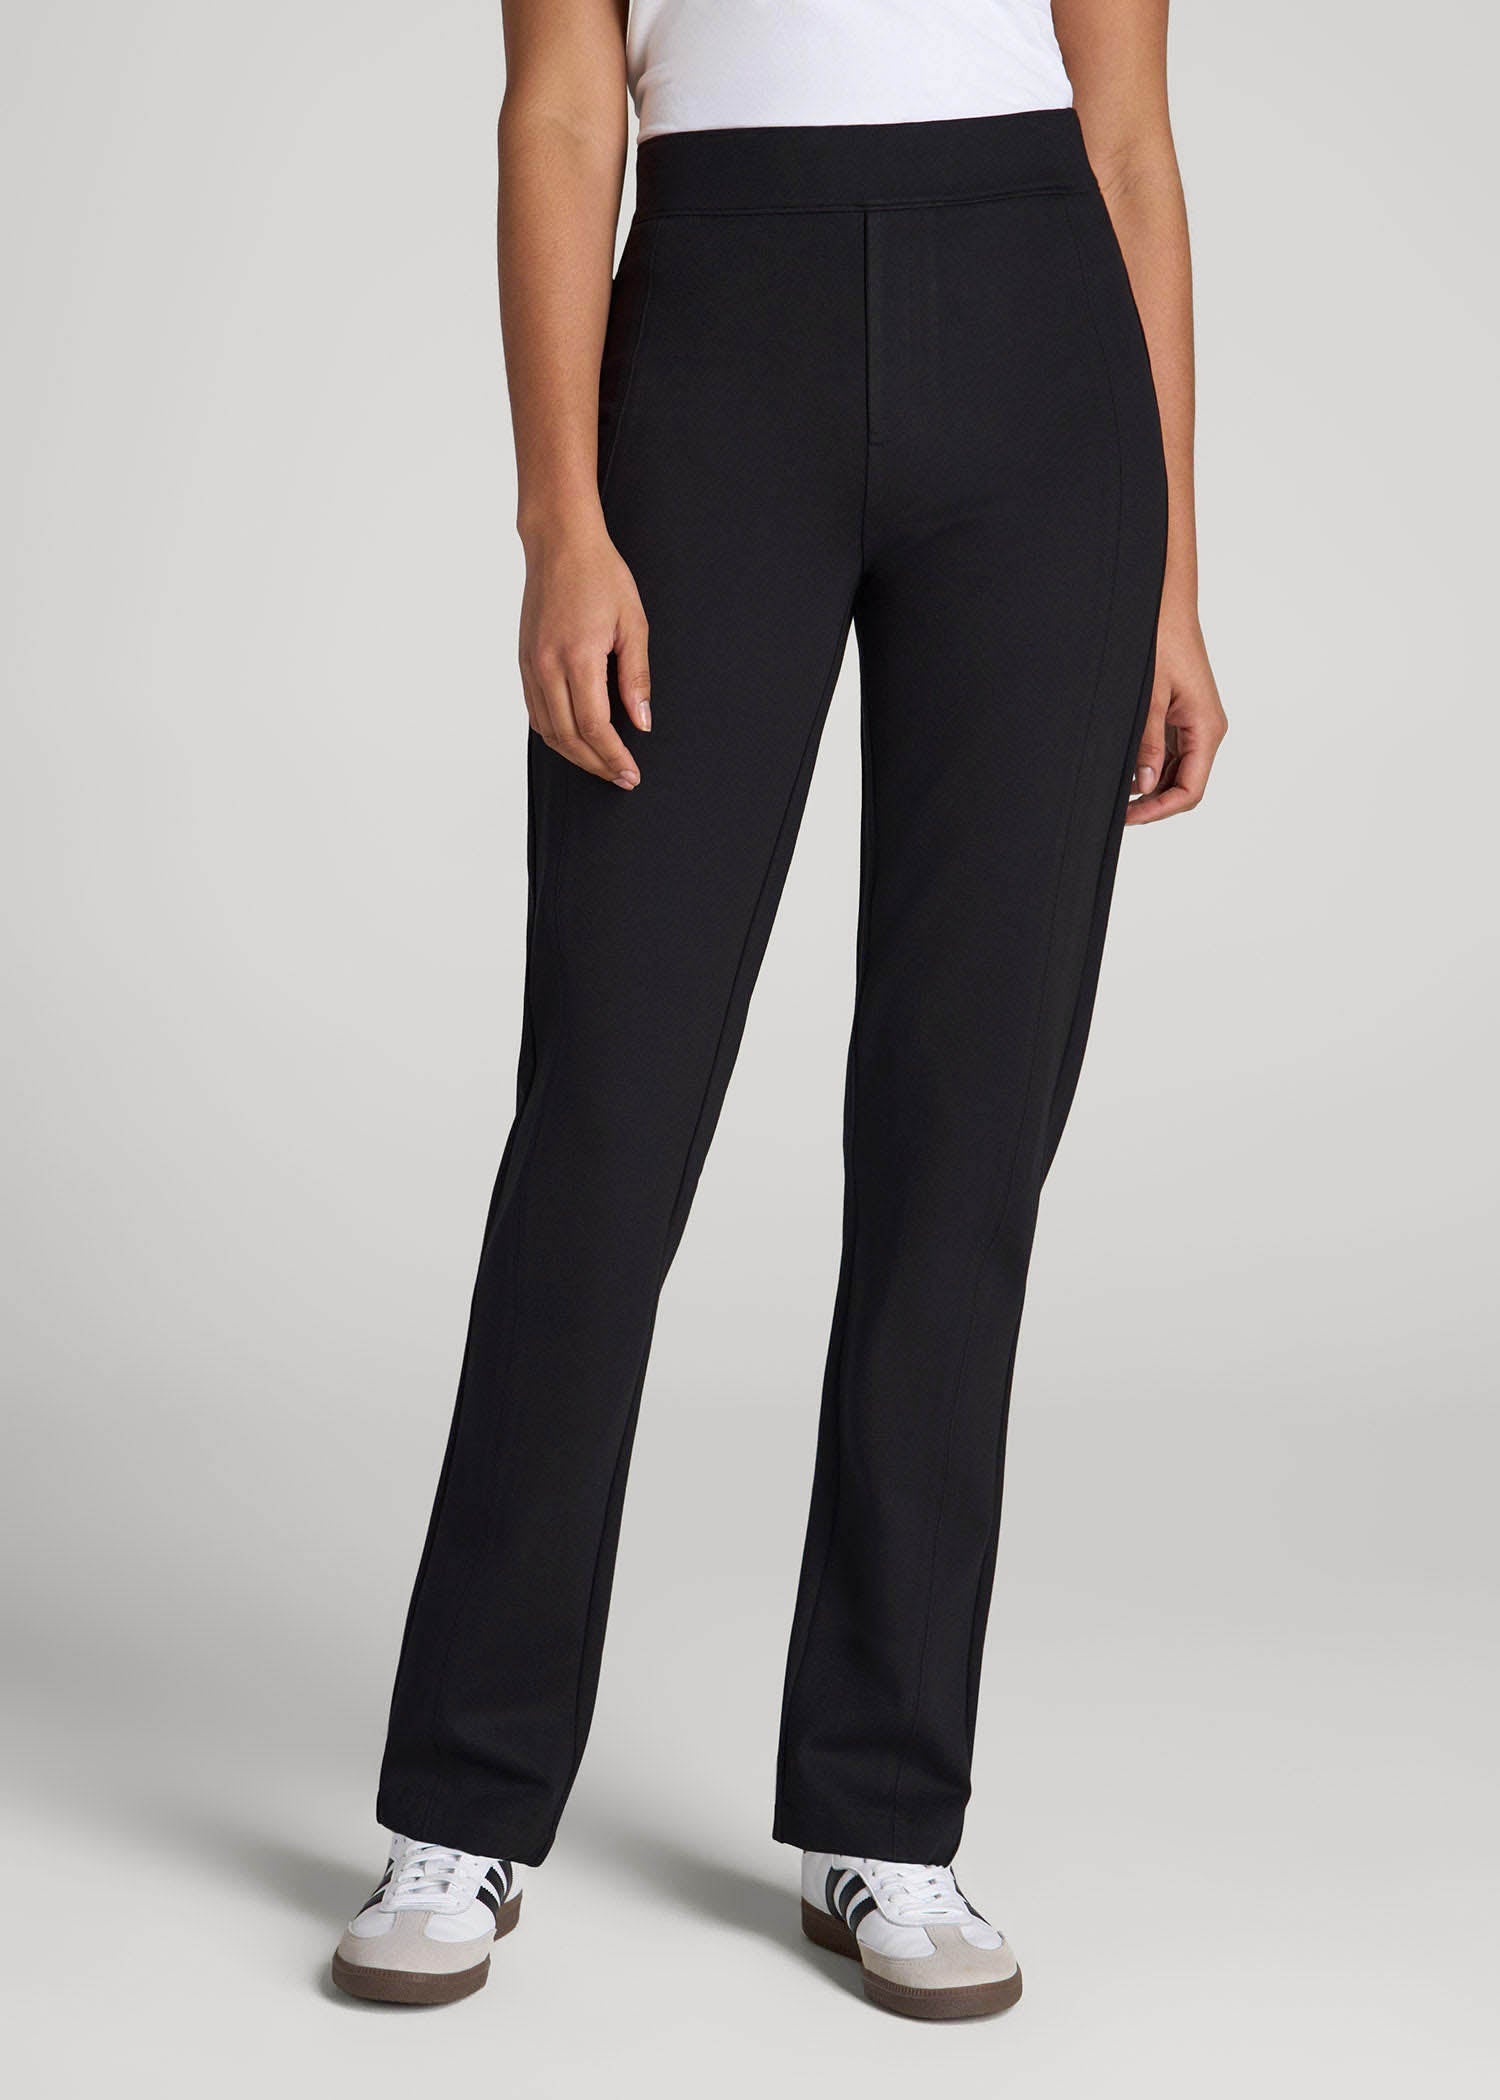
Remove less than you think at first. You can always take in more, but returning fabric is much harder.
A useful starting point is:
• ½ inch total for a small waist adjustment
• 1 inch total for a moderate adjustment
• More than 1½ inches only after careful testing
These amounts are general guides, not fixed rules. Fabric thickness, seam placement, and garment structure all affect the result.
Divide a larger adjustment between two seams when possible. For instance, removing 1 inch from each side seam can be better than removing 2 inches from only the center back. Small changes preserve the original shape.
When learning how to take in women's dress pants, focus on balance. The front and back rise should still meet comfortably. The pockets should lie flat. The crease should remain straight.

Common Mistakes to Avoid
Many poor alterations come from rushing the measuring step. Sewing itself is often the easy part.
Avoid these mistakes:
• Removing too much fabric at once
• Sewing while the pants are still right side out
• Ignoring the waistband
• Forgetting to check the pockets
• Cutting away the original seam allowance too soon
• Making a sharp corner in the new seam
• Failing to press the finished seam
• Testing only while standing
• Altering one leg without comparing it to the other
Do not rely on body measurements alone. A measurement may tell you how much room is needed, but it does not show how the fabric hangs. A fitting check gives better information.
Also, avoid pulling the fabric tight while marking. The pants should rest naturally on the body. Pulling can make you remove too much.
When to Use a Professional Tailor
Some projects are better left to a professional. Tailors have the tools and experience to preserve the shape of structured garments.
Consider professional alterations when:
• The pants are expensive or made from delicate fabric
• The waistband has a lining, stay, or interior hook
• The pants have a complicated zipper
• The pockets are close to the adjustment area
• You need more than 2 inches removed
• The pants require a full seat or rise adjustment
• The legs need major reshaping
A tailor can also correct fit problems that are not caused by extra width. For example, a tilted waistband may come from a posture issue, uneven hips, or an incorrect rise.
Knowing when not to sew is part of knowing how to take in women's dress pants. A small home alteration can be rewarding, but a complex garment deserves careful handling.
How to Press the Finished Alteration
Pressing helps the new seam settle into the fabric. It can also make a basic home alteration look far more polished.
Place the pants inside out. Use the iron temperature recommended on the care label. Press rather than drag the iron across the fabric.
For wool or dark synthetic fabric, use a pressing cloth. Test heat on an inside area first. Press the seam open if the original seam was open, or press it toward the back if that matches the construction.
A tailor’s ham can help shape curved seams at the hip. If you do not have one, roll a clean towel into a firm shape. Place it beneath the seam while pressing.
Let the fabric cool before moving it. This helps the seam hold its new shape.
A Simple Fit Checklist
Before wearing the altered pants outside, check the garment from every angle.
Use this checklist:
• The waistband sits level.
• The zipper lies flat.
• The pockets do not gape.
• The side seams hang straight.
• The back seam does not pull.
• The seat feels comfortable when sitting.
• The front crease remains centered.
• Both legs match in width and length.
• The lining does not tug.
• The hem still hangs evenly over your shoes.
Walk for a few minutes. Sit in a chair. Climb a few steps. These simple tests reveal pressure points that a mirror may not show.
If the pants feel tight only when sitting, let out the waist or seat slightly. Dress pants should give you room to move. A perfect standing fit is not useful if the garment becomes uncomfortable during a workday.
How to Take In Women's Dress Pants Without a Sewing Machine
You can make a small temporary adjustment by hand. This works best for a center back seam or a small dart.
Use a backstitch for strength. Make even stitches along the marked line. Keep the stitches small on the outside and secure on the inside.
Hand sewing takes longer, but it gives you control. It is also useful when you are traveling or working with delicate fabric.
However, hand stitches may not hold as well in a high-stress area such as the inner thigh. For permanent alterations, a sewing machine usually creates a stronger and more even seam.
Frequently Asked Questions About How to Take In Women's Dress Pants
Can I take in women's dress pants without removing the waistband?
Yes, you can sometimes sew below the waistband at the center back or side seams. For a larger waist adjustment, removing part of the waistband usually gives a cleaner and stronger result.
How do I take in women's dress pants that are loose only at the waist?
Try the center back seam or back darts first. These methods reduce the waist while preserving the fit through the hips and legs.
Can I take in dress pants with side pockets?
Yes, but use care. Taking in the side seam can make the pocket opening smaller or cause it to gape, so a center back adjustment may be safer.
How much can I take in women's dress pants?
Small adjustments of about ½ to 1 inch total are usually manageable at home. Larger changes may alter the rise, pockets, crease, and overall balance, so professional tailoring is often safer.
Should I wash dress pants before altering them?
Follow the care label. If the pants may shrink, clean them before altering them so you do not adjust the garment twice.
Why do my altered dress pants wrinkle at the seat?
Wrinkles may come from taking in too much fabric, using the wrong seam, or changing the balance of the rise. Baste the seam first and test the pants while standing and sitting.
Can I take in the thighs without changing the waist?
Often, yes. Alter the inner or outer leg seam below the waist, but blend the new line gradually so the leg does not look sharply narrowed.
Conclusion
Learning how to take in women's dress pants starts with finding the real fit problem. Use the center back for many waist adjustments, side seams for broader changes, and leg seams for excess width through the thighs or lower legs. Baste first, test the pants in motion, and press the finished seam with care.
Start with a small change and protect the original seam allowance whenever possible. If the pants are costly, lined, or highly structured, a professional tailor may be the best choice. Try these steps on an older pair first, then share your results or explore more clothing alteration guides for your next project.
Madison Clark is a footwear expert and the voice behind MyStyleGrid.com. She specializes in honest shoe reviews, style tips, and practical guides to help readers find the perfect pair for any occasion. With years of experience in blogging and content creation, Madison makes footwear knowledge simple, stylish, and easy to follow.