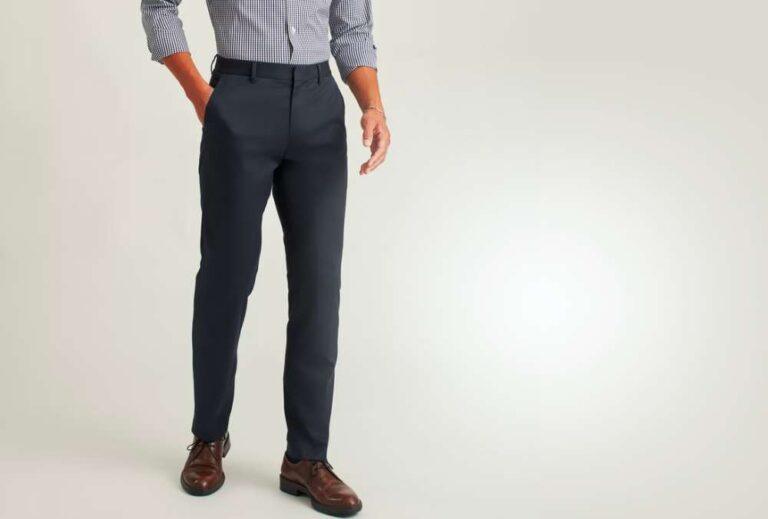
To take in men's dress pants, mark the excess, stitch a new seam, and press the fabric for a clean, lasting fit.
Learning how to take in men's dress pants can save money and improve your entire outfit. The right method depends on where the pants feel loose: the waist, seat, thighs, or legs. This guide explains the tailoring process step by step, with practical fitting tips, common mistakes, and clear advice on when to use a professional tailor.
What It Means to Take In Men’s Dress Pants
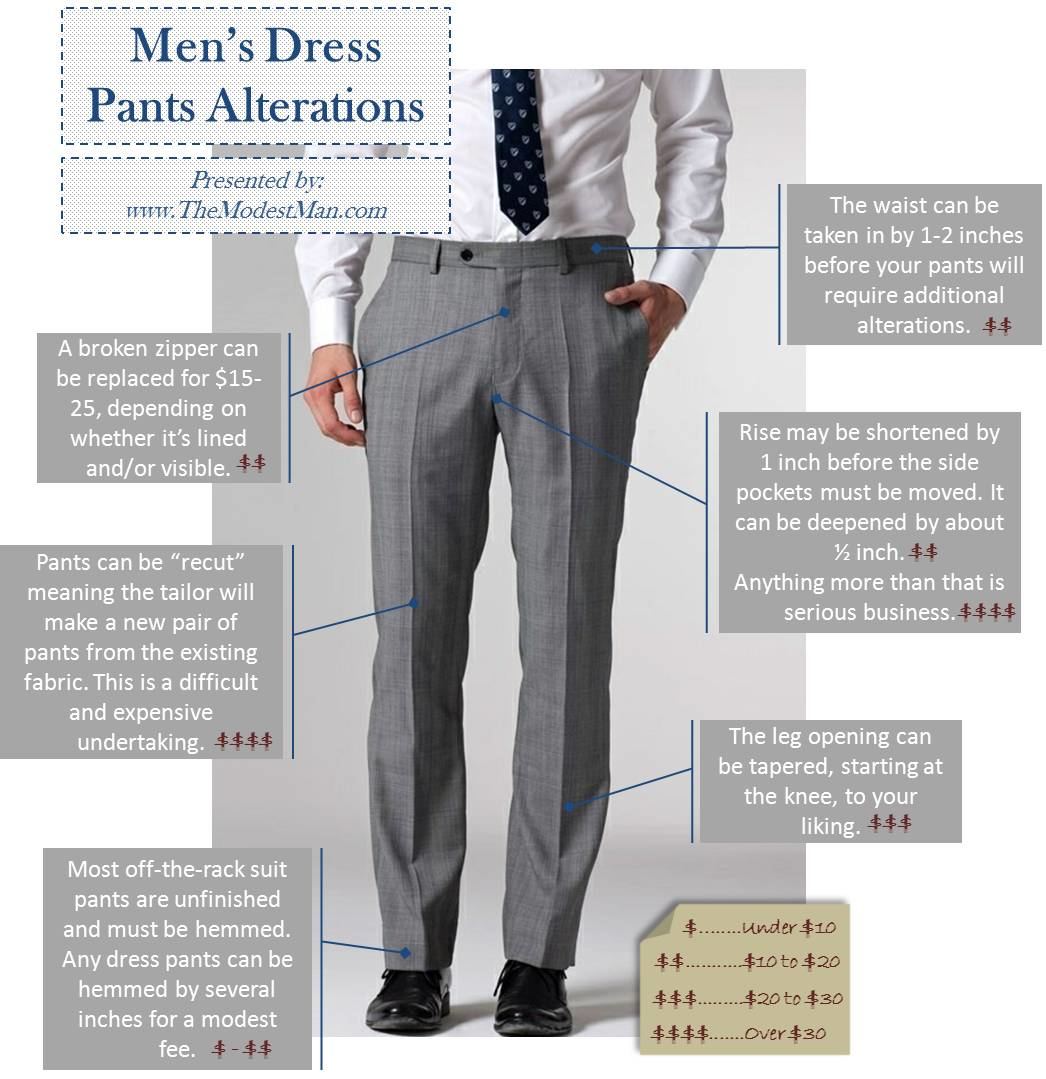
To take in men's dress pants means to make them smaller by removing extra fabric from one or more seams. A tailor may adjust the waistband, center-back seam, side seams, seat, or legs.
The best alteration keeps the original shape of the pants. It should not create pulling, twisting, or uneven pockets. A good fit looks natural when you stand, walk, sit, and reach.
Most dress pants can be taken in by:
• Adjusting the center-back seam
• Taking in the side seams
• Shortening the waistband
• Removing fullness from the seat
• Tapering the legs
• Combining two or more of these changes
Before you take in men's dress pants, put them on with the shirt and shoes you plan to wear. Clothing layers can change how much room you need.

Check the Fit Before You Alter the Pants
A careful fitting is the most important part of learning how to take in men's dress pants. Do not start by pinning random areas. First, find the exact source of the loose fit.
Stand in front of a mirror and check these areas:
• Waist: The waistband should sit firmly without digging into your skin.
• Seat: The back should lie smooth, with no sagging or loose folds.
• Hips: The pockets should stay flat and closed.
• Thighs: You should have enough room to walk and sit.
• Knees and calves: The leg should fall straight without twisting.
• Hem: The break over your shoes should match your style and height.
A simple rule helps here: remove fabric only where the pants are loose. If the waist is loose but the thighs fit well, do not shrink the entire leg.
Try the pants with a belt removed. A belt can hide a loose waist, but it may also cause bunching. If the pants need more than about 1 to 2 inches taken in at the waist, a professional alteration may give a better result.
A useful fitting test is the pinch test. Pinch the extra fabric at the loose area while standing naturally. Measure the total amount you want removed from both sides. For example, pinching 1 inch of fabric at the center back usually means removing about 2 inches from the waist circumference.

Tools You Need
You can take in men's dress pants at home with basic sewing tools. A sewing machine makes the work faster, but careful hand sewing can work for small changes.
Gather these items:
• Seam ripper
• Sewing machine or sharp hand-sewing needle
• Matching polyester thread
• Tailor’s chalk or washable fabric marker
• Measuring tape
• Straight pins or sewing clips
• Iron and pressing cloth
• Scissors
• Ruler or seam gauge
• Tailor’s ham, if available
Use thread that matches the original stitching. Dress pants often use dark gray, navy, black, or brown thread. A close match looks better than a bright, exact-looking color that stands out.
Before sewing, test the thread and stitch length on an inside seam or scrap of similar fabric. Wool, cotton, linen, and synthetic blends each respond differently to heat and pressure.
How to Take In Men’s Dress Pants at the Waist
The center-back seam is often the easiest place to adjust a loose waistband. This method works well when the hips, thighs, and legs already fit.
Step 1: Find the existing center-back seam
Turn the pants inside out. Look for the vertical seam running down the middle of the back. Many dress pants have a seam allowance there, which gives you room to make a small adjustment.
If the pants have belt loops, note whether the center-back loop sits directly over the seam. You may need to remove and replace it after sewing.
Step 2: Remove the belt loop and waistband stitching
Use a seam ripper to open the stitches that hold the center-back belt loop. Then carefully separate the waistband from the pants for several inches on each side of the seam.
Do not cut the fabric. Open only the stitches you need. Keeping the original pieces intact makes the repair easier.
Step 3: Mark the new seam
Put the pants on inside out, or use a fitting partner to pin the excess. Stand straight and avoid pulling the waistband tight.
Divide the total amount evenly. If you need to remove 1 inch from the waist, mark about ½ inch on each side of the center-back seam. Blend the new line into the old seam over several inches.
A sharp point can create a bump. A smooth, gradual line gives a cleaner result.
Step 4: Sew the new seam
Sew from the waistband area down into the original seam. Use a medium stitch length. Backstitch at the beginning and end, or secure the thread by hand.
Try the pants on before cutting away extra fabric. This fitting step can prevent a costly mistake.
Step 5: Trim, press, and rebuild the waistband
If the fit is correct, trim the excess seam allowance. Leave enough fabric for strength, especially in wool or heavy dress pants.
Press the seam open or toward the side, depending on the original construction. Use a pressing cloth and moderate heat. Then close the waistband and sew the belt loop back in place.
This is one of the safest ways to take in men's dress pants because it preserves the front pockets and keeps the leg shape unchanged.

How to Take In Men’s Dress Pants at the Side Seams
Side-seam alterations work well when the pants are loose through the waist, hips, or upper legs. They can also help balance a fit when the center-back seam has little extra fabric.
Turn the pants inside out and inspect the side seams. Look for nearby pockets, lining, belt loops, and decorative stitching. Side pockets can become too narrow if you remove too much fabric.
Follow these steps:
-
Put on the pants inside out and pin the extra fabric along the side seam.
-
Remove the pants and mark the pinned line with tailor’s chalk.
-
Blend the new line into the original seam above and below the loose area.
-
Baste the seam with a long stitch.
-
Turn the pants right side out and test the fit.
-
Sew the final seam once the fit looks smooth.
-
Press the seam and trim the excess fabric.
Do not take in only the waistband if the seat and hips are also loose. That can cause the back pockets to move too close together. In that case, spread the adjustment across the center-back and side seams.
When you take in men's dress pants at the side seams, check both legs. Small differences in the original cut are normal, but the finished legs should look balanced.

How to Take In the Seat and Hips
A loose seat creates folds below the back pockets and under the buttocks. This problem is often called a full seat or excess seat fabric. It may require more than a simple waistband adjustment.
To improve the seat, a tailor may:
• Take in the center-back seam
• Adjust the back rise
• Reduce the back side seams
• Reshape the area below the seat
• Reposition the waistband
Pin the extra fabric while standing naturally. Then sit down. If the pants become tight when you sit, you have removed too much or used the wrong seam.
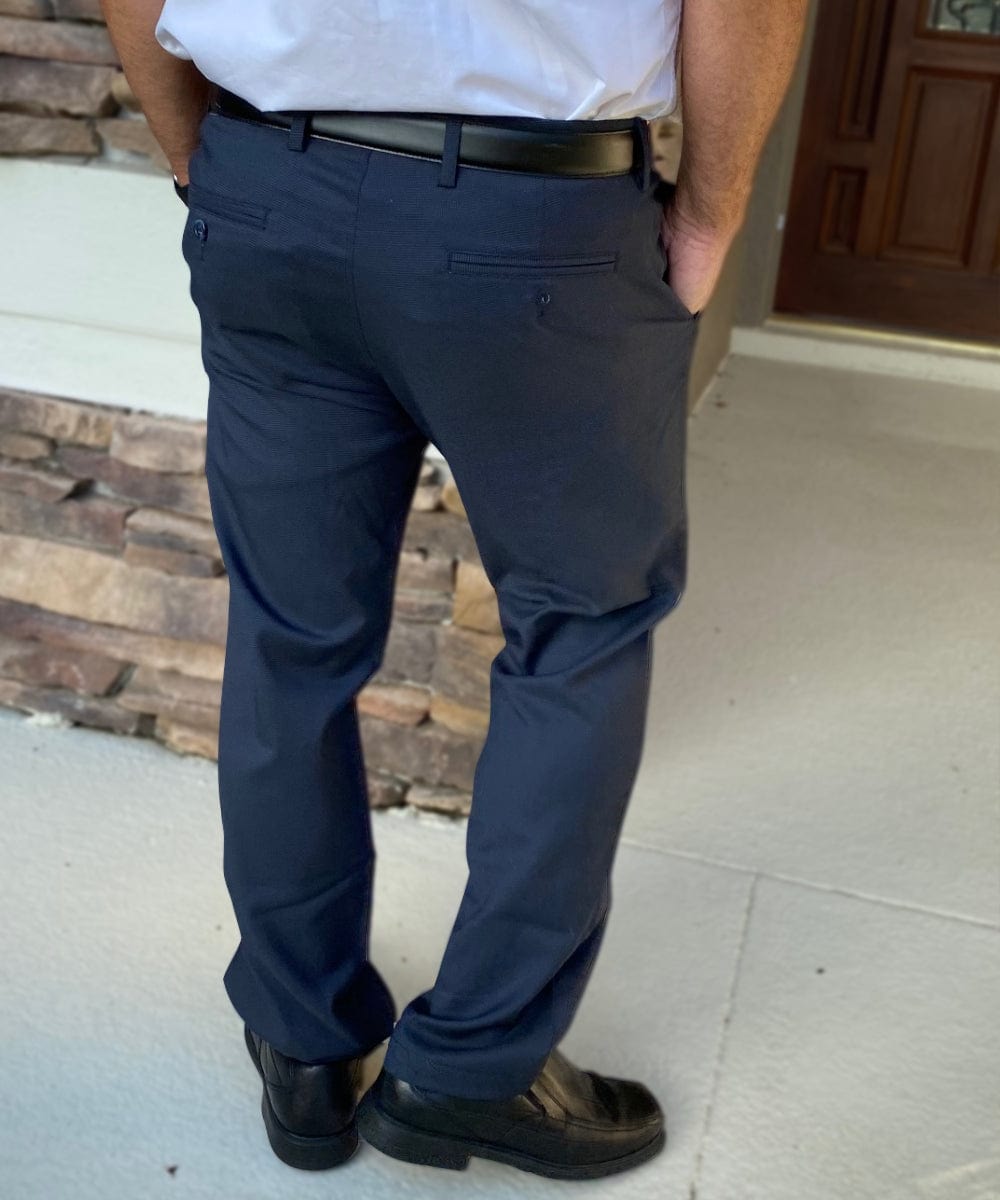
The back pockets provide a helpful guide. They should remain level and evenly spaced. If one pocket tilts or moves toward the center, the alteration needs correction.
Avoid making a deep, short adjustment in one place. It can create a visible dent. A longer, gentle curve usually gives a better result.
From practical fitting work, one mistake appears often: people take in the waist to fix a loose seat. The waist becomes tight, but the folds remain. Correcting the seat itself produces a more comfortable and polished fit.
How to Take In Men’s Dress Pants Through the Legs
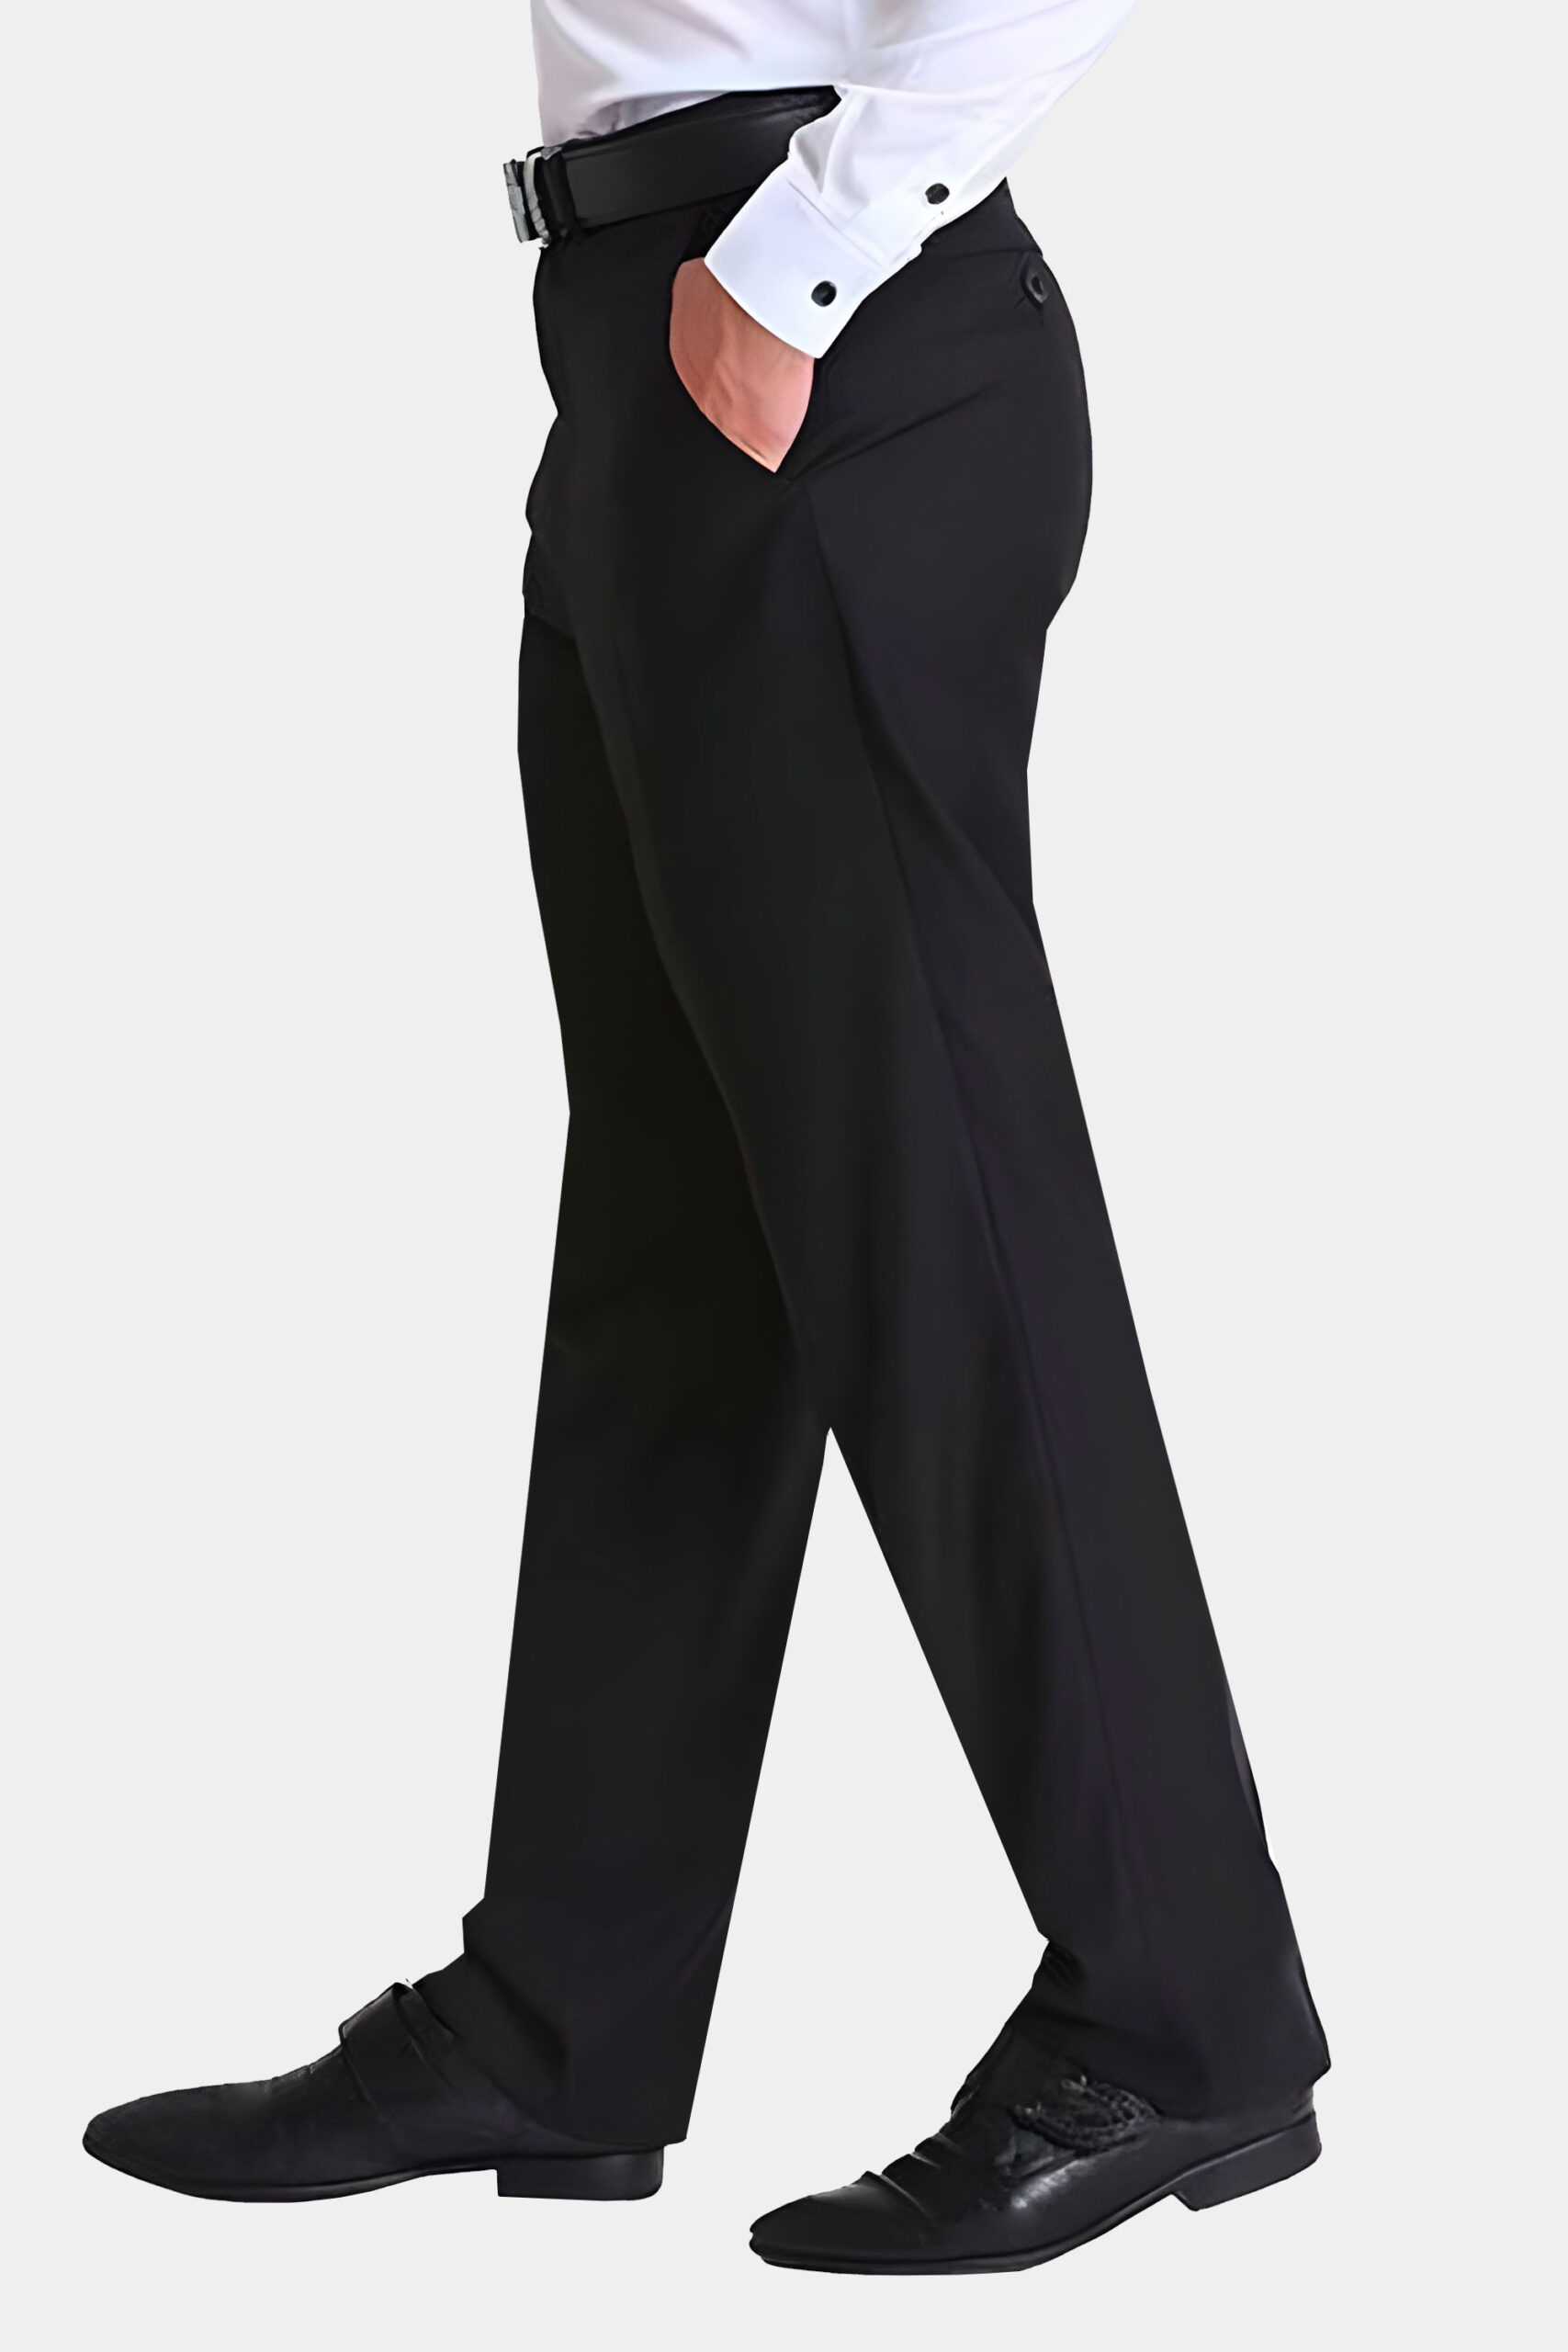
You can take in men's dress pants through the legs when the pants look too wide from the thigh to the hem. This change is called tapering.
Tapering usually starts at the inseam, outseam, or both. The correct choice depends on the original construction. If the pants have a strong crease, uneven changes can make the crease turn toward the side.
To taper the legs:
-
Put on the pants with your dress shoes.
-
Mark the desired width with pins or chalk.
-
Check the front and back of both legs.
-
Baste the new seam.
-
Walk, sit, and bend your knees.
-
Sew the final seam after testing the fit.
-
Press the seam and restore the crease.
Do not make the lower leg extremely narrow unless the entire garment supports that shape. A narrow ankle with a wide thigh can look unbalanced and restrict movement.
As a general style guide, the hem should work with the trouser width. Wider legs need a little more visual weight at the bottom. Slim legs can use a smaller opening, but they still need enough room for your shoe.
When you take in men's dress pants through the legs, never ignore comfort. A sharp silhouette is useful only if you can move with ease.
Basting and Fitting Before Final Sewing
Basting is temporary sewing that lets you test an alteration. It is one of the most useful steps when you take in men's dress pants.
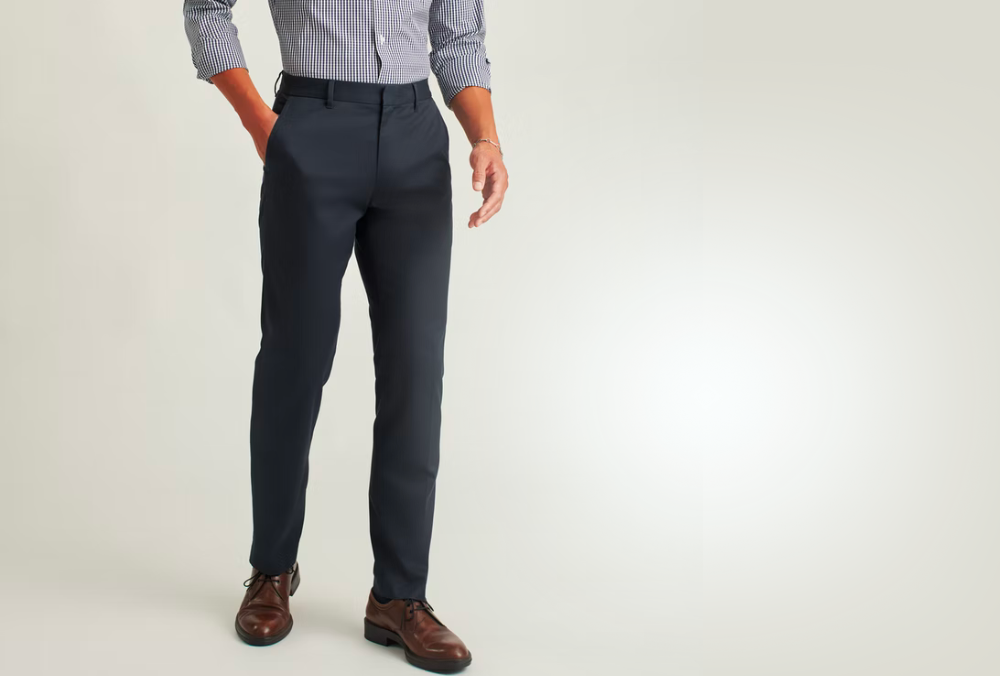
Use a long stitch and do not trim the extra fabric yet. Turn the pants right side out and check them in a mirror. If possible, take a photo from the front, side, and back.
Look for these signs:
• Smooth fabric across the waist
• Flat pockets
• A straight center crease
• No diagonal drag lines
• No tightness when sitting
• Even leg widths
• A balanced hem
Try the pants with your usual shirt tucked in. A tucked shirt can add bulk at the waist. Also wear the shoes you normally pair with the pants.
A fitting partner can spot issues that are hard to see yourself. Ask the person to check the back and side view while you stand in a relaxed position.
This extra test may take a few minutes, but it can save the pants. Once you cut the seam allowance, reversing the change becomes harder.
Pressing Is Part of the Alteration
Many home alterations look poor because the final pressing is skipped. Sewing changes the shape of the fabric, and pressing helps set the new shape.
Use these pressing habits:
• Test the iron on an inside area first.
• Use a pressing cloth on wool and dark fabrics.
• Press with the grain of the fabric.
• Avoid sliding the iron across the cloth.
• Use steam only when the fabric care label allows it.
• Let the fabric cool before moving it.
For a center-back seam, press the seam open if that matches the original finish. For a side seam, press it toward the back or open it according to the existing construction.
Do not iron a sharp new crease into the wrong place. Match the original trouser crease before pressing the legs.
Care labels offer important guidance. Some wool dress pants need dry cleaning, while washable blends may tolerate gentle home care. Heat and moisture can cause shrinkage, shine, or permanent marks.
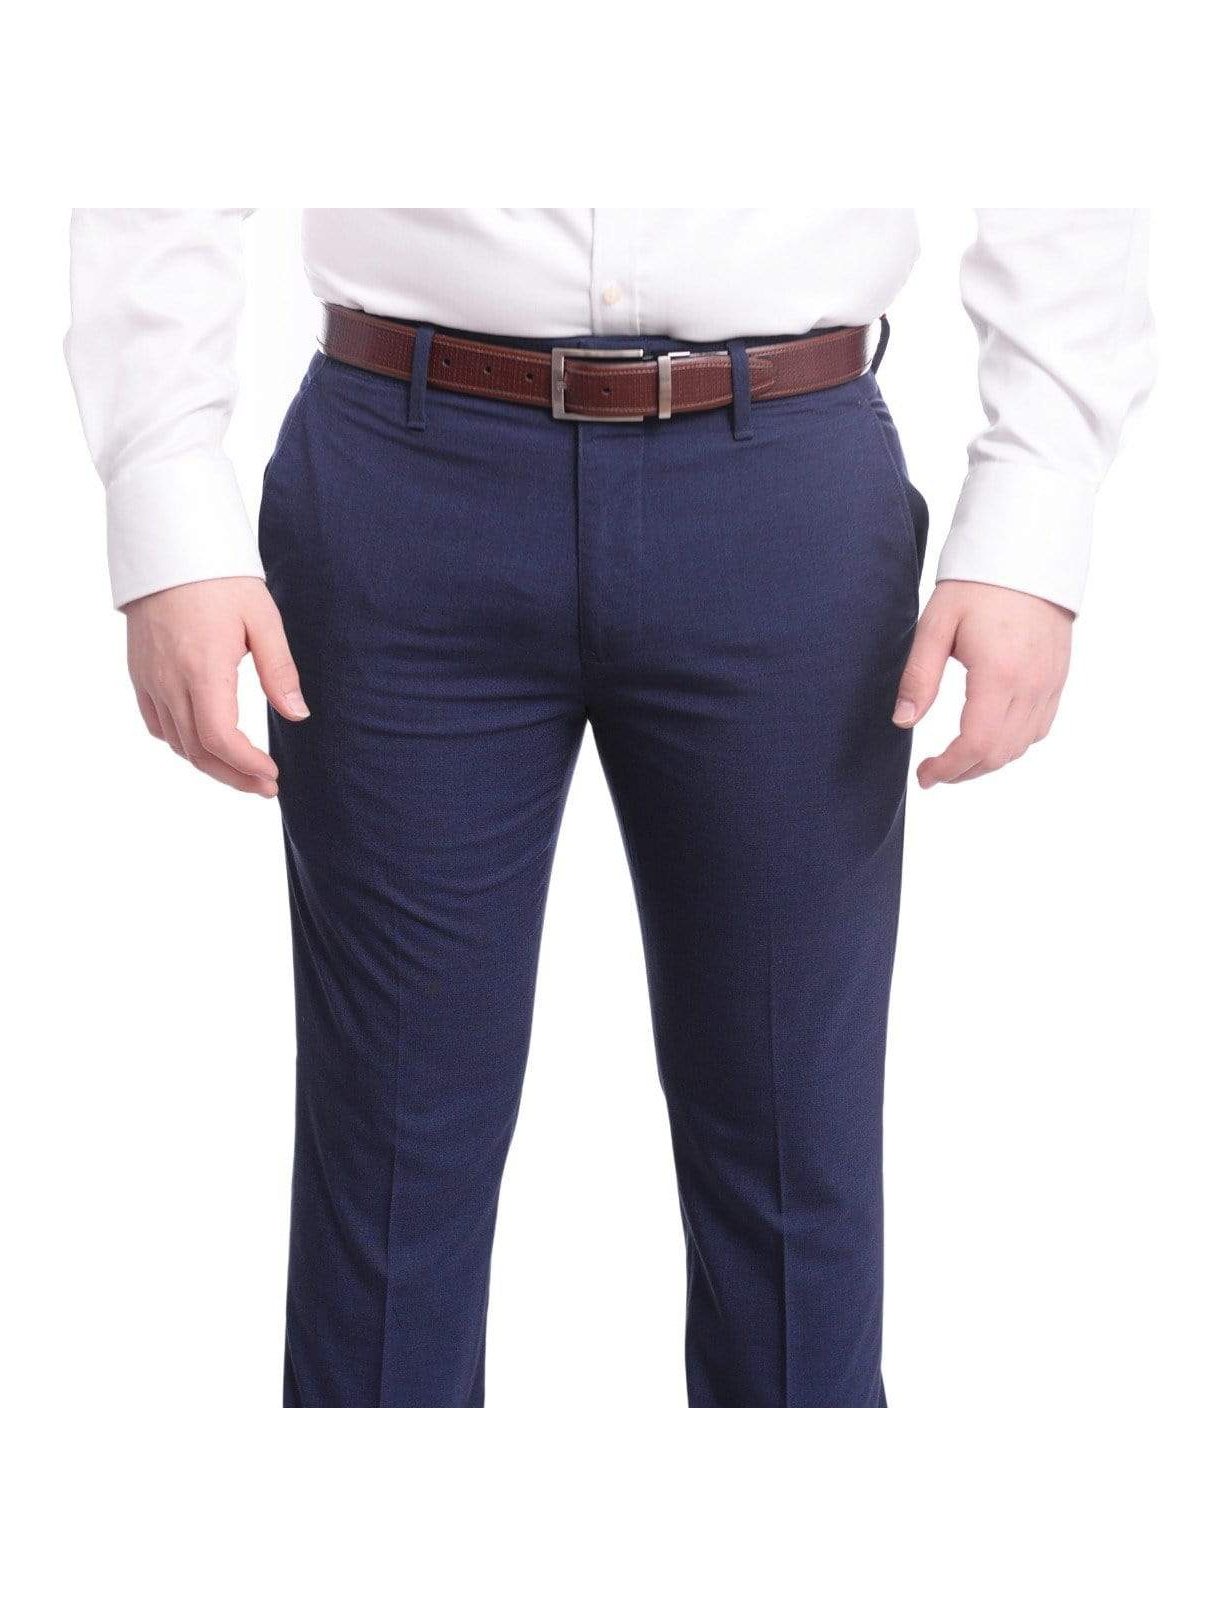
Common Mistakes to Avoid
When people learn how to take in men's dress pants, they often focus only on removing fabric. Good tailoring is more about balance than reduction.
Avoid these mistakes:
• Taking in too much at once: Make a small change, test it, then continue if needed.
• Cutting before fitting: Always baste and try on the pants first.
• Ignoring the pockets: Side and back pockets can become distorted.
• Sewing a sharp angle: Blend the new seam gradually.
• Forgetting seam allowance: Leave enough fabric for strength and future changes.
• Altering only one leg: Compare both legs before final sewing.
• Skipping the iron: Pressing helps the seam look professional.
• Using a weak thread: Choose durable polyester thread for most dress pants.
• Removing the original crease: Restore the crease after leg alterations.
• Making the legs too narrow: Comfort and movement still matter.
A common failed approach is to pull the waistband tight with a deep fold at the center back. It may look fine from a distance, but it often creates a ridge under the belt. A longer seam adjustment looks smoother.
When to Use a Professional Tailor
You can take in men's dress pants at home when the adjustment is small and the construction is simple. A tailor is the safer choice for expensive wool trousers, lined pants, pleated pants, or major changes.
Seek professional help when:
• You need to remove more than 2 inches from the waist.
• The pants have a complicated lining.
• The waistband includes interior stay tape.
• The seat and rise both need changes.
• The legs require major reshaping.
• The pants have cuffs or unusual details.
• The fabric is delicate or difficult to press.
• The pockets already sit close to the seams.
A tailor can also assess posture and body shape. One leg may be slightly longer, or one hip may sit higher. These details affect how the pants hang.
Professional alteration prices vary by location, fabric, and construction. Ask for an estimate before work begins. Also explain how you want the pants to fit and bring the shoes you plan to wear.
The main limitation of home tailoring is equipment and experience. A basic machine can handle many fabrics, but thick waistbands and fine wool may need specialized tools.
How Much Can Dress Pants Be Taken In?
The amount you can take in men's dress pants depends on the extra seam allowance and the garment’s design. Small changes are usually easier than major reductions.
As a broad guide:
• Up to 1 inch at the waist is often a simple adjustment.
• About 1 to 2 inches may require changes to the waistband and center-back seam.
• More than 2 inches can affect pockets, darts, seat shape, and balance.
• Leg tapering may require changes from the thigh to the hem.
These amounts are not fixed rules. Some trousers include generous seam allowances, while others have almost none. Always inspect the inside before cutting.
Pants that are too large can sometimes be resized well. Pants that are too small are harder to fix because added fabric may not exist. This is why buying the closest waist and seat size usually gives the best alteration result.
A Simple At-Home Alteration Plan
If you want to take in men's dress pants yourself, use this short plan:
-
Wash or clean the pants according to the care label.
-
Try them on with the right shirt and shoes.
-
Find the loose area.
-
Mark the adjustment evenly.
-
Open only the needed stitches.
-
Baste the new seam.
-
Test the fit while standing and sitting.
-
Sew the final seam.
-
Trim the excess carefully.
-
Press the seam and restore the crease.
-
Replace belt loops or buttons.
-
Inspect the pants in natural light.
Work slowly. Tailoring rewards patience more than speed. A small, measured change usually looks better than one dramatic cut.
Frequently Asked Questions About How to Take In Men’s Dress Pants
Can I take in men’s dress pants without a sewing machine?
Yes, you can make a small waist or seat adjustment by hand. Use strong thread, small even stitches, and secure the seam well at both ends.
Where is the best place to take in men’s dress pants?
The center-back seam is often best for a loose waist when the hips and legs fit. Side seams work better when the pants are loose through the hips or upper legs.
How much can I take in men’s dress pants?
Many pants can handle a small adjustment of about 1 to 2 inches. Larger changes may distort the pockets, waistband, seat, and leg shape.
Should I take in the waist or the seat?
Take in the waist when the waistband is loose but the seat fits. Adjust the seat when you see folds below the back pockets or excess fabric across the buttocks.
Can a tailor make dress pants slimmer?
Yes, a tailor can taper the thighs, knees, and leg openings. The change should preserve comfort and keep the front crease straight.
How do I know if I took in too much fabric?
The pants are too tight if they pull across the hips, pockets, thighs, or seat when you sit. Remove the temporary stitching and reduce the alteration before final sewing.
Do I need to remove the waistband to alter the pants?
Sometimes. A small center-back adjustment may need only partial waistband opening, while a larger change usually requires more of the waistband to be detached.
Can I take in pleated dress pants?
Yes, but pleated pants need careful handling. Reducing the waist or hips too much can change how the pleats fall, so a professional tailor is often the better choice.
Conclusion
Learning how to take in men's dress pants starts with finding the loose area and making a controlled adjustment. Use the center-back seam for many waist changes, side seams for broader fit issues, and careful tapering for wide legs. Baste first, test the pants while sitting and walking, then sew and press the final seam.
For simple alterations, patience and accurate measuring can produce a sharp fit at home. For expensive fabric or major changes, a skilled tailor can protect the shape and finish of the pants. Try these steps on an older pair first, then share your results or explore more garment-fitting guides.

Rubel Miah is the Senior Editor at MyStyleGrid.com, where he brings a sharp editorial eye and an unshakable love for fashion to everything he does. A true style addict, Rubel lives and breathes trends, from streetwear to high fashion, and has a knack for turning inspiration into impactful stories. With years of experience in fashion journalism and digital media, he curates content that empowers readers to express themselves through style. When he’s not editing features or forecasting the next big thing, you’ll find him hunting down vintage pieces or capturing street style moments around the city.