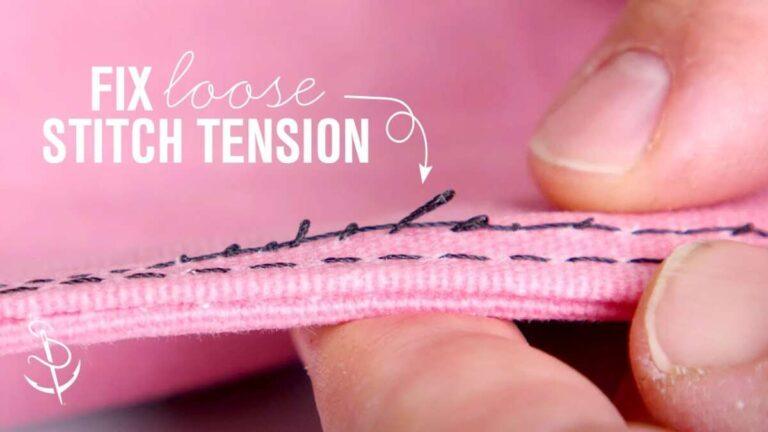
Use quick re-stitching or flexible shoe adhesive to secure loose sneaker seams fast.
I’ve spent years repairing footwear and I know exactly how to fix loose stitching on sneakers so your shoes stay wearable and look good. This guide gives clear, tested steps, the right tools, and smart tips for when to sew, glue, or hand to a pro. Read on for simple, reliable methods that work on canvas, leather, and knit sneakers.
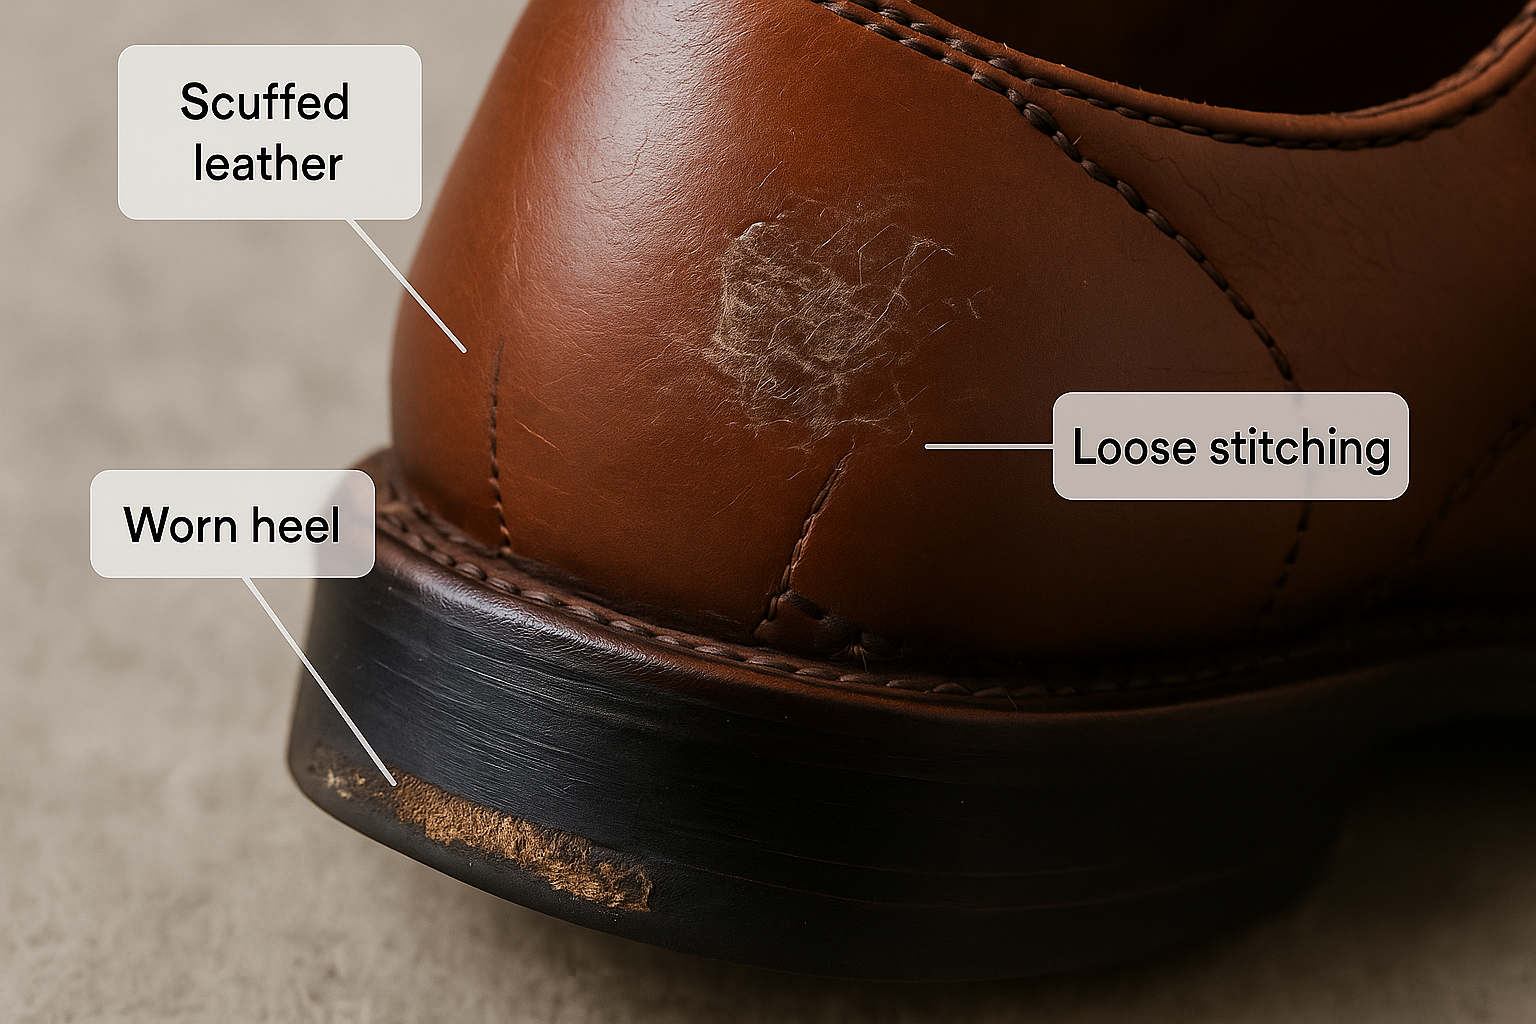
Why sneaker stitching comes loose
Loose stitching on sneakers happens for a few clear reasons. The thread can wear out from friction, moisture, or repeated flexing. Poor original stitching or low-quality thread can fail early. Damage from catching the toe or rubbing against something sharp also weakens seams.
Knowing the cause helps decide whether to repair, reinforce, or replace. For instance, frayed thread usually needs re-sewing, while separated layers may need both glue and stitches. When you learn how to fix loose stitching on sneakers, you’ll save money and extend shoe life.

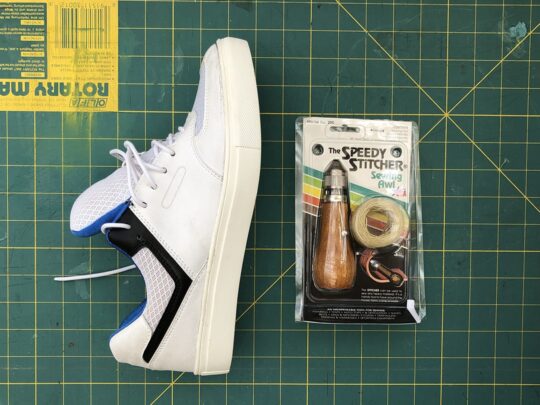
Tools and materials you'll need
Having the right tools makes repairs neat and long-lasting. Gather these basics before you start.
- Heavy-duty needle for leather or thick fabric
- Waxed nylon or polyester thread for strength
- Flexible shoe adhesive or seam sealant for reinforcement
- Thimble and pliers to pull the needle through tough spots
- Small scissors or thread snips
- Awl or thick sewing needle to open blocked stitch holes
- Fabric clamps or binder clips to hold layers while drying
Pick thread and needle based on material. Use waxed nylon for leather and polyester thread for canvas. These choices matter when you learn how to fix loose stitching on sneakers correctly.
Quick fixes you can try at home
If you need a fast, temporary fix before a proper repair, try one of these methods.
- Tie and knot: Tie loose ends into a tight knot and trim. This is a short-term fix for small areas.
- Surface glue: Apply a thin bead of flexible shoe adhesive under the seam and press. Let it cure fully before wearing.
- Stitch reinforcement: Use quick blanket stitches over the loose area to hold it until you can re-sew properly.
Quick fixes are useful for emergencies. But for a durable repair, follow the re-sewing or adhesive method explained below so you really learn how to fix loose stitching on sneakers.
Step-by-step: re-sewing loose stitching on sneakers
This is the most reliable long-term method for many materials. I recommend re-stitching whenever the seam thread breaks but the material is intact.
- Prepare the area
- Clean the seam with a soft brush and mild soap. Dry well.
- Clip frayed thread ends close to the fabric.
- Choose thread and needle
- Use waxed nylon or heavy polyester thread. Pick a needle sized to pierce the material without tearing it.
- Open blocked holes
- If old holes are blocked, use an awl or thick needle to clear them. Work gently to avoid enlarging the holes.
- Start stitching
- Use a backstitch for strength. Insert the needle from the inside when possible to hide the knot.
- Move in small, even stitches that match the original spacing. Keep tension firm but not puckering.
- Secure the end
- Finish with two backstitches and a knot. For leather, press the knot and add a drop of adhesive to bury and protect it.
- Reinforce and finish
- If the seam bears stress, add a narrow strip of flexible adhesive along the inside seam. Trim any excess thread.
Practical tip: Test one short section first. If you break a needle or damage the material, stop and reassess. Doing this repeatedly taught me to always clear blocked holes and use pliers to pull needles through thick layers.

Using adhesive repairs: when to glue instead of sew
Glue is best when stitching is impossible or the material layers are separating. Use glue when:
- The shoe has glued seams originally, like some vulcanized sneakers.
- The material is too thin or knit to hold a needle.
- You need a quick, low-profile fix for a seam that doesn’t carry heavy load.
How to glue right:
- Clean both surfaces and roughen smooth materials lightly.
- Apply a thin, even layer of flexible shoe adhesive.
- Press and clamp for the recommended cure time.
- Allow full cure before wearing.
Glue can be permanent, but it won’t always match the flexibility or look of a new stitch. Learn how to fix loose stitching on sneakers with glue only if you understand its limits.

When to go to a cobbler or manufacturer
Some problems are best handled by professionals. Take your sneakers to a cobbler when:
- The sole has separated along stitched seams.
- Multiple seams are failing and the shoe’s structure is compromised.
- The material is specialty leather, waterproof membranes, or expensive knit that needs professional equipment.
Manufacturers may offer warranty repairs for recent purchases. For cherished or expensive sneakers, professional repair often yields the best cosmetic and structural outcome.

How to prevent loose stitching on sneakers
Prevention saves time and money. These habits reduce the chance you’ll need to learn how to fix loose stitching on sneakers.
- Rotate shoes to reduce constant wear on one pair.
- Avoid machine-washing unless the shoe label allows it.
- Keep shoes dry; moisture weakens thread and adhesives.
- Reapply seam sealant on high-stress areas annually.
- Store sneakers out of direct sunlight to prevent thread degradation.
Small steps prevent bigger repairs. I stopped doing harsh wash cycles after ruining two pairs, and I’ve kept stitches intact much longer since.

Personal tips and common mistakes I made
I’ve repaired dozens of sneakers and learned what not to do. Here are honest tips from hands-on experience.
- Don’t use regular sewing thread on shoes; it breaks. Use waxed nylon or heavy polyester.
- Avoid over-tightening stitches. That puckers the fabric and makes the seam brittle.
- Test adhesives in a hidden spot first. Some glues darken or stiffen materials.
- Use pliers or a thimble. My fingers needed the help to pull needles through leather.
Learning how to fix loose stitching on sneakers took trial and error. These lessons cut down my repair time and improved durability.
Frequently Asked Questions of how to fix loose stitching on sneakers
How long does a DIY re-stitch usually last?
A proper re-stitch with the right thread and technique can last years under normal wear. Durability depends on material quality and how much stress the seam endures.
Can I sew sneakers with a regular sewing machine?
Most home sewing machines can't handle thick leather or multiple layers of sole. Use hand-stitching or a heavy-duty machine at a professional repair shop.
Is glue a permanent fix for loose stitching?
Glue can be permanent for many applications, but it may not match stitch flexibility. For load-bearing seams, combine glue and stitching for best results.
What thread should I use for canvas sneakers?
Use polyester thread or waxed nylon for canvas. These threads resist moisture and abrasion better than cotton.
Will repairing stitching change the look of my sneakers?
A careful repair can be nearly invisible if you match stitch length and thread color. On delicate or patterned materials, some difference may be visible.
Conclusion
Repairing loose stitching on sneakers is practical and often simple. Use the right tools, pick appropriate thread or adhesive, and choose re-stitching for long-term strength. Start with small repairs at home and consult a cobbler for complex or structural problems. Try one of these fixes today, and help your favorite pair last longer — and if this helped, leave a comment or subscribe for more shoe-care tips.

Rubel Miah is the Senior Editor at MyStyleGrid.com, where he brings a sharp editorial eye and an unshakable love for fashion to everything he does. A true style addict, Rubel lives and breathes trends, from streetwear to high fashion, and has a knack for turning inspiration into impactful stories. With years of experience in fashion journalism and digital media, he curates content that empowers readers to express themselves through style. When he’s not editing features or forecasting the next big thing, you’ll find him hunting down vintage pieces or capturing street style moments around the city.