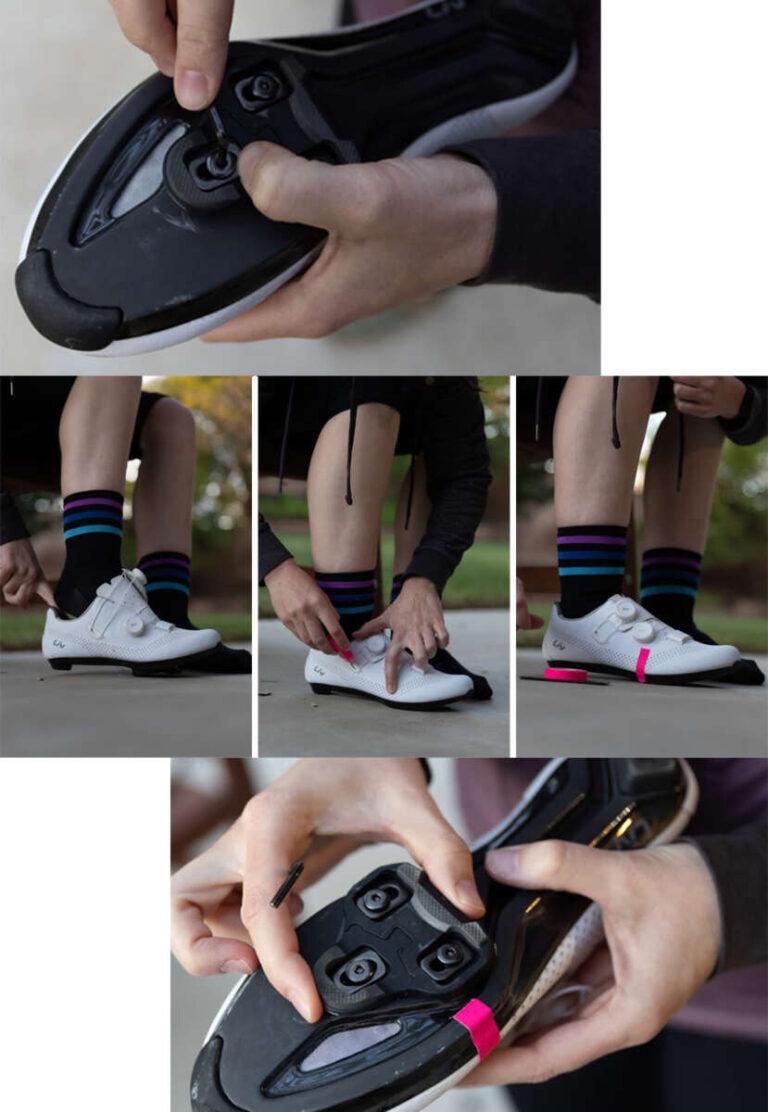
Attach cleats by aligning holes, fitting the bolt slots, and tightening to the right torque.
I’ve spent years fitting cleats for commuter, road, and mountain riders, so I know the small things that make a big difference. This guide walks you step-by-step through how to put cleats on bike shoes, explains the types of cleats, the right tools, common mistakes, and how to fine-tune fit for comfort and power. Read on to learn practical tips you can use right away.
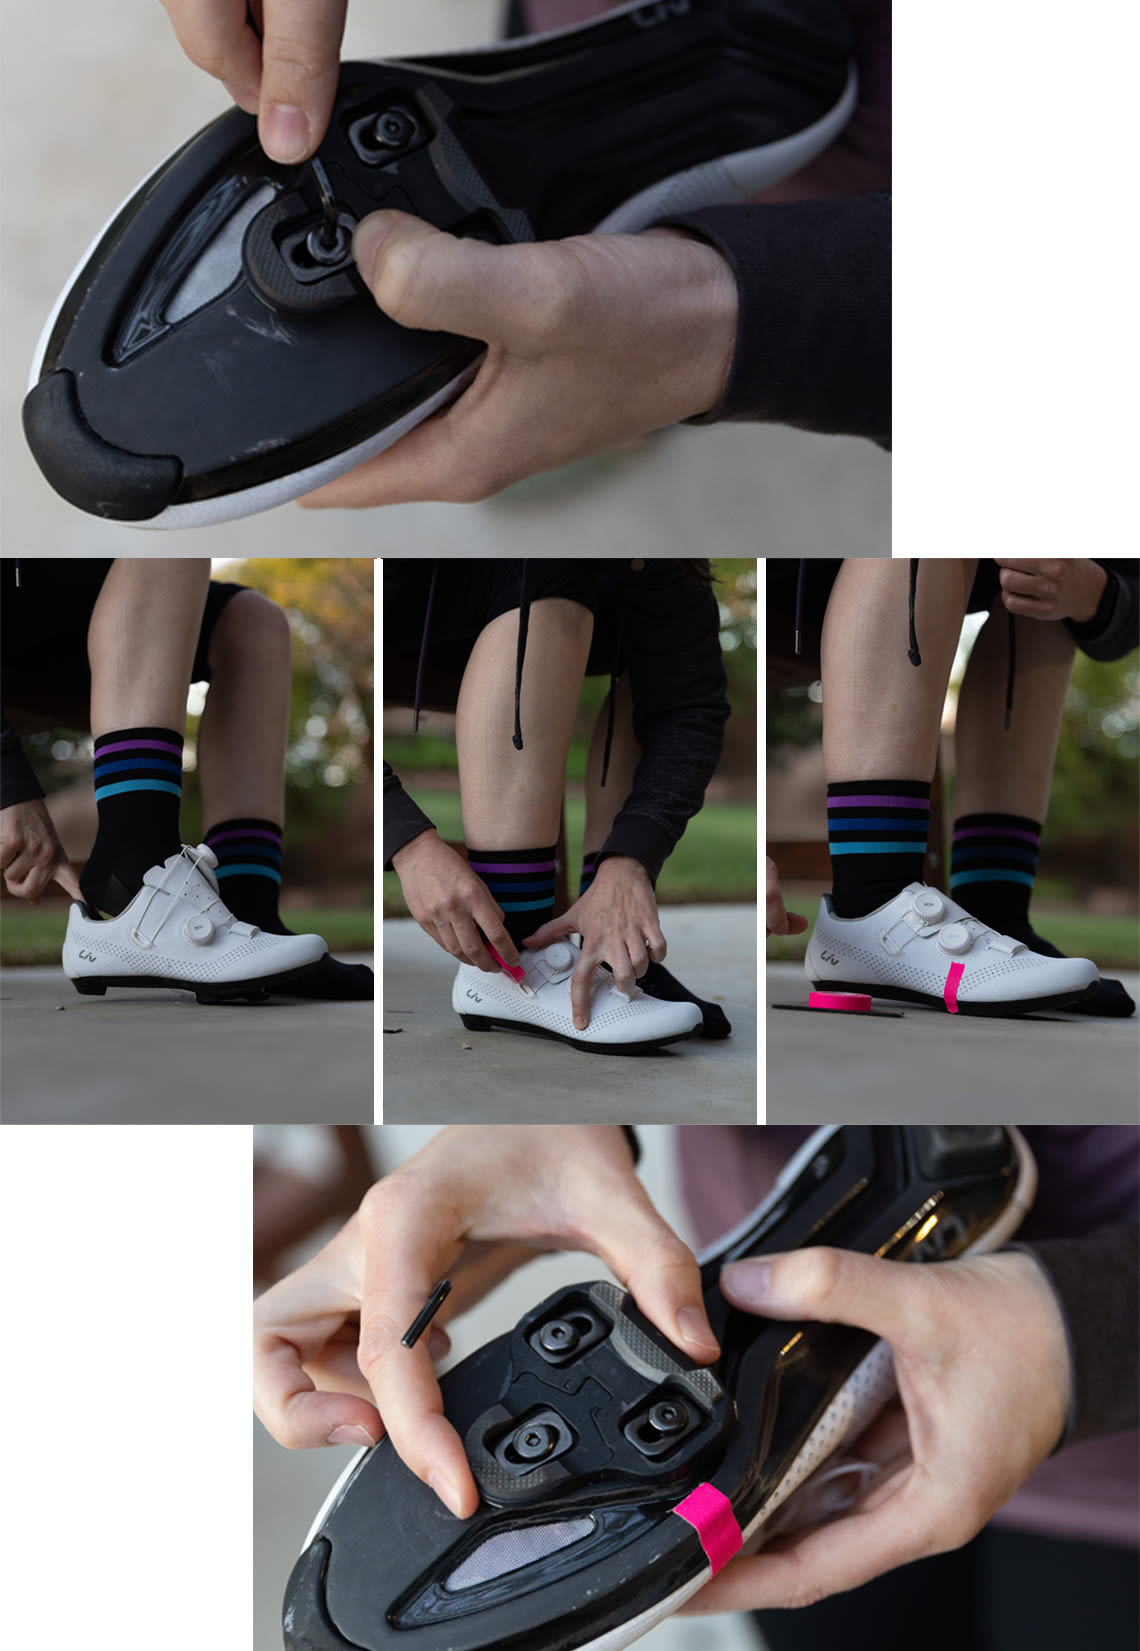
Why cleats matter and what they do
Cleats link your shoe to the pedal. They boost pedaling efficiency and control.
A good cleat fit reduces knee pain and improves power transfer.
Knowing how to put cleats on bike shoes helps you ride safer and ride longer.

Types of cleats and pedal systems
Road cleats and mountain cleats differ a lot. Common systems include:
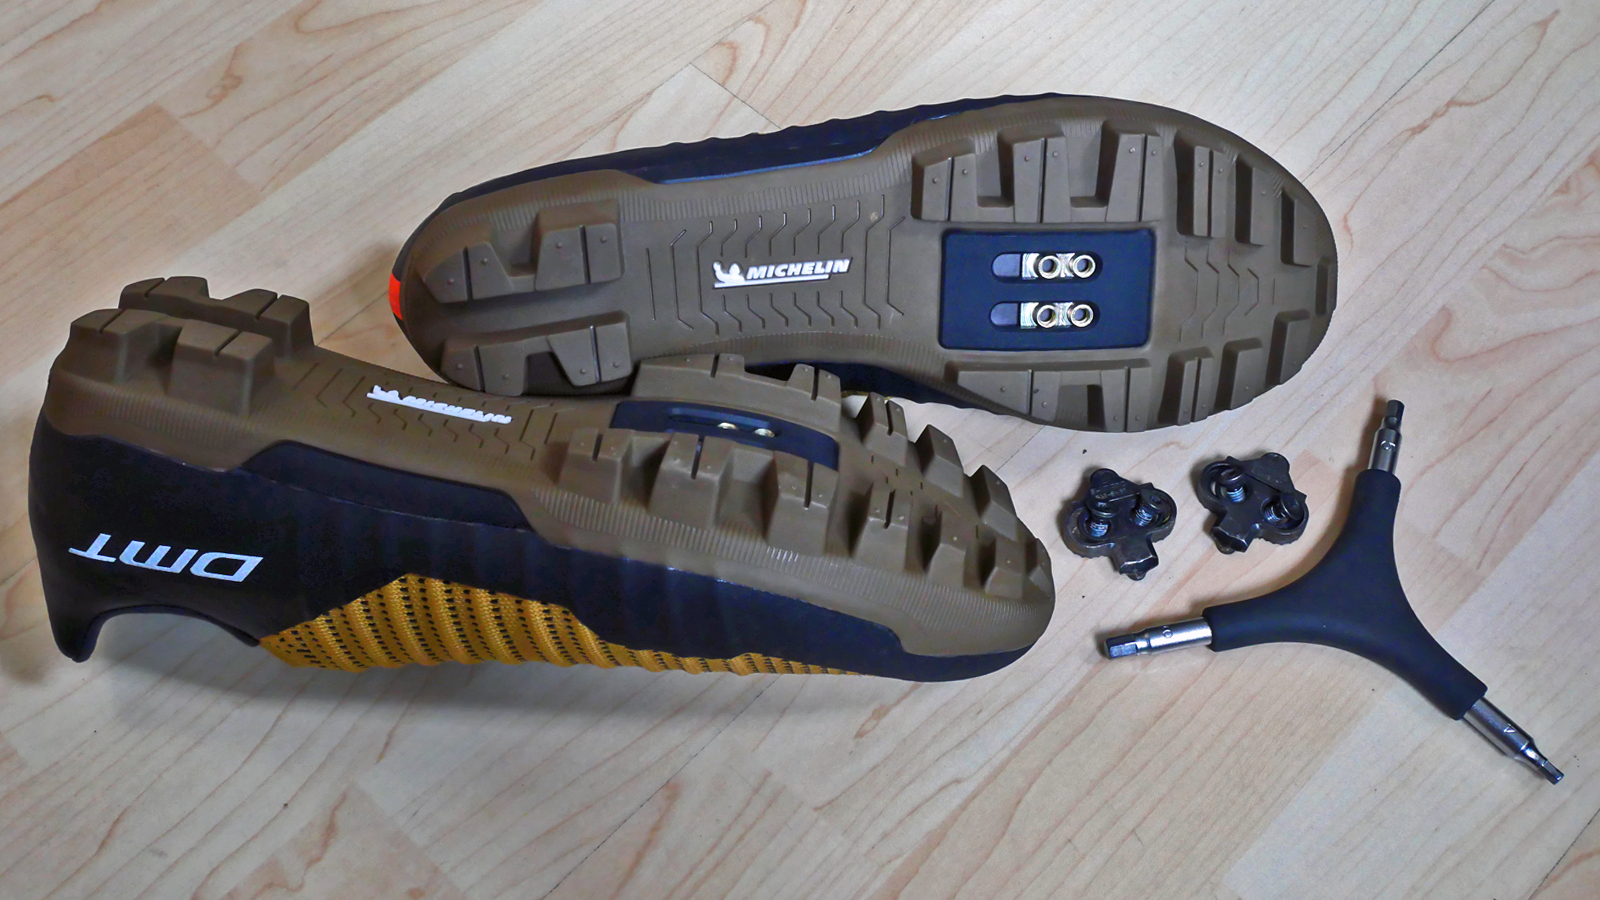
- SPD (two-bolt): Low-profile and common for mountain, gravel, and commuters.
- SPD-SL / Look (three-bolt): Wider platform for road riders and more power transfer.
- Delta and other systems: Less common but used on some road shoes.
Each system needs different positioning and sometimes different shoes. When learning how to put cleats on bike shoes, identify the cleat-pedal match first.
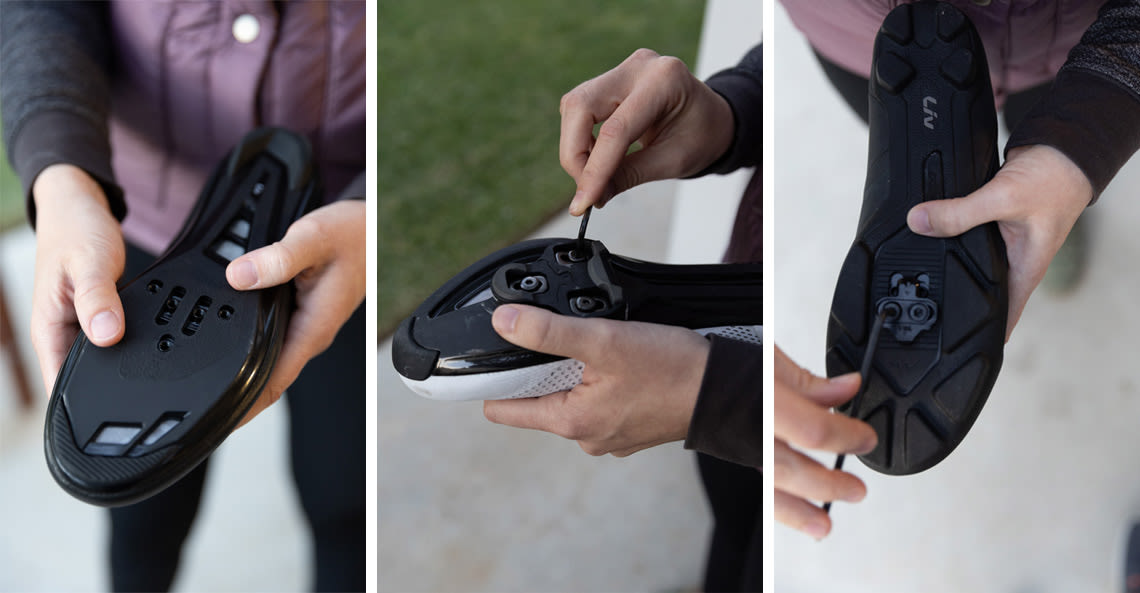
Tools and materials you need
Gather these before you start:
- The cleats that match your pedals and shoe bolt pattern.
- The screws or bolts supplied with the cleats.
- A hex (Allen) wrench set, usually 4 mm or 5 mm.
- A torque wrench or a good feel for firm tightening.
- A marker or pencil to note shoe alignment.
- A ruler or tape measure for consistent placement.
Having the right tools makes how to put cleats on bike shoes quick and accurate.
Step-by-step: how to put cleats on bike shoes
Follow this clear process to mount cleats with confidence.
-
Prepare the shoe
- Clean the sole and the bolt holes.
- Remove any factory protective plugs so the bolts can seat.
-
Match the cleat to the shoe
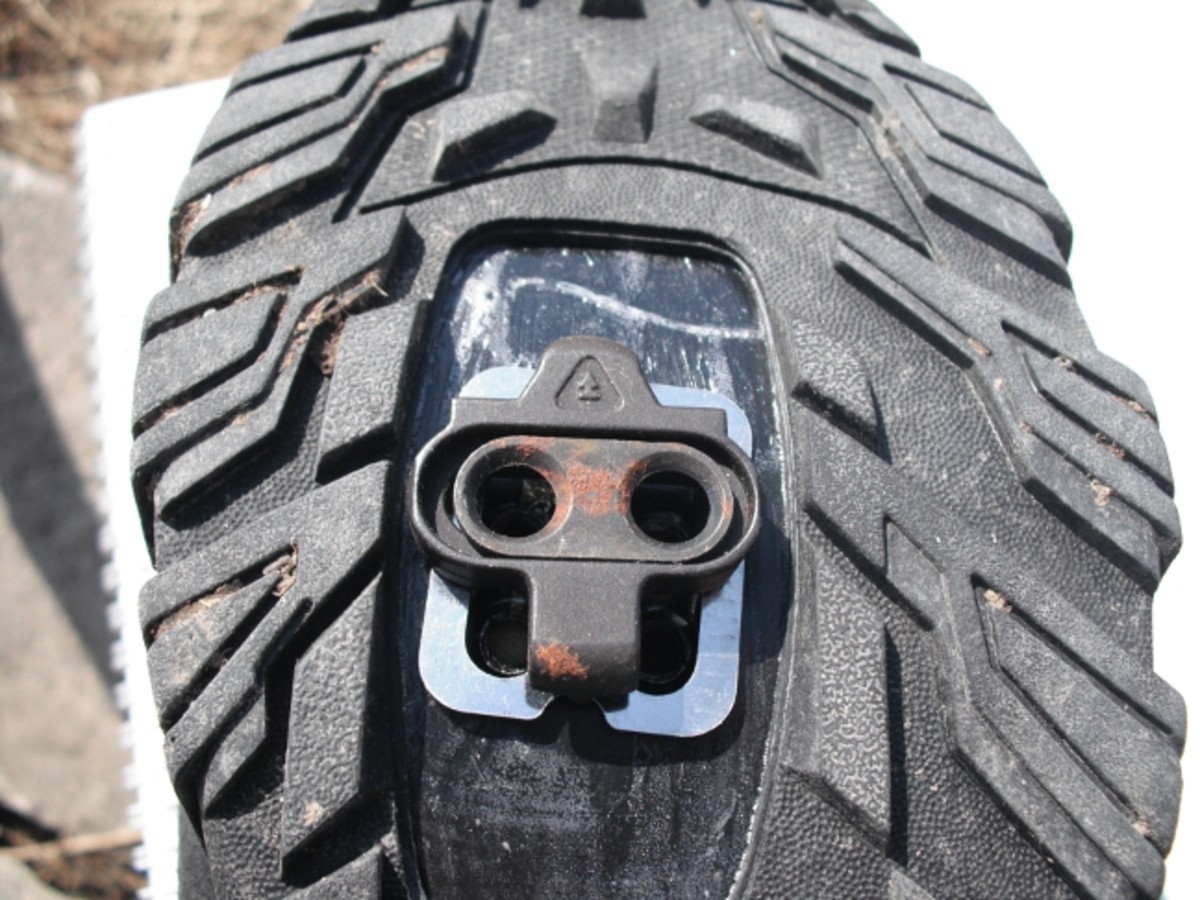
- Place the cleat on the shoe and align the holes.
- Confirm the cleat type fits the shoe’s bolt pattern.
-
Rough position the cleat
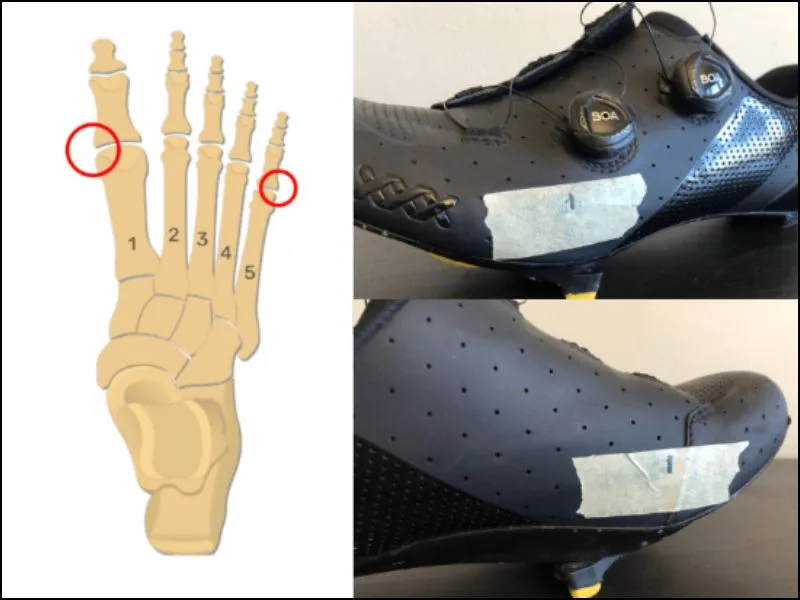
- Slide the cleat so the ball of your foot sits over the pedal spindle.
- Start centered along the shoe’s midline. Most riders begin at neutral and tweak later.
-
Insert bolts and hand-tighten
- Put bolts through the cleat into the shoe.
- Start screws by hand so threads catch. Tighten lightly so the cleat can still move.
-
Fine-tune fore-aft and rotation
- Sit on the bike and clip in. Check that your knee tracks over your second toe.
- Rotate the cleat slightly to match your natural foot angle. Small changes make big comfort differences.
-
Final torque and test
- Tighten bolts to the manufacturer’s torque spec, usually 4–8 Nm. If you don’t have a torque wrench, tighten firmly but avoid over-torquing.
- Clip in and ride a short loop. Re-check bolt tightness after your first ride.
-
Mark and record
- Mark the shoe or note measurements so you can repeat the setup on a new pair.
- If you make big changes, test on a trainer before long rides.
When you practice how to put cleats on bike shoes this way, you’ll get consistent, pain-free results.

Common mistakes and how to avoid them
Avoid these pitfalls when you put cleats on bike shoes.
- Wrong fore-aft placement: Moves the pressure point. Start neutral and nudge fore or aft in 2–3 mm steps.
- Over-rotating cleats: Causes knee pain. Aim for small rotational tweaks and test ride after each change.
- Not tightening bolts enough: Leads to slipping and wear. Check bolts after the first ride and regularly thereafter.
- Using the wrong cleat for the pedal: You won’t clip in properly. Match the system before fitting.
- Skipping the test ride: Small misalignments show up on the road, not on the bench.
These are the things I learned after mounting cleats for many friends and clubmates. Fixing them early saves hours of discomfort later.
Maintenance, adjustment, and when to replace cleats
Caring for your cleats keeps you safe and efficient.
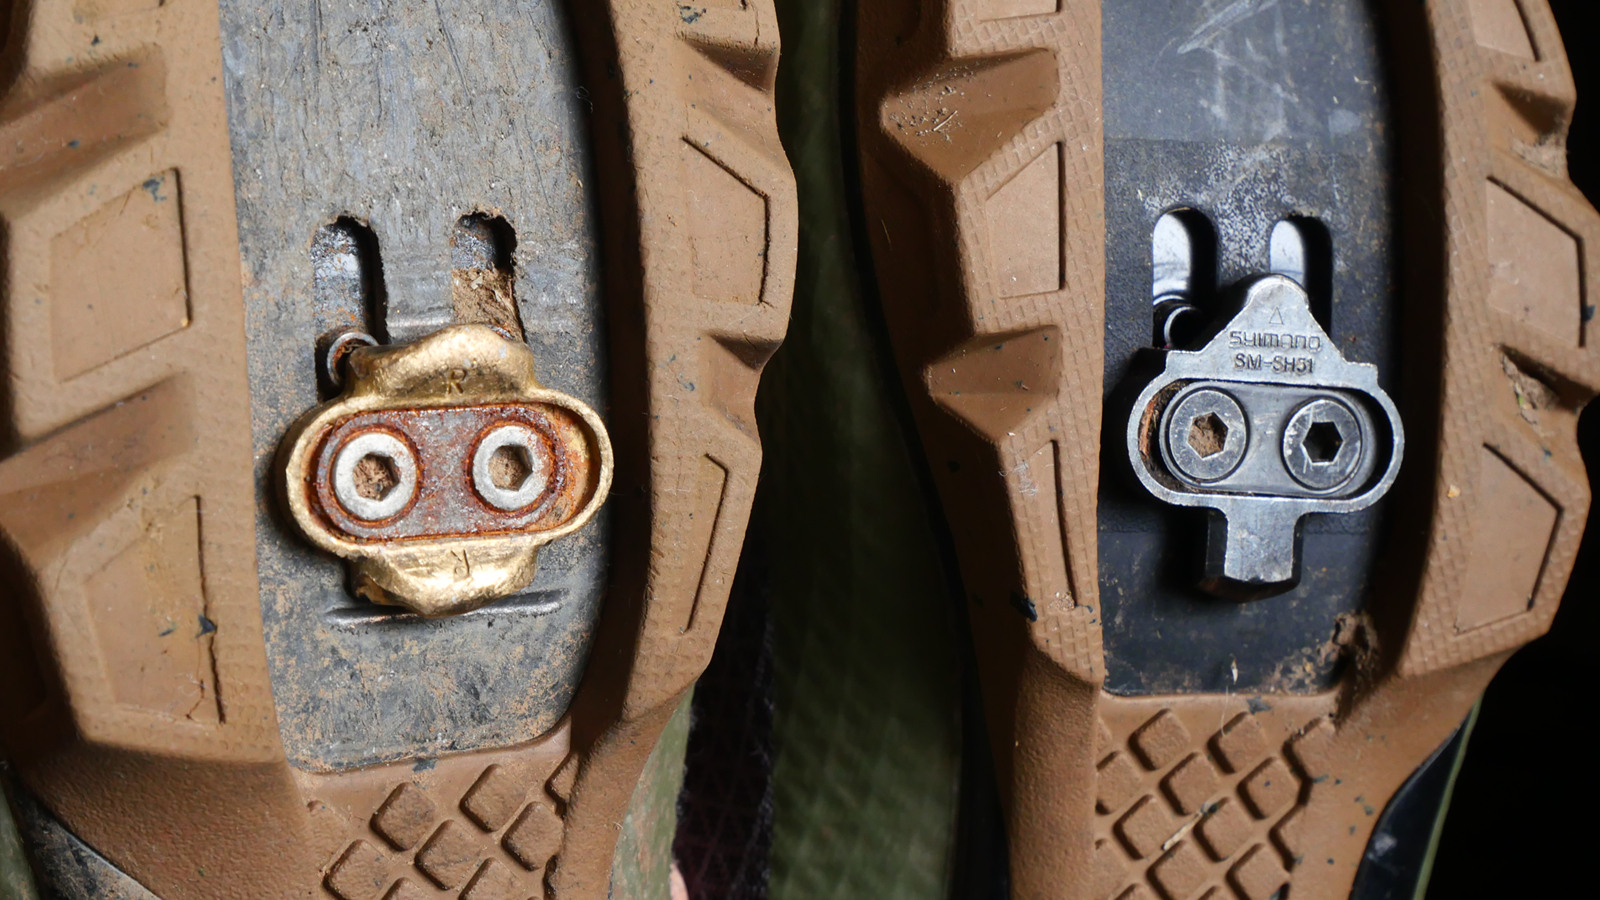
- Check bolts monthly and after wet rides.
- Inspect cleat pads for wear. Replace when the release feels inconsistent or the pad is visibly worn.
- Clean mud and grit from cleats and pedals to prevent poor engagement.
- Reassess position after new shoes or after significant changes in your bike fit.
Routine checks make how to put cleats on bike shoes feel like a quick, low-stress task rather than a scramble before a ride.

Troubleshooting alignment and pain
If you feel pain, here’s what to try.
- Lateral knee pain: Rotate cleat slightly outward or inward to match your natural foot angle.
- Pain under the ball of the foot: Move cleat a bit rearward to shift pressure back.
- Numbness in toes: Try rotating cleat to reduce pressure, and check shoe stiffness and sock thickness.
- Slipping out: Tighten bolts and check cleat and pedal wear, then replace parts if needed.
If pain persists after small adjustments, see a bike fitter or medical professional. Precise fitting can prevent injury and improve performance.
Personal experience and lessons learned
I once installed cleats quickly for a friend before a big group ride. We skipped the test loop. After 10 minutes his knees hurt and he limped home. I learned to always do a short test ride and to tighten bolts after the first ride. I also learned to record exact fore-aft measurements. That saved time later when swapping shoes.
Practical tips I use:
- Keep a small multi-tool in your saddle bag to adjust cleats on the road.
- Mark cleat positions with a silver pen to remember settings.
- Replace road cleats more often than mountain cleats if you walk in your shoes a lot.
These small habits cut down on discomfort and keep you focused on the ride.
Safety considerations and fit advice
Your safety matters when you learn how to put cleats on bike shoes.
- Start with a low release tension if you’re new to clip-in pedals. This reduces surprise falls.
- Practice clipping in and out while stationary and barefoot to build muscle memory.
- If you have knee issues, consult a bike fitter before making big changes. A pro can measure knee tracking and set cleat angles precisely.
- Keep spare bolts and a small file in your kit to manage rounded or damaged threads.
These steps reduce risk and build confidence on the bike.
Frequently Asked Questions of how to put cleats on bike shoes
How tight should cleat bolts be?
Tighten cleat bolts to the manufacturer’s torque, usually 4–8 Nm. If you lack a torque wrench, tighten firmly while avoiding over-torquing that strips threads.
Can I use any cleats on any shoes?
No. Shoes have either two-bolt or three-bolt patterns, and cleats must match those patterns. Always match cleat type to shoe and pedal.
How far forward should cleats be placed?
Start with the ball of your foot over the pedal spindle and move in small 2–3 mm steps if needed. Personal comfort and knee tracking guide the final position.
How often should I check cleat bolts?
Check bolts after the first ride and then monthly. Also check after wet rides or if you feel slippage when clipping in.
Do I need a bike fitter to set cleats?
You don’t always need a bike fitter for basic setup, but a fitter helps if you have pain or want precise performance tuning. A short test ride and careful adjustments often suffice for casual riders.
Conclusion
Putting cleats on bike shoes is a simple skill that pays off with better comfort, more power, and fewer aches. Start with the right cleat type, use the proper tools, test and refine your position, and check bolts regularly. Small steps and short test rides save a lot of trouble. Try the steps here on your next shoe swap, note your settings, and ride with confidence. If this guide helped, leave a comment, share your setup, or subscribe for more practical bike tips.

Madison Clark is a footwear expert and the voice behind MyStyleGrid.com. She specializes in honest shoe reviews, style tips, and practical guides to help readers find the perfect pair for any occasion. With years of experience in blogging and content creation, Madison makes footwear knowledge simple, stylish, and easy to follow.