Have you ever looked down at your favorite boots and noticed the soles are thin, cracked, or have holes? Maybe you love those boots. Maybe they fit just right. But the idea of buying new ones is not exciting—or maybe it’s not in your budget.
You might think you need to throw them away, but wait! You can repair worn down boot soles yourself, often without replacing them. This can save you money, give your boots a longer life, and teach you a useful skill.
I’ll walk you through everything you need to know, in clear and simple steps. Whether you’re new to fixing shoes or you’ve done it before, you’ll find tips and tricks that make the process easy and fun.
Why Repair Boot Soles Instead Of Replacing?
Repairing your boot soles is not just about saving money. There are other reasons you should consider fixing them:
- Comfort: Your boots are already shaped to your feet. New boots might hurt at first.
- Style: Sometimes, you just can’t find the same style again. Keeping your old boots keeps your style.
- Environment: Repairing reduces waste. Fewer boots in landfills is better for the planet.
- Skills: Learning to repair helps you take care of other things, too.
Most people think shoe repair is hard or only for experts. That’s not true. With the right tools and simple steps, you can do it at home. Plus, it’s satisfying to see the results!
How To Tell If Your Boot Soles Need Repair
Before you start, check if your boots can be fixed. Look for these signs:
- Thin spots: Press on the bottom. Does it feel soft or weak in places?
- Holes: Even a small hole can let in water. Fix it before it gets bigger.
- Cracks: Cracks can grow. If you see cracks, repair them soon.
- Separation: Is the sole coming away from the rest of the boot? That’s a repair job.
If the top of the boot is in bad shape (tears, deep damage), it may not be worth fixing. But if only the sole is worn, repairing is a good choice.
What You’ll Need: Tools And Supplies
You don’t need a lot of special tools. Most items are easy to find online or at a shoe store.
- Shoe glue (like Shoe Goo or Gorilla Glue)
- Sandpaper (medium grit, around 100-150)
- Old cloth or rag
- Rubbing alcohol (for cleaning)
- Plastic knife or popsicle stick
- Heavy books or clamps
- Rubber sole patch or shoe repair compound
- Masking tape (optional)
- Marker (optional)
Some repairs use a sole patch (a piece of rubber you glue on). Others use a repair compound (a thick, sticky glue that fills holes or cracks). Choose what fits your problem.
Step-by-step: Repairing Worn Down Boot Soles
Let’s get hands-on. I’ll guide you through two main types of repairs:
- Filling holes or cracks
- Patching thin or worn areas
1. Filling Holes Or Cracks
When your boot sole has holes or deep cracks, fill them with repair compound. Here’s how:
- Clean the sole: Use a cloth and rubbing alcohol to wipe away dirt and grease. Let dry.
- Sand the area: Use sandpaper to roughen the surface. This helps glue stick better.
- Apply masking tape: If you want a neat edge, put tape around the hole or crack.
- Squeeze in repair compound: Use a plastic knife to fill the hole or crack. Press it in.
- Smooth the surface: Make it level with the rest of the sole.
- Let it dry: Check the label for drying time. Usually, it’s 24 hours.
- Remove tape: Peel off any masking tape.
- Check the repair: Press the area. If it feels solid, you’re done.
Repair compounds are strong and flexible. They move with your foot, so the repair lasts.
2. Patching Thin Or Worn Areas
If the sole is thin or has a worn spot but no hole, use a rubber patch.
- Cut a patch: Cut a piece of rubber to fit the thin area. Make it a little bigger than the worn spot.
- Clean and sand: Clean the sole and sand both the boot and the patch.
- Apply glue: Put shoe glue on both the patch and the boot sole.
- Wait a few minutes: Let the glue get tacky (sticky but not wet).
- Press the patch on: Use firm pressure. Put a heavy book or clamp on top.
- Let it cure: Leave it for at least 24 hours.
- Trim edges: Use scissors to trim any extra patch after it dries.
A good patch blends in and feels natural when you walk.
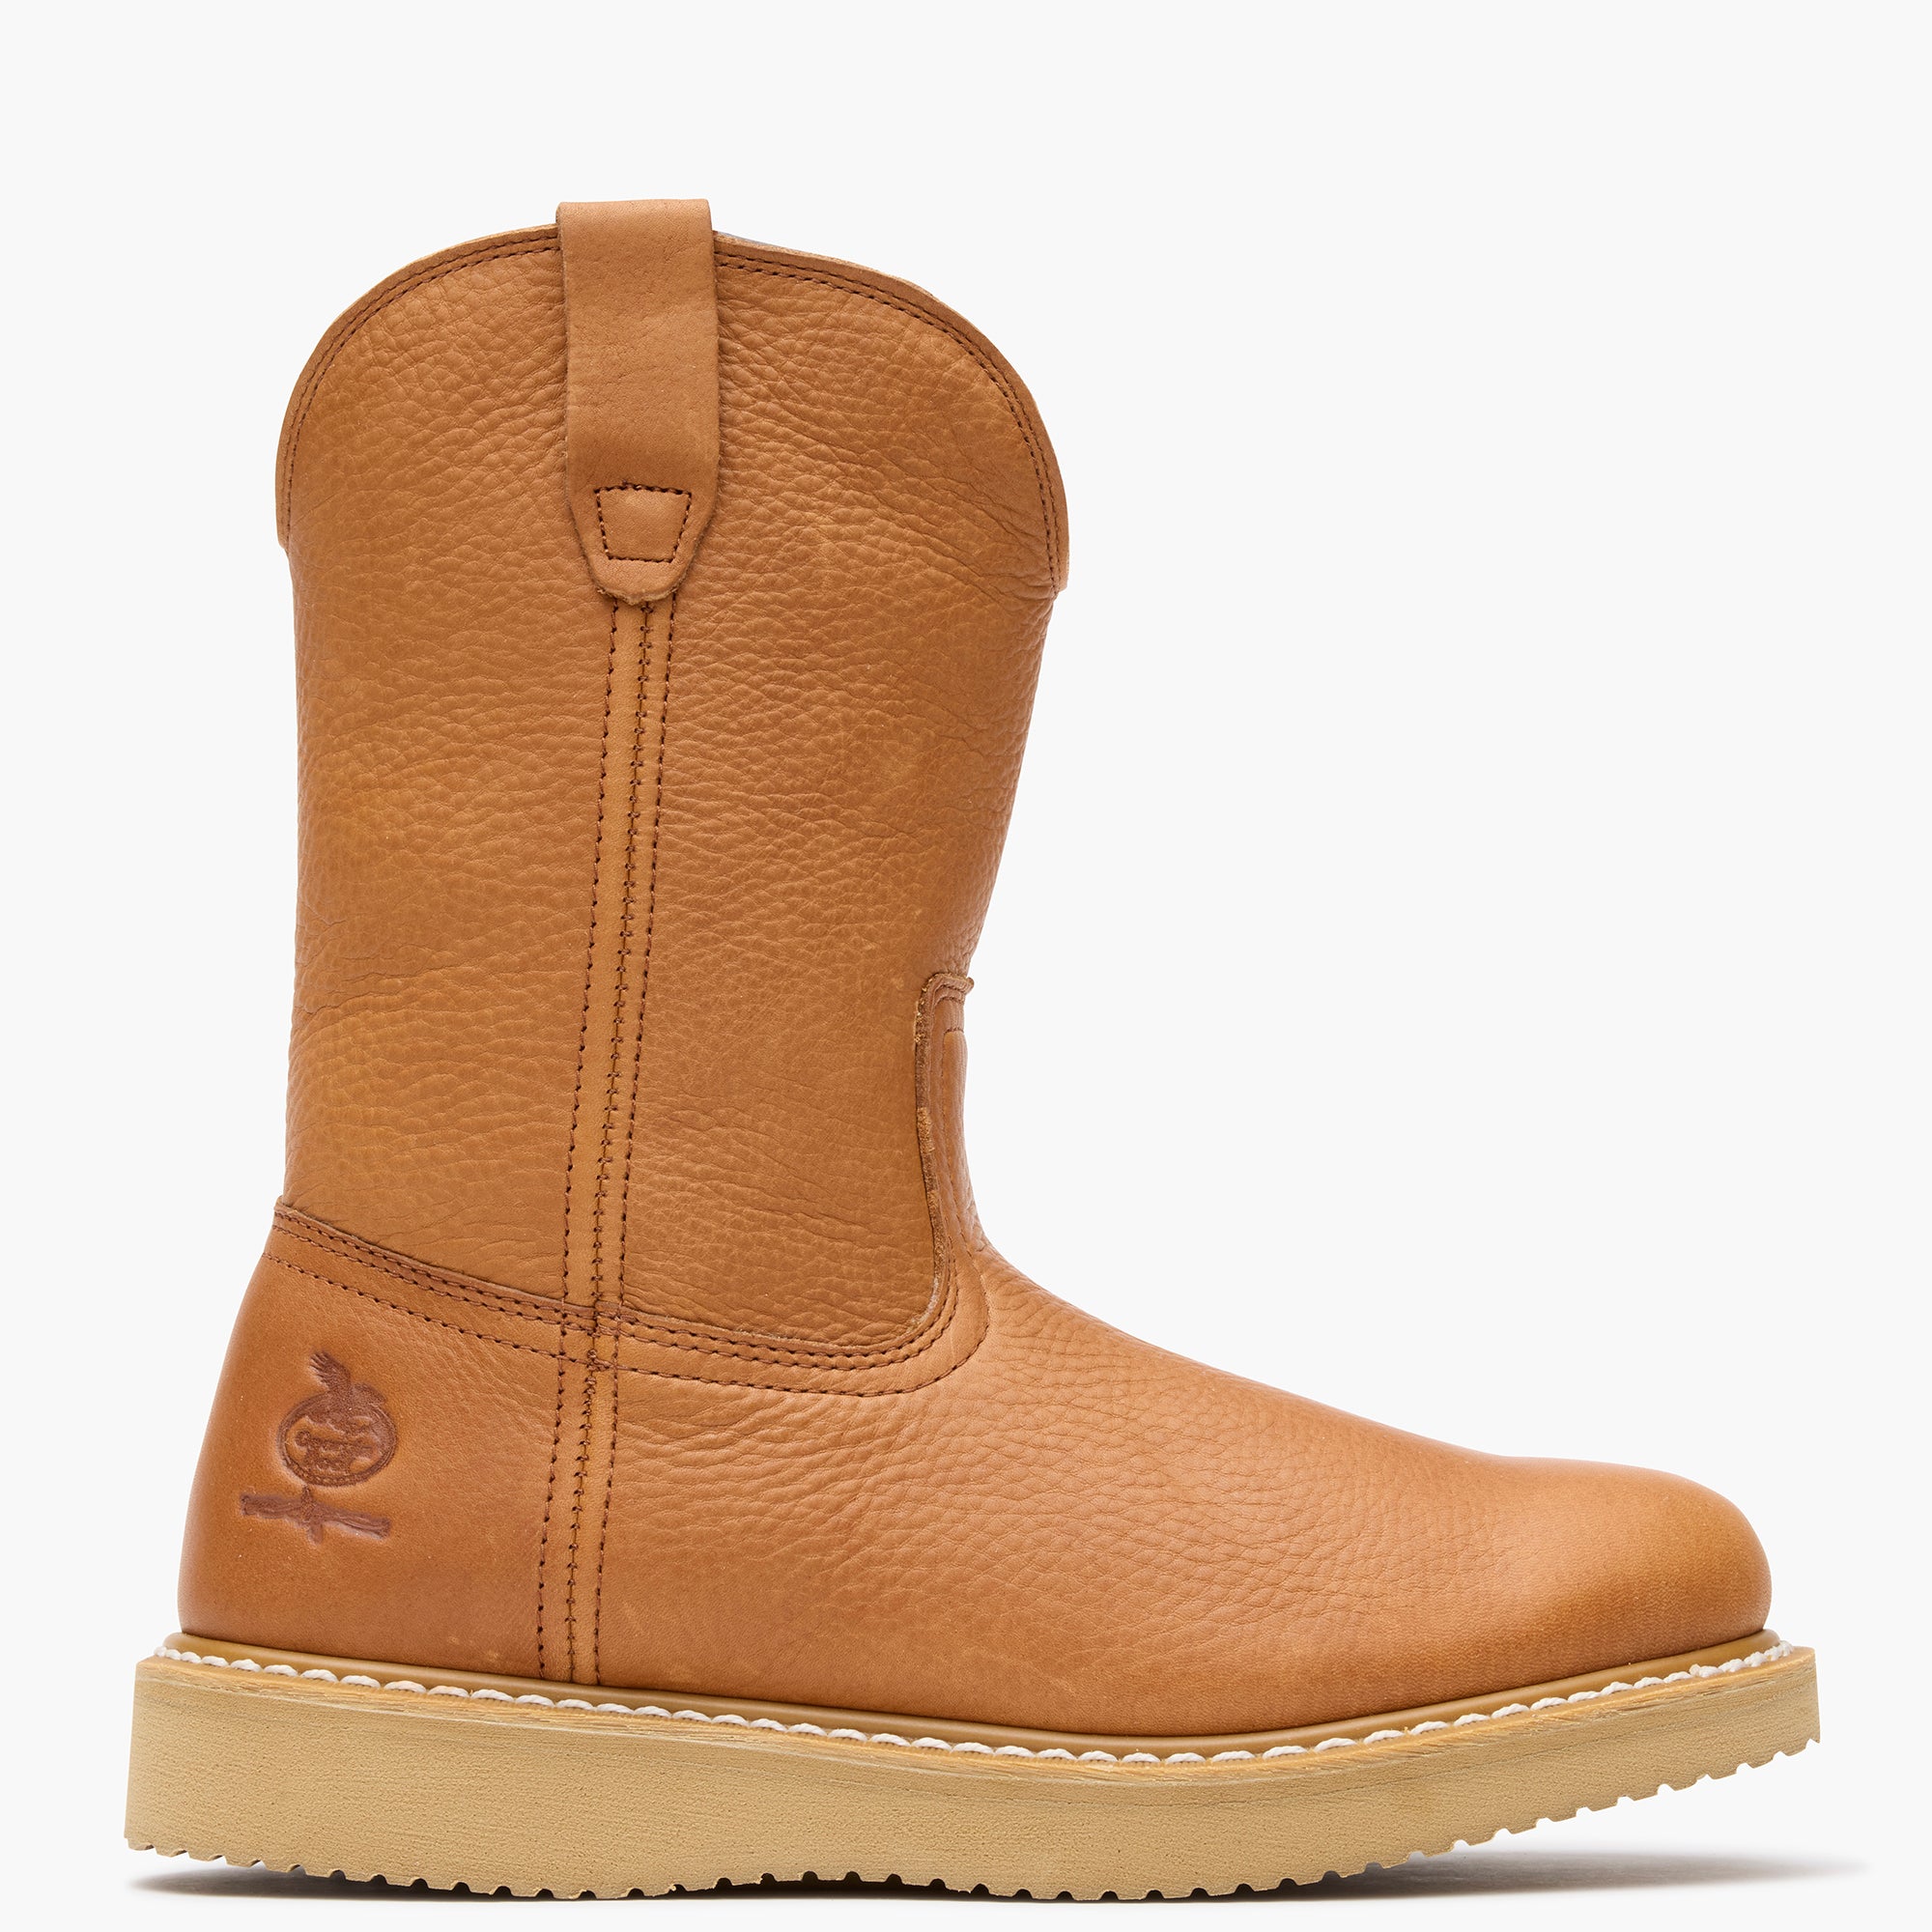
Credit: georgiaboot.com
How To Fix Sole Separation
Sometimes the sole is coming off but not worn out. This is called sole separation.
- Clean both surfaces: Remove dirt and old glue.
- Apply shoe glue: Put glue on both the sole and the boot upper.
- Press together: Use clamps or heavy books.
- Wipe off extra glue: Clean up any that squeezes out.
- Let dry: Wait at least 24 hours.
Don’t walk on the boots until the glue is fully dry. If you rush, the bond won’t be strong.
Quick Comparison: Boot Repair Methods
To help you choose the best repair, here’s a side-by-side look at three common methods.
| Repair Method | Best For | Time Needed | Skill Level | Cost |
|---|---|---|---|---|
| Filling with Repair Compound | Holes, deep cracks | 1 day (drying) | Beginner | Low |
| Rubber Patch | Thin/worn areas | 1 day (drying) | Beginner | Low |
| Sole Re-gluing | Sole separation | 1 day (drying) | Beginner | Very Low |
All these methods are easy to do at home. The most important thing is to let the glue or compound dry fully.

Credit: www.youtube.com
Choosing The Right Glue
Not all glues are the same. Some work better for rubber, others for leather. Here are popular choices:
- Shoe Goo: Strong, flexible, made for shoes
- Gorilla Glue: Very strong, but expands as it dries—be careful with amount
- E6000: Good for rubber and fabric, flexible
Always read the instructions on the glue. Some glues are waterproof, which is great for boots.
How To Make Repairs Last Longer
Fixing your boots is great, but making the repair last is even better. Here’s what you can do:
- Let repairs dry fully: Never rush this step.
- Store boots well: Keep them in a dry, cool place.
- Clean boots often: Dirt and salt can damage repairs.
- Use boot trees: These keep boots in shape and help repairs hold.
- Repeat repairs if needed: Small fixes are easier than big ones.
Repair Mistakes To Avoid
Even simple repairs can go wrong. Here are common mistakes and how to avoid them:
- Not cleaning first: Glue won’t stick to dirty surfaces.
- Using too much glue: Extra glue can make a mess and not dry well.
- Not sanding: Smooth surfaces don’t hold glue as well.
- Walking too soon: If you don’t wait, the repair can fail.
- Ignoring big damage: Sometimes, the boot is too far gone. Don’t waste time on boots that are falling apart all over.
When To See A Professional
Some repairs are best left to a cobbler (a shoe repair expert):
- Large holes or missing chunks of sole
- Damage to the upper part of the boot
- Expensive boots (like leather dress boots)
- Repairs that don’t work after you try
Cobbler repairs can cost more, but they have special tools and materials.
How Long Do Diy Repairs Last?
A good home repair can last months or even years. It depends on:
- How often you wear the boots
- How well you did the repair
- The type of glue or patch used
If you walk a lot or in bad weather, check your repairs often.
Real-life Example: Fixing A Hiking Boot
Let’s look at a real example. Maria loves hiking. Her boot soles got thin and started to crack after 2 years. She used Shoe Goo to fill the cracks and glued on a rubber patch. She let them dry for 24 hours.
The boots lasted another hiking season—over 100 miles of use! She saved money and kept her favorite boots.
Data: Cost Savings From Diy Boot Repair
How much can you save? Let’s see the numbers.
| Repair Type | DIY Cost | Professional Cost | New Boots Cost | Money Saved (DIY vs New) |
|---|---|---|---|---|
| Filling Hole | $10 | $30 | $80 | $70 |
| Patching Sole | $12 | $35 | $90 | $78 |
| Re-gluing Sole | $8 | $25 | $85 | $77 |
You can see that fixing boots at home is much cheaper than buying new ones. Even if you need to buy glue and patches, it’s a good deal.
Two Surprising Tips Most Beginners Miss
- Warm up the glue: Put the tube in warm water for a few minutes before using. Warm glue spreads easier and sticks better.
- Use weights, not just clamps: If you don’t have clamps, use heavy books, bricks, or even a bag of rice to press the sole or patch while drying. Even pressure makes a strong bond.
Most people skip these steps, but they make a big difference in repair quality.
Safety Notes
- Always work in a well-ventilated area. Many glues have strong smells.
- Wear gloves if you have sensitive skin.
- Keep glue away from kids and pets.
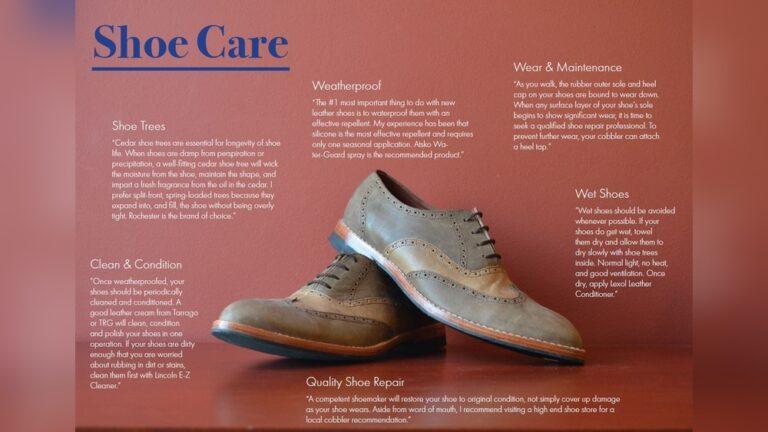
Taking Care Of Your Repaired Boots
After repair, treat your boots well. Here’s how:
- Keep them dry: Wet boots can break down repairs.
- Use a waterproof spray: This adds extra protection.
- Check repairs often: If you see a small crack, fix it early.
- Rotate your boots: If you have more than one pair, don’t wear the same boots every day.
These habits help your boots last longer—even after repair.
Can You Use Household Items For Emergency Repairs?
Sometimes you don’t have shoe glue or a patch. In an emergency, you can try:
- Duct tape: Wrap around the sole to hold it until you can fix it for real.
- Super glue: Works for very small cracks but is not flexible, so it can break.
- Inner tube rubber: Cut a piece from an old bike tire for a quick patch.
These are only for short-term use. Do a real repair as soon as you can.
What If Your Boots Have Special Soles?
Some boots have air pockets, gel, or special treads. You can still repair most of them, but:
- Make sure glue or patch does not block air holes.
- Use a flexible glue for soles that bend a lot.
- Test on a small spot first to make sure it sticks.
If you’re not sure, check the brand’s website or ask a shoe store. Some brands even sell their own repair kits.

Credit: www.reddit.com
Step-by-step: How To Patch A Large Area
If the bottom is very thin or worn in a big spot, patching is the best choice. Here’s a full guide:
- Mark the area: Use a marker to draw around the worn spot.
- Cut the patch: Make it bigger than the marked area.
- Rough up both surfaces: Sand the boot and the patch.
- Apply glue: Cover both the boot and patch with glue.
- Wait for tackiness: Let glue sit until it’s sticky.
- Press together: Use a heavy weight for even pressure.
- Wipe extra glue: Clean up before it dries.
- Let cure: Leave for at least 24 hours.
If you do this well, the patch can last as long as the rest of the boot.
How To Make A Repair Look Good
You don’t want your boots to look messy. Here’s how to keep repairs neat:
- Use masking tape to make clean edges.
- Wipe off glue right away with a damp cloth.
- Sand the repair after it dries for a smooth finish.
- Color the patch with a black or brown marker if you want it to blend in.
Taking your time makes a big difference.
Environmental Benefits Of Repairing Boots
Did you know that over 300 million pairs of shoes are thrown away each year in the US alone? Repairing your boots:
- Reduces landfill waste
- Uses fewer resources
- Lowers your carbon footprint
Every repair helps the planet. For more on the impact of shoe waste, you can read about it on Wikipedia.
Frequently Asked Questions
How Long Does A Diy Boot Sole Repair Last?
Most home repairs last six months to a year if done well. If you walk a lot or in wet weather, check your repairs often.
What Is The Best Glue For Boot Soles?
Shoe Goo is a top choice. It’s made for shoes, strong, and flexible. Gorilla Glue is also good but can expand, so use a small amount.
Can I Fix All Types Of Boot Soles?
You can fix rubber, leather, and some synthetic soles. Special soles like air-cushion or gel may need special glue or a professional.
Is It Worth Repairing Old Boots?
If the boot upper is in good shape and you like the fit, repair is a smart choice. If the boot is very old and falling apart, new boots may be better.
Can I Walk Right After Repairing?
No. Always wait for the glue or compound to cure—usually 24 hours. Walking too soon can ruin the repair.
Your Boots, Your Way
Repairing worn down boot soles is simple, fun, and saves money. You don’t need special skills—just a little time and patience. By fixing your boots, you keep your favorite shoes, help the planet, and learn a handy new skill. Try it once, and you might never throw out old boots again!

Rubel Miah is the Senior Editor at MyStyleGrid.com, where he brings a sharp editorial eye and an unshakable love for fashion to everything he does. A true style addict, Rubel lives and breathes trends, from streetwear to high fashion, and has a knack for turning inspiration into impactful stories. With years of experience in fashion journalism and digital media, he curates content that empowers readers to express themselves through style. When he’s not editing features or forecasting the next big thing, you’ll find him hunting down vintage pieces or capturing street style moments around the city.