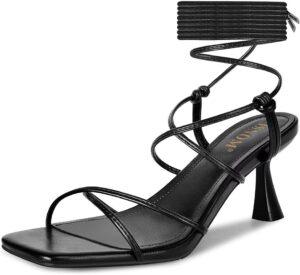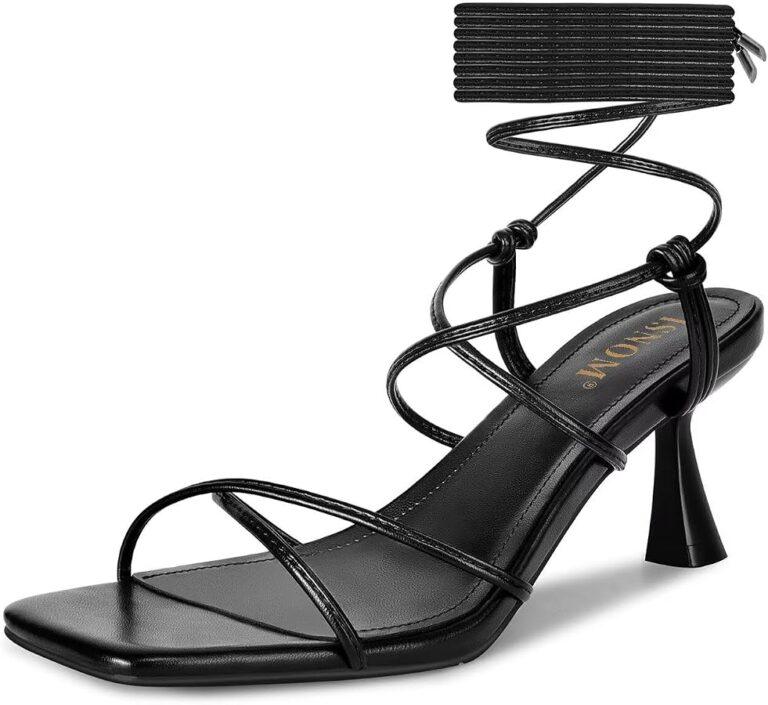
Wrap the laces around your ankle, cross them evenly, and secure a snug knot that stays comfortable while you walk.
Knowing how to tie lace up sandals can make a big difference in comfort, style, and foot support. After helping people style and adjust strappy footwear, I have found that the best method depends on the sandal design, lace length, and the shape of your ankle. This guide explains each step clearly, including common tying styles, safety tips, fit checks, and mistakes to avoid.

What to Know Before Tying Lace Up Sandals
Lace up sandals use long cords, ribbons, or leather straps that pass around the foot and ankle. Some styles have fixed loops, while others let you weave the laces through eyelets or wrap them in several patterns.
The goal is simple: keep the sandal secure without making the laces too tight. A good tie should hold your heel in place, allow your toes to move, and avoid pressure on the front of your ankle.
Before learning how to tie lace up sandals, check these details:
• Make sure both laces are the same length.
• Check that the footbed sits flat under your heel and toes.
• Look for rough edges, loose stitching, or damaged cords.
• Wear the socks, tights, or bare feet you plan to use with the sandals.
• Stand up before making the final adjustment.
Laces often feel looser after you take a few steps. That is why tying lace up sandals while sitting can lead to a poor fit. Adjust them while standing, then walk across the room to test the tension.
How to Tie Lace Up Sandals Step by Step
This basic method works for many ankle-wrap sandals, gladiator sandals, and lace up flats. It creates a secure look without adding too much bulk around the ankle.
1. Start with even lace ends
Place your foot fully inside the sandal. Pull both lace ends forward so they are equal in length.
If one side is much longer, the sandal may twist as you walk. Even laces also make the final bow look neat.
2. Cross the laces over the foot
Take the left lace across the top of your foot toward the right side. Bring the right lace toward the left side.
Keep the crossing point smooth. The laces should lie flat rather than fold into a narrow cord. Flat laces spread pressure across the foot and usually feel softer.
3. Wrap the laces behind the ankle
Bring both lace ends around the sides of your ankle. Cross them at the back, just above the heel counter or ankle strap.
Do not place the crossing point directly over the Achilles tendon if it feels tender. Move it slightly to one side for a more comfortable fit.
4. Cross the laces in front
Bring the lace ends back to the front of your ankle. Cross them once more.
This creates a simple crisscross pattern. It also helps stop the sandal from sliding down during normal walking.
5. Tie a secure knot
Make one firm overhand knot. Then tie a standard bow with two loops.
Pull both loops at the same time. The knot should feel secure but should not leave deep marks on your skin. Tuck the loose ends under the crossed laces if you want a cleaner appearance.
6. Walk and check the fit
walk for at least one minute. Bend your ankle, rise onto your toes, and take a few normal steps.
If the sandal moves from side to side, tighten the laces slightly. If your skin feels numb, cold, or pinched, loosen them right away.

Popular Ways to Tie Lace Up Sandals
The best way to tie lace up sandals depends on the look you want and how much support you need. Each method has a different balance of style, comfort, and hold.
Classic ankle wrap
The classic ankle wrap crosses the laces over the foot, around the ankle, and back to the front. Finish with a small bow at the front or side.
This method works well for casual outfits, summer dresses, and flat sandals. It is easy to adjust and does not require a long lace.
Front bow style
For a front bow, bring both laces to the center of the ankle and tie them above the foot. Keep the bow small so it does not catch on clothing.
This style gives the sandal a neat, balanced appearance. It also makes the knot easy to reach when you need to remove the shoes.
Side bow style
A side bow sits on the inner or outer side of the ankle. Many people prefer the outer side because it is easy to see and less likely to rub against the other ankle.
When tying lace up sandals with a side bow, make sure the knot does not press into the ankle bone. Move it slightly forward or backward if you feel friction.
Crisscross calf style
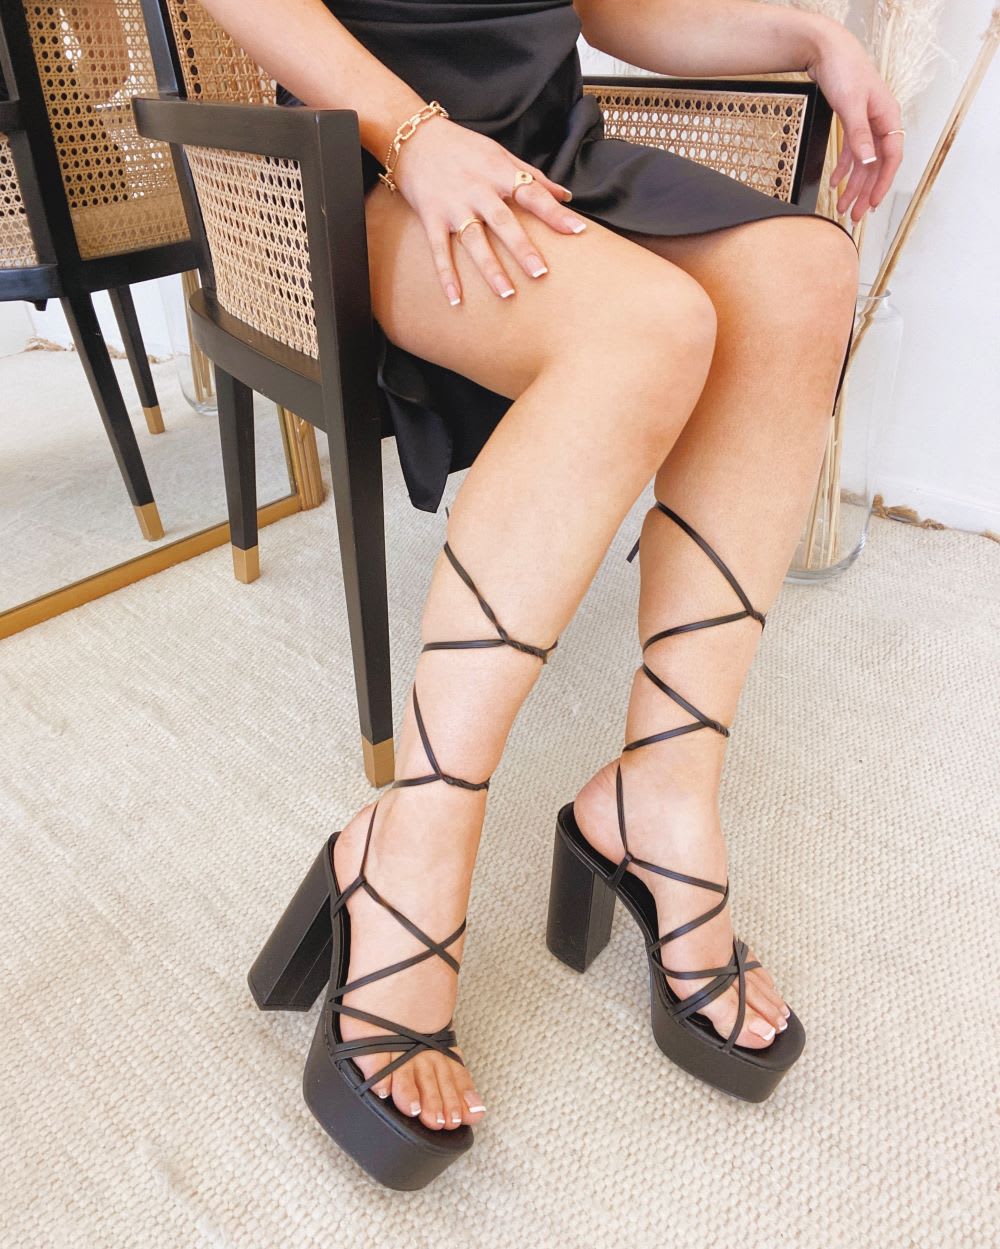
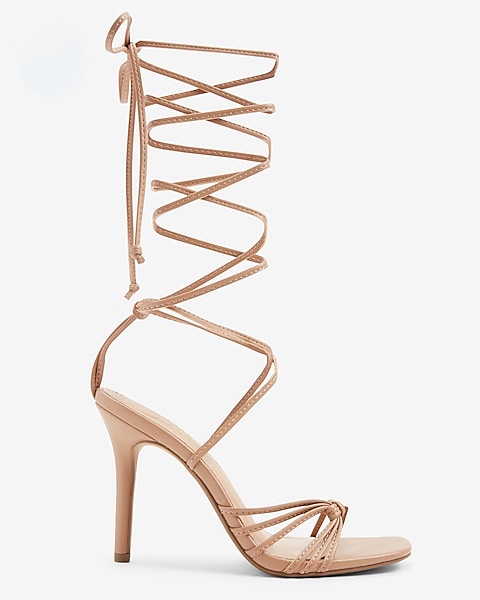
Some gladiator sandals have laces long enough to travel several inches up the lower leg. Cross the laces evenly as you move upward, then tie them below the widest part of the calf.
Do not wrap the laces tightly around the calf. The leg naturally expands during movement, and tight laces can leave marks or cause discomfort.
Looped ankle style
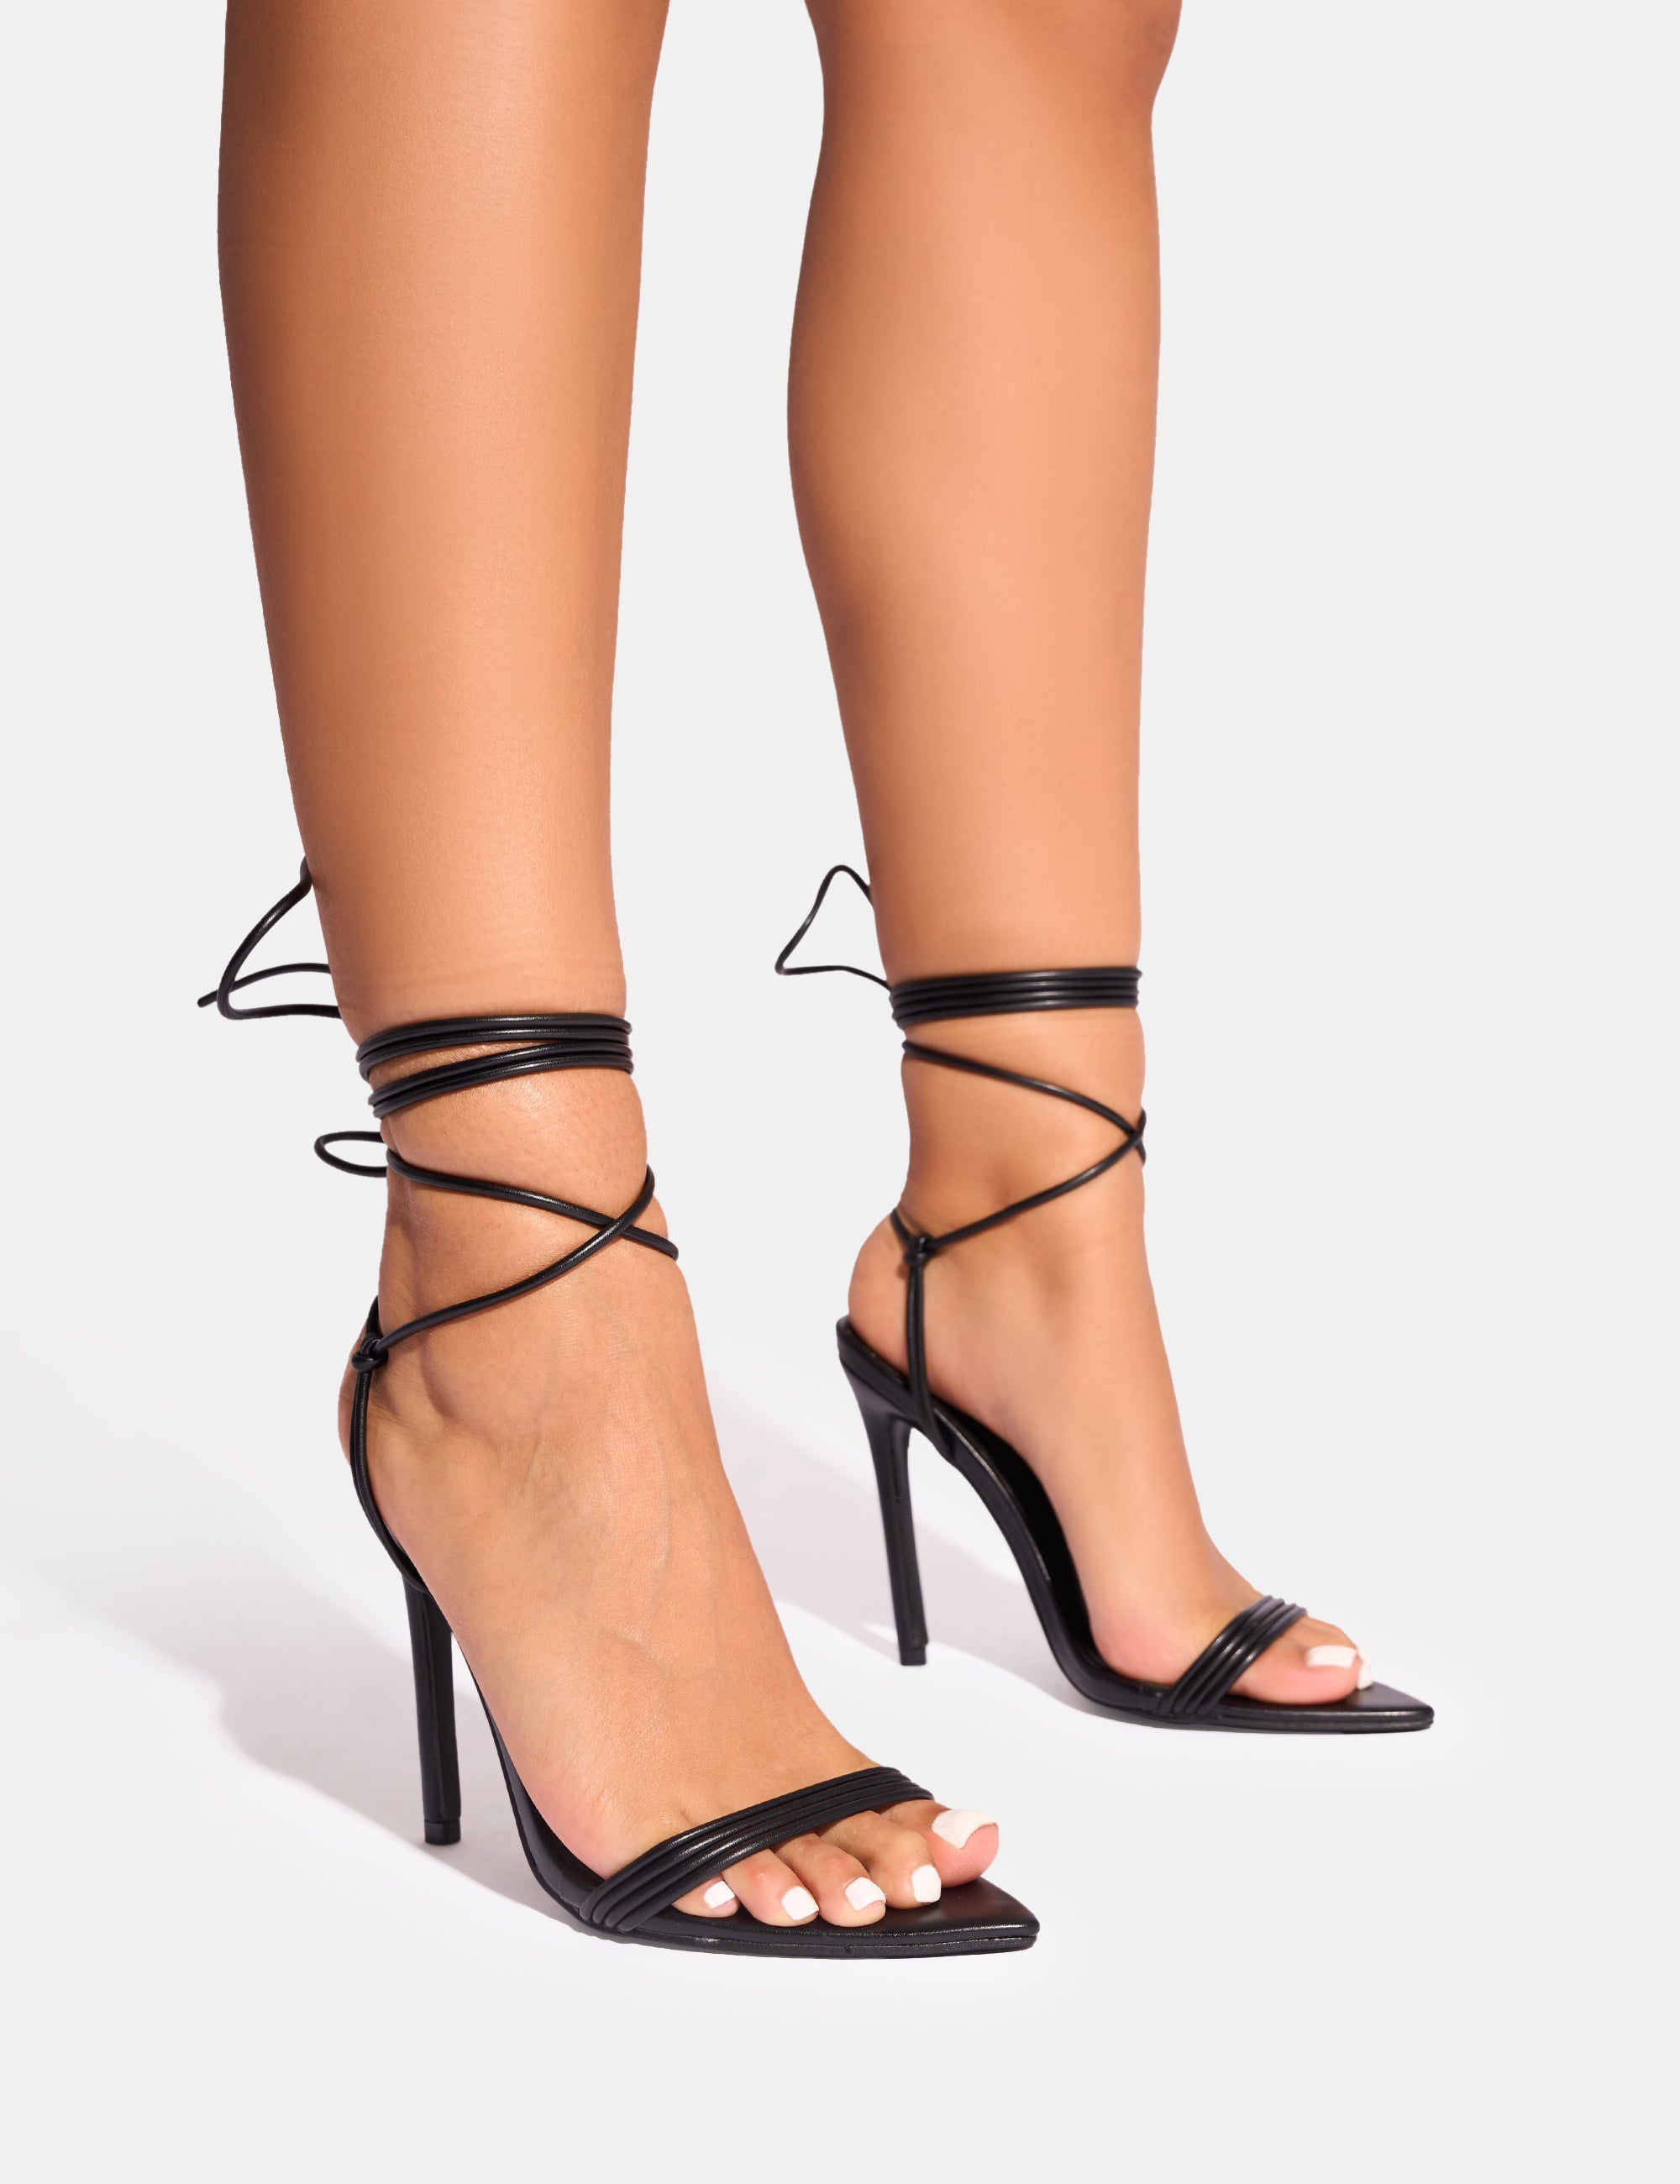
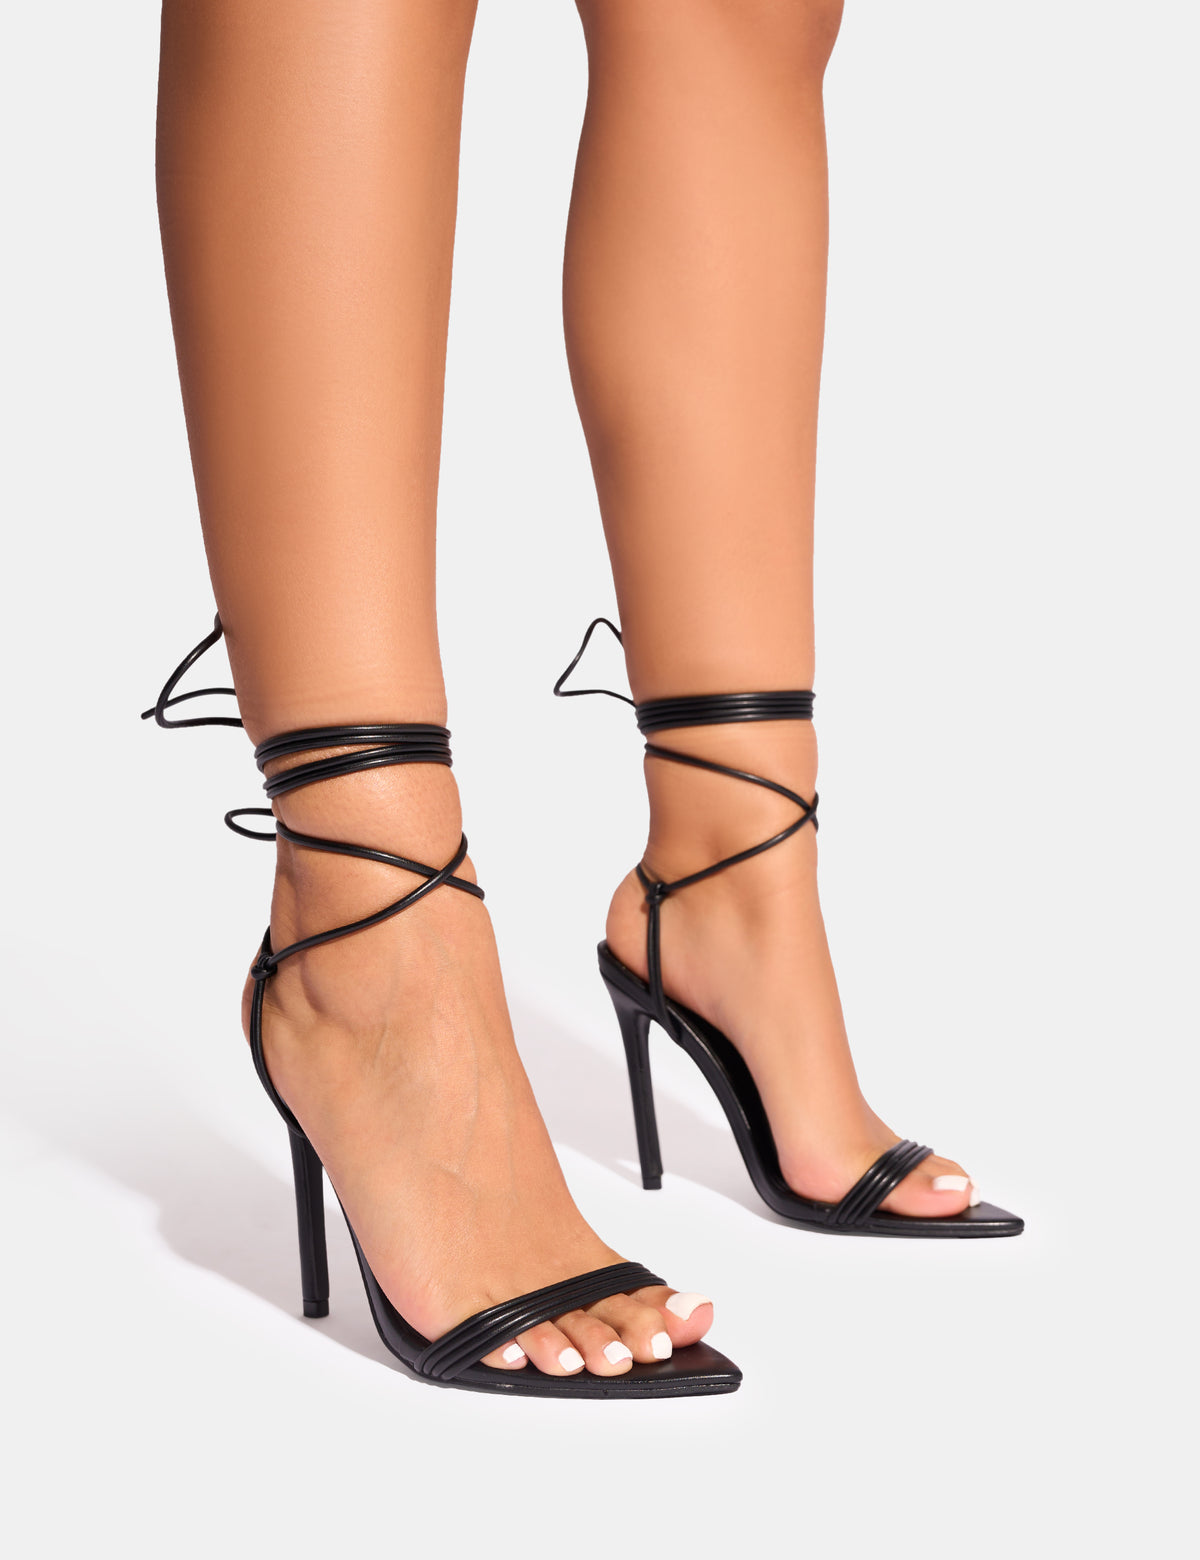
With this method, you create one or two loose loops around the ankle before tying the final knot. It gives a softer, more decorative look.
Use this style only when the laces are long enough. Too many loops can create bulk and may catch on furniture, pedals, or long skirts.

How Tight Should Lace Up Sandals Be?
Lace up sandals should feel secure, not restrictive. Your foot should stay centered, but your toes must still move freely.
Use the two-finger test. After tying the sandal, try to slide one finger under the lace near the ankle. If you cannot do so easily, the sandal may be too tight. If several fingers fit under the lace, it may be too loose.
Watch for these signs of a good fit:
• Your heel stays inside the sandal as you walk.
• Your toes do not slide over the front edge.
• The laces do not cause sharp pressure.
• Your skin does not become numb or change color.
• You can bend your ankle without pulling the sandal out of shape.
A little movement is normal. No sandal holds the foot completely still. The aim is controlled movement, not a locked-down feeling.
How to Tie Lace Up Sandals for Different Foot Shapes
Foot shape can change how a sandal feels. A tying method that works well for one person may create pressure for another.
Wide feet
If you have wide feet, avoid pulling the laces tightly across the widest part of the forefoot. Leave a little room over the ball of the foot.
Choose sandals with adjustable straps or soft laces. Cross the laces higher on the foot if the lower crossing feels tight.
Narrow feet
Narrow feet may slide from side to side in sandals. Use an extra cross over the midfoot before wrapping the ankle.
Do not solve the problem by tightening only the ankle area. The foot should be held across the middle, not squeezed at one point.
High arches
A high arch can make laces press against the top of the foot. Keep the first crossing loose and use more support around the ankle instead.
Sandals with several eyelets give you more control. Skip an eyelet over the highest part of your arch if the design allows it.
Low arches
If your feet have low arches, the sandal may feel less stable during side-to-side movement. Use a firm cross over the midfoot and a secure ankle knot.
A supportive footbed can also help. Laces cannot replace proper sandal structure or a comfortable sole.
Sensitive ankles
Place the final knot away from tender areas. Soft fabric laces may feel better than stiff leather cords.
If rubbing continues, stop wearing the sandals until you can adjust the fit. Repeated friction can lead to blisters and broken skin.

How to Tie Lace Up Sandals Without Slipping
Slipping can happen when the laces are smooth, the footbed is loose, or the knot is too small. A few simple changes can improve the hold.
First, tie a double knot after making the bow. This helps prevent the laces from opening during walking. Keep the knot flat and avoid pulling it so tightly that it becomes difficult to untie.
You can also try these practical tips:
• Cross the laces twice at the back of the ankle.
• Tie the knot on the side instead of directly behind the heel.
• Use a surgeon’s knot for slick laces.
• Tuck long ends under the ankle wraps.
• Replace worn or stretched laces.
A surgeon’s knot begins like a normal overhand knot, but you pass one lace through the loop twice before tightening. It creates more friction and often holds better than a single knot.
If the sandal still slips, the problem may not be your tying method. The sandal could be too large, the sole could be too smooth, or the straps may not match your foot shape.
How to Tie Lace Up Sandals for Comfort
Comfort starts before you make the final bow. Let the sandal sit naturally on your foot, and avoid pulling every lace section with the same force.
The front of the foot usually needs more room than the ankle. Think of the laces as a gentle support system, not a set of straps holding your foot in a clamp.
For better comfort:
• Tighten the laces from the foot upward.
• Keep pressure even on both sides.
• Avoid crossing laces over irritated skin.
• Use soft socks during the first few wears if the design allows them.
• Take short walks before wearing the sandals for a full day.
When I test a new pair, I wear them indoors first. This reveals rubbing points before I am far from home. One early mistake I often see is tying the ankle tightly while leaving the midfoot loose. That can make the heel lift with every step.
Common Mistakes When Tying Lace Up Sandals
Small mistakes can affect both comfort and appearance. Correcting them usually takes only a few seconds.
Tying the laces too tightly
Tight laces can press on nerves and soft tissue. They may also leave red marks around the ankle.
Tie the laces so they hold the sandal in place while still allowing natural movement.
Leaving the laces too loose
Loose laces can cause heel movement, toe gripping, and an uneven stride. They may also increase the chance of tripping.
Tighten the laces in small steps. A small adjustment is often enough.
Tying over the ankle bone
The ankle bones can be sensitive to pressure. A knot placed directly on one may rub with every step.
Move the knot slightly forward or to the side.
Using too many wraps
Extra wraps may look stylish in a photo but feel bulky in real life. They can also catch on clothing or other objects.
Use only as many wraps as you need for support and balance.
Hiding a loose knot
Tucking the knot can improve the look, but do not hide a knot that is already loose. Secure it first, then tuck the ends.
Always check the knot again after walking outdoors.

How to Tie Lace Up Sandals With Long Laces
Long laces offer more style options, but excess material needs careful handling. Loose ends should never drag near your feet.
Try this approach:
-
Cross the laces over the foot once or twice.
-
Wrap them around the ankle in an even pattern.
-
Continue up the lower leg only if the sandal is designed for it.
-
Tie the final knot below the widest part of the calf.
-
Tuck or secure the remaining ends.
Do not wrap long laces tightly around the leg. Leave enough room for normal movement and circulation.
If the laces are much too long, avoid cutting them immediately. Try a different wrap pattern first. Cutting is permanent, while changing the pattern lets you keep the original design.
Lace Up Sandal Safety Tips
Lace up sandals can be safe and comfortable when they fit well. They can also create a tripping risk if the ends drag or the knot comes undone.
Keep these safety points in mind:
• Check the knot before walking on stairs.
• Avoid very long loose ends.
• Be careful on wet or uneven ground.
• Choose a sole with suitable grip for the surface.
• Replace cracked laces or worn soles.
• Stop wearing the sandals if you develop pain, numbness, or repeated blisters.
People with diabetes, reduced foot feeling, or circulation problems should be especially careful with tight footwear. A health professional or qualified shoe fitter can help when normal fit checks are not enough.
Good tying technique cannot fix a sandal with a poor fit. If the sandal causes pain even after careful adjustment, choose another style.
Styling Tips for Lace Up Sandals
Lace up sandals can look casual, polished, or bold. The way you tie them changes the overall effect.
For a simple daytime look, use a low ankle wrap with a small bow. This works well with shorts, jeans, cotton dresses, and linen clothing.
For a dressier outfit, use even crisscrosses and hide the loose ends. Keep the pattern neat so the sandals add detail without distracting from the outfit.
For a longer-leg look, keep calf wraps narrow and use sandals in a color close to your skin tone or clothing. For a stronger fashion statement, choose contrasting laces and let the pattern stand out.
Make sure the lace placement matches the length of your outfit. Long laces can catch on wide-leg pants or loose skirts, so test the full outfit while walking.
How to Care for Lace Up Sandals
Proper care helps laces keep their shape and strength. Dirt and sweat can weaken some materials over time.
Wipe leather laces with a soft, slightly damp cloth. Allow them to dry at room temperature, away from direct heat. Fabric laces may need gentle hand washing, but always follow the care label.
Store the sandals untied or loosely tied. Keeping them tightly wrapped for long periods can create permanent bends in the laces.
Inspect the sandals before each season. Replace laces when they become frayed, thin, sticky, or stretched. Fresh laces can improve both safety and style.
Frequently Asked Questions About How to Tie Lace Up Sandals
How do you tie lace up sandals so they stay on?
Cross the laces over the foot, wrap them evenly around the ankle, and finish with a firm bow or double knot. The sandal should feel secure without causing pressure, numbness, or skin marks.
Should lace up sandals be tied in the front or back?
You can tie them in the front, back, or on the side, depending on comfort and design. A side knot often reduces rubbing, while a front knot is easier to reach.
How tight should lace up sandals be?
They should be snug enough to stop excessive movement but loose enough to allow normal circulation. One finger should usually fit beneath the ankle lace without force.
How do you stop lace up sandals from slipping?
Use an extra cross over the midfoot and finish with a double knot. If the sandals still slip, they may be too large or may not provide enough support for your foot shape.
Can you wear lace up sandals all day?
You can wear them all day if they fit well and cause no pain or rubbing. Break them in with short indoor walks first, then increase wear time gradually.
How do you tie long lace up sandals?
Wrap the laces evenly around the ankle or lower calf, then tie them below the widest part of the calf. Tuck the extra length so it cannot drag or catch on nearby objects.
Conclusion
Learning how to tie lace up sandals is mostly about balance. Cross the laces evenly, support the midfoot, wrap the ankle without squeezing it, and test the fit while walking. The right method should keep your sandals secure while allowing your feet to move naturally.
Try the classic ankle wrap first, then adjust the knot position, tension, and number of wraps to suit your foot. Walk indoors before wearing the sandals for a full day, and replace any worn laces or damaged straps. Experiment with the styles in this guide, and share your favorite lace up sandal technique in the comments.

Madison Clark is a footwear expert and the voice behind MyStyleGrid.com. She specializes in honest shoe reviews, style tips, and practical guides to help readers find the perfect pair for any occasion. With years of experience in blogging and content creation, Madison makes footwear knowledge simple, stylish, and easy to follow.