You can turn many heels into stylish booties by adding a fitted shaft, secure fasteners, and proper ankle support.
Learning how to turn heels into boots is part design project and part footwear repair. The best results come from matching the shoe’s shape, using flexible materials, and keeping the foot stable as you add height around the ankle or calf. This guide explains safe methods, useful tools, common mistakes, and when a professional cobbler is the smarter choice.
Can You Turn Any Heels Into Boots?
Not every pair of heels is a good candidate. Pumps, slingbacks, and ankle-strap heels usually offer the best starting point because their soles and heel counters already support the foot.
The easiest conversion is from heels to ankle boots or booties. A full knee-high boot conversion is much harder because the added shaft must stay upright, fit the leg, and connect securely to the shoe.
Before learning how to turn heels into boots, check these features:
• A firm sole that is not cracked or peeling
• A stable heel with no wobble
• A strong heel counter around the back of the foot
• Enough space near the ankle for added material
• A comfortable fit before any changes are made
• A clean upper made from leather, faux leather, suede, or strong fabric
Avoid shoes with thin plastic soles, loose heels, deep cracks, or worn-out insoles. Added material can increase stress on a weak shoe.

What You Need to Turn Heels Into Boots
The supplies depend on the style you want. A simple boot cuff needs fewer tools than a sewn boot shaft, but both methods begin with accurate measuring.
Basic materials
• Leather, faux leather, suede, stretch fabric, or heavy knit fabric
• Matching thread or strong upholstery thread
• Fabric scissors or a sharp utility knife
• Flexible measuring tape
• Paper for making a pattern
• Chalk or a washable fabric marker
• Contact cement made for footwear
• Shoe clips, binder clips, or small clamps
• A leather hole punch
• A needle made for leather or heavy fabric
• Elastic, snaps, hooks, or a zipper
• Thin foam or leather for edge finishing
• Sandpaper for smoothing rough surfaces
Use footwear adhesive rather than general craft glue. Shoe materials bend, twist, and face moisture, so ordinary school glue or hot glue often cracks or releases.
For a polished result, you may also need a sewing machine with a heavy needle. A cobbler can use stronger equipment, such as a post-bed sewing machine, that handles curved leather more cleanly than a home machine.
Choose the Right Boot Style
The design affects the difficulty, comfort, and final look. Start with a small change if this is your first project.
Boot cuffs
A boot cuff is a removable or semi-permanent tube that sits around the ankle. It is the simplest way to make heels look like booties.
Boot cuffs work well with:
• Court shoes
• Peep-toe heels
• Platform heels
• Ankle-strap sandals
• Simple pumps
You can make the cuff from leather, lace, knit fabric, or stretch material. Attach it with snaps, elastic, or hidden straps instead of permanent glue if you want to reverse the change.
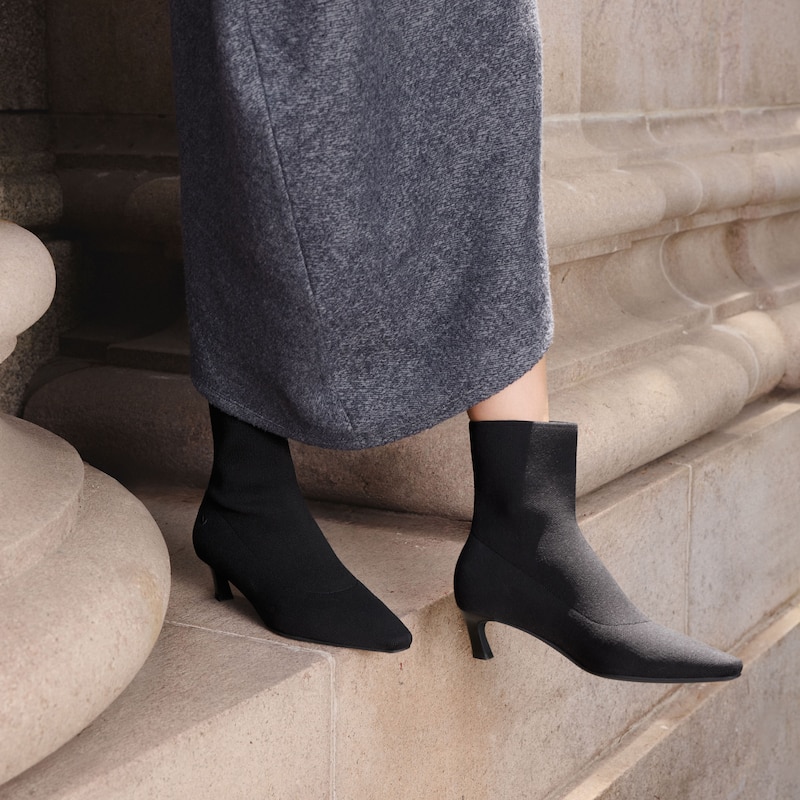
Ankle booties
An ankle bootie covers the ankle and connects to the upper near the heel. This style looks more like a factory-made shoe, but it needs careful shaping.
An ankle bootie usually includes:
• A front or side opening
• A shaped ankle seam
• A zipper, elastic panel, or lacing
• A finished top edge
• A secure connection to the shoe upper
Knee-high or tall boots
Tall boots are the most difficult option. The shaft must fit the calf and remain balanced while you walk.
For this style, use a flexible shaft with a lining. A professional should handle the connection between the shaft and the sole unless you already have strong leatherworking skills.
Method 1: Add a Removable Boot Cuff
A removable cuff is the safest answer for people who want to turn heels into boots without permanently changing the shoes.
Step 1: Measure the shoe and ankle
Put on the heels and stand naturally. Measure around the ankle at the point where you want the boot cuff to end. Add about 1 inch for overlap and seam allowance.
Measure the height from the top of the shoe to the top of the planned cuff. Write down both measurements. Take them while standing because the ankle and foot can change shape under body weight.
Step 2: Make a paper pattern
Cut a paper rectangle using your measurements. Wrap it around your ankle and shoe. Mark where the front, back, and side seams should sit.
Walk around while holding the paper in place. Check that it does not pinch the ankle or block the heel. This simple test can prevent wasted material.
Step 3: Cut the cuff material
Place the pattern on the back of the leather or fabric. Mark the shape and cut slowly. If you use stretch fabric, cut it slightly smaller so it stays close to the ankle.
For stiff leather, make the cuff wider at the top than at the bottom. This gives the design a gentle boot shape instead of a straight tube.
Step 4: Add the closure
Choose one of these closures:
• Snaps for a fast removable cuff
• Hook-and-loop tape for an adjustable fit
• A short zipper for a neat finish
• Elastic for a soft, flexible opening
Place the closure on the inside or back of the ankle. Avoid bulky hardware near the ankle bone, where it can rub during walking.
Step 5: Attach the cuff
You can attach the cuff to the heel with hidden straps, snaps, or a small amount of footwear adhesive. Removable fasteners are better if you want to wear the original heels again.
Test the cuff indoors for at least 15 minutes. Walk, sit, and use stairs. If the cuff slides down, add elastic or a small strap around the shoe’s ankle area.
Method 2: Sew a Permanent Boot Shaft
A sewn shaft creates a more finished look. It also requires more skill because the material must follow the shoe’s curves.
Step 1: Trace the shoe shape
Wrap paper around the heel and ankle. Trace the shape from the sole area to the desired boot height. Add seam allowance along each edge.
Do not cover the heel itself unless you plan to rebuild the heel area. The heel must stay visible and stable. Covering it with loose material can catch on surfaces and affect balance.
Step 2: Create two matching panels
Most boot shafts use an inside panel and an outside panel. Make sure both sides are even. Mark the center line, ankle opening, and top edge.
A paper pattern helps you check symmetry before cutting expensive leather. Make a test version from an old T-shirt or craft felt first.
Step 3: Sew the shaft
Place the right sides together and sew the main seam. Use short stitches only if the fabric is strong enough. Leather often needs longer stitches because too many holes can weaken it.
If you use stretch fabric, add a lining. The lining reduces friction and helps the shaft keep its shape.
Step 4: Finish the top edge
Fold the top edge inward and stitch it. You can also add a narrow strip of leather or bias tape.
A raw edge may look unfinished and can scratch the skin. Edge paint can protect leather, but it should be used in a well-ventilated space and allowed to dry fully.
Step 5: Secure the shaft to the shoe
This is the most important step. The shaft must connect to a strong part of the shoe, not only to thin decorative fabric.
Use a cobbler for a permanent sole connection. A professional can remove the insole, stitch or cement the shaft correctly, and replace the insole without creating a hard ridge under your foot.
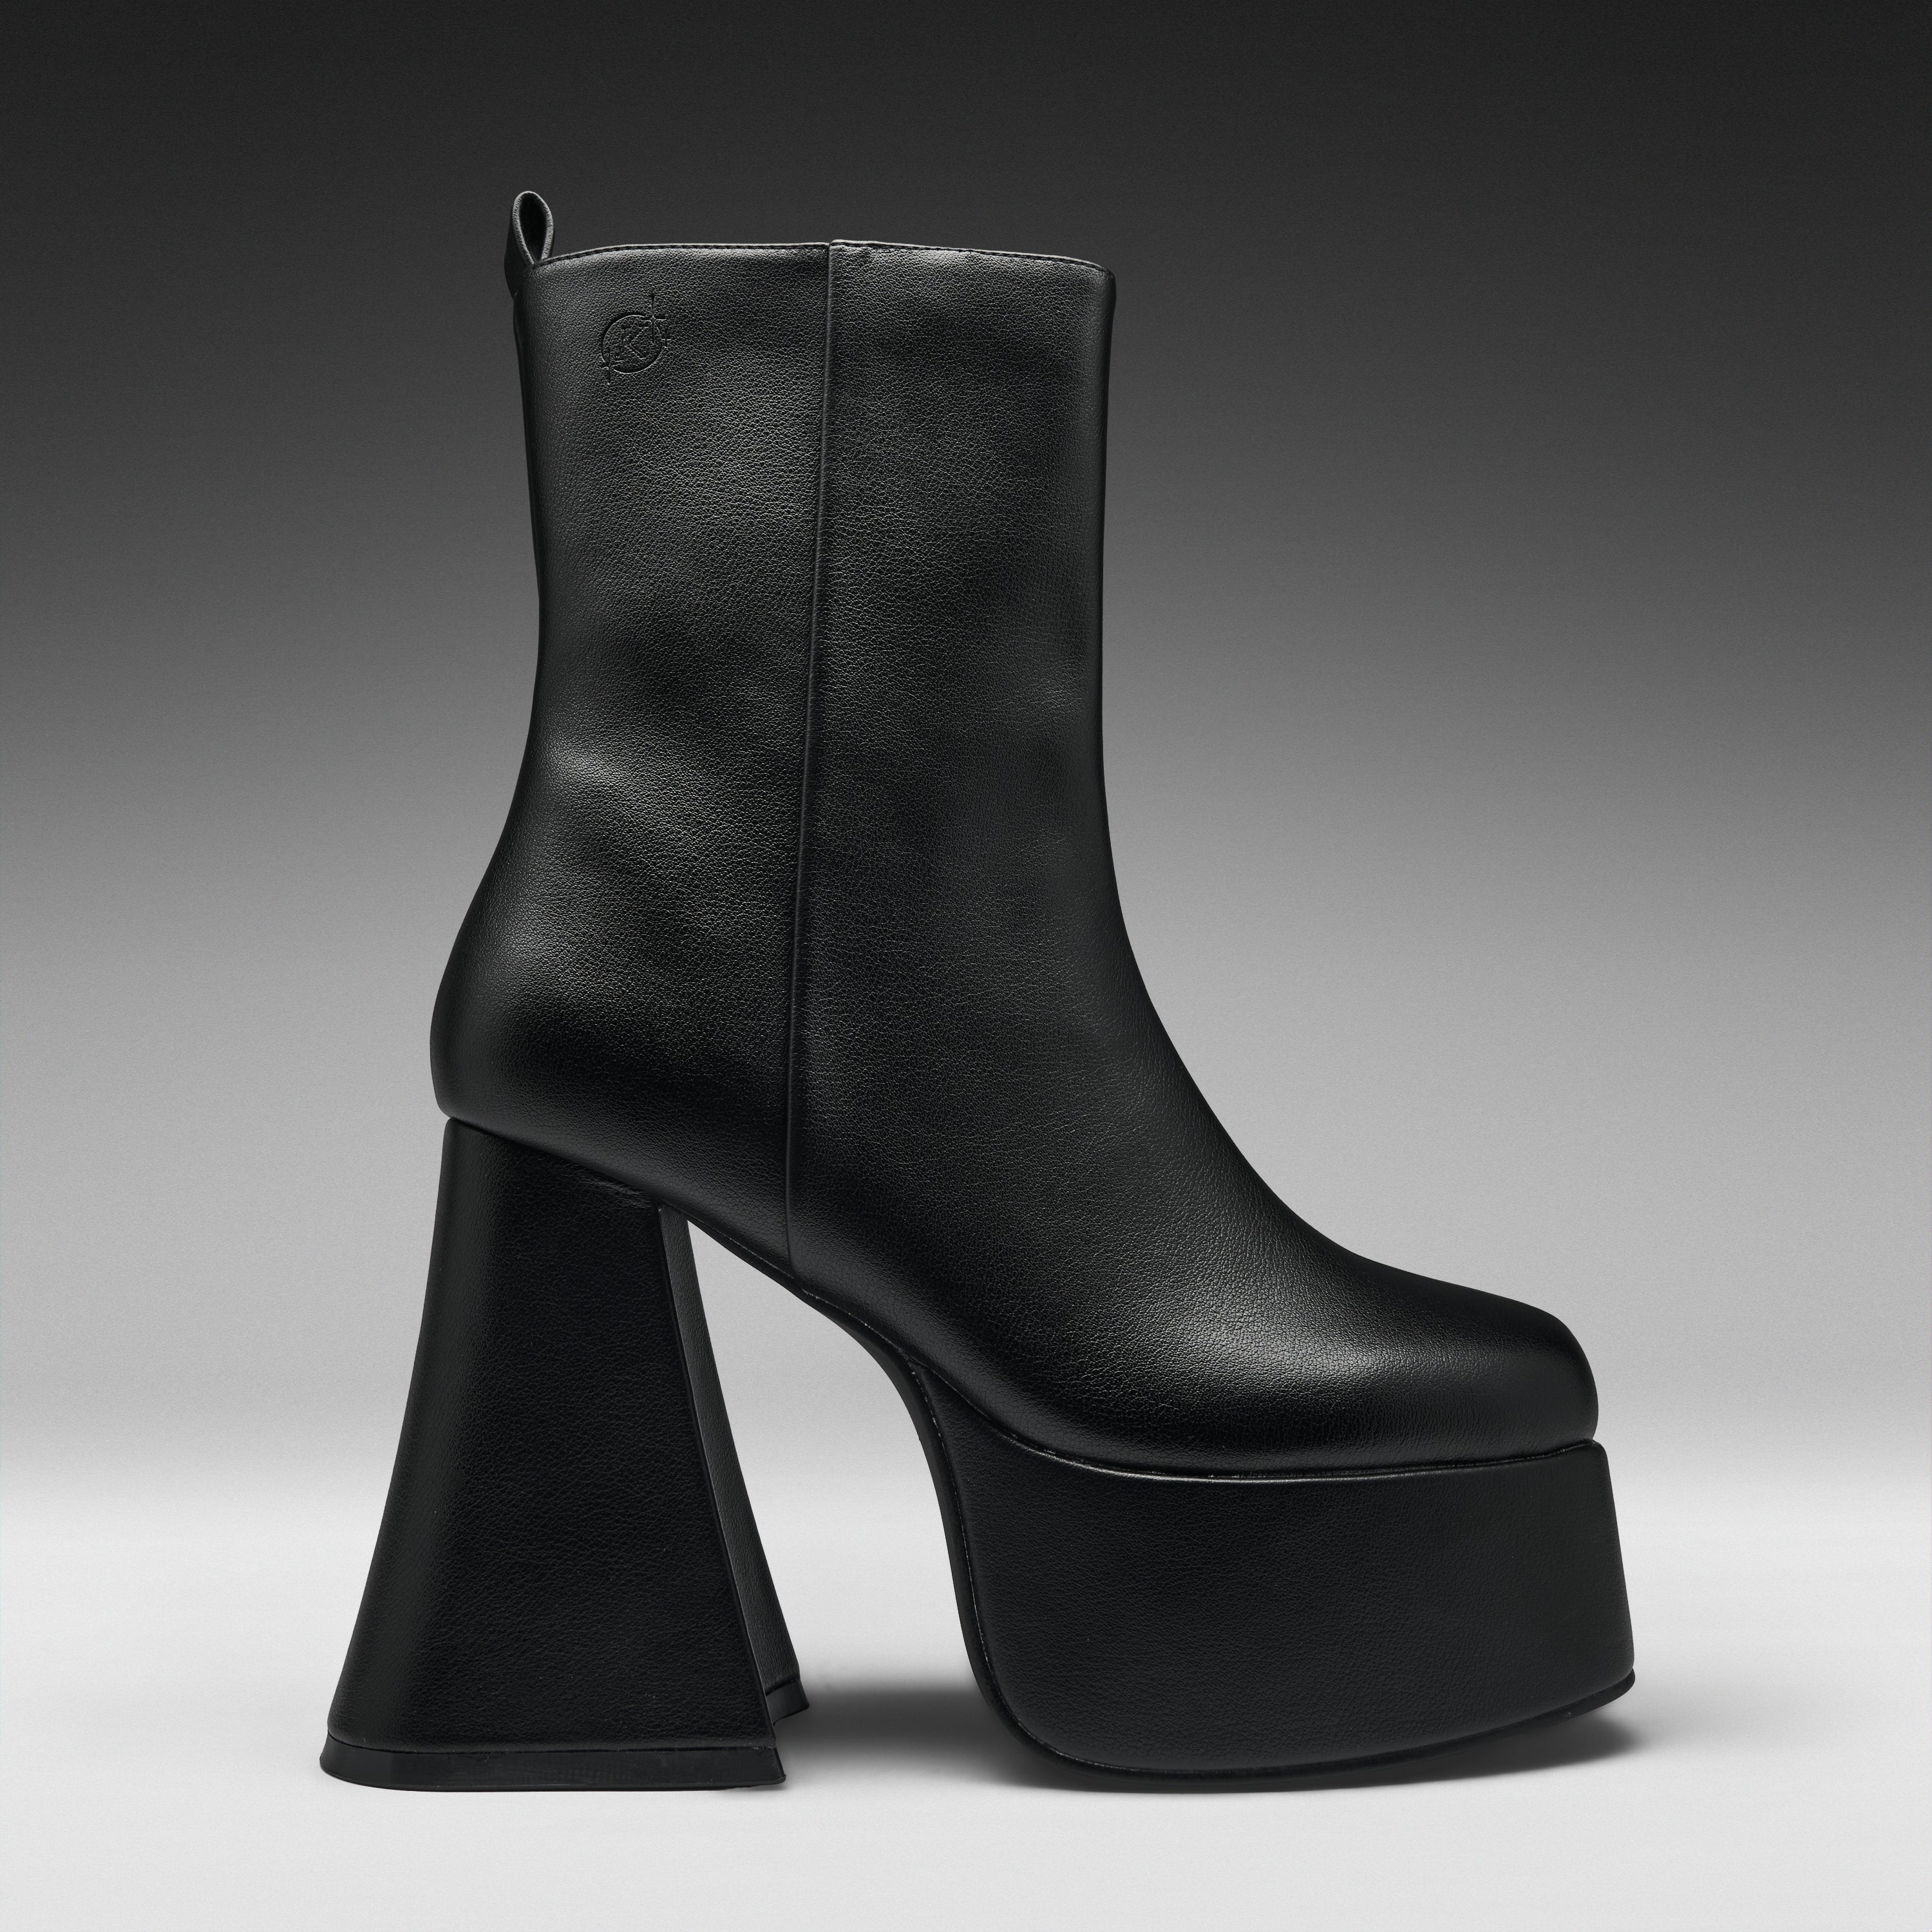
Method 3: Use a Stretch Boot Topper
A stretch boot topper is a fast way to change the look of heels. It resembles a tube of fabric that covers the ankle and part of the lower leg.
This method works well for costumes, fashion shoots, and occasional wear. It is less suitable for rain, long walks, or daily use unless the material and attachment are very strong.
To make one:
-
Measure the ankle and lower calf.
-
Add enough ease for comfort.
-
Cut a tube from stretch fabric.
-
Sew the back seam.
-
Finish the top and bottom edges.
-
Add elastic or hidden straps to keep the topper in place.
Keep the bottom edge away from the shoe’s walking surface. If fabric touches the floor, it can drag, absorb water, or catch under the heel.
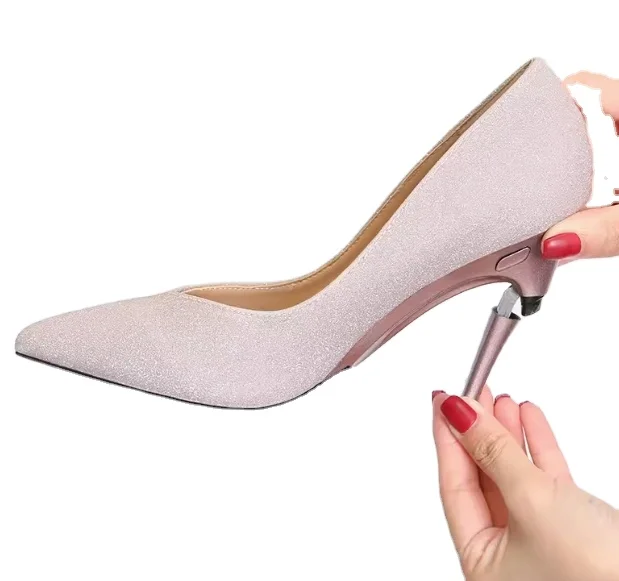
How to Attach New Material Safely
The connection point determines whether the project looks professional or falls apart after a few wears.
Clean the shoe with a suitable leather or synthetic-safe cleaner. Let it dry completely. Lightly roughen only the area where adhesive will be used, and test the product on a hidden spot first.
Apply a thin, even layer of footwear cement. Thick glue can create lumps and may take much longer to cure. Press the parts together with clips, then follow the adhesive maker’s full curing time.
Important safety rules include:
• Do not glue over a flexible joint that needs to bend
• Do not cover the tread or the bottom of the heel
• Do not use a heat gun near synthetic leather
• Do not wear the shoes until the adhesive has fully cured
• Do not rely on glue alone for a tall or heavy boot shaft
A shoe can look secure while still failing under walking pressure. Always test it indoors on a clean, dry floor before wearing it outside.
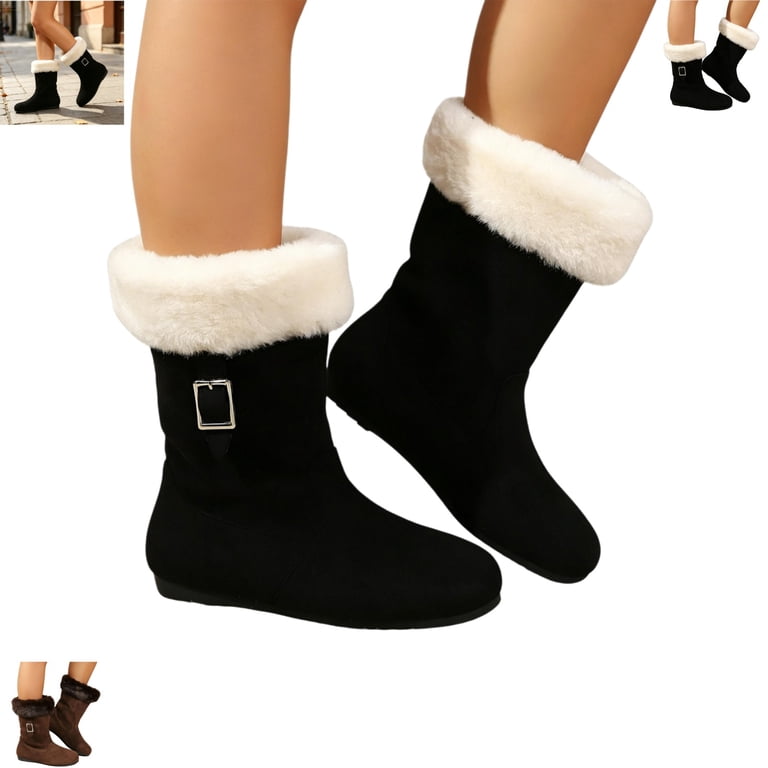
How to Add Comfort and Ankle Support
When you turn heels into boots, the new shaft can change how the shoe feels. It may rub the ankle, restrict movement, or make the foot slide forward.
Add comfort with:
• A thin gel insole
• A soft heel grip
• Foam around the ankle opening
• A smooth fabric lining
• A non-slip pad under the ball of the foot
Do not add thick padding if it makes the shoe too tight. A crowded shoe can increase pressure on the toes and change your balance.
Footwear specialists often recommend choosing a heel height that feels stable and limiting time in very high heels. The American Podiatric Medical Association has also warned that high heels can increase pressure on the front of the foot and affect stability. Turning heels into boots does not remove those risks.
The new boot shaft should support the ankle without acting like a hard brace. You should be able to flex your ankle and walk without pinching.
Common Mistakes to Avoid
Many failed shoe conversions come from rushing the pattern stage. The material may look correct on a flat table but pull in the wrong direction once the shoe bends.
Avoid these mistakes:
• Cutting material without making a paper pattern
• Using stiff material with no room for ankle movement
• Making the shaft too tight at the calf
• Gluing before testing the fit
• Attaching material to a weak or decorative part of the shoe
• Ignoring the heel’s stability
• Wearing the shoes outdoors before testing them indoors
• Using hot glue as the main structural adhesive
• Leaving rough edges against bare skin
One mistake I have seen often is placing a zipper directly over the ankle bone. It looks neat in photos but can become painful after a short walk. A side or back zipper is usually more comfortable.
Another lesson is to avoid overbuilding the boot. Extra buckles, thick foam, and heavy fabric can pull the shoe out of balance. In footwear design, a lighter and simpler change is often stronger.

When to Hire a Professional Cobbler
A cobbler is the best choice when you want a durable, wearable boot rather than a temporary fashion piece.
Seek professional help if:
• You want to create a knee-high boot
• The shaft must be attached to the sole
• The shoes are expensive or sentimental
• The upper is genuine leather or delicate suede
• The heel needs repair
• You need a custom calf fit
• You plan to wear the boots often
Ask the cobbler whether the shoe has enough structure for the conversion. Also ask about the adhesive, stitching method, lining, repair warranty, and expected wear.
A professional may recommend starting with a different pair. That advice is useful, not dismissive. Some heels simply lack the heel counter, sole thickness, or upper strength needed for a safe conversion.
How Much Does It Cost to Turn Heels Into Boots?
The cost depends on the design and the materials. A simple DIY boot cuff may cost about $15 to $50 if you already own basic tools.
A more detailed home project can cost $40 to $120. This includes leather, lining, hardware, adhesive, and replacement materials if the first pattern does not work.
Professional work may cost more because the cobbler must measure, pattern, sew, cement, and finish the shoe. A tall custom shaft can cost as much as, or more than, a new pair of boots.
Consider the value of the heels before spending money. If the shoes are cheap and the conversion needs many materials, buying boots may be more practical. If the heels fit perfectly or have personal value, a custom conversion may be worthwhile.
How to Care for Converted Heels
Converted footwear needs gentle care. The added material may not have the same water resistance as the original shoe.
Follow these care steps:
• Brush away dirt after each wear
• Use a material-specific conditioner
• Keep leather away from direct heat
• Store the boots with tissue or boot shapers
• Let the shoes dry fully between wears
• Check seams and closures often
• Replace loose snaps or worn elastic early
Do not soak fabric boot toppers or apply leather conditioner to synthetic materials without checking the label. Different materials need different care.
Rotate the shoes instead of wearing them every day. Rest helps adhesive joints, fabric, and leather return to their normal shape.
Frequently Asked Questions About How to Turn Heels Into Boots
Can I turn pumps into ankle boots?
Yes, pumps are one of the easiest shoes to convert into ankle boots. A removable cuff or sewn ankle shaft can cover the opening while the original heel and sole remain unchanged.
Is it safe to glue fabric onto heels?
It can be safe for light, occasional wear when you use footwear adhesive and attach the fabric to a strong surface. Glue alone is not ideal for a tall shaft, heavy leather, or shoes that will face rain and long walks.
Can I turn high heels into knee-high boots?
You can, but the project is complex and usually needs professional construction. The shaft must fit the calf, stay balanced, and connect securely without changing the shoe’s walking angle.
What fabric works best for making heel boots?
Stretch suede, soft leather, faux leather, and durable knit fabric are common choices. The best material depends on the design, but it should bend at the ankle and resist tearing at the connection point.
How do I stop a boot cuff from sliding down?
Use elastic, hidden straps, snaps, or a close-fitting stretch panel. The cuff should be snug but not tight enough to leave deep marks or restrict circulation.
Can I reverse a heel-to-boot conversion?
Yes, a removable cuff with snaps, straps, or hook-and-loop tape can usually be removed. Permanent adhesive or stitching may leave marks, so test the design before making irreversible changes.
Conclusion
Learning how to turn heels into boots can give an old pair a fresh purpose, but the safest results come from simple designs, strong materials, and careful testing. Start with a removable ankle cuff, make a paper pattern, protect your walking surface, and check comfort before wearing the shoes outside.
For a tall boot or a permanent conversion, work with a skilled cobbler. Choose stability over decoration, and let your first project be a practice pair rather than a treasured favorite. Try a small update this weekend, then share your results or explore more footwear repair ideas for your next project.

Madison Clark is a footwear expert and the voice behind MyStyleGrid.com. She specializes in honest shoe reviews, style tips, and practical guides to help readers find the perfect pair for any occasion. With years of experience in blogging and content creation, Madison makes footwear knowledge simple, stylish, and easy to follow.