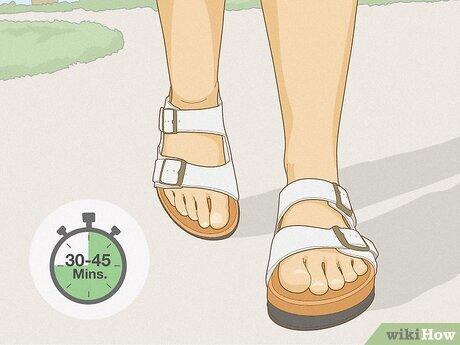
Break in Birkenstock sandals slowly by wearing them for short periods and letting the footbed shape to your feet.
Birkenstock sandals often feel firm at first because their cork footbeds are designed to support your natural foot shape over time. Learning how to break in Birkenstock sandals can help prevent sore spots, blisters, and frustration while protecting the leather, suede, and cork. This guide explains the safest process, how long it takes, what to do when pain appears, and which common shortcuts can damage your sandals.
Why Birkenstock Sandals Need a Break-In Period
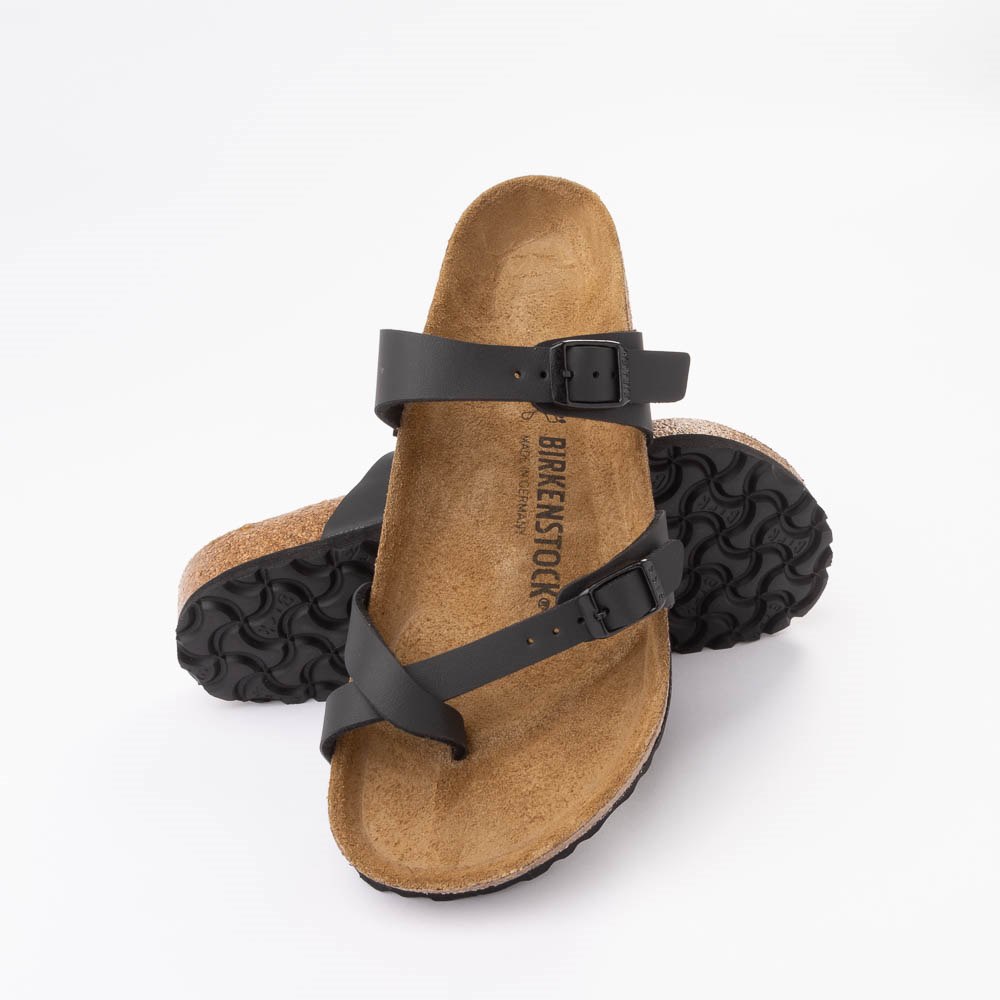
Birkenstock sandals do not feel soft and flexible like many foam sandals. Their footbeds are firm and shaped with key support zones, including an arch support, a raised toe bar, a deep heel cup, and a wide front area.
These features can feel unusual if you normally wear flat or cushioned shoes. Your feet need time to adjust, just as your shoulders need time to adjust to a new backpack.
The footbed also needs time to respond to your walking pattern. With regular use, the cork and latex layer gradually become more comfortable and develop a slight impression from your feet.
How to break in Birkenstock sandals depends on three things:
• The sandal style and material
• How often you wear them
• How quickly your feet adapt to the firm footbed
Leather models may soften around the straps fairly soon, while the footbed can take longer. Suede footbeds often feel comfortable faster because the surface has a soft nap, but they still need gradual wear.
The break-in period is not meant to cause severe pain. Mild pressure or awareness of the footbed is common. Sharp pain, numbness, open blisters, or lasting soreness means you should stop and reassess the fit.
Prepare Your Birkenstock Sandals Before Wearing Them
A few simple checks can make the break-in process much easier. Start by confirming that you have the right size and width. Birkenstock sandals are commonly available in regular and narrow widths, and the correct width matters as much as the length.
Stand on the footbed with your heel inside the heel cup. Your toes should not touch the front edge, and your heel should not hang over the back. You should see a small amount of space around your foot without excessive movement.
Check the straps next. They should hold your foot in place without pressing hard against the top of your foot. You should be able to slide a finger under each strap, but the sandal should not feel loose.
Follow these preparation steps:
-
Try the sandals indoors on a clean floor.
-
Wear the socks you plan to use, if any.
-
Adjust each strap while standing.
-
Walk slowly for several minutes.
-
Look for pressure on your toes, arch, heel, or strap areas.
Avoid tightening every strap as much as possible. Birkenstock sandals should support your foot while still allowing your toes to move naturally.
If your toes touch the front edge or your heel sits outside the heel cup, breaking in the sandals will not solve the problem. That usually points to an incorrect size or width.

How to Break In Birkenstock Sandals Step by Step
The safest method is slow, regular wear. Think of the process as teaching your feet and sandals to work together.
Days 1 and 2: Wear Them Indoors
Wear your Birkenstock sandals for 30 to 60 minutes at home. Walk on a clean surface and pay attention to pressure points.
Do not use this first session for housework, cooking, or a long period of standing. Sitting and taking short walks give you more control.
Remove the sandals as soon as you notice hot spots. A hot spot is an area that feels warm, rubbed, or irritated before a blister forms.
Days 3 and 4: Add Short Walks
If your feet feel fine, increase wear to one or two hours. Walk around your home or take a short trip nearby.
Keep the route easy. A flat sidewalk is better than a long trail, steep hill, or full day at an outdoor event.
This is also a good time to make small strap adjustments. Change only one strap at a time so you can tell which adjustment improves the fit.
Days 5 Through 7: Extend Wear Gradually
Increase your wear time by about 30 to 60 minutes every day or two. Some people may reach four hours within a week, while others need longer.
There is no prize for completing the process quickly. Your feet, not a fixed schedule, should decide when you are ready for longer use.
After the First Week: Test Longer Outings
When your sandals feel comfortable for several hours, try a longer outing. Bring another pair of shoes if you will be far from home.
This step is especially important for travel, concerts, festivals, theme parks, and vacations. Even well-worn Birkenstocks can cause fatigue if you suddenly walk many miles.
A practical break-in plan looks like this:
• Day 1: 30 minutes indoors
• Day 2: 45 to 60 minutes indoors
• Day 3: 1 to 2 hours
• Days 4 to 7: Add short outdoor walks
• Week 2: Try longer outings if your feet remain comfortable
This gradual approach is the most reliable answer to how to break in Birkenstock sandals without creating avoidable foot pain.
:max_bytes(150000):strip_icc()/how-to-clean-birkenstocks-nubuck-5076180-04-70043b53f56c402aad64477c6639bfae.jpg)
How Long Does It Take to Break In Birkenstock Sandals?
Most people need several days to a few weeks. Some sandals feel comfortable after a handful of short sessions, while stiff leather styles may take longer.
The time can vary because of:
• Foot shape and sensitivity
• Sandal material
• Footbed width and size
• Daily walking habits
• Existing foot problems
• Climate and moisture
Suede-lined footbeds often feel soft from the start. Smooth leather straps may need more time to flex around the foot. Oiled leather can become more relaxed with use, but it should still be treated carefully.
Your sandals are probably ready for longer wear when:
• Your feet do not develop hot spots
• Your toes can move freely
• Your heel stays inside the heel cup
• The straps feel secure but not tight
• Your arch feels supported rather than sharply pressured
Do not judge the break-in process only by the appearance of the cork. A visible foot impression is not required for comfortable wear. The goal is a secure, natural fit, not a deeply worn footbed.

How to Prevent Blisters and Sore Spots
Blisters form when repeated friction damages the upper layers of skin. New Birkenstock sandals can create friction around the straps, heel edges, and sides of the foot.
The best prevention is to stop before irritation becomes painful. If a spot feels hot, remove the sandals and cover the area with a blister bandage or soft dressing.
You can also try these practical steps:
• Wear thin, breathable socks during early indoor sessions.
• Use a blister bandage on a known friction point.
• Keep your feet dry.
• Avoid wearing new sandals during long walks.
• Adjust straps so they hold the foot without crushing it.
• Check for rough leather edges or twisted straps.
Some people use a small amount of foot balm on areas that rub. Use care with products near suede or unfinished footbeds, because oils can stain the material and change its texture.
Do not place thick padding under the arch or heel unless a qualified professional recommends it. Extra padding can change the way the foot sits on the footbed and may create new pressure.
If a blister forms, keep it clean and covered. Avoid popping it when possible. Seek medical advice if you notice spreading redness, warmth, pus, fever, or slow healing, especially if you have diabetes or poor circulation.
What to Do When Birkenstocks Hurt
Some discomfort is common during adjustment, but strong pain is not a normal requirement. The location and type of pain can offer useful clues.
Arch Pressure
The raised arch support may feel intense at first. Reduce wear time and allow your feet to adjust.