
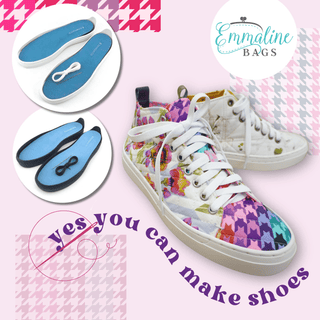
You can make your own sneakers by designing, cutting, stitching, and assembling each part with simple tools and patience.
Learning how to make your own sneakers is a rewarding way to create footwear that fits your style, foot shape, and daily needs. The process combines design, pattern making, sewing, gluing, and careful testing. This guide explains the full process in clear steps, including materials, tools, construction methods, common mistakes, safety tips, and ways to improve your first pair.
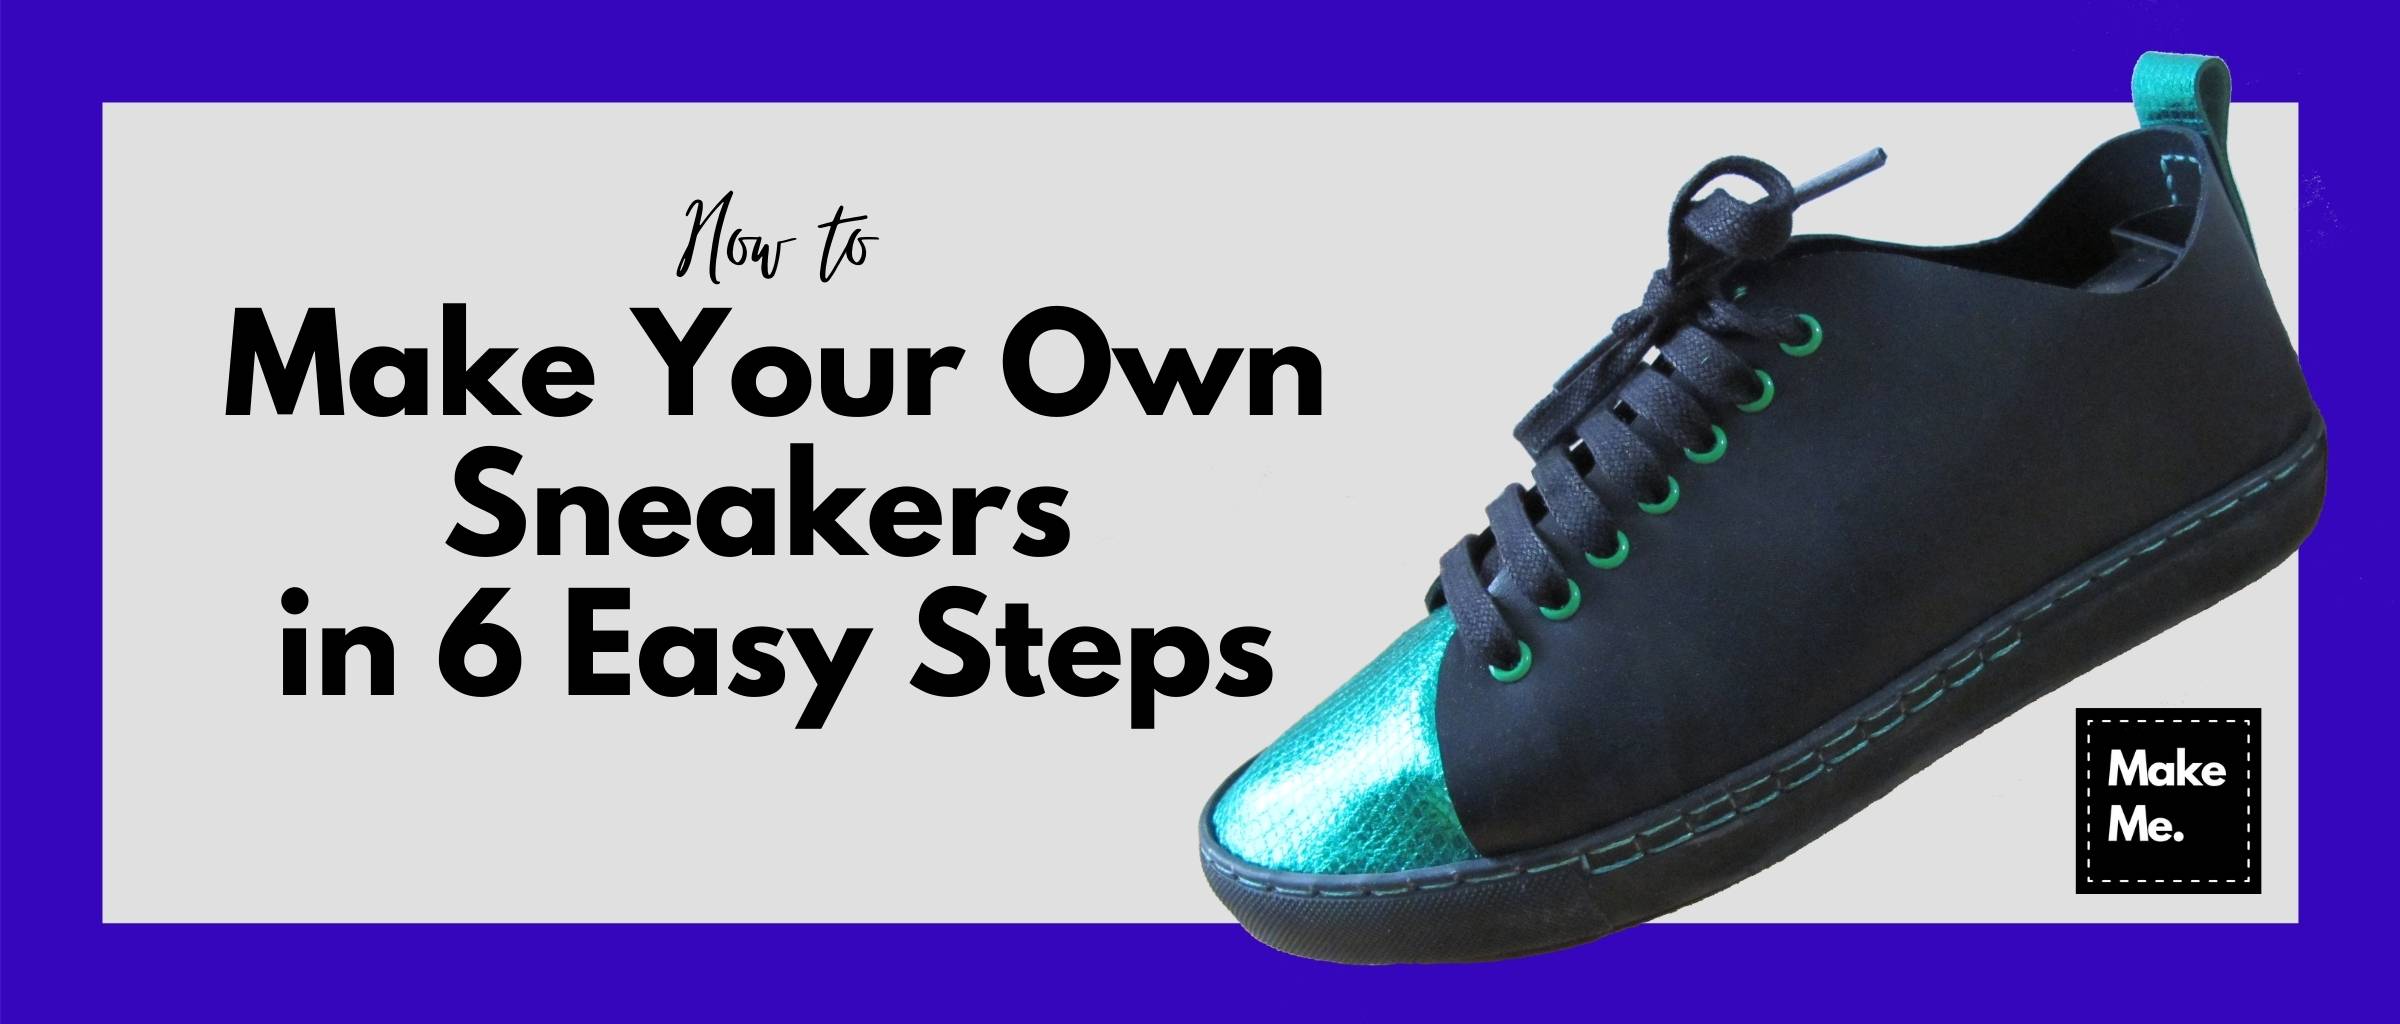
Why Make Your Own Sneakers?
Making your own sneakers gives you control over the look, fit, materials, and comfort. You can choose the color, sole shape, fabric, stitching, and details instead of settling for a store-bought design.
Custom sneakers can also solve common fit problems. For example, you may need a wider toe box, more room over the instep, or softer materials around the heel. Learning how to make your own sneakers lets you adjust the pattern before cutting expensive materials.
There is also a creative benefit. A sneaker is more than a shoe. It is a small product that shows your taste and skill. Many people begin with a simple canvas sneaker and later explore leather, recycled fabrics, performance mesh, or handmade soles.
From a practical view, the first pair may not look perfect. That is normal. In my experience, the biggest improvement comes after making a test shoe, finding pressure points, and changing the pattern before building the final pair.

What You Need to Make Sneakers
Before learning how to make your own sneakers, gather the right materials and tools. You do not need a full factory setup, but you do need a clean work area and tools that can make accurate cuts.
Main sneaker materials
• Shoe lasts: A last is a foot-shaped form that gives the sneaker its shape while you build it.
• Upper material: Common options include canvas, leather, suede, denim, nylon, and synthetic leather.
• Lining fabric: Mesh, cotton, microfiber, or soft leather can make the inside more comfortable.
• Insole board: This supports the foot and connects the upper to the sole unit.
• Foam: EVA or polyurethane foam can add cushioning under the foot.
• Outsole: Rubber, EVA, or a premade sneaker sole provides grip and wear resistance.
• Thread: Strong polyester or nylon thread works well for most sneaker uppers.
• Adhesive: Use a shoe cement made for the materials you select. General craft glue often fails under flexing and moisture.
• Eyelets or lace loops: These hold the laces and add structure to the upper.
• Reinforcement materials: Use toe caps, heel counters, and thin backing fabric where extra support is needed.
Useful tools
• Measuring tape and a ruler
• Pencil, pen, and pattern paper
• Craft knife or sharp fabric scissors
• Cutting mat
• Leather punch
• Awl
• Needles suitable for thick fabric or leather
• Sewing machine, if available
• Sandpaper
• Clamps or strong clips
• Lasting pliers
• Small hammer
• Heat gun, used with care
• Protective gloves and eye protection
A sewing machine is helpful but not essential. Many simple sneakers can be sewn by hand with a saddle stitch or another strong hand stitch. However, hand sewing takes longer and requires even tension.
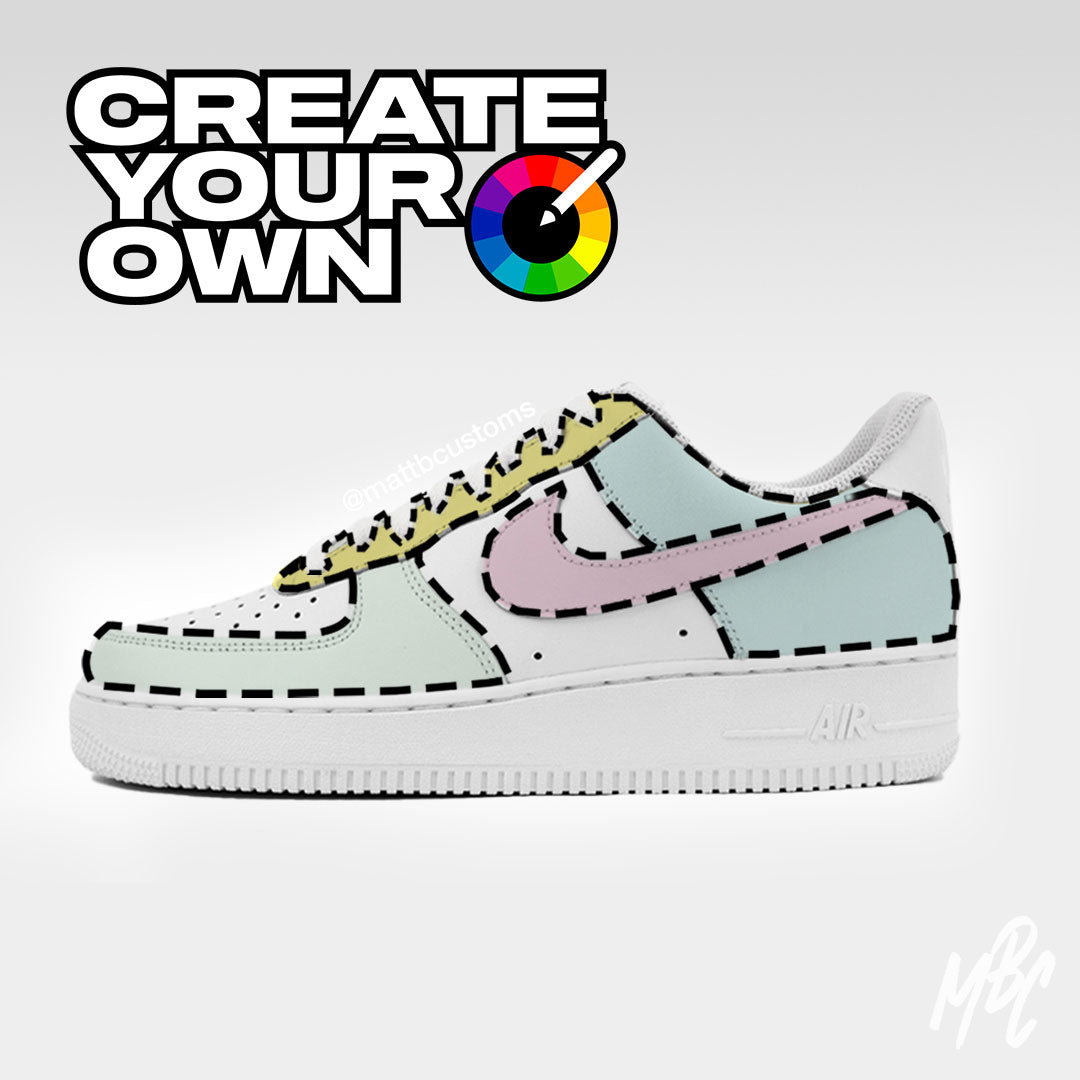
Choose a Sneaker Style and Design
A simple design is the best starting point when learning how to make your own sneakers. Low top sneakers with a flat sole have fewer parts than high tops, running shoes, or basketball shoes.
Start with a basic design that includes:
• A vamp, which covers the front of the foot
• Quarters, which cover the sides and rear of the foot
• A tongue
• A collar
• A toe cap, if desired
• A heel counter
• A sole unit
Sketch the shoe from several views. Draw the side, top, front, and back. Mark the seam lines, lace area, logo placement, and color blocks.
Think about function before decoration. A soft fabric may work well for casual use but may not provide enough support for running. A stiff leather may look strong but can feel uncomfortable if the pattern is too tight.
When I plan a custom sneaker, I first ask where the shoe will be worn. A walking shoe needs comfort and flex. A fashion shoe may focus more on shape and color. This simple question prevents many design problems later.
Plan the fit
Measure both feet because they may not be identical. Record:
• Foot length from heel to longest toe
• Foot width at the widest point
• Ball girth around the front of the foot
• Instep girth around the upper middle of the foot
• Heel width
Leave enough room for natural movement. Your longest toe should not press against the front. The upper should hold the foot without squeezing it.
A handmade sneaker is not automatically comfortable. Comfort comes from accurate measurements, suitable materials, soft edges, and a sole that bends in the right place.

Make or Buy a Shoe Last
A last is one of the most important parts of how to make your own sneakers. It acts like the foot during construction and gives the upper its final shape.
You have three main options:
Buy a premade last
This is the easiest option. Choose a sneaker last that matches the style you want. Check the size system, foot width, toe shape, and heel height before buying.
Modify an existing shoe last
You can add thin layers of foam, tape, or leather to change the shape. This method works well for small changes, such as adding width near the toe.
Make a simple custom last
A basic custom last can be made from a foot tracing and several layers of firm foam. This method takes more time and may not provide the precision of a professional last, but it can help with early experiments.
Never use your bare foot as the only form during construction. It cannot provide enough support, and sharp tools or adhesives can cause injury.
If you have foot pain, a medical condition, or major differences between your feet, consult a podiatrist or certified footwear specialist. A custom sneaker project should not replace professional medical advice.

Create a Sneaker Pattern
The pattern controls the shape of the upper. A poor pattern can cause wrinkles, tight spots, loose areas, and an uneven fit.
Wrap the last with masking tape. Cover the main upper area with overlapping strips. Keep the tape smooth, but do not pull it so tightly that it changes the last shape.
Mark these lines on the taped last:
• Center line
• Top line of the opening
• Front and back center points
• Sole attachment line
• Toe cap line
• Lace line
• Seam locations
Carefully remove the tape shell and cut it into flat pieces. These pieces become a starting pattern. Transfer them to paper and add seam allowance.
A common starting seam allowance is about 6 to 10 millimeters, depending on the material and sewing method. Thick leather may need a different allowance than thin canvas.
Make a test pattern from cheap fabric first. Sew the pieces and place them on the last. Look for:
• Wrinkles near the toe
• Tightness across the ball of the foot
• A loose heel

• Uneven lace spacing
• A collar that cuts into the ankle
• Seams that do not meet cleanly
This test can save costly materials. One of the most useful lessons in how to make your own sneakers is to test the pattern before cutting the final upper.

Cut and Prepare the Upper
Place the paper pattern on the material. Check the grain, stretch direction, color, and surface flaws before cutting.
For leather, avoid placing key panels over scars, weak spots, or deep wrinkles. For fabric, keep the panels aligned if the material has a visible weave or print.
Cut slowly with a sharp blade. Dull tools can pull fabric and create uneven edges. Mark each panel on the back so you know where it belongs.
Prepare the edges before sewing:
• Skive thick leather where several layers will meet.
• Add backing fabric to soft or stretchy material.
• Apply edge paint when the design needs a clean finished edge.
• Add foam or padding to the tongue and collar.
• Mark stitch lines with a ruler or stitching wheel.
Do not rush this stage. A small cutting error can become a large shape problem after the shoe is assembled.
For safety, keep your fingers behind the cutting path. Use ventilation when working with adhesives, and follow the product label. Solvent based cements can release strong vapors and should not be used near flames or in closed rooms.

Sew the Sneaker Upper
Sewing joins the upper panels and gives the sneaker its identity. It also affects strength, flexibility, and comfort.
A typical order is:
- Join the vamp and toe pieces.
- Attach the quarters to the front panels.
- Sew the tongue to the vamp or create a separate tongue opening.
- Add the heel counter or rear reinforcement.
- Attach the collar padding and lining.
- Add eyelets, lace loops, or a side zipper.
- Turn and inspect the completed upper.
Use a suitable needle and thread. Thick materials may require a leather needle, while mesh and canvas often work well with a sharp universal needle.
Keep the stitch length even. Very short stitches can weaken leather by creating too many holes. Very long stitches may not hold the seam securely.
Trim bulky seam allowances where they will rub against the foot. Cover rough internal seams with lining or seam tape.
Before moving on, place the upper on the last. It should sit evenly from the toe to the heel. If the upper twists, correct it now. Once the sole is attached, repairs become much harder.

Add Structure With Toe and Heel Reinforcements
Sneakers need structure to hold their shape. A toe puff helps the front keep its form, while a heel counter supports the rear.
Use thin, flexible reinforcement for casual sneakers. Heavy reinforcement can make the shoe stiff and uncomfortable.
Position the toe reinforcement between the outer material and lining. Smooth it carefully so it does not create ridges. Place the heel counter around the rear section, but keep it below the ankle bones.
The collar should feel soft. This is one of the first areas that causes discomfort when a handmade sneaker has rough edges or excessive stiffness.
Many shoemakers use heat to shape thermoplastic materials. If you use a heat gun, work at low heat, keep it moving, and test on scrap material first. Excess heat can melt synthetic fabric, damage adhesives, or burn skin.

Prepare the Insole and Sole Unit
The sole unit controls grip, cushioning, weight, and durability. It is also the part that receives the most stress during walking.
You can make a sole from separate layers or use a premade sole.
Separate sole layers
A layered sole may include:
• Insole board
• Foam footbed
• Midsole
• Rubber outsole
This approach allows more control over comfort and thickness. EVA foam is light and easy to shape. Rubber offers strong wear resistance and grip but can be harder to cut.
Premade sole
A premade sole is often the best option for a first pair. It reduces complex work and improves reliability. You still need to match the upper pattern to the sole shape.
Sand the bonding surfaces lightly. The goal is to remove shine and create a clean surface, not to remove large amounts of material. Wipe away dust before applying adhesive.
Use the adhesive according to its instructions. Some shoe cements require an open time before the parts are joined. Others need pressure or heat activation.
Do not depend on glue alone when the design needs major strength. A stitched and cemented construction may last longer, but the correct method depends on the sole material and shoe style.
Last the Upper
Lasting means pulling and shaping the upper around the last before attaching the sole. This step turns flat panels into a three dimensional shoe.
Place the insole board on the bottom of the last. Center the upper over it. Begin at the toe, then work toward the sides and heel.
Pull the material evenly. Do not yank one section tight while leaving another loose. Uneven tension causes wrinkles and may pull the shoe out of shape.
A basic lasting sequence is:
- Center the toe.
- Secure the front with temporary tacks or clips.
- Pull and secure the sides.
- Shape the heel around the last.
- Check the center line and sole edge.
- Trim excess material.
- Apply adhesive and press the upper to the insole board.
The upper should look smooth, but it should not be stretched so much that it becomes thin or distorted. This is where patience matters most.
In my experience, beginners often focus on making the toe perfectly smooth and forget the heel. The heel must stay centered. If it shifts to one side, the sneaker may feel unstable even when the front looks excellent.
Attach the Outsole
Once the upper is secure, attach the outsole. Work on a stable surface and make sure the shoe is centered before the adhesive makes contact.
Apply a thin, even layer of shoe cement to both prepared surfaces. Too much glue can create soft spots and messy edges. Too little glue can lead to early separation.
Join the outsole from the toe toward the heel. Press around the full edge. Use clamps, a roller, or firm hand pressure to remove air pockets.
Allow the adhesive to cure for the full time stated on the product label. The shoe may feel secure before the bond reaches full strength.
After curing:
• Remove excess adhesive.
• Smooth rough edges with sandpaper.
• Check the sole for gaps.
• Flex the shoe by hand.
• Confirm that the outsole is centered.
Never wear a new pair for a long walk without testing them first. Wear them indoors for a short period and check for heel movement, rubbing, pressure, or sole noise.
Finish and Customize Your Sneakers
Finishing details can make a handmade sneaker look professional. They can also improve comfort and durability.
Useful finishing options include:
• Replaceable laces
• Custom tongue labels
• Embroidery
• Screen printed panels
• Leather or rubber logos
• Painted midsoles
• Reflective trim
• Removable insoles
• Protective sprays made for the selected material
Use paint designed for leather or fabric. Test it on a hidden area first. Some paints crack when applied to flexible surfaces.
Keep decorative elements away from pressure points. A metal logo near the heel may rub the skin. Thick embroidery over the toe may reduce flexibility.
A clean, simple finish is often better than too many details. The goal is to make your own sneakers that look intentional and feel good, not to cover every panel with decoration.
Test the Fit, Comfort, and Durability
Testing is a key part of how to make your own sneakers. A shoe can look perfect and still fail during normal use.
Start with a short indoor test. Wear the sneakers for 10 to 20 minutes. Check the following areas:
• Toe room
• Arch comfort
• Lace pressure
• Collar rubbing
• Sole flex
• Heat buildup
• Any sharp or hard internal areas
Next, take a short outdoor walk on a clean surface. Inspect the outsole after use. Look for lifting edges, cracked paint, loose stitches, or wrinkles that appeared during movement.
Keep notes about what you feel. A simple record can guide your next pattern change. For example, if the little toe feels tight, widen the forefoot panel rather than simply loosening the laces.
Do not use a handmade prototype for sports, long hikes, or work that requires certified protective footwear. Handmade construction may not meet standards for impact protection, slip resistance, electrical safety, or puncture resistance.
Common Mistakes to Avoid
Knowing what not to do can make how to make your own sneakers much easier.
Skipping the test shoe
A test shoe reveals problems before you use expensive leather or specialty fabric. Use scrap material or an old sheet for the first trial.
Choosing the wrong adhesive
A general purpose glue may become brittle or peel when the shoe bends. Select an adhesive made for footwear and check that it matches your sole and upper materials.
Making the upper too tight
Materials may stretch slightly, but you should not rely on stretching to fix a poor pattern. Build enough room into the forefoot and instep from the start.
Ignoring the sole shape
The upper must match the sole perimeter. If the sole is wider or narrower than the upper, the finished shoe may look uneven and fail at the bond line.
Using weak thread
Thin thread may snap at high stress points. Use strong thread and reinforce areas around the eyelets and heel.
Rushing adhesive curing
The bond needs time to develop strength. Follow the cure instructions, even when the shoe appears ready.
Adding too much padding
Extra foam may feel soft at first but can make the shoe tight. Padding should support the foot without removing needed space.
Making both shoes identical instead of making them fit
Your feet may differ in length or width. A small adjustment to one shoe can improve comfort. Matching appearance is useful, but matching your feet is more important.
How Much Does It Cost to Make Sneakers?
The cost depends on the materials, tools, and level of customization. A basic first project may cost about $80 to $250 in the United States.
Typical expenses include:
• Premade soles: $20 to $80
• Canvas or fabric: $15 to $50
• Leather or suede: $40 to $150 or more
• Adhesive and finishing products: $15 to $40
• Pattern and cutting tools: $20 to $100
• Lasts: $30 to $150 or more
If you already own sewing tools, the project can cost less. A professional last, high quality leather, and specialty machinery can raise the cost quickly.
The first pair is partly an education. You may spend more than the price of a basic retail sneaker, but you gain pattern knowledge and practical skill. Later pairs usually become more efficient because you reuse tools and improve the pattern.
How to Make Your Own Sneakers More Sustainably
Sustainable sneaker making starts with thoughtful material choices and longer use. Choose durable materials, repairable soles, and designs that do not depend on short lived trends.
You can reduce waste by:
• Making small test panels before cutting full pieces
• Reusing leather from old bags or jackets
• Using recycled polyester fabric
• Saving scraps for heel tabs or labels
• Choosing replaceable insoles
• Repairing loose stitching early
• Designing shoes that can be cleaned and maintained
Be realistic about environmental claims. A handmade sneaker is not automatically sustainable. The total impact depends on material production, waste, transport, adhesives, and how long the shoe lasts.
A durable shoe that you wear for years may be a better choice than several low quality pairs. Good care matters too. Brush away dirt, dry wet shoes at room temperature, and use material specific cleaners.
Helpful Professional Standards and Safety Guidance
Footwear construction involves sharp tools, strong adhesives, heat, and sometimes heavy equipment. Work in a well lit space with good air flow.
Follow these safety habits:
• Wear eye protection when cutting, sanding, or hammering.
• Use cut resistant gloves when appropriate, but keep gloves away from powered machinery.
• Read adhesive labels before use.
• Store solvents away from heat and flame.
• Keep tools sharp and properly stored.
• Use a respirator only when it is rated for the specific chemical or dust hazard.
• Keep children and pets away from the work area.
Footwear that will be sold should receive more careful testing. Commercial footwear may need to meet labeling, chemical, flammability, consumer product, and performance rules that vary by product and location.
For children’s footwear, extra care is needed because small parts can create choking risks. For work shoes, medical shoes, and protective shoes, consult the relevant professional or regulatory guidance before relying on a handmade pair.
Frequently Asked Questions About How to Make Your Own Sneakers
Is it hard to make your own sneakers?
Making your own sneakers is moderately difficult because several skills work together. A simple canvas design with a premade sole is a good first project, while leather high tops and athletic shoes require more experience.
Can I make sneakers without a sewing machine?
Yes, you can make your own sneakers by hand sewing the upper. Use strong thread, even stitches, and a leather or fabric needle that matches your materials.
What is the best material for beginner sneakers?
Canvas is often the easiest material for beginners because it is affordable, flexible, and simple to cut. Thin leather can also work, but it may require skiving tools and more practice.
Do I need a shoe last to make sneakers?
A shoe last is strongly recommended because it shapes the upper and improves fit. Without a last, it is difficult to control the toe shape, heel position, and overall structure.
Can I use a regular glue to attach the sole?
Regular craft glue is not a reliable choice for a flexible sneaker sole. Use a footwear adhesive that is designed to bond the specific upper and outsole materials.
How long does it take to make a pair of sneakers?
A beginner may need one to three days, including pattern work, sewing, lasting, finishing, and adhesive curing. The time can be longer when making a custom last or working with thick leather.
Are handmade sneakers comfortable?
Handmade sneakers can be very comfortable when the pattern matches your feet and the materials suit the intended use. Comfort depends on fit, cushioning, flexibility, support, and smooth interior finishing.
Conclusion
Learning how to make your own sneakers is a practical craft that blends design, fit, sewing, and shoemaking. Start with a simple low top style, use a reliable last, test your pattern, choose compatible materials, and allow adhesives enough time to cure.
Your first pair may show small flaws, but each flaw teaches you something useful. Measure carefully, work slowly, and test the sneakers before wearing them for long periods or demanding activities.
Gather your materials, sketch a simple design, and make a test upper this week. Share your progress, explore advanced footwear resources, and keep refining your next pair.

Madison Clark is a footwear expert and the voice behind MyStyleGrid.com. She specializes in honest shoe reviews, style tips, and practical guides to help readers find the perfect pair for any occasion. With years of experience in blogging and content creation, Madison makes footwear knowledge simple, stylish, and easy to follow.


