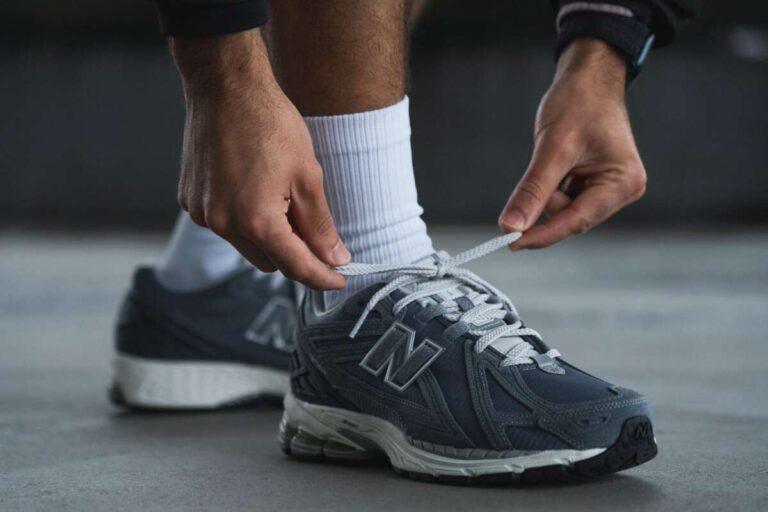
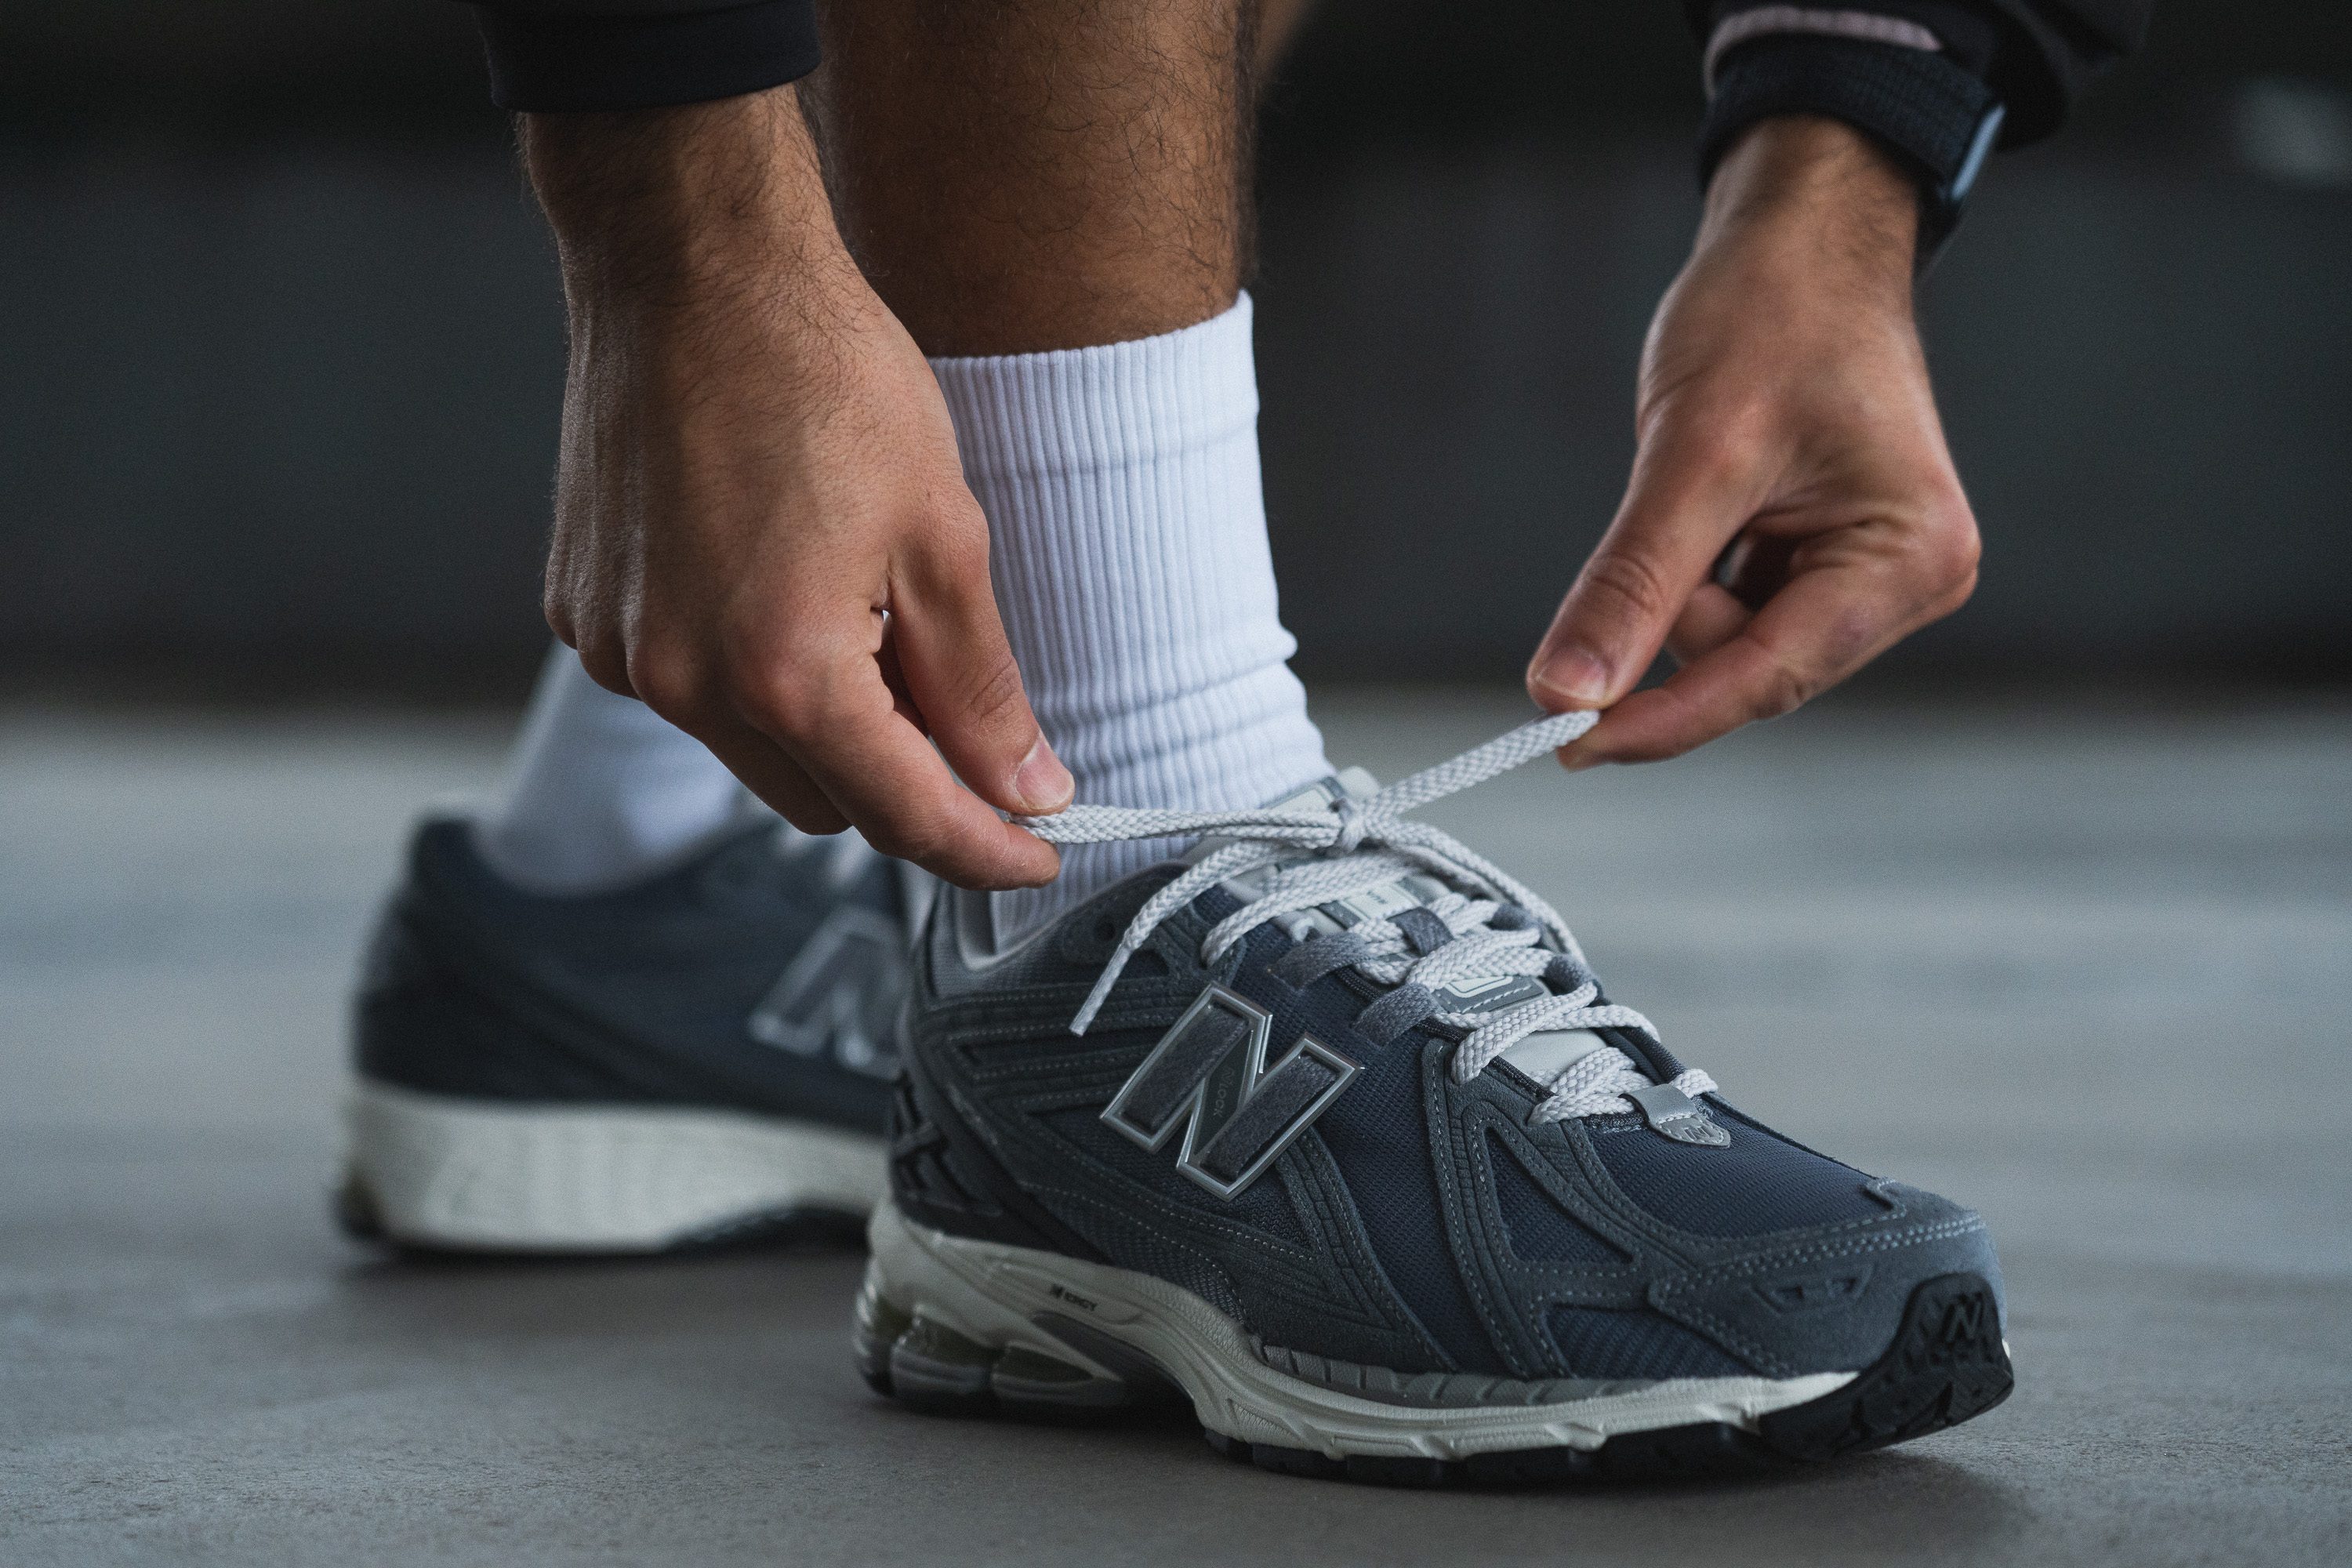
Tie New Balance shoes with a secure criss-cross knot and an optional heel lock for snug fit.
I’ve tied and tested hundreds of workout and walking shoes, including many New Balance models, so I know what works. This guide on how to tie New Balance shoes covers simple steps, alternative lacing methods, fit tips, and common problems. Read on for clear, practical advice you can use right now to get a comfortable, secure fit with your New Balance shoes.
Why proper lacing matters for New Balance shoes
A good lacing method keeps your foot stable. New Balance shoes often fit a bit wider or have specific last shapes. That makes lacing choices important for comfort during walking, running, or all-day wear.
Proper lacing helps with:
- Reducing heel slip
- Preventing hotspots and blisters
- Improving foot alignment and support
- Extending shoe life by reducing stress on eyelets
I’ve seen runners update lacing to fix heel slip in just a few minutes. Learning how to tie New Balance shoes well can improve comfort instantly.

Tools and preparation before you tie New Balance shoes
Prepare before you lace. Small steps save time and prevent mistakes.
Do this first:
- Choose laces that match the shoe length and eyelet count.
- Replace worn laces; frayed ties slip or break.
- Loosen all eyelets before inserting your foot.
- Sit down and put the shoe on with good socks for the activity.
Tip from experience: New Balance often ships with flat, durable laces. If you switch to round or slippery laces, expect to retie more often. The right lace makes the method matter less.

Step-by-step: Classic criss-cross method (best starting point)
The classic criss-cross is simple and secure. It works well for most New Balance shoes and foot shapes.
- Thread the lace evenly so both ends match.
- Start at the bottom eyelets; feed both lace ends from outside in.
- Cross the laces and feed through the next level of eyelets from inside out.
- Continue crossing up the shoe until you reach the top.
- Pull evenly to seat the tongue and settle the foot.
- Finish with a standard bow knot or double knot for extra security.
Practical note: Pull each cross snug but not tight. Over-tightening at the bottom can cause numb toes. The classic method is a great default when learning how to tie New Balance shoes.

Alternative lacing methods for fit, comfort, and common New Balance shapes
Different lacing patterns solve common problems. Try one that matches your issue.
Heel lock (runner’s loop) — prevents heel slip
- Use the topmost eyelet pair to create two small loops on each side.
- Insert the lace ends through the opposite loop.
- Pull to lock the heel and tie a bow.
Parallel lacing — reduces pressure on the top of the foot
- Lace straight across on the outside and run vertically inside.
- This gives a clean look and eases pressure in high instep areas.
Window lacing — eases a tight spot
- Skip one pair of eyelets where pressure hits.
- Cross above and below the skipped pair to leave slack there.
Wide-foot adjustment — spread tension evenly
- Use wider spacing at the forefoot.
- Tighten gradually toward the midfoot.
I often use the heel lock for training shoes and parallel lacing for casual New Balance models. Both feel different but useful.

Troubleshooting common issues with how to tie New Balance shoes
Here are fast fixes for issues you’ll likely meet.
Issue: Heel slides up and down
- Fix: Try the heel lock. Also check sock thickness and sock liner placement.
Issue: Toes feel cramped
- Fix: Loosen the forefoot laces slightly. Check shoe length and try a different lacing pattern.
Issue: Laces come undone
- Fix: Use a double knot or try a reef knot. Replace slippery laces with flat cotton or textured laces.
Issue: Pressure on top of foot
- Fix: Use parallel lacing or skip an eyelet at the pressure point.
From my experience, small tweaks in where you pull tight make big comfort differences. Don’t assume the factory tie is ideal for your foot.

Care and maintenance for laces and New Balance eyelets
Good laces and healthy eyelets keep your shoes working longer.
Lace care tips:
- Replace frayed or stretched laces.
- Clean laces by hand-washing in mild soap and air drying.
- Match lace length to eyelet count to avoid extra bulk.
Eyelet care:
- Inspect metal eyelets for bending or corrosion.
- If fabric eyelets tear, use a patch or have a cobbler repair them.
- Avoid overtightening to protect the upper and eyelets.
I once wore a favorite pair until the eyelets ripped. A simple cobbler repair brought them back to life. Small maintenance saves money.
Real-world tips and lessons learned from tying New Balance shoes
I test shoes on walks, runs, and daily wear. These are the best practical tips I’ve learned.
- Try multiple lacing styles on a short walk to feel the difference.
- Tie shoes while standing to simulate actual foot shape under weight.
- Replace laces annually or when wear shows.
- If you switch insoles, expect to retie. Insoles change space and pressure points.
- Keep one spare pair of laces in your gym bag.
When I started running longer distances, switching from a flat bow to a double knot and heel lock ended my heel blisters.
Quick answers to common how-to questions in the guide (short Q&A inside the article)
Why does my New Balance shoe feel loose at the top but tight at the toes?
- That happens when tension is uneven. Re-lace using a balanced criss-cross and try a heel lock.
Can changing lace length improve fit?
- Yes. Laces that are too long bunch and get in the way. Too short limit techniques like the heel lock.
Is a double knot better for running?
- A double knot gives more security and reduces re-ties. It may be harder to undo quickly.
How often should I replace laces on New Balance shoes?
- Replace when you see fraying, stretching, or if they slip often. Annual replacement is a good rule for frequent use.
Do thicker socks require different lacing?
- Yes. Thicker socks need a little more room, so loosen the forefoot or use a more forgiving pattern.
Frequently Asked Questions of how to tie new balance shoes
How tight should I tie my New Balance shoes?
Tie them snug but comfortable. Aim for even pressure from forefoot to ankle, and avoid pinching toes or cutting circulation.
Which lacing method prevents heel slip the most?
The heel lock (runner’s loop) is best to prevent heel slip and stabilize the ankle during activity.
Are double knots necessary for New Balance runners?
Double knots help prevent unties on runs and workouts but are optional for casual wear.
What lace type works best for New Balance shoes?
Flat cotton or textured synthetic laces hold better than slippery round laces for most New Balance models.
How do I fix pressure on the top of my foot?
Try parallel lacing or skip an eyelet at the pressure point to relieve top-foot pressure.
Can I use different laces for style and performance?
Yes. You can swap laces for look or function, but test them first for fit and security.
Conclusion
Mastering how to tie New Balance shoes is quick and practical. Use the classic criss-cross as your base, try the heel lock for heel slip, and use alternative patterns to ease pressure points. Keep laces and eyelets in good shape, test adjustments while standing, and replace laces when worn.
Take action: try one new lacing method on your next walk or run and notice the difference. If this guide helped, leave a comment or share your favorite New Balance lacing tip.
Madison Clark is a footwear expert and the voice behind MyStyleGrid.com. She specializes in honest shoe reviews, style tips, and practical guides to help readers find the perfect pair for any occasion. With years of experience in blogging and content creation, Madison makes footwear knowledge simple, stylish, and easy to follow.